Bring your craft skills to life with a cute miniature pig that adds fun and whimsy to your DIY projects and brightens any space instantly.
Special thanks to Tagadanail Fimo & Miniatures for kindly giving me permission to use her video.
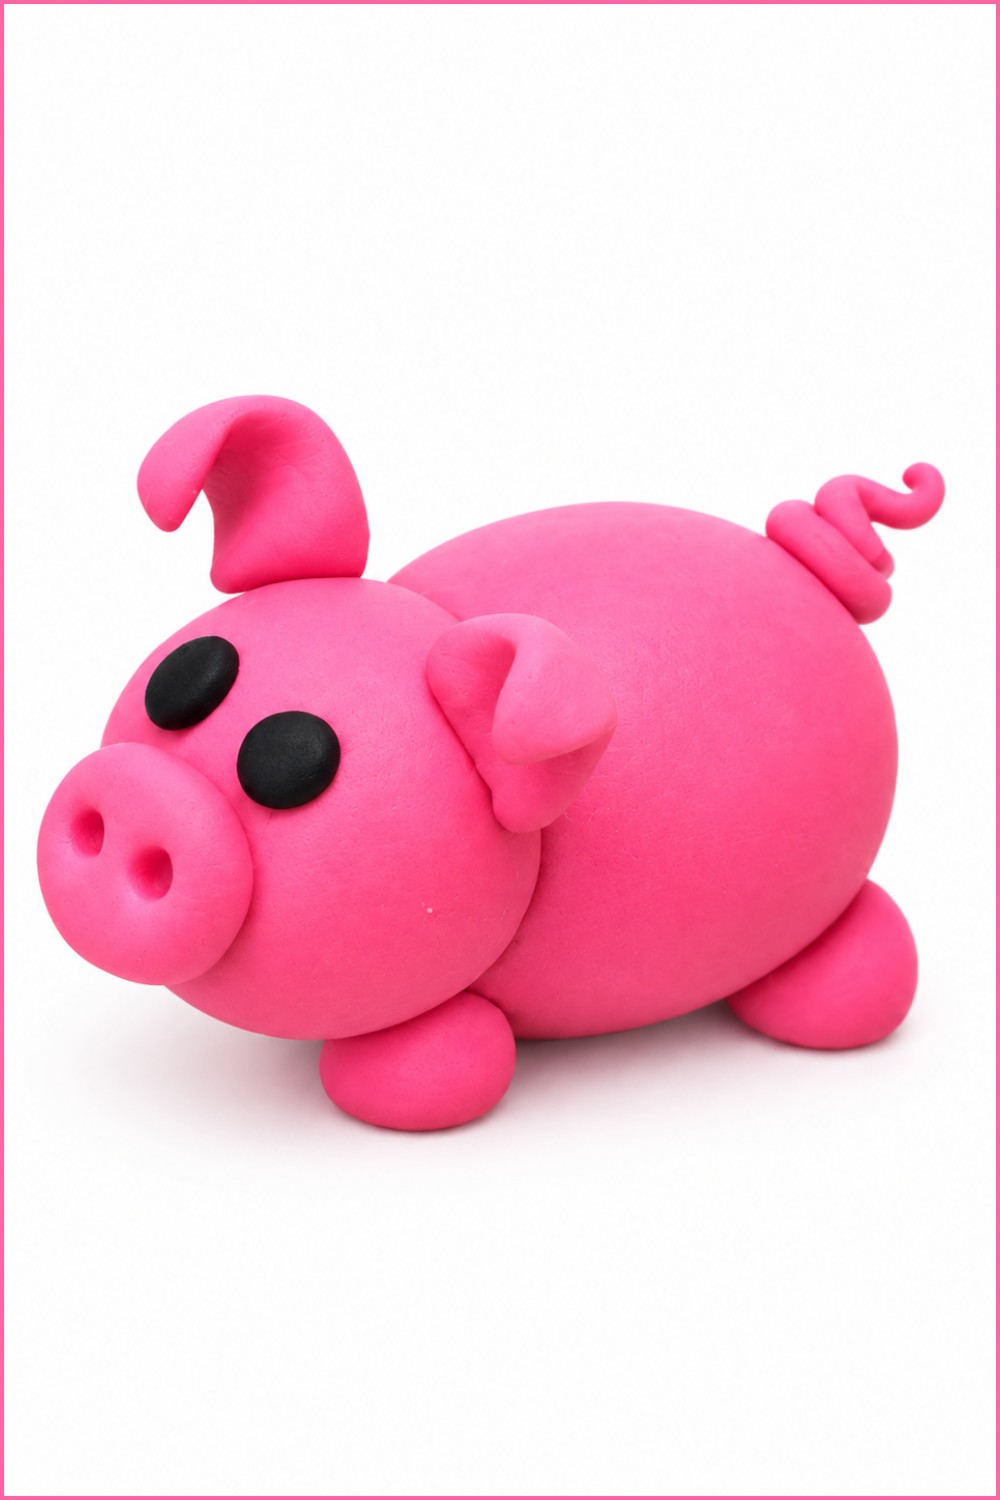
A charming little pig comes to life in this delightful miniature design, capturing a sweet and playful spirit that brightens any collection. This DIY Polymer Clay Pig stands out with its soft pink hue, rounded body, and thoughtfully detailed features including a curled tail, tiny pointed ears, and expressive black eyes that give it a friendly personality. Its smooth, polished finish enhances the handcrafted look, making it perfect as a decorative piece, a unique gift, or a whimsical addition to a miniature scene.
Adorable DIY Polymer Clay Pig Idea for Beginner Crafters
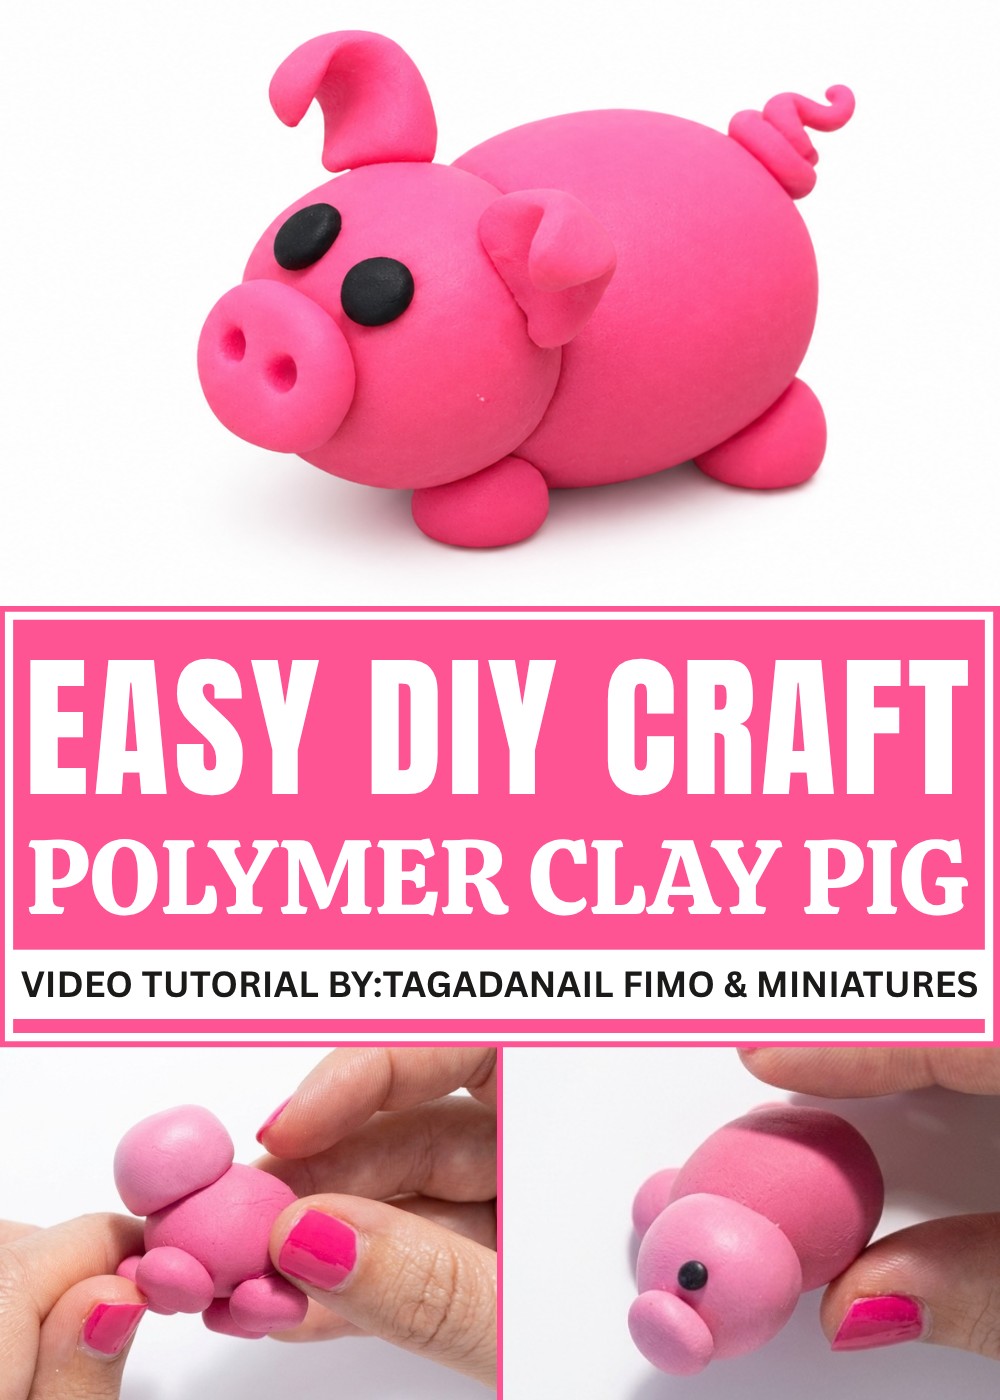
What makes this piece especially engaging is its balance of simplicity and character. The pig’s compact form and gentle curves invite a closer look, while subtle details like the stitched nostrils add a hint of realism without compromising its adorable charm. This design’s approachable style appeals to both experienced artists and those just starting, reflecting warmth and creativity.
Ideal for collectors or anyone who enjoys cute, handcrafted figurines, this DIY Polymer Clay Pig brings a playful vibe to shelves, desks, or display cases. Its presence sparks joy and offers a touch of lighthearted whimsy that’s as endearing as it is visually pleasing. Whether showcased alone or among other miniature creations, it captures attention effortlessly, making it a captivating piece with personality and style.
How to Make a Cute Miniature Pig with Polymer Clay
Creating small polymer clay animals is a fun and engaging way to explore sculpting and detailing techniques. In this tutorial, you will learn to make an adorable miniature pig with simple shapes and assembling skills. The pig features a rounded body, carefully attached legs and ears, expressive black eyes, and a charming curly tail. This project is perfect for beginners looking to practice shaping, texturing, and layering clay to form a lifelike small sculpture.
Design Overview: Characteristics of the Miniature Pig
- Rounded, soft body using a crushed ball of pink clay.
- Four sturdy legs made from small, rounded balls of clay.
- Classical pig head with round shape and visible snout.
- Black bead-like eyes placed symmetrically for expressive features.
- Pinched and folded ears giving playful and realistic detail.
- Signature curly tail, twisted and positioned on the back.
- Nostrils made with two small indentations enhancing facial accuracy.
Importance of Using Suitable Materials and Tools
Quality polymer clay offers sufficient flexibility for shaping smooth curves and fine details, and bakes hard for durability. Choosing vibrant pink tones evokes the classic pig look, while small black bits create expressive eyes that stand out. Specialized tools such as scalpels and dotting instruments allow precise shaping and texturing necessary to define delicate features like nostrils and ears. The work surface should be clean and smooth to help shape and smooth the clay without unwanted marks. Following baking instructions carefully ensures the finished piece maintains its form and details.
Materials and Tools Required
- Pink polymer clay in two sizes (for body and smaller details)
- Black polymer clay (for eyes)
- Small scalpel or craft knife (for shaping and cutting)
- Needle, toothpick, or dotting tool (for texture and nostril indentations)
- Flat work surface for handling clay
- Oven or polymer clay oven for curing
Important Tips Before Starting
- Knead and condition the polymer clay thoroughly for better elasticity and smoothness.
- Use small, even amounts of clay to maintain proportionate body parts.
- Attach parts firmly but gently to avoid deforming shapes.
- Use shaping tools to smooth edges and create realistic textures.
- Roll the tail carefully to avoid breaking or uneven twisting.
- Pinch ears carefully to refine shape without tearing thin clay layers.
- Work steadily and allow time to assemble and adjust shapes before baking.
- Use the proper baking temperature and time as recommended by the clay brand.
Pattern: Step-by-Step Instructions for the Miniature Pig
Step 1: Forming the Pig’s Body
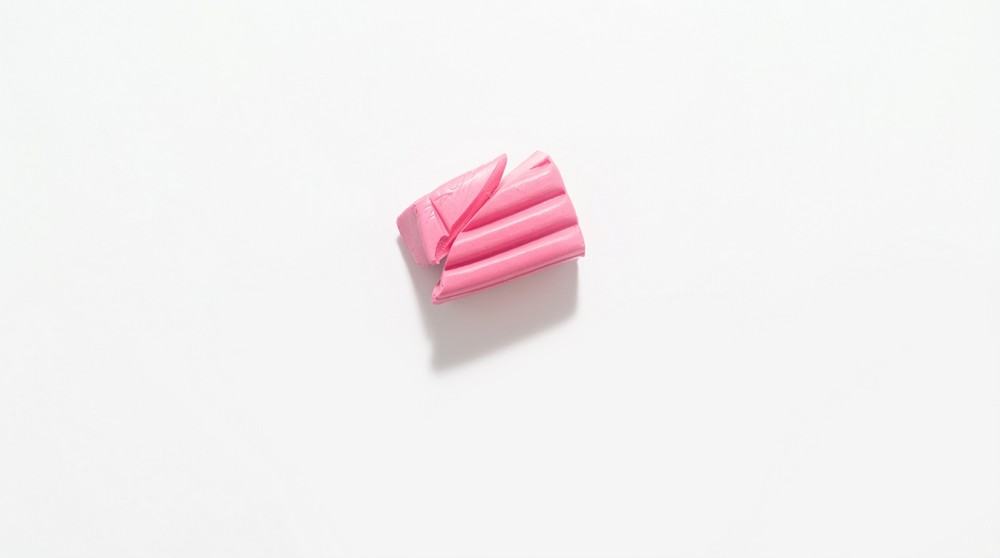
- Take a large piece of pink polymer clay.
- Roll it into a ball and then lightly crush it between your fingers to create a softly flattened oval shape, simulating the pig’s rounded body.
- Smooth any uneven spots without losing the rounded form.
Step 2: Making the Legs
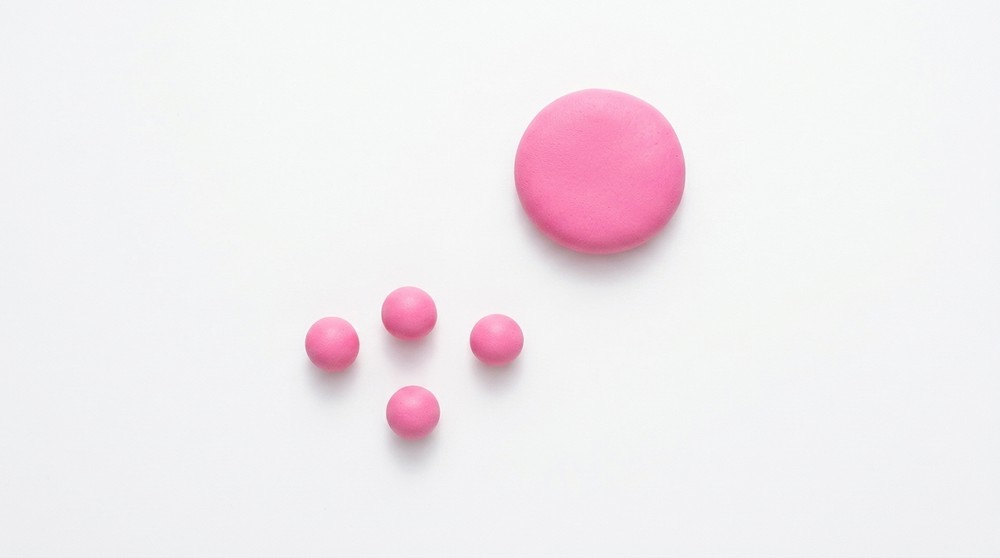
- Roll another smaller ball of pink clay.
- Cut this smaller ball into four equal pieces.
- Roll each piece separately into small balls; these will form four legs.
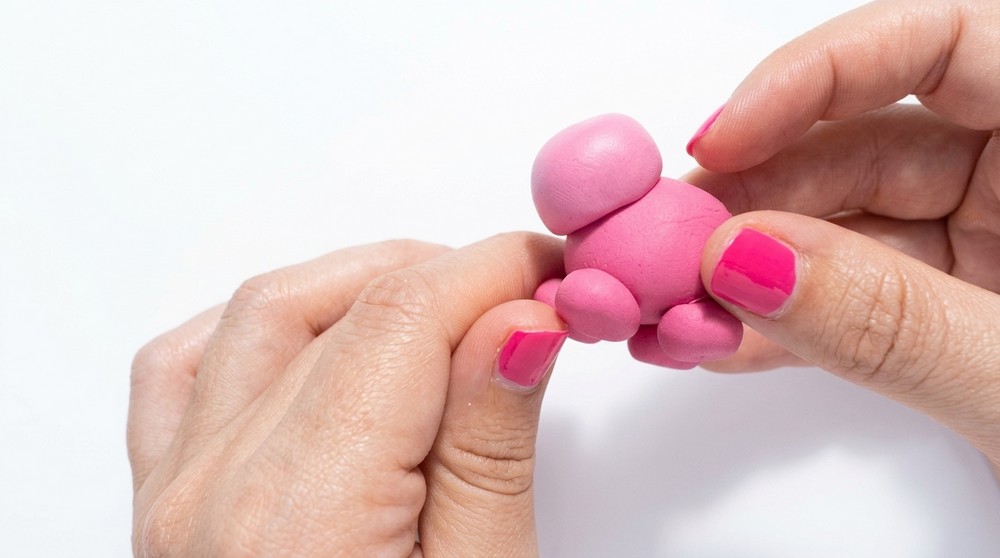
- Attach the legs underneath the flattened pig body, evenly spaced for stability and balance.
- Smooth the connections lightly to blend the legs with the body.
Step 3: Shaping the Head
- Take a medium-sized piece of pink clay smaller than the body clay.
- Shape it into a round ball for the pig's head.
- Smooth and adjust the top to make it slightly domed, matching the pig’s natural head shape.
- Attach the head to the front upper part of the body; press gently for adhesion.
Step 4: Sculpting the Snout
- Roll a tiny ball of pink clay and flatten it between your fingers.
- Attach this small flattened piece to the front center of the pig’s head as the snout.
- Smooth edges carefully to blend it with the head shape.
Step 5: Adding the Eyes
- Roll two very small equal-sized balls of black clay for the pig’s eyes.
- Attach these symmetrically on either side of the snout on the head.
- Press lightly to secure but keep the round shape pronounced.
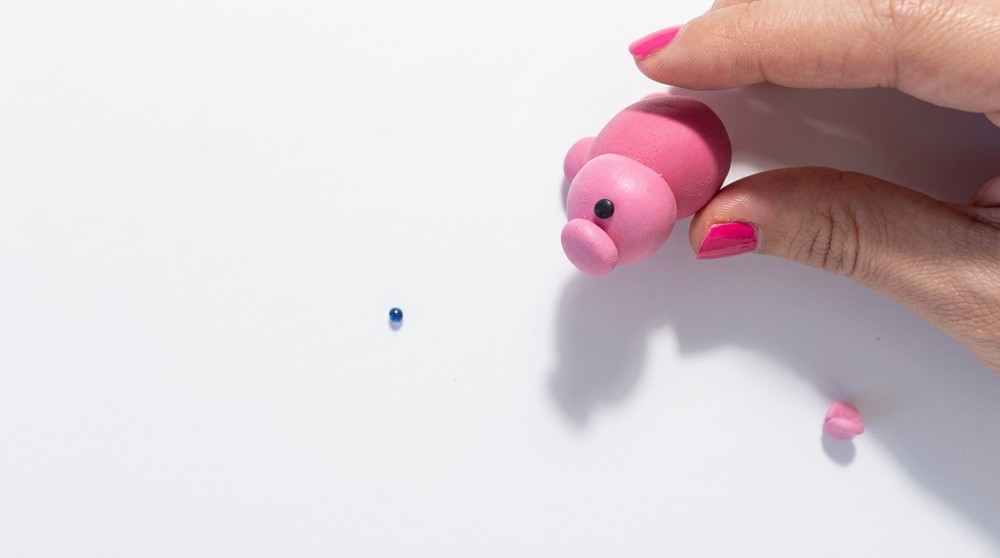
Step 6: Creating the Ears
- Roll small balls of pink clay for the ears (about the size of the snout ball).
- Flatten each ball gently between your fingers, making thin discs with tapered edges.
- Attach each flattened piece on top of the head on opposite sides, positioning them as pig ears.
- Pinch the edges to form sharp points, then fold the ears over slightly for a lifelike look.
Step 7: Making the Curly Tail
- Roll a small sausage shape of pink clay, thin and of moderate length for the tail.
- Attach one end of this sausage at the back of the body.
- Twist and curl the sausage carefully with fingers, creating a spiral or corkscrew form.
- Cut away any excess clay with a scalpel and slightly lift the tail upward for a natural effect.
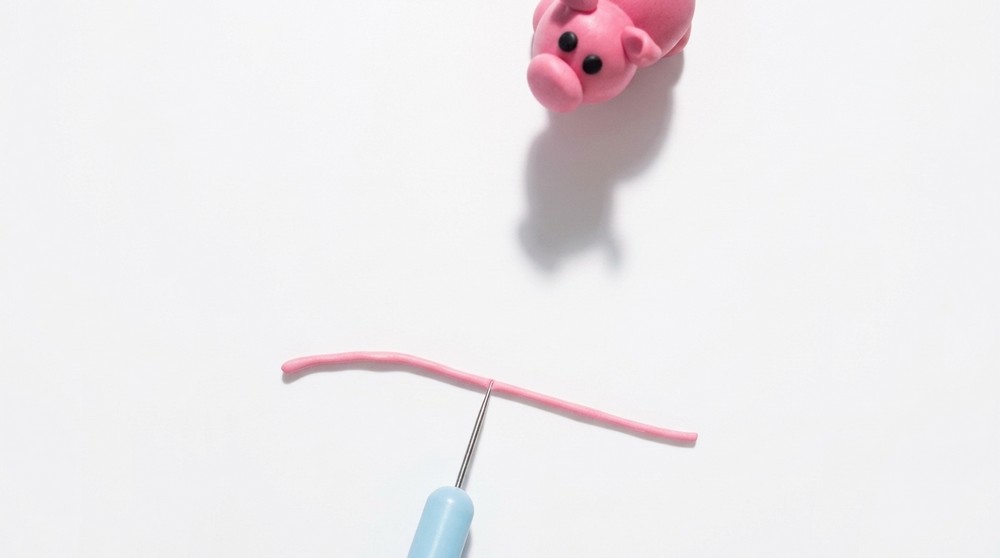
Step 8: Adding the Nostrils
- Using a needle, toothpick, or dotting tool, gently press two small holes side by side on the flat surface of the snout to create nostrils.
- Ensure the holes are shallow and evenly spaced for symmetry.
Step 9: Final Adjustments and Preparation for Baking
- Review the miniature pig, smoothing any rough spots or uneven connections.
- Make sure all parts are securely attached and detailed as desired.
- Place the pig on a baking tray ready for polymer clay curing.
Step 10: Baking the Miniature Pig
- Bake in an oven or polymer clay oven at 110°C (230°F) for 30 minutes, or according to polymer clay package instructions.
- Let the figure cool completely after baking before handling.
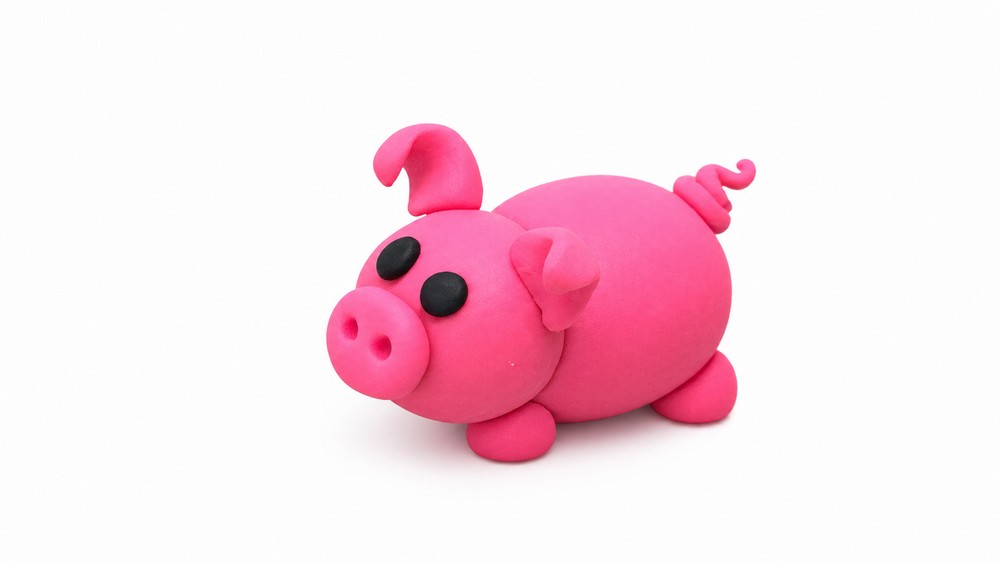
Final Thoughts on Making Your Miniature Pig
This miniature pig project guides beginners through essential polymer clay skills such as shaping spheres, blending parts, creating textures, and sculpting small detailed shapes like ears and tails. The stepwise approach encourages careful construction and attention to scale and proportion, resulting in a charming and realistic miniature animal. Such projects promote patience and delicate handwork, valuable for creating more complex polymer clay sculptures in the future. The small size and simplicity make it an enjoyable craft suitable for all skill levels.