Brighten your space with charming miniature desserts that showcase elegance and detail perfect for unique collections and special gifts.
Special thanks to Tagadanail Fimo & Miniatures for kindly giving me permission to use her video.
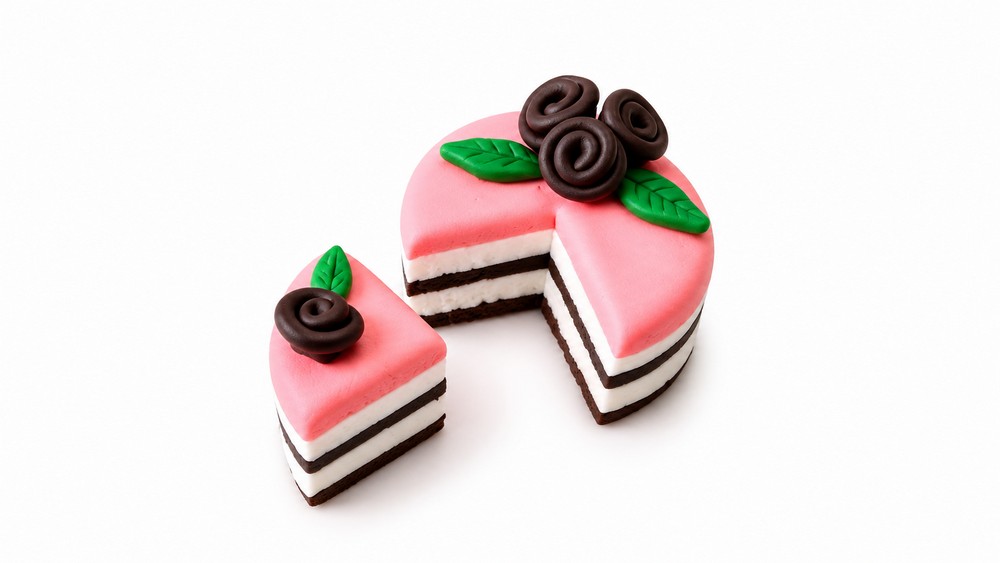
A charming miniature cake comes to life with delicate layers and intricate detailing that perfectly capture the essence of a classic dessert. This design stands out for its realistic color variations and subtle textures, which give it an inviting and mouth-watering appeal. Featuring soft shades of chocolate, cream, and a touch of pastel pink, the cake boasts a gentle yet vibrant style that feels both playful and elegant.
Stepwise Process to Make Sweet Mini Polymer Clay Cakes
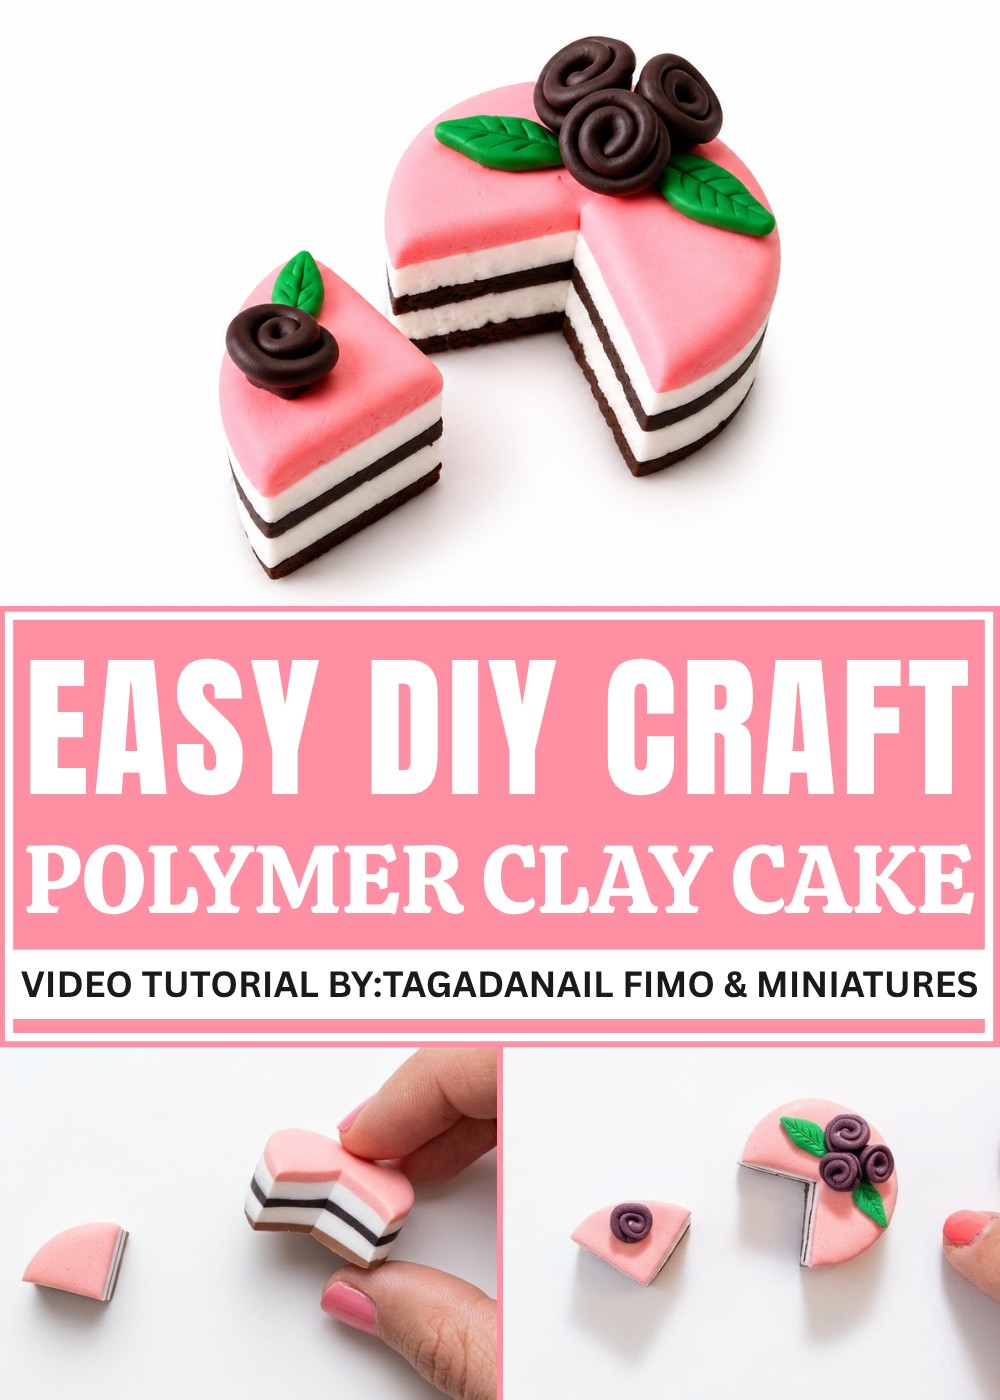
The DIY Polymer Clay cake is crafted with a sense of refinement that makes it ideal for decorative purposes, collectible displays, or even as unique gifts for dessert lovers. Its delicate chocolate roses and tiny green leaves add a natural, handcrafted touch that elevates the design beyond simple miniature art. The careful inclusion of textured surfaces mimics the look of cake layers and frosting, giving the piece a convincing depth and character that instantly draws attention.
What makes this miniature especially interesting is the balance between its whimsical charm and professional finish. It invites admiration for its craftsmanship while maintaining a lighthearted, approachable vibe. Whether displayed as a part of a charming collection or used as a sweet accent piece, this DIY Polymer Clay cake showcases the beauty of combining simple shapes with thoughtful details to achieve an eye-catching result that feels both personal and polished.
How to Make a Miniature Layered Cake with Polymer Clay
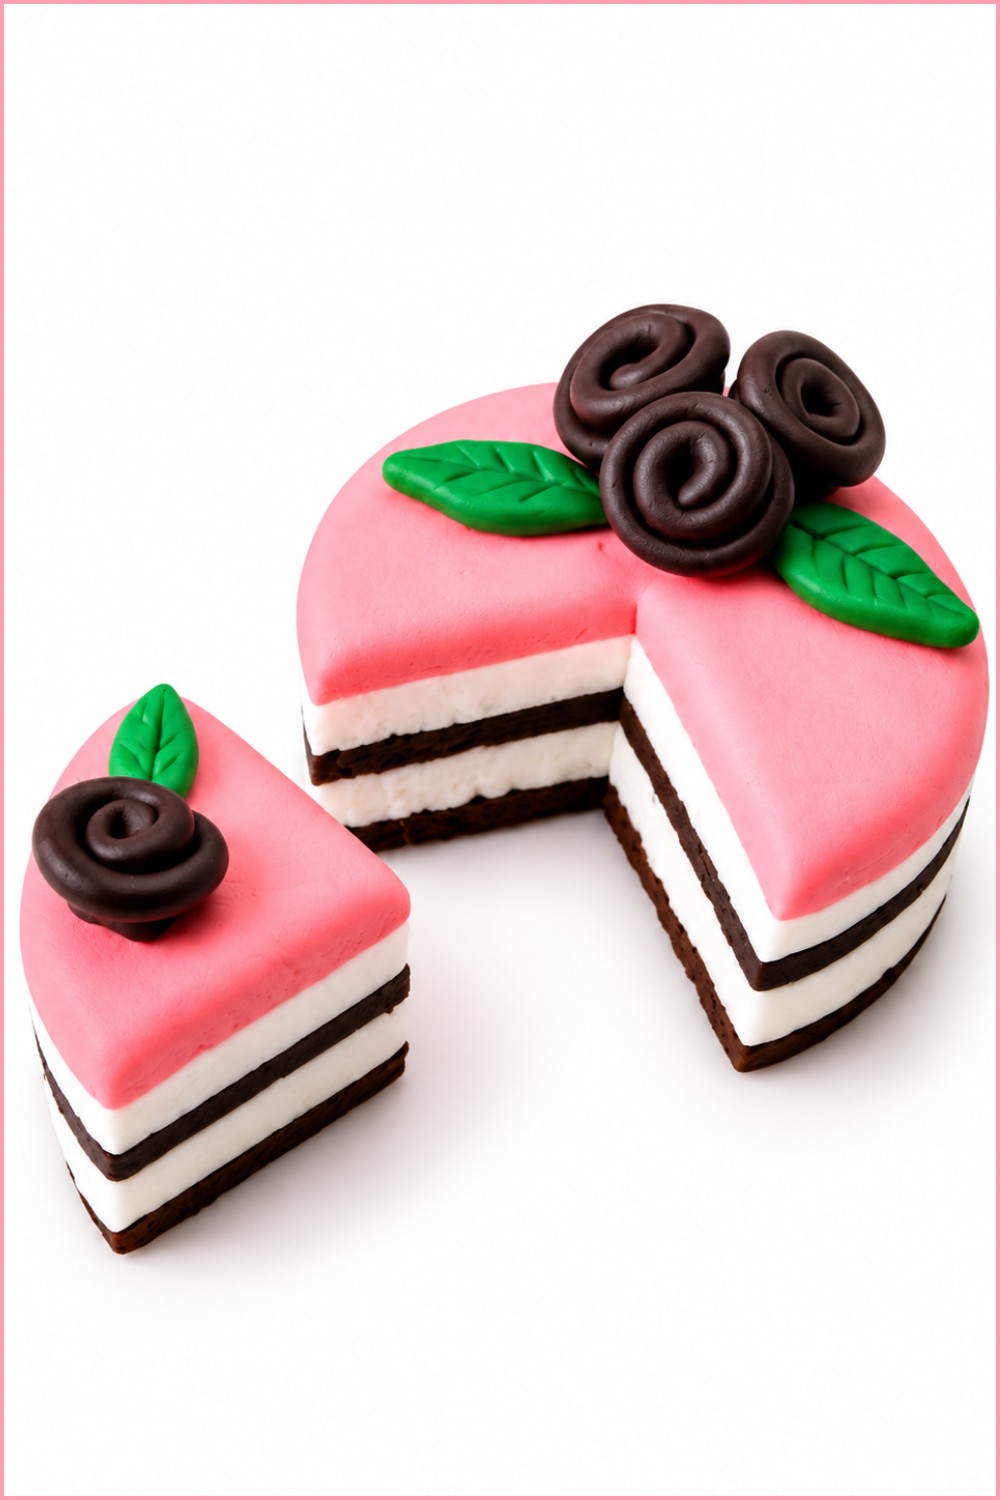
Crafting miniature cakes from polymer clay is a satisfying and creative project that allows you to explore layering, texture, and floral decoration techniques. This tutorial demonstrates how to create a charming small cake with colorful layers, intricate texture, little rose decorations, and delicate leaves, culminating in a neat and realistic miniature dessert. Step-by-step instructions are designed for beginners to follow easily and produce beautiful results.
Design Overview: Features of the Miniature Layered Cake
- Multi-colored layered cake: Four stacked discs of clay in rose, white, light brown, and chocolate brown tones.
- Detailed layered slices: Cut slices show the contrasting layers, adding realistic depth.
- Textured surface: Small dots and holes created by needle or toothpick offer natural cake texture.
- Chocolate-colored roses: Handmade rolled roses add an elegant, romantic touch.
- Realistic green leaves: Small leaves provide complementary natural décor.
Importance of Using Quality Materials and Tools
Using high-quality polymer clay helps achieve smooth shaping, vibrant colors, and sturdy finished pieces. Proper tools ensure precision when cutting layers, texturing surfaces, and forming delicate floral shapes. Having a clean working surface and sharp blades prevents unwanted smudges and uneven edges, key for the neat appearance of miniatures. Baking at the correct temperature solidifies your piece without burning or warping, maintaining fine details for lasting quality.
Materials and Tools Needed
- Polymer clay in chocolate brown, light brown, white, rose pink, green, and chocolate-colored shades.
- Round cookie cutters (small size) for consistent disc shapes.
- Toothpick, needle, or fine-pointed sculpting tool for texture.
- Small scalpel or craft knife for slicing and detail cutting.
- Flat work surface for rolling and shaping clay.
- Oven or polymer clay oven for baking.
Important Tips Before You Start
- Condition each color of clay well by kneading to ensure soft, workable texture.
- Use round cookie cutters of different sizes for uniform layers.
- Apply texture gently with a toothpick or needle to avoid damage to underlying clay.
- Keep blades sharp and clean to make smooth, precise cuts.
- Roll roses evenly and pinch their bases carefully to form delicate petals without tearing clay.
- Work in a dust-free environment to avoid particles embedding in clay surfaces.
- Follow clay packaging baking instructions carefully for proper hardening.
- Allow cooled baked clay to fully harden before handling or decorating further.
Pattern: Step-by-Step Instructions to Make the Miniature Cake
Step 1: Creating the Cake Layers
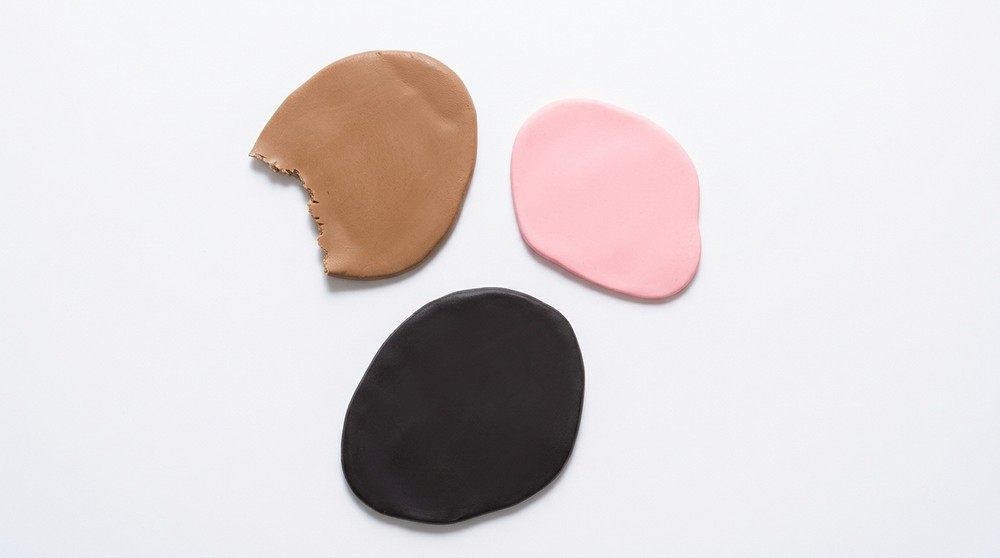
- Take three pieces of polymer clay in chocolate brown, light brown, and rose pink.
- Roll each color into a flat sheet, with the pink being rolled more thinly than the others.
- Use a small round cookie cutter to cut equal-sized discs from each colored sheet.
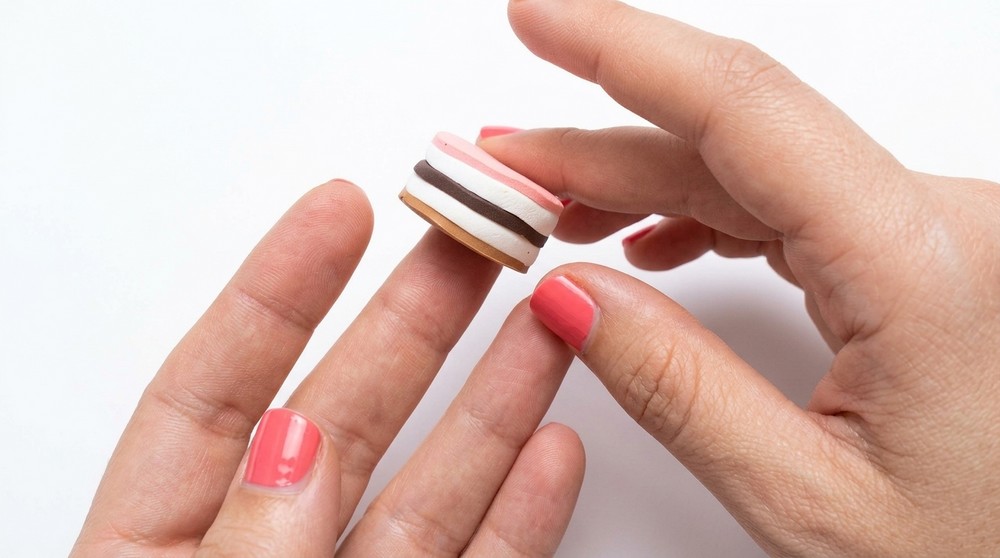
- Repeat the same cutting to create white discs slightly thicker than the colored discs.
- Assemble your cake by stacking discs alternately in this order from bottom to top: chocolate brown, white, light brown, white, and end with rose pink on top.
Step 2: Cutting and Texturing Cake Slice
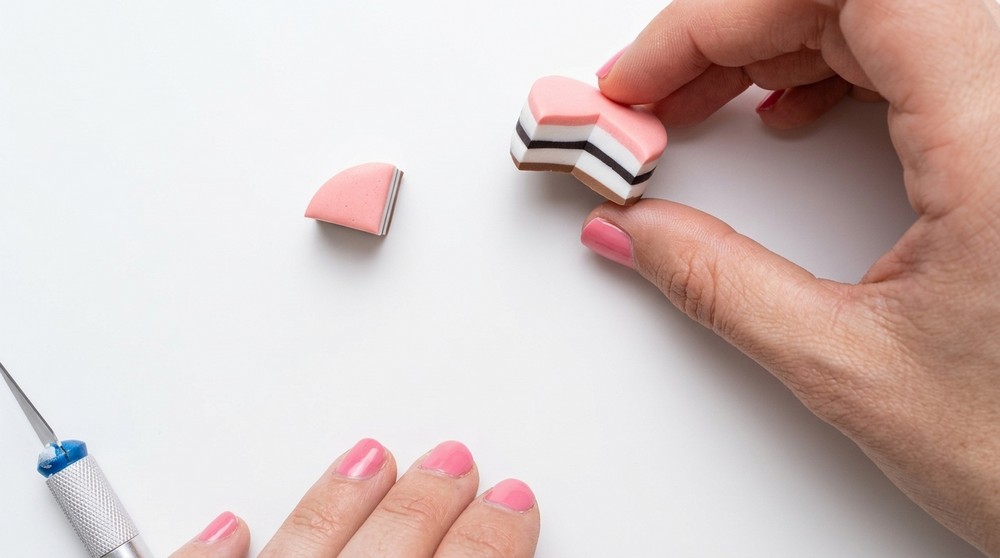
- Using a small scalpel, carefully cut a slice out of the stacked cake, exposing the layered interior.
- Take a toothpick or needle and create small holes or dots on the cut surfaces and sides of the cake to simulate texture and crumb details.
- Also, add similar texturing marks around the full cake’s surface for realism.
Step 3: Making Small Clay Roses
- Spread a small piece of chocolate-colored clay flat between your fingers.
- Roll the flat clay into a tiny spiral shape to form a rose bud.
- Pinch and gently thin the base beneath the rose petals to refine the shape.
- Use a scalpel to cut away excess clay beneath the rose, leaving only the flower portion intact.
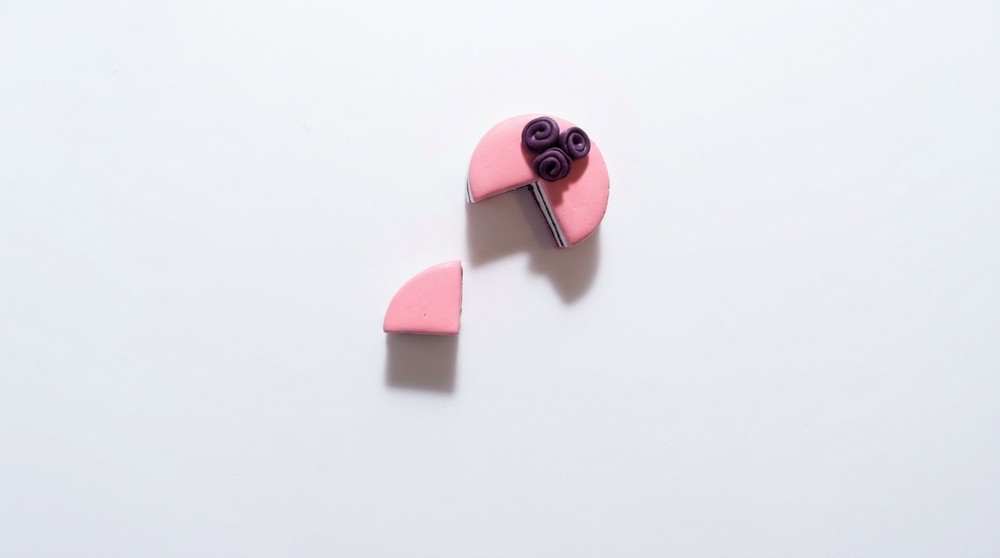
- Create four roses total: three for the top of the main cake and one for the cut slice.
Step 4: Crafting Leaves
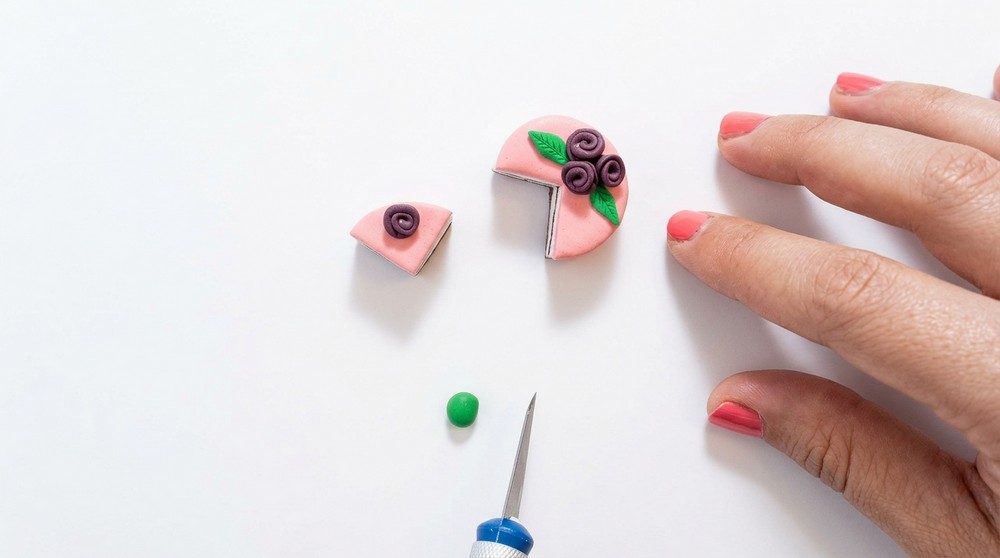
- Roll a small ball of green polymer clay and cut it in half.
- Pinch the halves slightly between your fingers to form leaf shapes with pointed tips.
- Use the scalpel to scratch light vein details onto each leaf surface for added texture.
- Form three or more leaves for placement around the roses on the cake’s top and slice.
Step 5: Assembling Roses and Leaves
- Attach the three chocolate roses on top of the main cake, clustering them for an attractive floral arrangement.
- Place the single rose on top of the cake slice as a complementary decoration.
- Add leaves around the roses, pressing lightly to adhere them closely but without crushing delicate shapes.
Step 6: Baking the Finished Cake
- Place the completed miniature cake and decorated slice on a baking tray.
- Bake at 110°C (230°F) for 30 minutes following the clay manufacturer's instructions.
- Allow the piece to cool completely after baking before handling.
Final Reflections
This miniature layered cake project combines fundamental polymer clay skills such as cutting, texturing, rolling, and assembling delicate forms. The stacked layers showcase the color contrasts, while handcrafted roses and leaves elevate the design’s charm and detail. By following the methodical steps, beginners build confidence in manipulating clay and creating intricate decorations with patience and precision. The cake serves as a beautiful addition to miniatures collections, dollhouse accessories, or gift embellishments.