Create a delightful DIY Polymer Clay Christmas Snowman featuring detailed textures and vibrant colors that add festive charm to your holiday décor and gifts.
The creative work featured in this overview is based on a tutorial by Tagadanail Fimo & Miniatures.
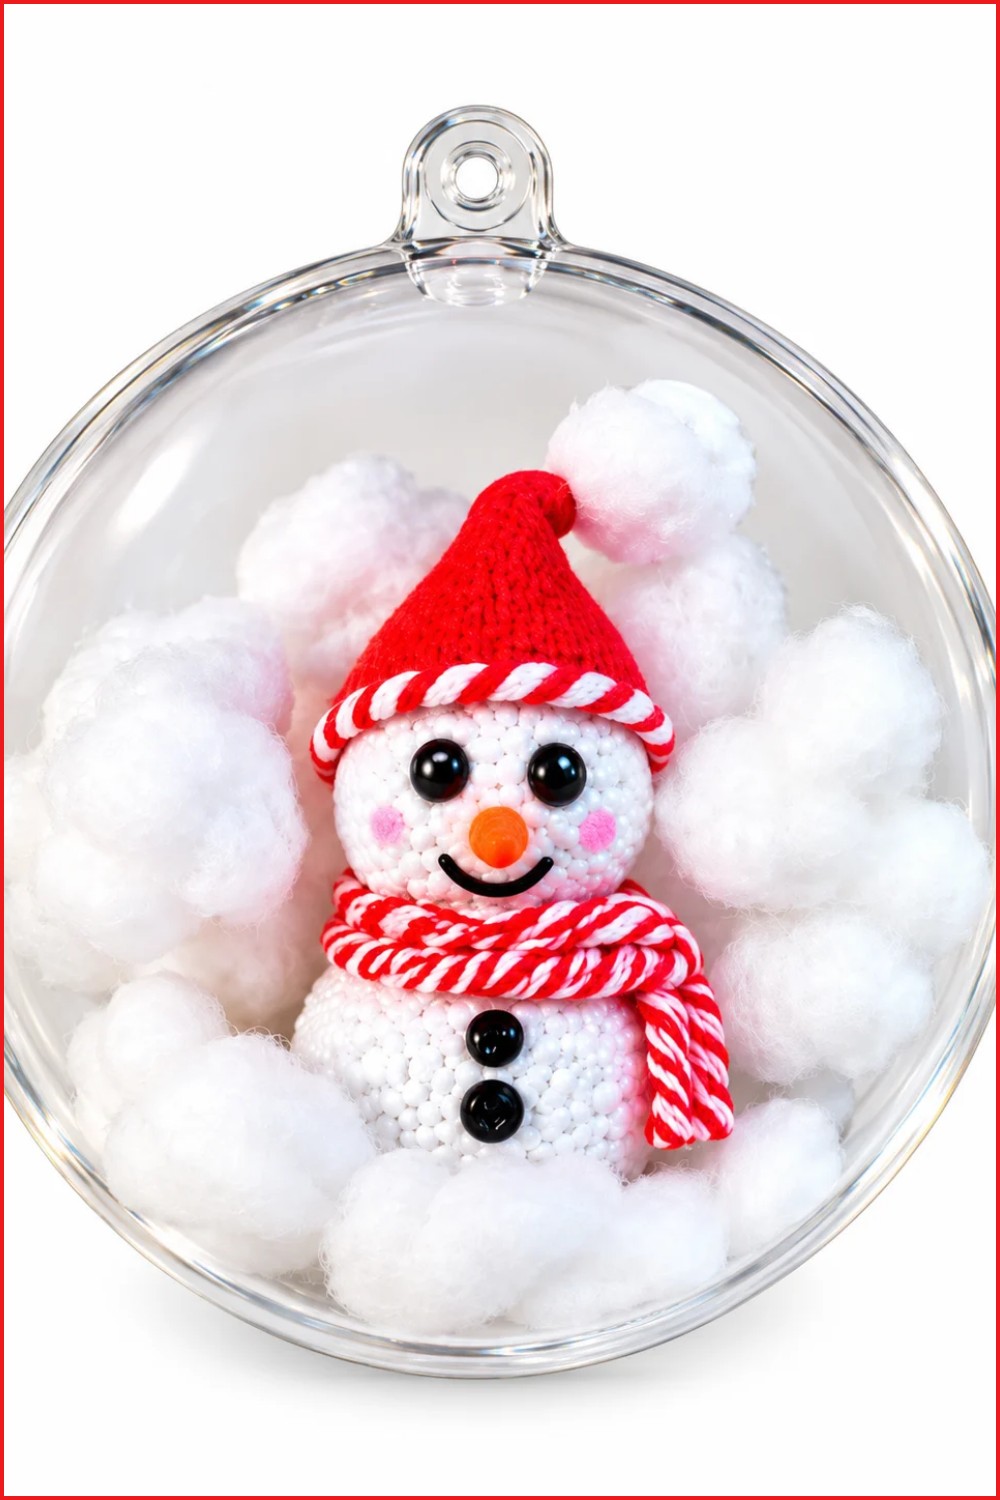
Sparkling softly inside a clear globe, a tiny snowman brings festive cheer to any holiday display. Featuring a DIY Polymer Clay Christmas Snowman, the design captures the wonder of freshly fallen snow with its smooth, glittery body and vibrant red-and-white scarf. A pointed Santa-style hat adds a playful touch, while bright eyes and a textured carrot nose give the figure a friendly, welcoming personality.
Easy DIY Polymer Clay Christmas Snowman Tutorial for Beginners
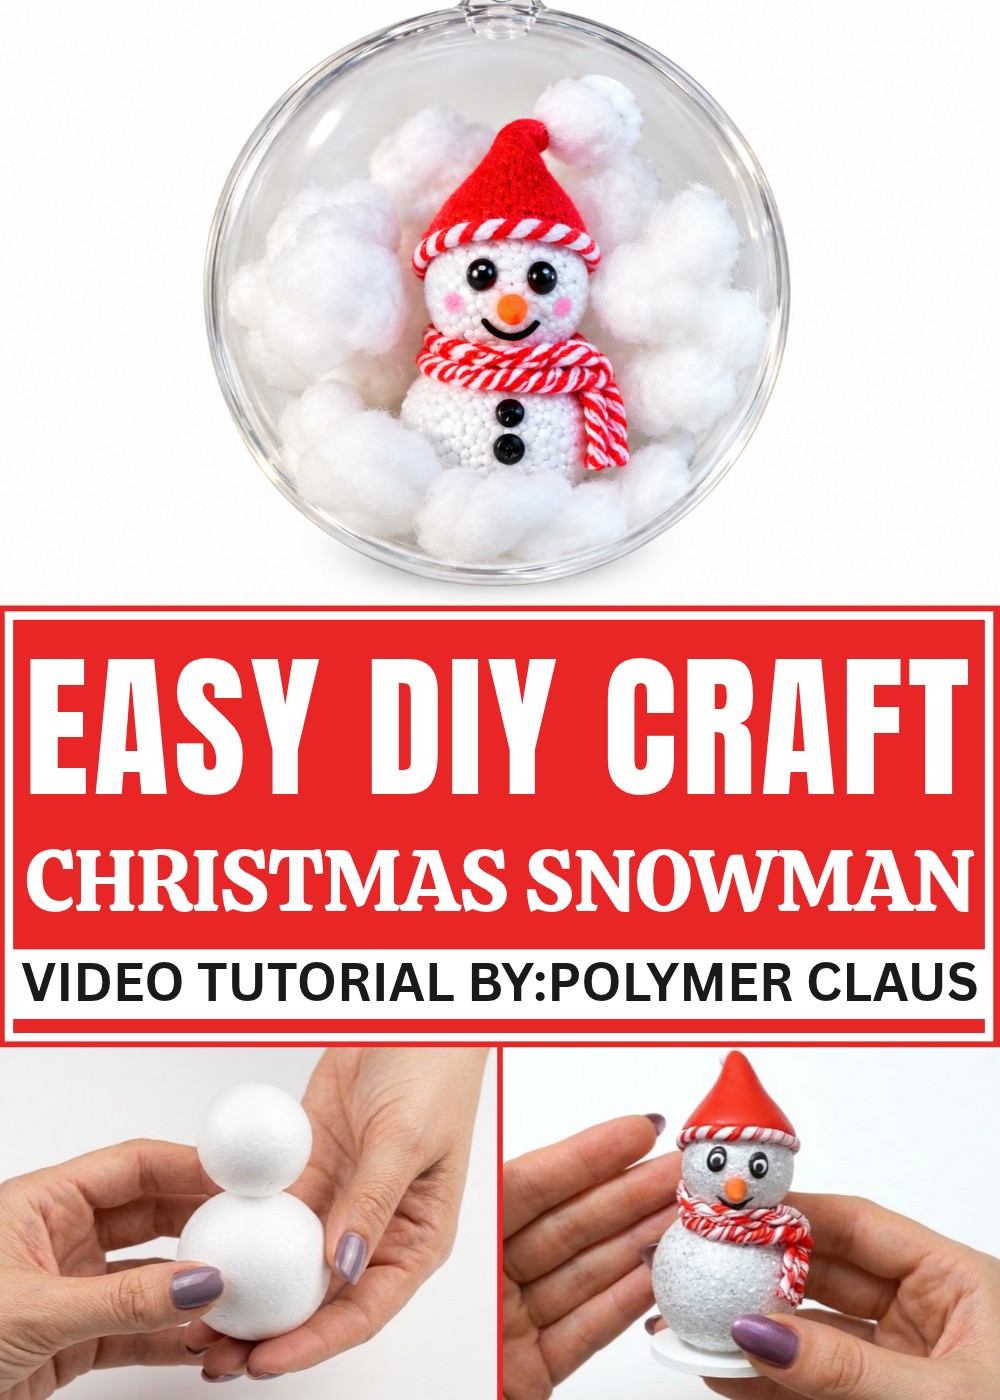
Nestled within a transparent ornament filled with fluffy white accents, the snowman forms a captivating miniature winter scene perfect for tree branches, mantelpieces, or centerpieces. Striking a balance between simplicity and detail, the polished finish combined with carefully crafted features creates a lively character that draws the eye without overwhelming.
Handmade charm meets festive tradition in a design that fits seamlessly into modern holiday décor. Its approachable style invites smiles and sparks conversations, evoking warm nostalgia and seasonal joy. Incorporating this DIY Polymer Clay Christmas Snowman into your decorations adds a personal, artistic element sure to brighten the holiday spirit all season long.
How to Make a Festive Clay Snowman Decoration
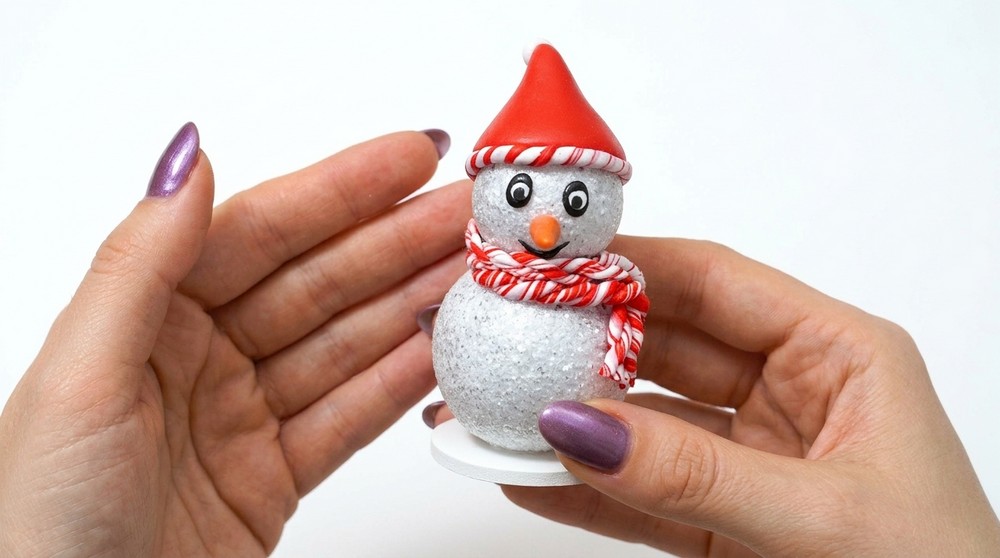
Creating a delicate snowman decoration with polymer clay is a wonderful project that combines simple sculpting techniques with festive charm. This snowman features a glittery white body, expressive eyes with detailed pupils, a carrot nose, and cozy winter accessories like a scarf and Santa-style hat. Encased inside a transparent plastic ball, it transforms into a lovely Christmas tree ornament or tabletop decoration.
Design Overview of the Clay Snowman
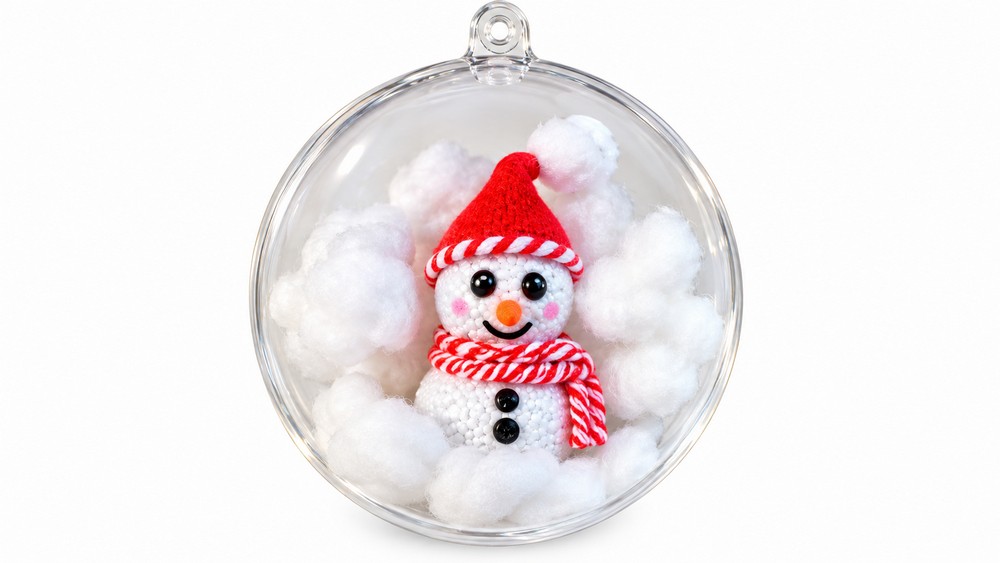
- Two-sphere Body: A larger bottom sphere and a smaller top sphere form the traditional snowman shape.
- Glitter Accents: The body is adorned with silver glitter mixed in to add sparkle.
- Detailed Face: Black eyes with white pupils, a spiky orange carrot nose, and a simple mouth.
- Winter Accessories: A twisted white and red scarf and a pointed red hat with a white trim and pom-pom.
- Enclosed in Transparent Ball: The snowman is displayed inside a clear plastic globe with soft wadding to complete the effect.
The Importance of Gathering Materials and Tools
Gathering high-quality materials and the right tools before you start is crucial for a smooth crafting experience. Using reliable polymer clay brands ensures easy shaping and good baking performance, while tools like wire, brushes, and sculpting instruments allow you to add precise details and finish. Preparation minimizes interruptions, allowing focus on delicate assembly stages and saving time during baking and decoration.
Materials and Tools Needed
- White polymer clay (for snowman body and parts of scarf and hat)
- Black polymer clay (for eyes and mouth)
- Orange polymer clay (for carrot nose)
- Red polymer clay (for scarf and hat)
- Silver glitter powder (for sparkling effect)
- Fimo Liquid or liquid polymer clay (for glue and mixing glitter)
- Small iron wire or thin nail (to connect body pieces securely)
- Toothpick, rubber tool or sculpting tools (for detail work)
- Small paintbrush (to mix glitter and apply liquid clay)
- Transparent plastic ball (two halves that clip together, for enclosure)
- Warm craft glue or hot glue gun (to fix snowman inside ball)
- Wadding, plumage, or small styrofoam balls (to fill space inside ball)
- Oven (to bake polymer clay as per instructions)
Important Tips Before You Begin
- Always work on a clean surface free of dust to avoid imperfections on the clay.
- Keep your hands clean and dry to prevent unwanted dirt and stickiness.
- Shape clay gently and avoid excessive pressure on small delicate parts.
- Use the correct baking temperature and duration specific to your clay brand to ensure proper curing without discoloration.
- Make sure to cool your clay figurine completely after baking before handling or assembling.
- When adding glitter or liquid clay, be controlled and precise to avoid messes.
- Pretest fitting the snowman pieces before glueing inside the plastic ball to ensure stability.
Step-by-Step Pattern for Making the Clay Snowman
1. Forming the Snowman Body
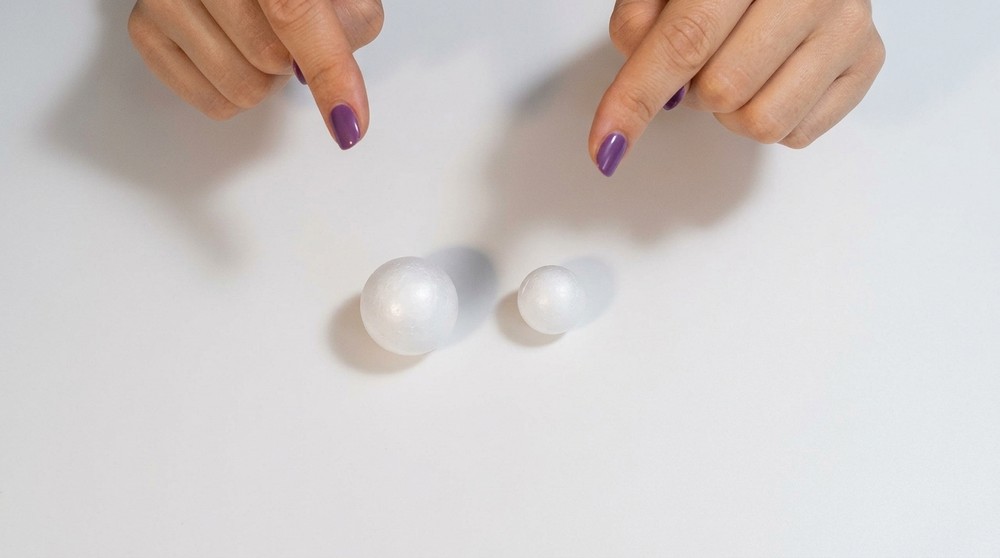
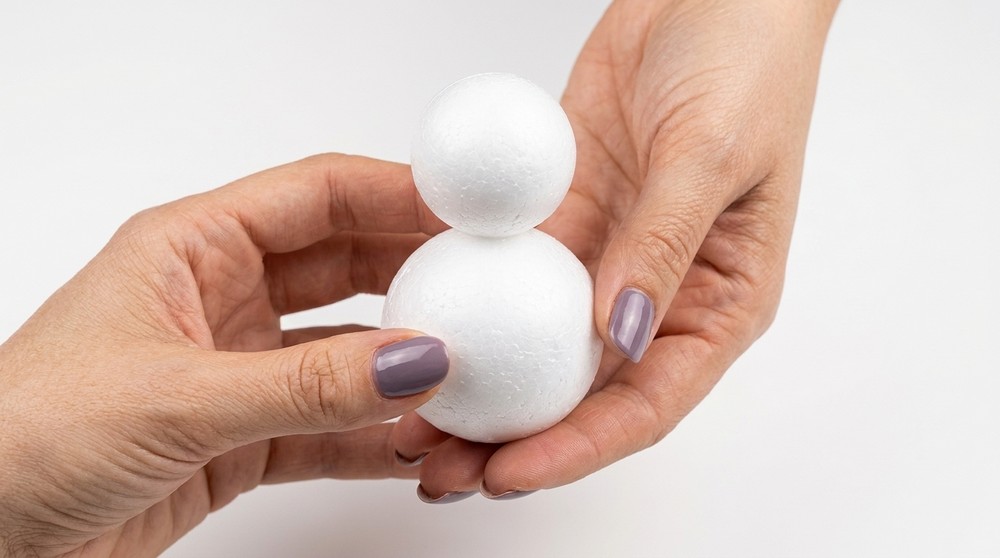
- Roll a large white clay ball approximately 4 cm in diameter for the lower body.
- Roll a smaller white clay ball about 1.5 cm in diameter for the head.
- Work the clay gently with your fingers to shape the balls as round as possible. Minor imperfections are fine.
- Apply a drop of Fimo Liquid on top of the large ball.
- Insert a short piece of iron wire or nail into the spot with liquid clay to act as a connector.
- Carefully place the smaller ball on top of the larger one using the wire for secure attachment.
- Set this assembled snowman body aside briefly.
2. Adding Glitter to the Body
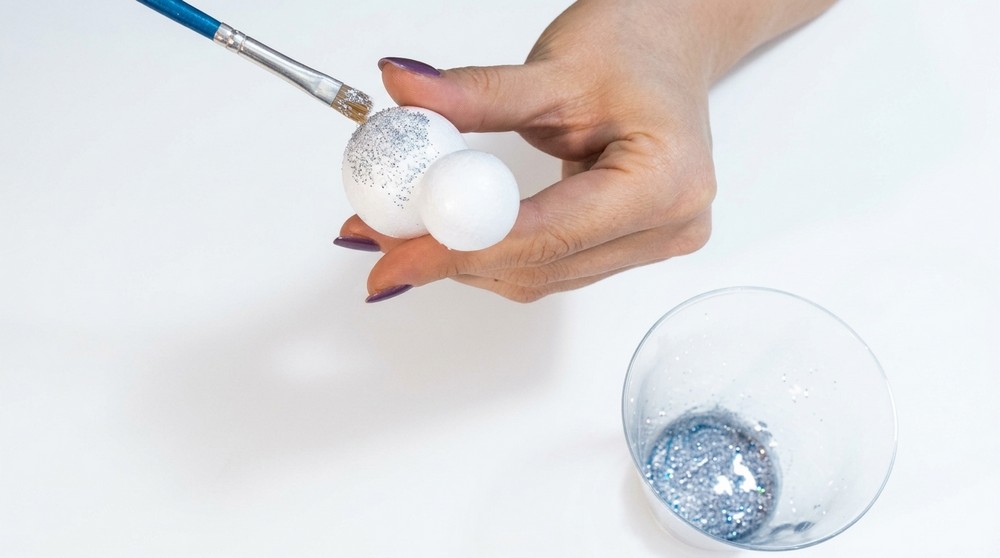
- Pour a generous amount of silver glitter into a small plastic cup, cover to avoid spillage.
- Mix some Fimo Liquid into the glitter using a fine brush until you obtain a glittery paste.
- Apply this glitter-liquid mixture evenly onto the surface of the snowman body.
- Ensure uniform coverage for a sparkling finish.
- Bake the body in a preheated oven at 130°C (266°F) for at least 30 minutes.
- Remove and cool completely before proceeding.
3. Creating the Snowman’s Eyes
- Roll two tiny balls of black clay.
- Place and lightly press them onto the snowman’s head to form the eyes.
- Create two even smaller balls of white clay, flatten slightly to form pupils.
- Press a miniature black ball onto each white pupil as an iris for detailed eyes.
- Use a rubber or sculpting tool to gently squeeze and shape pupils.
- Position the pupils centrally on each eye.
4. Making the Carrot Nose
- Roll a small piece of orange clay into a spiky cone.
- It's okay if the shape isn’t perfectly straight.
- Use a small tool or knife to make shallow cuts along the cone’s surface, simulating a carrot texture.
- Apply a small drop of Fimo Liquid on the spot where the nose will go.
- Attach the carrot nose carefully on the snowman’s face just below the eyes.
5. Forming the Mouth
- Roll a small piece of black clay into a tiny ball or slight curved shape.
- Place this piece gently below the nose to simulate the snowman’s mouth.
6. Crafting the Scarf
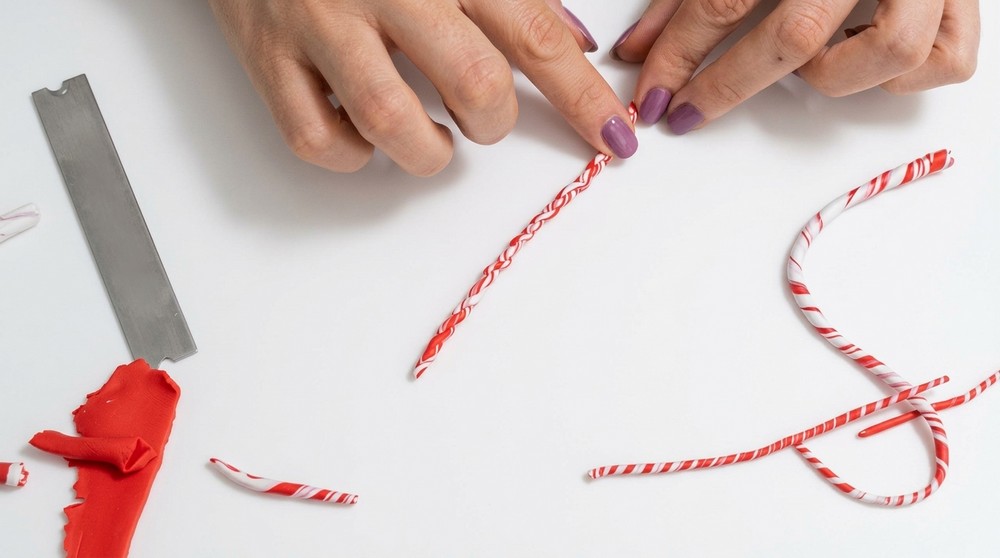
- Take a blend of white and red clay and roll them together to create a twisted effect.
- Squeeze and smooth the rolled clay gently.
- Place the twisted scarf around the snowman’s neck.
- Cross the scarf over the front and trim off any excess clay to fit neatly.
7. Making the Hat
- Roll a small piece of red clay into a cone shape similar to Santa’s hat.
- Attach a thin stripe of white and red twisted clay, like the scarf, along the bottom edge of the hat.
- Create a tiny white ball and attach it to the tip of the hat as a pom-pom.
- Place the hat securely on the snowman’s head.
8. Final Baking
- Bake the new parts (scarf and hat) together at 130°C (266°F) for 20 minutes.
- Allow everything to cool fully before assembly.
9. Adding Buttons
- Roll two small black balls and press them onto the front of the snowman as buttons, using the same method as the eyes.
10. Enclosing the Snowman inside a Plastic Ball
- Apply warm glue or hot glue inside one half of a transparent plastic ornament.
- Place the cooled snowman firmly in the center of this half.
- Fill around the snowman with wadding, plumage, or small polystyrene balls, forming little balls to prevent shifting.
- Avoid overfilling so the snowman remains visible.
- Close the ornament by snapping on the other half.
Conclusion
This polymer clay snowman is a delightful blend of simple forms and detailed accents, ideal for a personal holiday ornament or gift. The glitter application adds festive sparkle while the hand-crafted accessories give it personality. The enclosing plastic ball creates a charming display piece, making this project enjoyable from sculpting to final presentation. The steps guide you through manageable stages that build confidence in shaping and assembling small polymer clay creations.