Create charming holiday decorations with this step-by-step guide to making a DIY Polymer Clay Christmas Tree that adds warmth and style to any space.
The referenced design and instructional content originate from Tagadanail Fimo & Miniatures.
A charming festive decoration that catches the eye with its rich colors and delicate detailing, this miniature holiday tree brings warmth and elegance to any space. The careful layering of deep green and burgundy hues creates a striking visual contrast that elevates the piece beyond a simple ornament. Highlighted with subtle golden accents and sparkling rhinestones, it radiates a joyful spirit without overwhelming the senses.
Beginner-Friendly DIY Polymer Clay Christmas Tree Craft
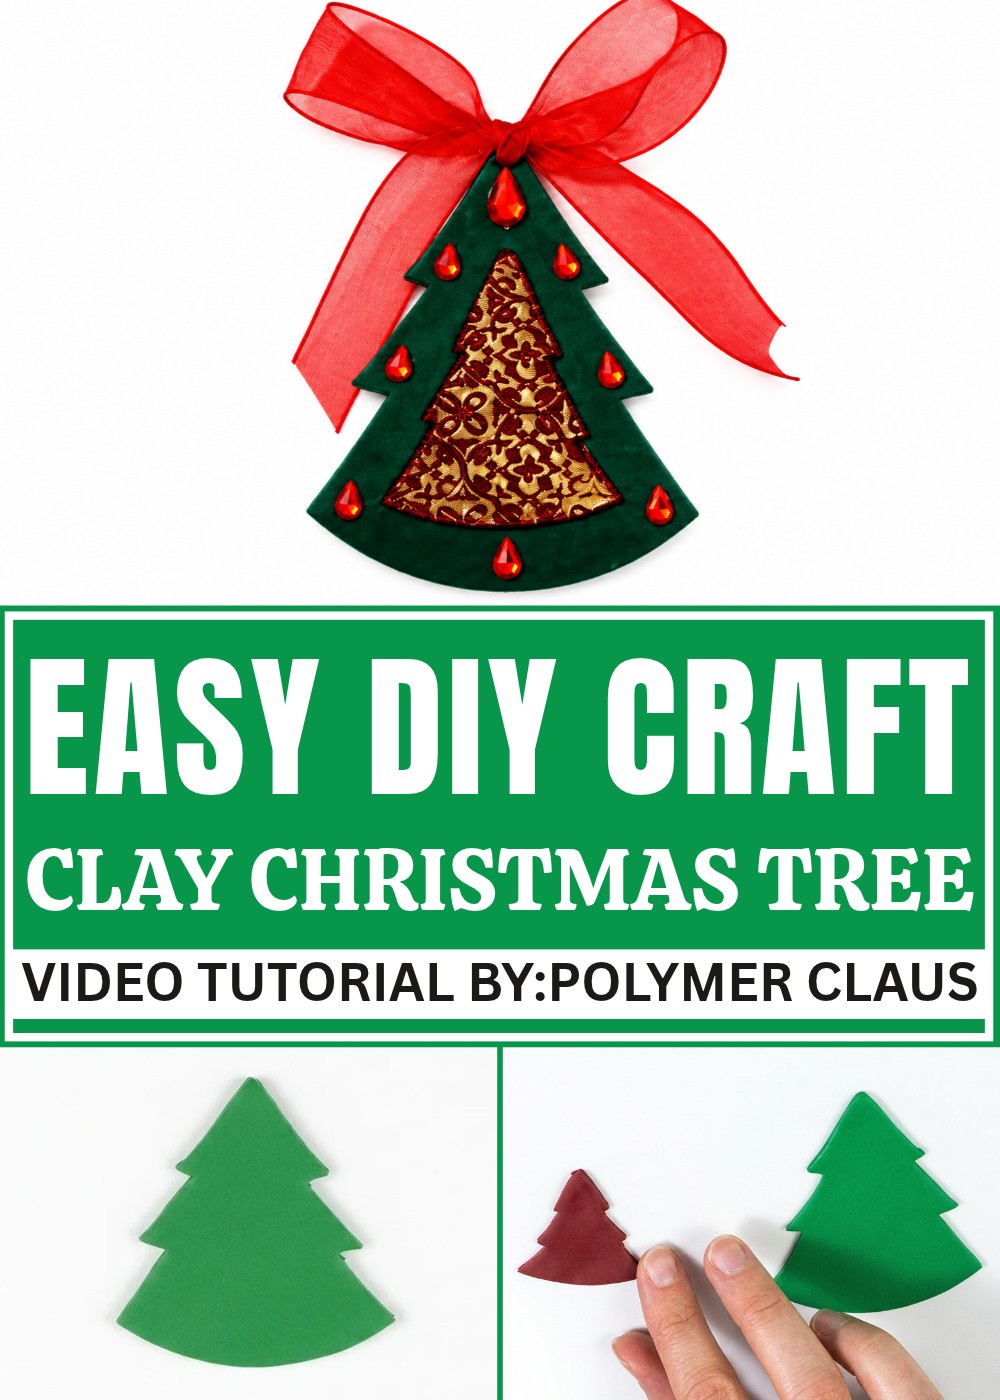
This DIY Polymer Clay Christmas Tree stands out for its refined style, classic yet fresh, making it a perfect addition to holiday displays or as a thoughtful handmade gift. Its polished finish adds a smooth shine that enhances the vibrant textures, giving it a professional, handcrafted appeal. Whether placed on a mantel, hung on a branch, or used as a tabletop centerpiece, this piece embodies the cozy and celebratory mood of the season.
The balance of understated elegance and festive flair makes it an inviting choice for those looking to add a personal touch to their holiday decor. Embracing both tradition and creativity, this DIY Polymer Clay Christmas Tree offers a lovely way to celebrate the holidays with charm and personality.

DIY Polymer Clay Christmas Tree Tutorial
Creating your own Polymer Clay Christmas Tree is a charming and festive craft project perfect for the holiday season. This tutorial guides you through shaping, texturing, decorating, and finishing your Christmas tree ornament using polymer clay, resulting in a detailed decoration that adds warmth and elegance to your holiday décor. The tree design features a layered look with a large green base and a smaller textured red tree on top, accented with sparkling rhinestones and a hanging bow.
Design Overview
This Polymer Clay Christmas Tree showcases a layered color contrast with rich green and burgundy red hues. The smaller red tree is textured and highlighted with golden pigments to add depth and festive shimmer. Rhinestones placed strategically at the tips bring sparkle reminiscent of holiday lights or ornaments. The ornament finishes with a polished varnish to protect the colors and a bow for easy hanging.
- Layered two-tree design with different sizes and colors
- Textured red inner tree for visual interest
- Highlighted with gold pigment for a festive shimmer
- Rhinestones decoration to resemble ornaments
- Polished finish for durability and shine

Importance of Materials and Tools
Choosing the right materials and tools is critical for achieving a smooth, professional-looking finish in polymer clay crafting. A good-quality clay ensures flexibility while working and durability after baking. Texturing tools add dimension and interest, while pigments highlight details that bring your piece to life. Using precision tools like blades, tweezers, and small brushes helps create a neat and detailed ornament. Patience during steps such as baking and varnishing ensures longevity and aesthetic appeal.
Materials and Tools Needed
- Polymer clay: green and burgundy red
- Cookie cutters or paper templates in Christmas tree shape (two sizes)
- Flexible blade or craft knife
- Texturing tool or textured sheet
- Golden pigment or mica powder
- Small paintbrush or finger for pigment application
- Rhinestones (plastic decorative stones)
- Tweezers
- Clear-drying glue for attaching rhinestones
- Varnish (matte or gloss)
- Fine paintbrush for varnish
- Bow or ribbon for hanging
- Oven preheated to 130°C (266°F)
- Talcum powder or water (optional, to reduce stickiness)
Important Tips Before You Start
- Condition the clay well by kneading it until soft and pliable to avoid cracks.
- Maintain consistent thickness when rolling out the clay, ideally around 2-3 mm, for even baking.
- Use a flexible blade for clean, smooth cuts around your templates.
- If the clay is sticky, lightly dust it with talcum powder or wet your texturing tool to prevent sticking.
- Apply pigments with a light hand for natural shimmer without overpowering the clay color.
- Bake according to recommended temperature and time to avoid burning or undercooking the clay.
- Let the piece cool completely before applying glue or varnish to avoid smudging.
Pattern and Step-by-Step Instructions
1. Preparing the Clay Sheets
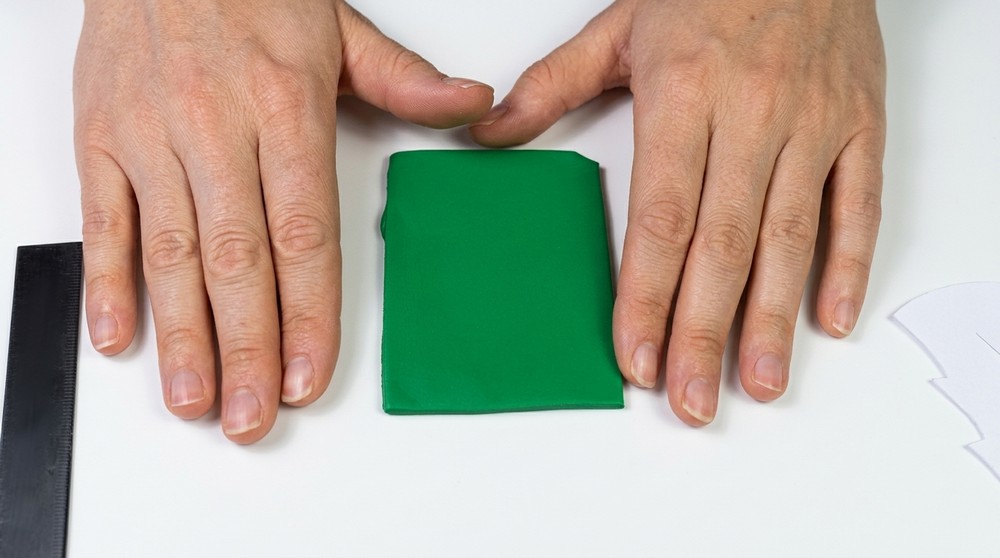
- Roll out the green polymer clay sheet to about 2-3 mm thickness.
- Use two paper cutouts or cookie cutters as templates—one large and one smaller, both in the shape of a Christmas tree.
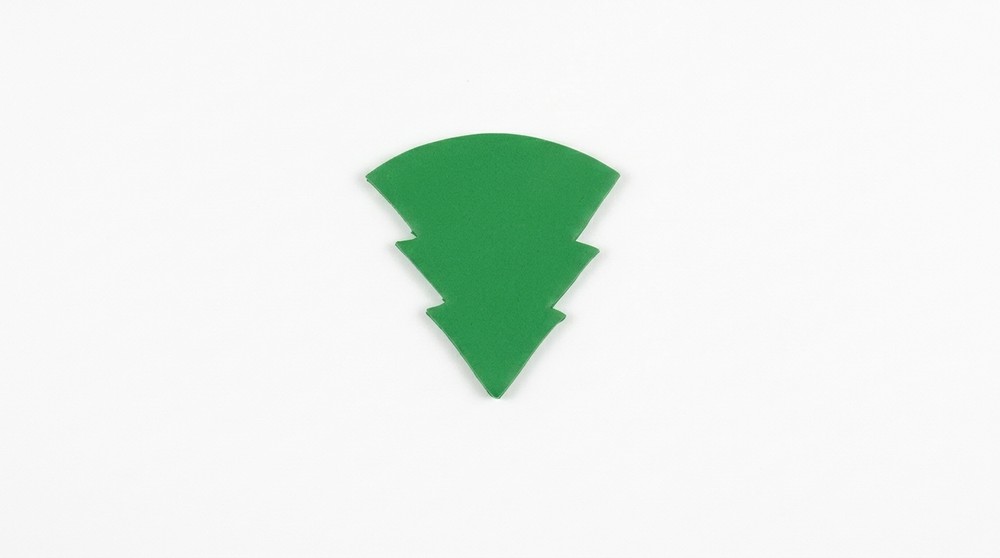
2. Cutting the Green Tree Base
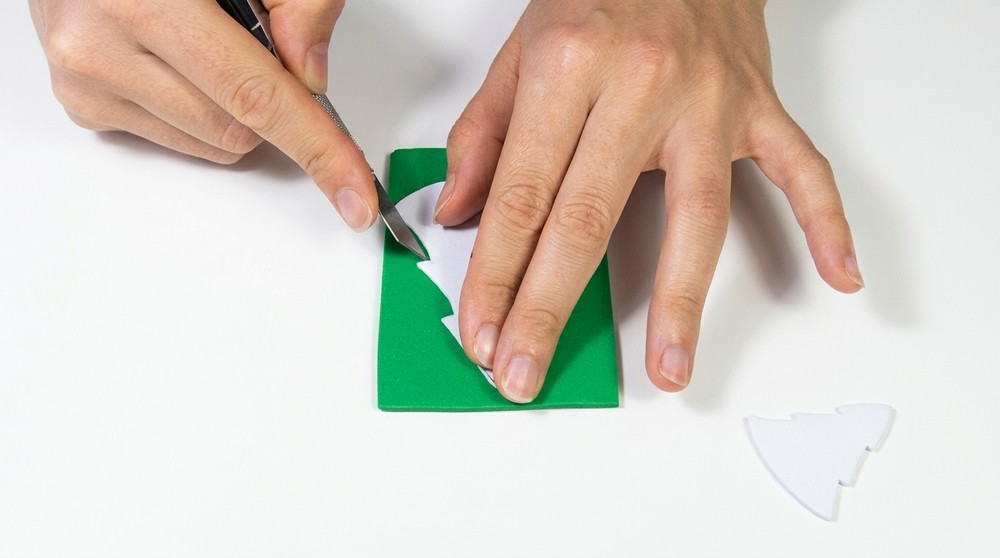
- Place the large tree template on the green clay sheet.
- Use a flexible blade to carefully cut around the template, pressing firmly to ensure smooth edges.
- Remove excess clay gently, and use your fingers to slightly round the tips and edges, softening the shape.
3. Cutting the Red Tree Overlay
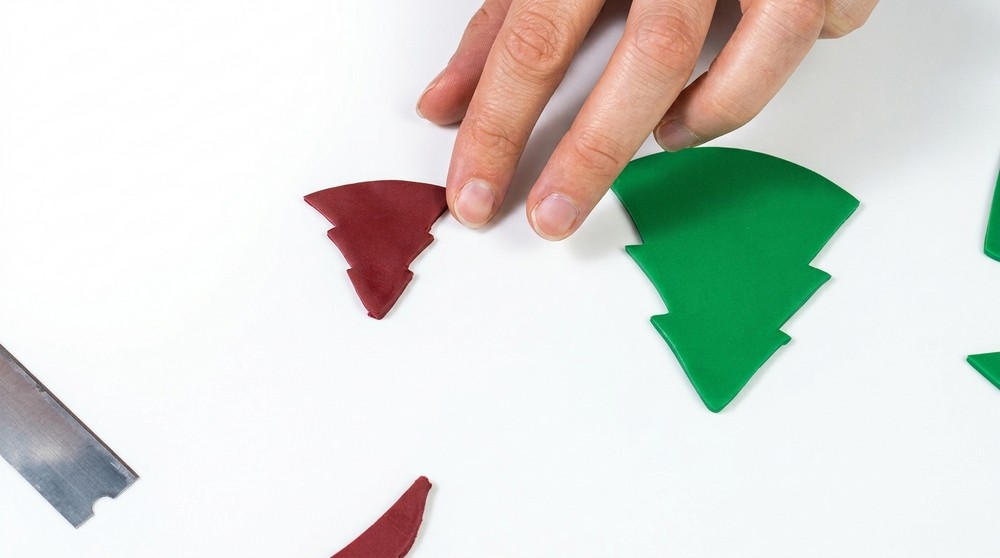
- Roll out the burgundy red clay sheet to the same thickness (2-3 mm).
- Position the smaller tree template on the red clay.
- Carefully cut the smaller tree shape with your blade.
4. Texturizing the Red Tree
- To prevent sticking during texturing, lightly dust the red clay with talcum powder or dampen your texture tool.
- Press the texture tool evenly over the red clay tree to imprint a uniform pattern.
- Apply steady and homogeneous pressure to cover the entire surface.
5. Applying Gold Pigments
- Using your finger or a fine brush, lightly pick up golden pigment powder.
- Gently rub the pigment over the textured red tree to highlight raised areas and create a festive shimmer.
6. Assembling the Tree Layers
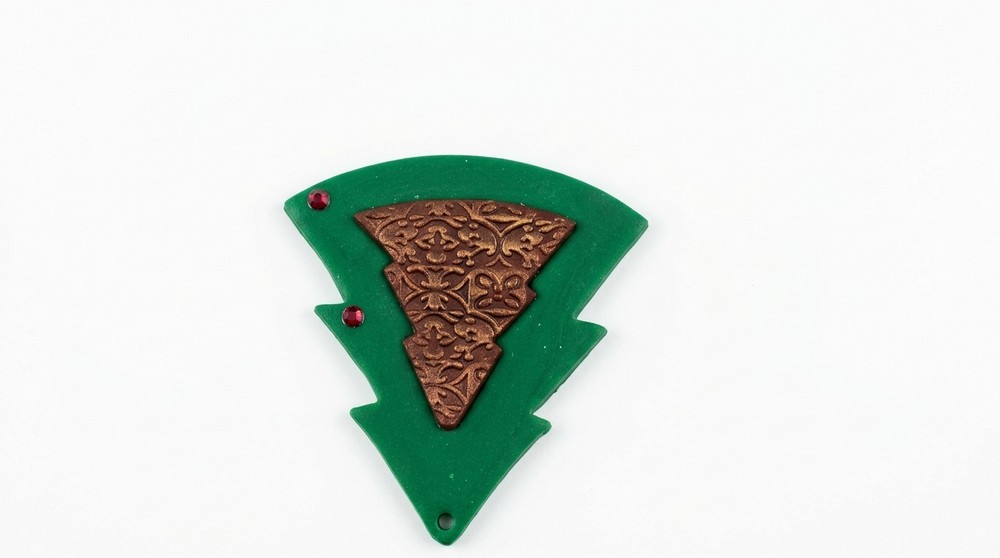
- Center the red textured tree on top of the green base tree.
- Press gently but firmly to ensure good adhesion between the layers.
7. Baking the Clay Tree
- Place your assembled tree on a baking tray.
- Bake in a preheated oven at 130°C (266°F) for approximately 20 minutes following clay package instructions.
- Allow the baked piece to cool fully before proceeding.
8. Decorating with Rhinestones
- Using tweezers, pick up a rhinestone.
- Apply a very small drop of clear glue on the back of the rhinestone.
- Carefully place the rhinestones near the tips of the tree branches, spacing them attractively.
- Add one larger rhinestone at the top to represent a tree topper.
9. Sealing with Varnish
- Once the glue is dry, use a fine paintbrush to apply a thin coat of varnish inside the tree cutouts and over the pigment areas.
- This step protects the golden pigments and enhances the tree’s shine and durability.
- Allow the varnish to dry fully before handling.
10. Adding the Hanging Bow
- Attach a small bow or ribbon to the top of the Christmas tree ornament.
- Use a little glue or tie it securely for hanging purposes.
- This finishing touch completes your handmade Christmas tree ornament.
Conclusion
Creating this layered polymer clay Christmas tree is a rewarding project combining creativity with careful craftsmanship. Each step, from shaping to decorating, helps develop skills in handling clay and applying decorative accents. The finished ornament is not only a beautiful addition to your holiday décor but also a thoughtful handmade gift option. With patience and attention to detail, crafters of all levels can enjoy making festive polymer clay decorations that last through many holiday seasons.