Make your Halloween decor stand out with a cute polymer clay octopus that captures festive fun and charm in a small, playful design.
Credit for the original tutorial goes to Tagadanail Fimo & Miniatures, available on YouTube at Link.
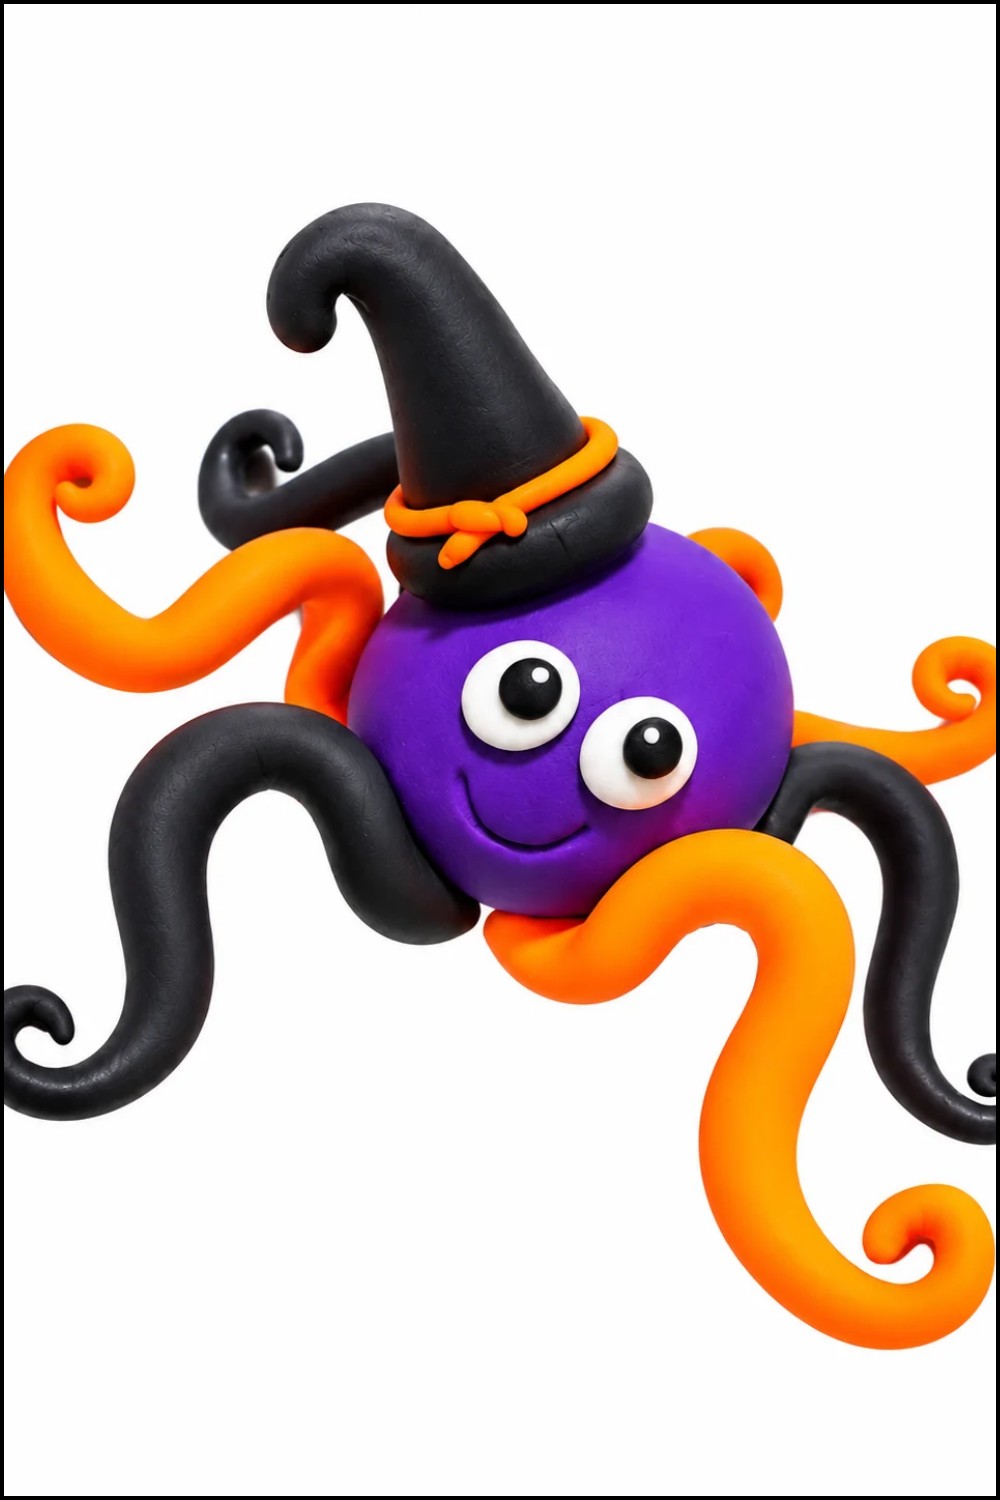
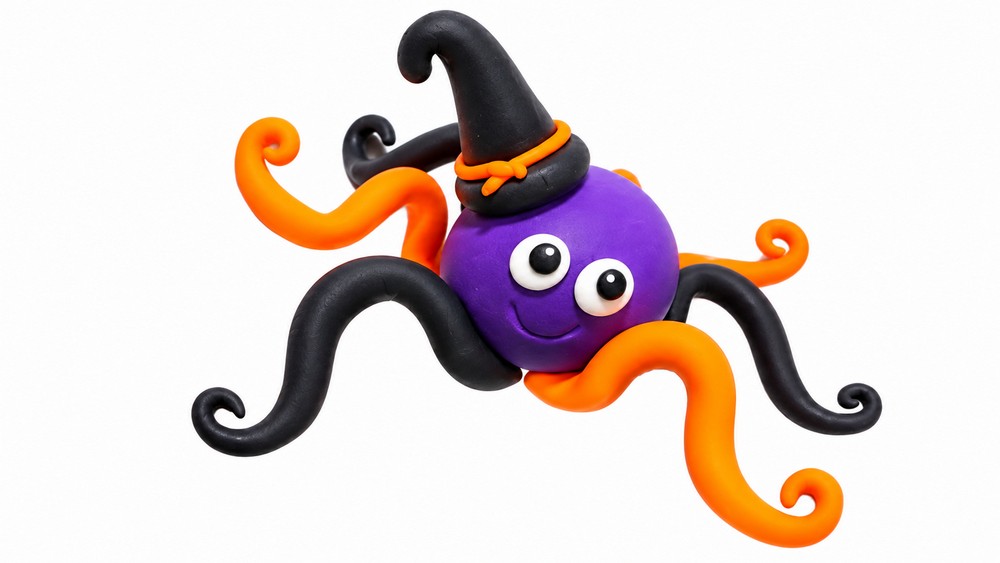
In a world full of Halloween decorations, this little purple octopus stands out with its fun and friendly look. This DIY Polymer Clay Halloween Octopus has a cute witch’s hat that sits crooked on its head, adding a bit of magic and charm. Its legs curl and twist in different directions, making the octopus look full of life, as if it might start moving at any moment.
Adorable DIY Polymer Clay Octopus Idea to Try Today
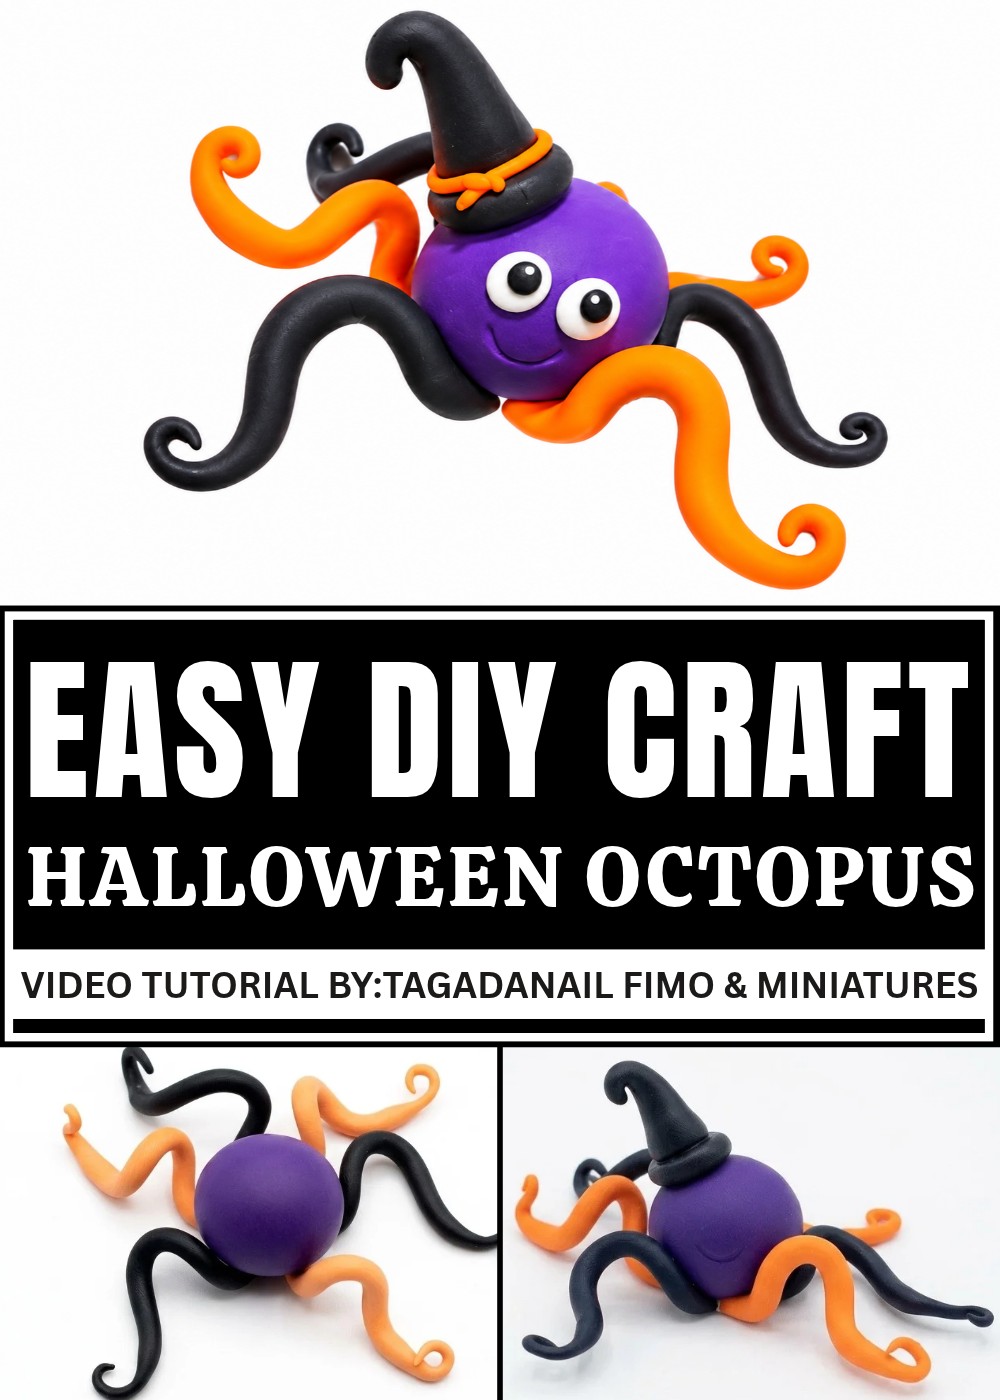
The bright purple color makes it perfect for so scary parties decor, while its black and orange legs create a cool pattern that draws your eye. Its big white eyes with small black pupils give it a playful, happy face that’s hard to ignore. Even though it’s small, this octopus is full of personality and makes a great addition to any Halloween setup.
What makes this DIY Polymer Clay Octopus special is how it mixes spooky themes with a sweet and fun style. It’s not just a decoration; it feels like a little character bringing joy and creativity to your space. Anyone who loves handmade crafts will enjoy having this cute octopus as part of their celebration.
How to Make an Adorable Handmade Octopus for Halloween Decoration
Creating a little octopus craft is a delightful and enjoyable activity that can add a unique charm to your Halloween decorations. This DIY octopus features a colorful, twisted tentacle design with a cute face and a playful hat, making it a perfect accent piece for seasonal décor or just a fun creative project. Throughout this process, you will work with pliable colored dough or clay, shaping and baking it to create a lasting piece of art.
Design Overview of the Octopus
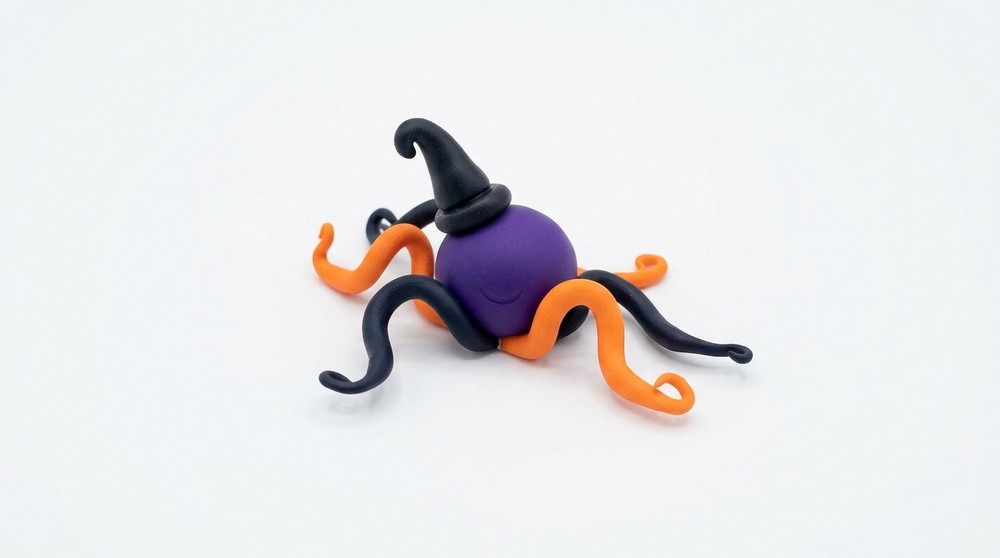
- Whimsical Tentacles: Six carefully twisted tentacles made from alternating colors, giving a lively and dynamic appearance.
- Expressive Face: Two eyes made from small white and black dough pieces express character and personality.
- Themed Accessories: A cute tilted hat made from black and orange dough enhances the Halloween theme.
- Vibrant Colors: Usage of striking purple, orange, and black dough creates contrast and makes the octopus visually captivating.
Importance of Gathering Materials and Tools
Before beginning your octopus project, gathering all necessary materials and tools is vital to ensure a smooth crafting process. Having everything at hand prevents interruptions and allows you to maintain focus on each step without having to pause repeatedly. Proper tools aid in shaping the dough effectively and provide precision while adding intricate details. Moreover, selecting quality materials contributes to a better finished product that retains its form after baking.
Materials and Tools Needed
- Purple-colored dough or polymer clay (for the octopus head)
- Orange dough or clay (for tentacles and hat decoration)
- Black dough or clay (for tentacles, hat, and facial features)
- White dough or clay (for the eyes)
- Baking sheet lined with parchment paper
- Rolling surface or clean workspace
- Knife or cutting tool (for cutting dough pieces)
- Toothpick or small sculpting tool (for indentations and shaping)
- Oven (for baking the dough according to specifications)
Important Tips Before Starting
- Work on a clean, flat surface to prevent any dirt or debris from sticking to the dough.
- Keep your hands clean and slightly dry to handle the dough easily without it sticking excessively.
- If using polymer clay, follow manufacturer instructions for baking temperatures and times to avoid burning or undercooking.
- Take your time while twisting and shaping tentacles to avoid breaking or tearing the dough.
- Use small portions of dough to test details like eyes and hat before finalizing to ensure proper sizing.
Step-by-Step Pattern for Creating the Octopus
1. Making the Octopus Head
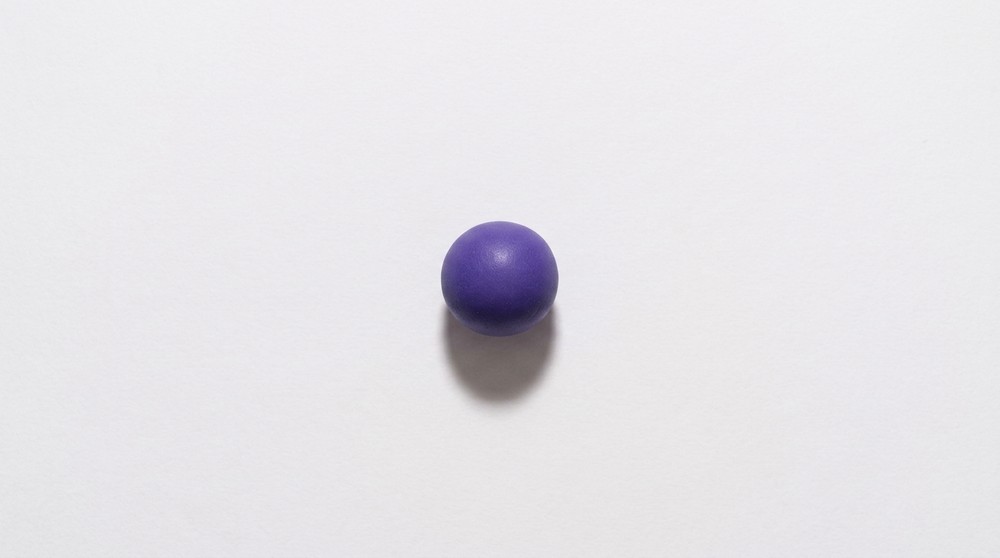
- Roll out the purple dough into a smooth ball.
- Use your thumb or a sculpting tool to indent a broad smile shape on the front area of the ball.
- Set aside the prepared head to start baking later.
2. Preparing Tentacles
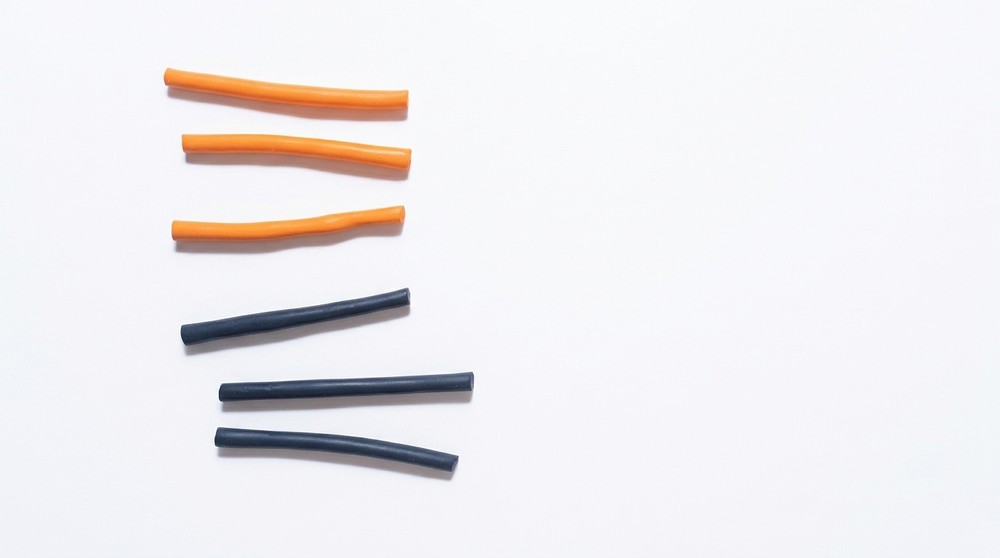
- Take equal amounts of orange and black dough.
- Roll each color individually into long, thin sausage shapes.
- Cut each sausage into three equal segments so you have three black pieces and three orange pieces, totaling six segments.
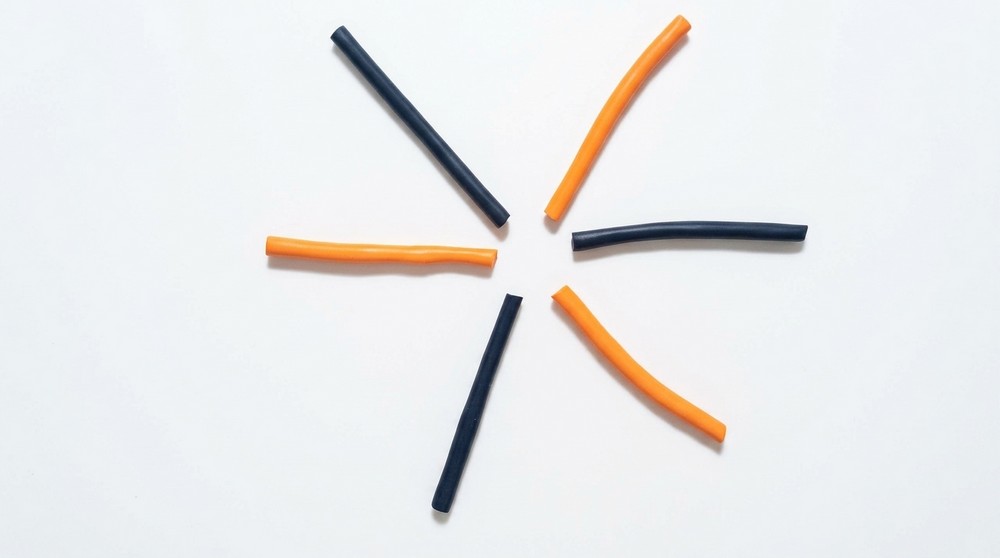
- Arrange these segments alternately on your baking tray lined with parchment paper, positioning them radially to form a star shape (black, orange, black, orange, etc.).
- Gently press the assembled tentacle pieces underneath the baked head ball, ensuring they stick well.
3. Shaping and Twisting Tentacles
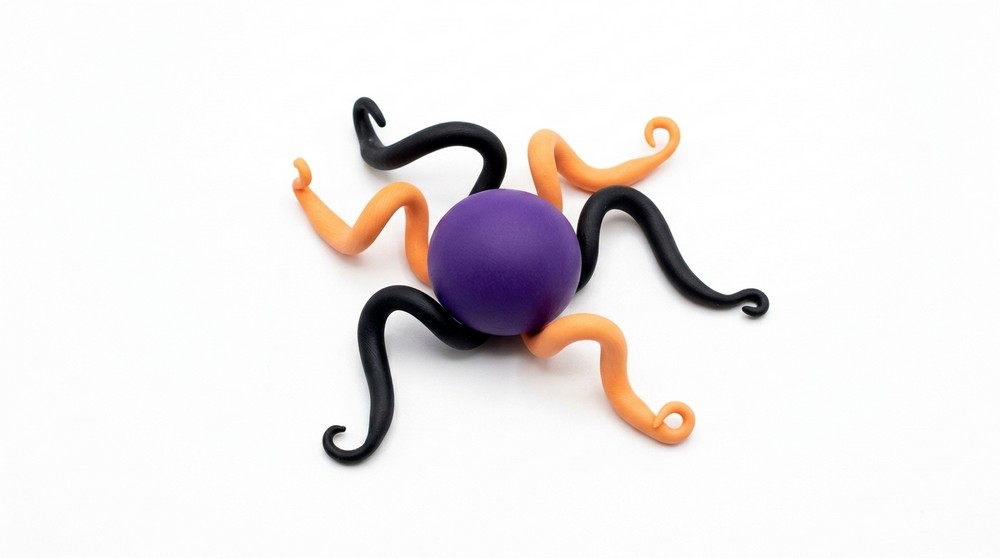
- Taper each tentacle end by pinching to form thin tips.
- Carefully lift each tentacle and twist it in different directions to mimic the natural movement of octopus legs.
- Make sure every tentacle has a unique shape; do not twist all the tentacles identically for a more lifelike effect.
- Bake the assembled head and tentacles together in the oven for about 10 minutes based on the dough’s baking guidelines.
4. Crafting the Hat
- Roll a small black dough ball and flatten it with your fingers to make a round base.
- Shape another piece of black dough into a cone.
- Tilt the tip of this cone sideways to add character.
- Place the tilted cone on the flattened disc to simulate a witch’s hat.
- Wrap a thin orange dough sausage around the base of the hat for decoration.
- Attach the completed hat to the side of the octopus head.
5. Forming the Eyes
- Roll a small amount of white dough into a ball and then split it into two equal smaller balls.
- Place these white balls on the head above the smile to create the eyes’ whites.
- Roll tiny black dough balls and cut each in half to form pupils.
- Press these black halves lightly onto the white base balls so they adhere and create expressive eyes.
6. Baking the Final Assembly
- Once all parts (head with tentacles, hat, and eyes) are positioned accurately, preheat your oven to 110°C (230°F).
- Place the full octopus craft onto the baking sheet.
- Bake for approximately 30 minutes, or as recommended by your dough manufacturer.
- Allow the octopus to cool completely after baking before handling to avoid deformation.
Conclusion
This handcrafted octopus is an imaginative decoration perfect for Halloween or creative displays. Its distinctive twisted tentacles and Halloween-themed hat add personality and charm that stand out. By following the detailed steps and allowing careful time for shaping and baking, you can achieve a durable and attractive octopus figure. Enjoy the process of creating this lively piece and consider experimenting with different colors and expressions to personalize your design further.