Design a festive DIY Christmas tree perfect for holiday décor, adding a personalized touch to your celebrations while spreading seasonal cheer.
Making your own Christmas decorations can be both fun and satisfying, and this project is all about creating a festive tree using polystyrene sheets. While the tree itself is crafted from polystyrene, card or paper is used as a template to guide you in cutting the perfect shapes. This project is simple, cost-effective, and perfect for anyone seeking a personalized and creative holiday decoration. The finished result is a durable, lightweight tree that looks beautiful and adds holiday charm to any space.
DIY Christmas Tree using books for cozy holiday décor
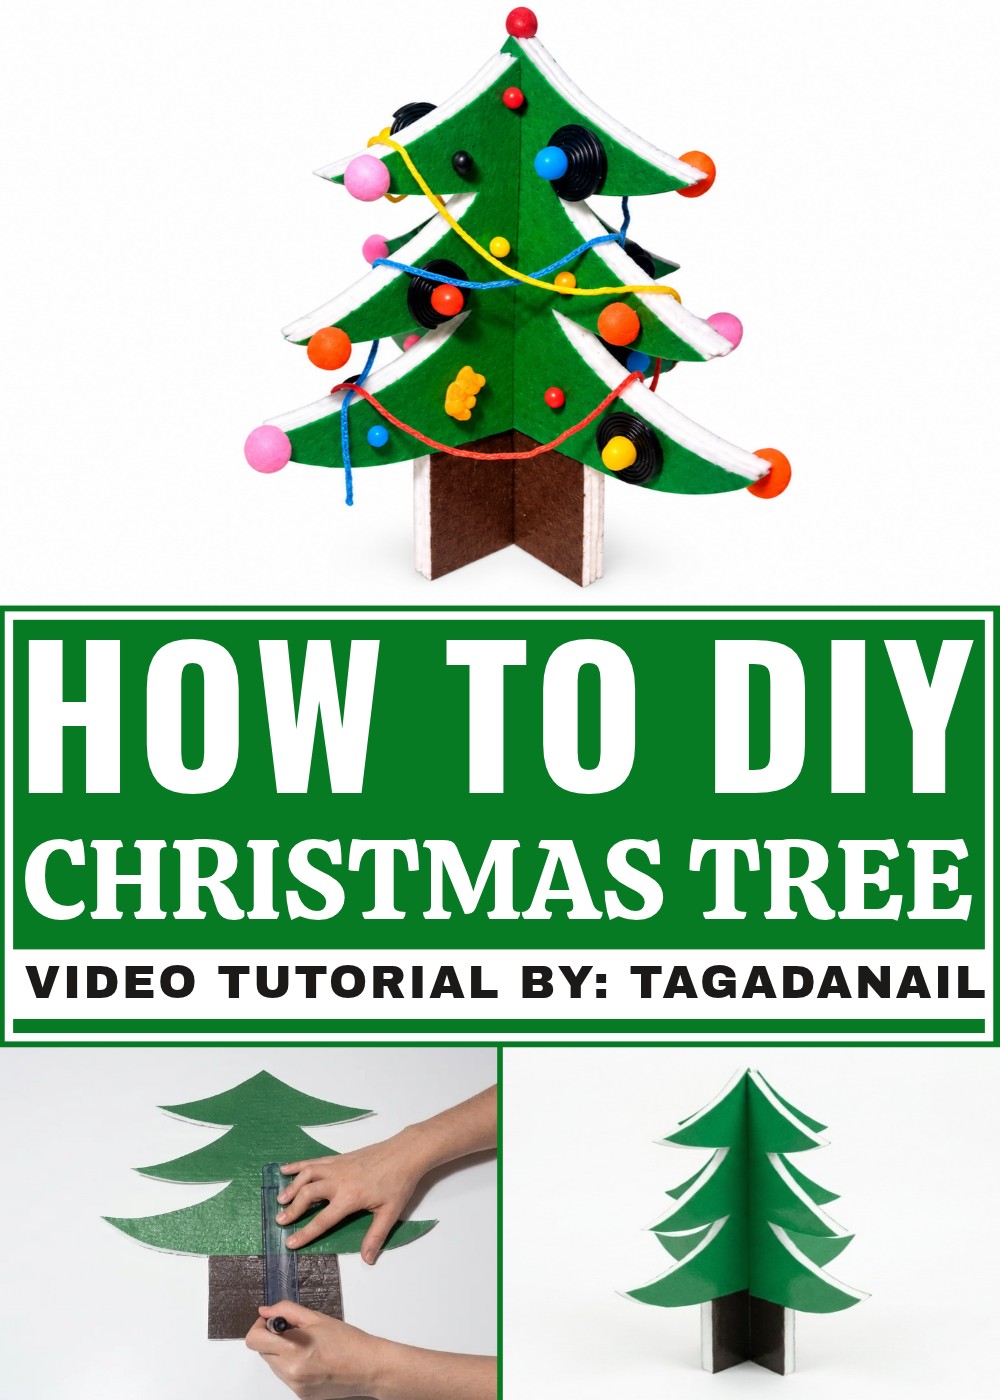
What makes this craft exciting is how versatile it is, you can design your tree in different sizes and decorate it in countless ways. Start by cutting the polystyrene sheets into shapes using card or paper templates as a guide. Once the tree is assembled, you can unleash your creativity by adding paint, glitter, tiny ornaments, or even wrapping the pieces with festive ribbons. The polystyrene material offers a firm structure, making your tree long-lasting and suitable for indoor or outdoor decorations.
Following this project, you’ll have a unique Christmas tree that’s striking, easy to create, and completely customizable. Whether you use it as a table centerpiece, mantel décor, or display it in a cozy corner, this DIY tree will add warmth and personality to your holiday celebrations. It’s a craft project that’s simple to follow, enjoyable to make, and ideal for spreading festive cheer.
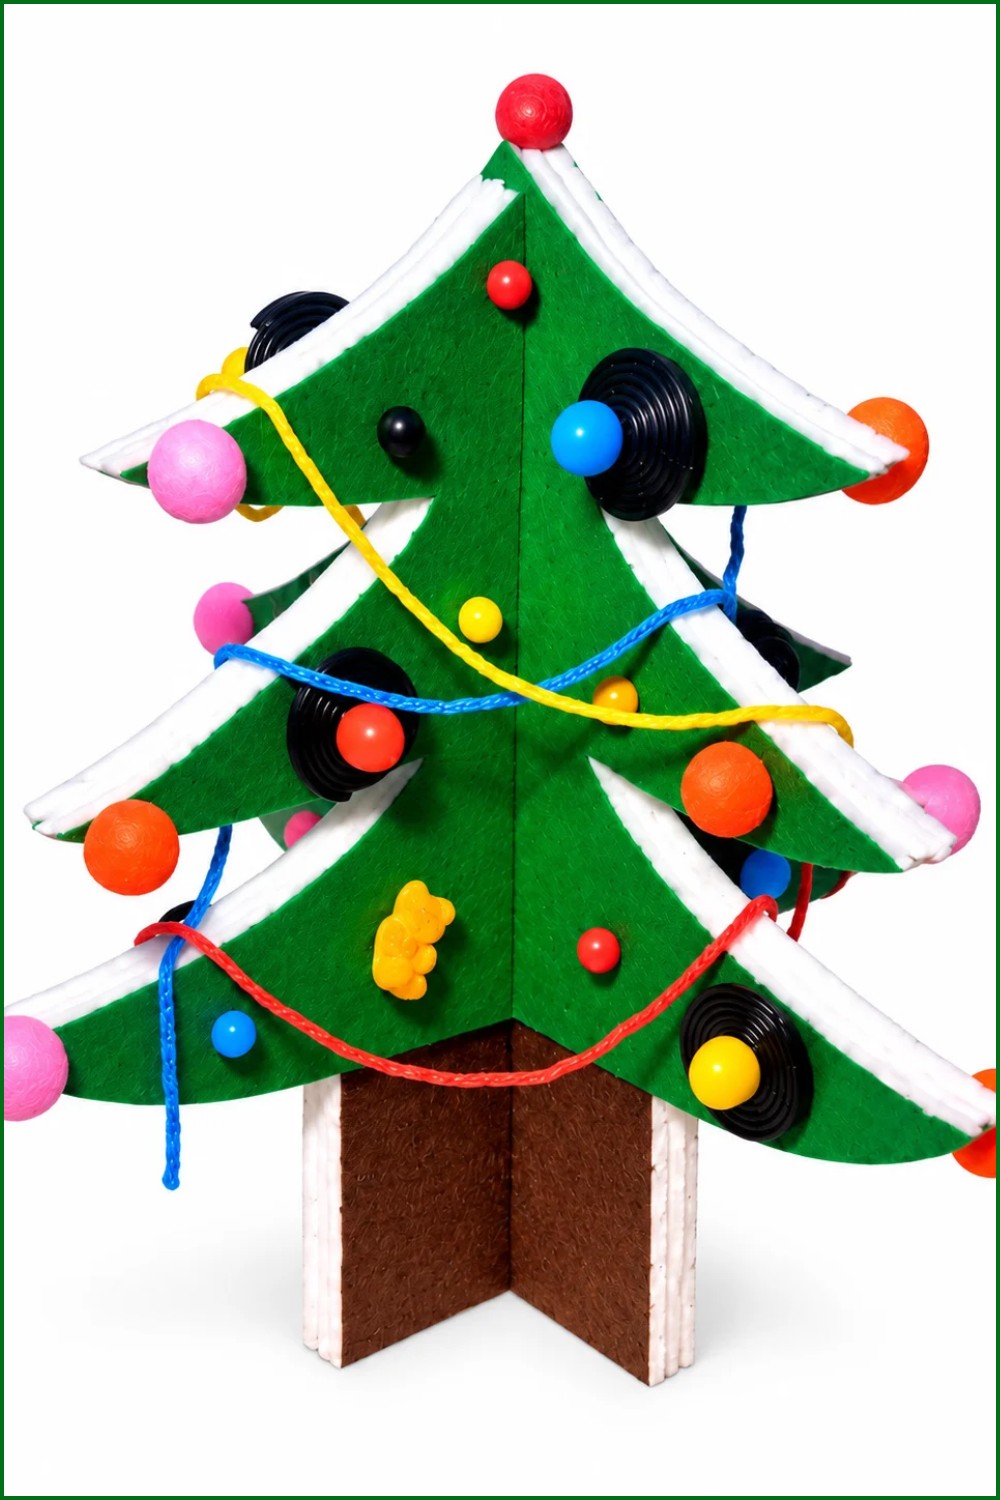
Polystyrene Candy Christmas Tree
- Create a decorative tabletop candy tree using polystyrene sheets, paint, transparent tape for lamination, cutouts, and toothpicks to hold candies.
- End result: a freestanding layered tree with painted surfaces and removable candy pieces, suitable for holiday centerpieces or party décor.
- Time: about 2–3 hours total including drying; suitable for DIYers and holiday crafters.
Materials
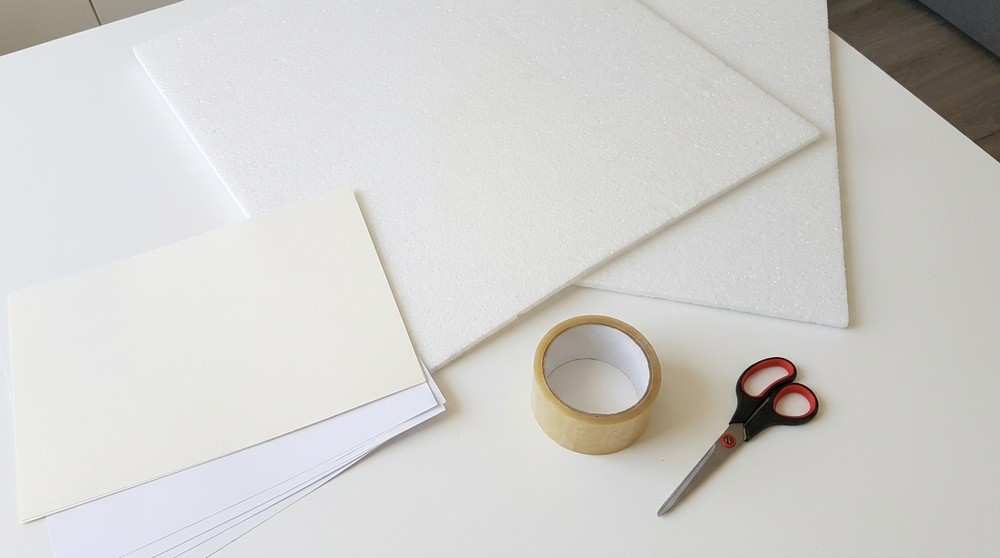
- Polystyrene sheets (10 sheets recommended; craft-store insulation foam panels work well)
- Transparent tape (clear tape for laminating painted areas)
- Acrylic paint: green and brown
- Toothpicks (regular wooden skewers may be cut in half as needed)
- Candies (wrapped or unwrapped depending on preference)
- Double-sided tape, glue, or strong adhesive for assembly
- Optional: ribbon, glitter, small ornaments for extra decoration
Tools
- Scissors and/or craft knife (cutting tool recommended for precise edges)
- Ruler and marker or felt-tip pen for drawing templates and centerlines
- Paintbrushes (small and medium)
- Cutting mat or protected work surface
- Pencil and paper to create the tree template (patron)
- Wire cutters or small diagonal cutters to trim toothpicks if needed
Measurements
- Tree height: customize to desired scale; example in video used panels ~24 cm in length with a central trunk width around 4 cm.
- Panel count: ten polystyrene sheets produce four painted tree pieces, four painted opposite pieces, and two neutral pieces for internal support.
- Trunk centerline: mark the midpoint of the panel length (for a 24 cm panel, mark at 12 cm); mark trunk width at 4 cm (2 cm to each side of center).
- Toothpicks: standard 6–7 cm length works; cut in half for smaller candy spacing.
Pattern / Design Information
- Template: draw a symmetrical tree silhouette on paper to use as a cutting pattern. Include a trunk baseline and overall tree outline.
- Piece types:
- Painted pieces with lower trunk painted brown and tree area painted green.
- Neutral pieces left unpainted to provide inner contrast or structural support.
- Interlocking method: create notches (encoches) in specific panels so three panels can interlock per layer—some notches should be at the top, others at the bottom to form a 3D tree when slotted together.
Instructions
Part 1: Create Template and Paint Panels
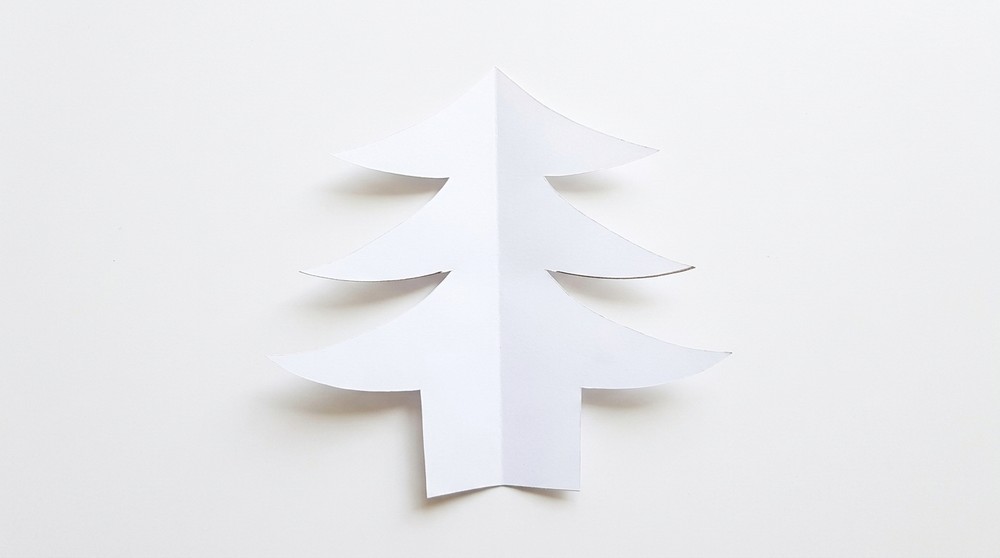
- Draw and cut template:
- Sketch your tree silhouette on paper, ensuring proportions match your polystyrene panels.
- Cut out the paper template carefully to use as a stencil.
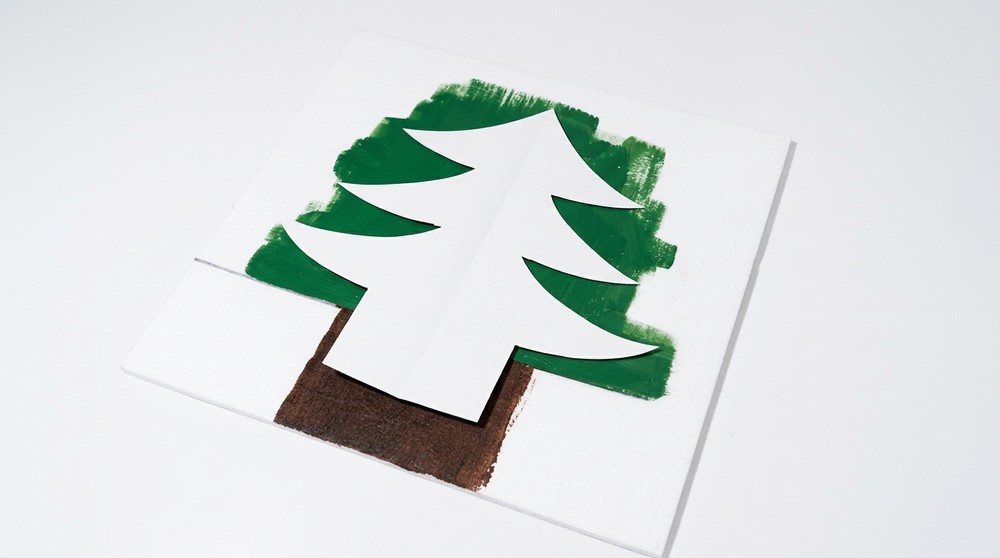
- Place template and mark panels:
- Put the template on a polystyrene sheet and mark four reference points around the trunk with your marker to guide painting.
- Use a ruler to draw a centerline and trunk boundaries across the panel to help position paint.
- Paint trunk and foliage:
- Paint the bottom trunk area brown using the reference points as limits; allow paint to dry.
- Paint the remainder of the tree area green; use even, thin coats to avoid bubbling on polystyrene.
- Repeat:
- Prepare four painted panels like this for the visible faces and allow thorough drying.
Part 2: Laminate Painted Areas and Cut Shapes
- Laminate painted sections:
- Cover painted regions with clear transparent tape, overlapping strips to fully seal paint and protect edges. This creates a washable surface and prevents paint flaking.
- Trace and cut:
- Place the paper template over taped painted panels, trace the outline with a marker, and remove the template.
- Carefully cut the tree shapes from the polystyrene using scissors or a craft knife; cut on a protected surface and go slowly to keep smooth edges.
- Prepare neutral pieces:
- Trace and cut additional tree silhouettes from remaining neutral polystyrene panels to create inner layers and to supply panels for notching.
Part 3: Create Notches for Interlocking Assembly
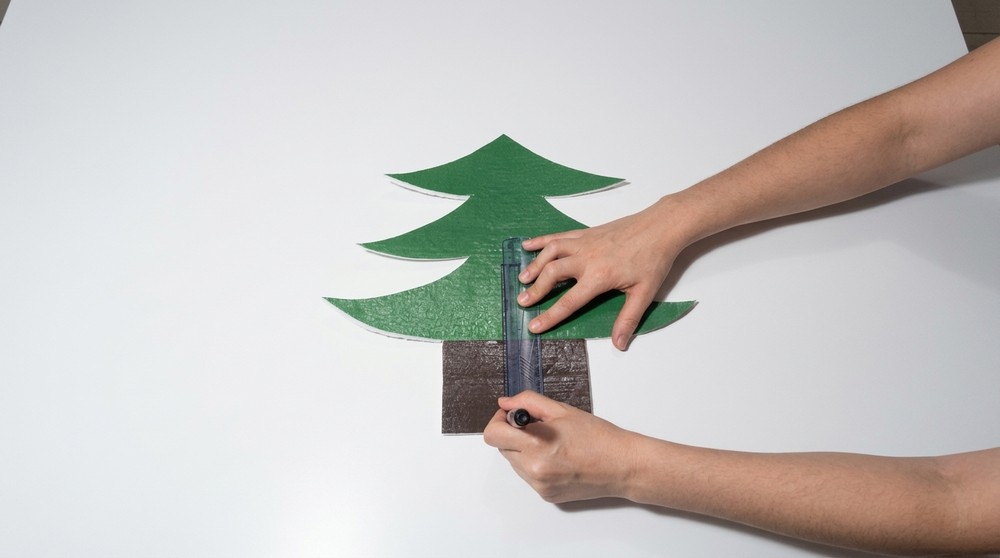
- Measure and mark notches:
- Using your ruler, find the center of the trunk width and length. Mark lines 1 cm to each side of the trunk centerline; these lines determine notch width.
- On two painted pieces, mark low notches (near the trunk base); on two painted pieces mark high notches (toward the top). Do the same on one neutral piece for each notch orientation.
- Cut notches:
- Carefully cut out the notched sections using scissors or a craft knife to create slots that will interlock when assembled.
- Ensure notches are clean and fit together without forcing; adjust as needed for snugness.
Part 4: Assemble Tree Sections
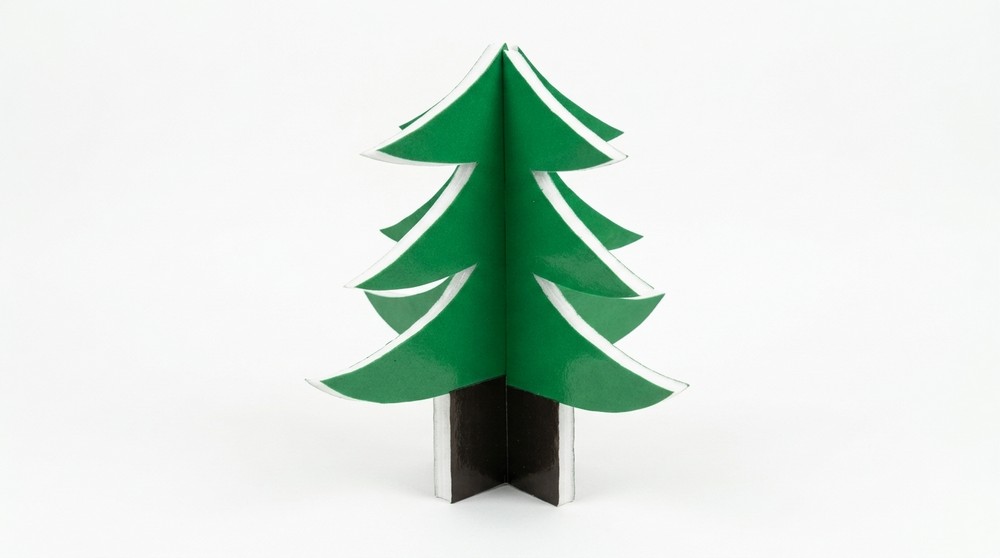
- Slot pieces together:
- For each three-piece layer, take one painted panel with a bottom notch, one neutral panel, and one painted panel with a top notch. Slide them together to form a triangular assembly.
- Use double-sided tape or glue internally if additional hold is desired, especially for taller or heavier designs.
- Stack and secure layers:
- Repeat for all sets and align the multiple three-piece assemblies to build a full tree silhouette. Use tape or glue where layers meet if needed for stability.
Joining the Pieces
- Secure base and join layers:
- If the tree is unstable, add a small base disk of polystyrene or cardboard glued to the trunk bottom for balance.
- Use double-sided tape or hot glue to reinforce seams from the inside where visible tape would detract from the look.
- Hide gaps:
- If seams expose white edges, optionally touch them with matching green or brown paint or cover with ribbon trim.
Finishing the Project
- Prepare toothpicks and candies:
- Cut toothpicks in half for shorter pegs. Wrap or choose small candies that fit securely on the toothpick ends.
- Optionally, insert toothpicks into candies with a dot of hot glue for permanent placement.
- Decorate tree:
- Insert candy-topped toothpicks into the polystyrene tree at regular intervals, spacing pieces evenly around each layer.
- Add decorative accents like ribbon bows, small ornaments, or glitter for extra festivity.
- Final check:
- Ensure candies are well secured and the tree stands stable. Adjust toothpick depth to avoid piercing through the opposite side.

Design Variations
- Miniature trees: scale down template for smaller tabletop favors.
- Theme trees: use colored paint and matching candies for themed events (pastel, metallic, or branded colors).
- LED lights: weave a small battery LED string around the tree for evening displays; secure wires discreetly behind layers.
Tips and Notes
- Use lightweight candies to avoid sagging; wrapped sweets reduce stickiness.
- Work in a well-ventilated area if using glue or spray adhesives.
- Test fit notches before final cutting to avoid wasting panels.
- Transparent tape acts as a simple sealant; for a smoother finish consider thin coat of clear craft varnish compatible with polystyrene.
Finished Measurements
- Typical finished tree height: determined by original panel size; example 24 cm height with 12 cm width at base.
- Toothpick spacing: 1.5–2 cm vertical intervals recommended for balanced candy coverage.
- Weight: lightweight and portable; base reinforcement recommended for heavier ornamentation.