Organize accessories effortlessly with a DIY jewelry storage box to combine functionality and style to keep your treasures neatly stored and easy to access.
Everyone loves keeping their jewelry organized, but store-bought boxes can often be expensive or just not quite right. This fun craft project lets you create a jewelry storage box at home that fits your needs perfectly. Using simple materials like cardboard, fabric, or even recycled items, this handmade box is designed to keep your favorite rings, necklaces, and earrings safe and tidy. It’s not just useful—it’s also a creative way to add your personal style to your storage solutions.
DIY Jewelry Storage Box Tutorial for Organizing Accessories
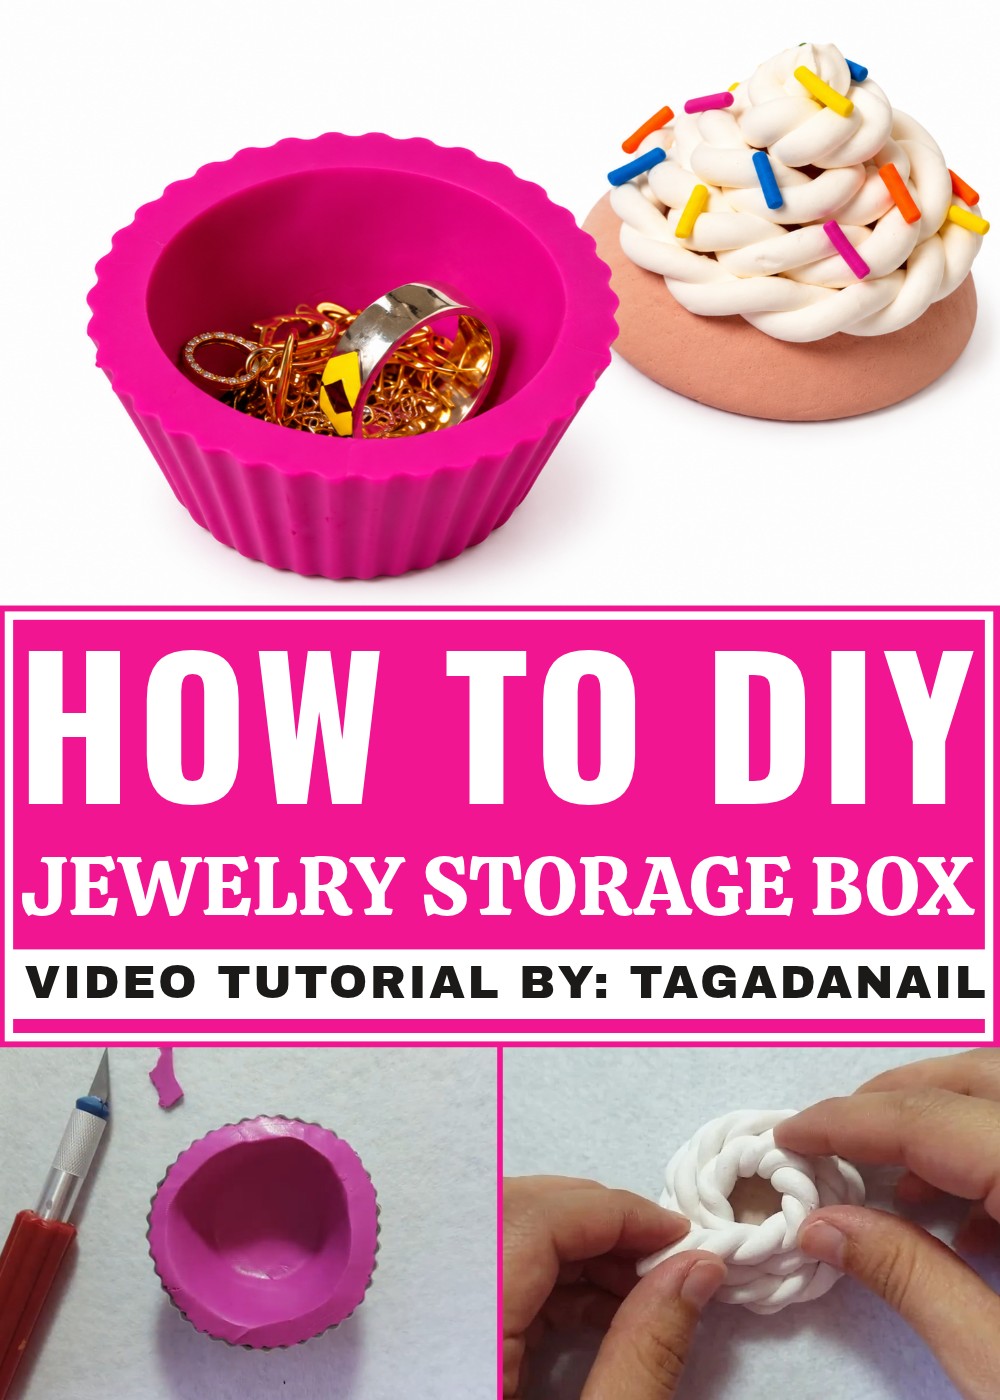
What makes this project so enjoyable is its flexibility. You can design your box with compartments to neatly separate pieces, add soft lining to protect delicate jewelry, or decorate the outside with paint, ribbon, or embellishments so it reflects your taste. The joy of making your own DIY jewelry storage box is in crafting something that's both practical and beautiful. It's a perfect activity for beginners or seasoned crafters, and the guide makes it easy to follow step-by-step.
By taking on this project, you’ll end up with a unique storage box that’s tailored to your needs and inviting to use. No more tangled chains or missing earrings—this homemade solution will bring order to your collection while being a lovely addition to your room décor.
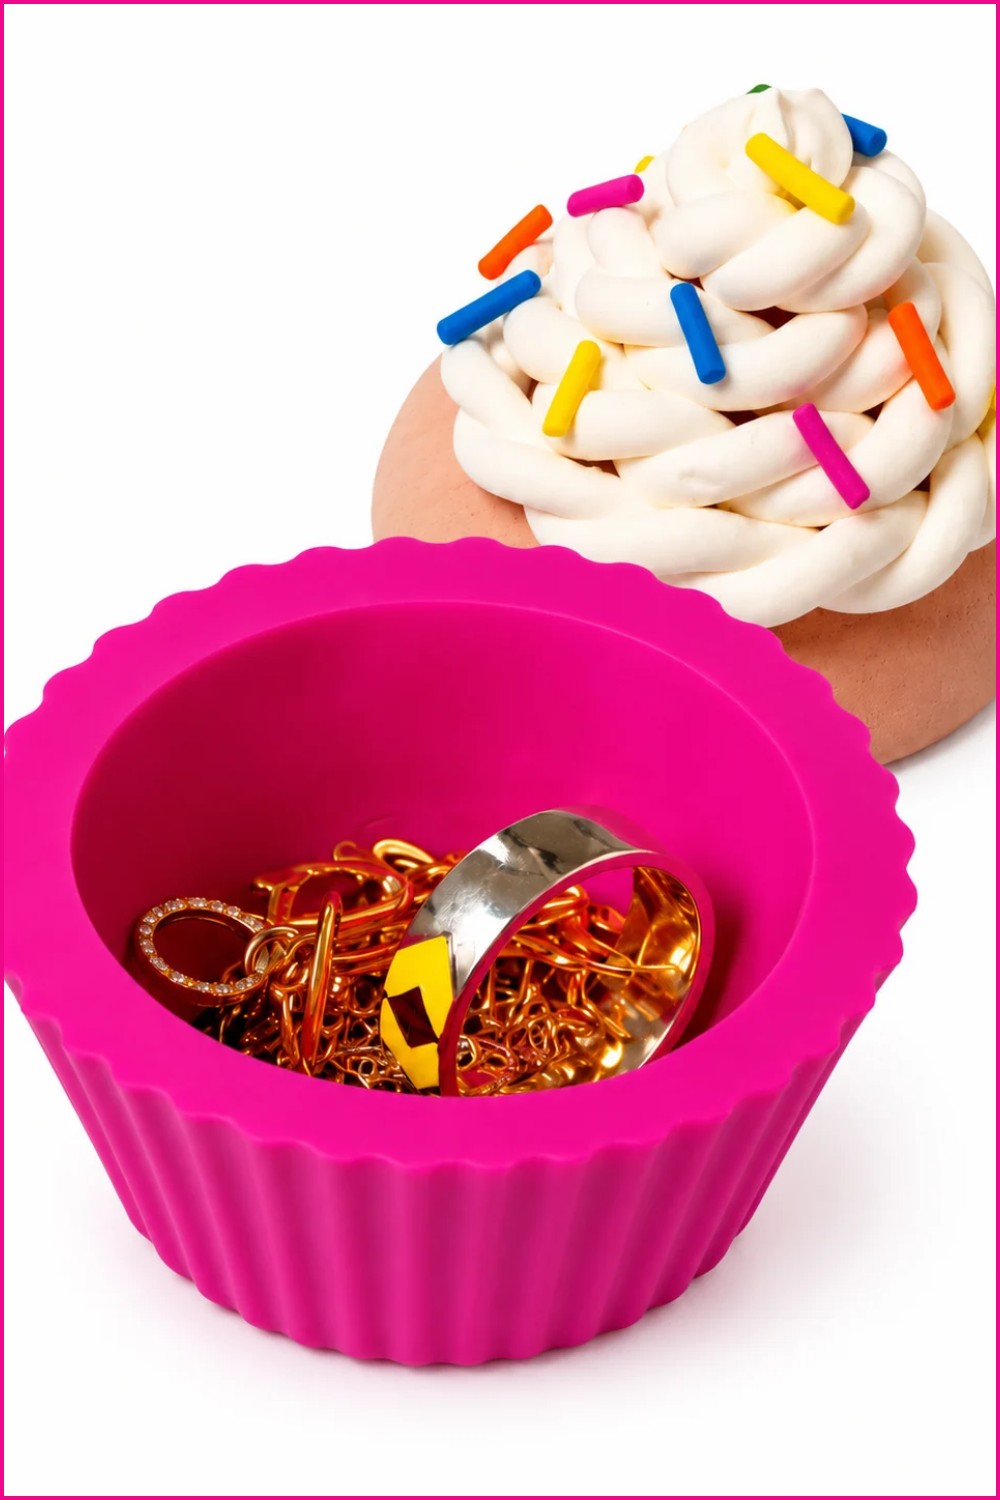
Fimo Cupcake Jewelry Box
- Make a decorative cupcake-shaped jewelry box from Fimo or other polymer clay.
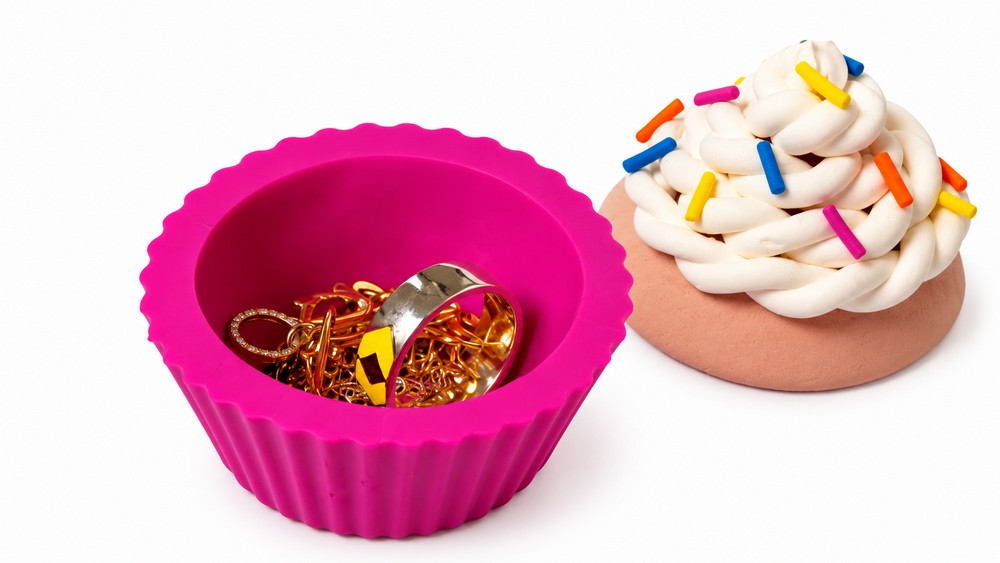
- The project creates a two-part box: a base (cupcake liner) and a removable top (frosting and sprinkles).
- Suitable for beginners; total time including baking about 2–3 hours depending on drying and cooling.
Materials
- Polymer clay in chosen colors: main cupcake color, frosting color (white or pastel), accent colors for sprinkles, and brown for paper liner if desired.
- Thin sheet mold or small cupcake silicone mold (optional).
- Aluminum foil or small baking tray.
- Toothpick or small pointed tool for texturing.
- Small bits of foil or ball tool to texture.
- Optional: varnish or glossy glaze for finish.
Tools
- Scalpel or craft knife for trimming clay.
- Small rolling pin or pasta machine for even sheets.
- Small rounded object or brush to texture frosting.
- Oven for curing polymer clay (follow manufacturer instructions).
- Sandpaper or small sander for smoothing after baking.
- Glue (optional) for securing small decorations if needed.
Measurements
- Target dimensions: base about 3–4 cm diameter and 2–3 cm tall; top dome approx. 3–4 cm diameter and 1.5–2.5 cm tall.
- Adjust scale proportionally if creating larger or smaller boxes.
Pattern / Design Information
- The design uses two main components: a hollow base that holds jewelry and a dome-shaped lid that sits flush on the base.
- The base can have a slightly recessed rim for the lid to sit securely.
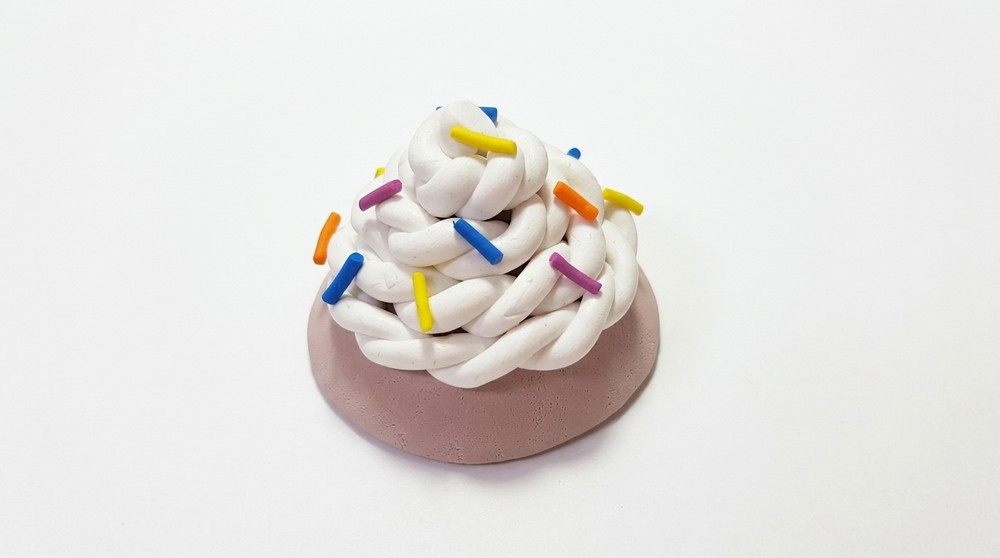
- Decoration: piped frosting simulated with rolled coils of white clay and small thin “vermicelli” for sprinkles.
Instructions
Part 1: Form the Base (Cupcake Liner)
- Prepare clay:
- Condition the clay by kneading until soft and pliable.
- Roll into a ball then press to form a shallow cup shape.
- Shape interior:
- Use a rounded tool or fingertip to hollow the center, leaving even wall thickness of about 2–3 mm.
- Create outer ridges:
- If mimicking a paper liner, press vertical lines around the exterior using a needle tool or the edge of a scalpel to simulate pleats.
- Refine the top rim so it is level and slightly thicker to support the lid.
- Smooth and clean:
- Trim any excess clay with the scalpel and smooth the edges with a damp brush or finger.
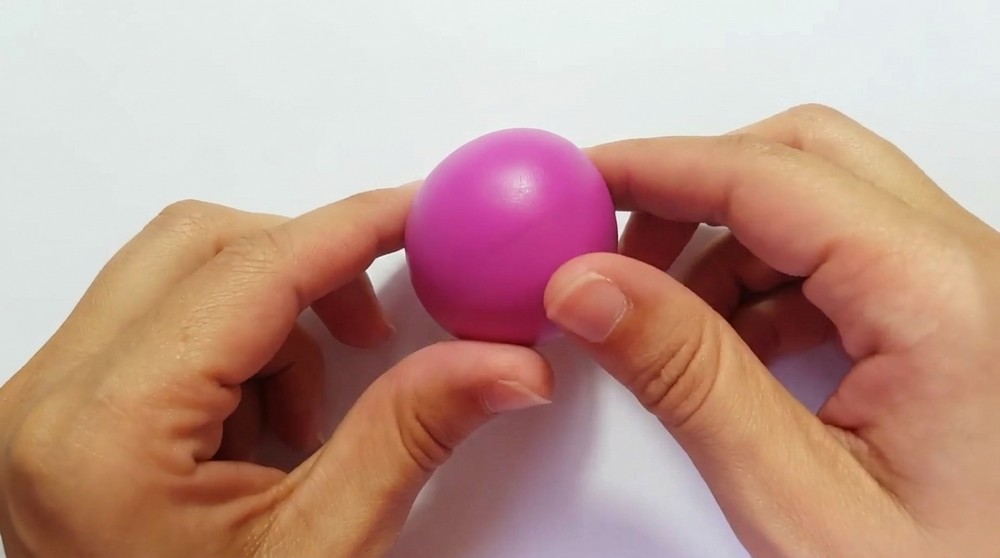
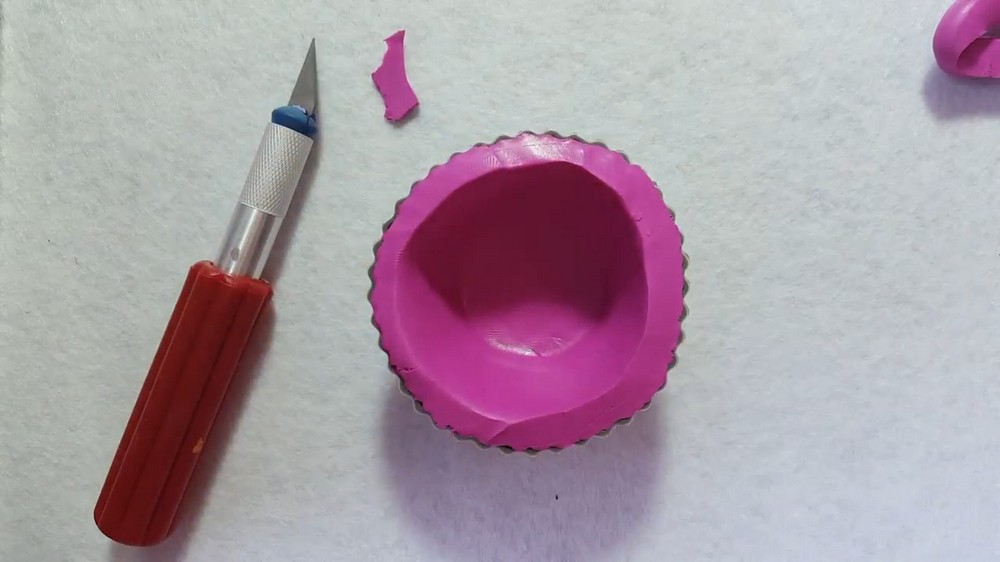
Part 2: Form the Lid (Frosting Dome)
- Mold the dome:
- Condition frosting-colored clay and form a rounded dome slightly larger than the base rim so it overlaps gently.
- Add texture:
- Create whipped cream look by rolling a long thin coil of clay and spiraling it over the dome, starting at the center and working outward for a piped effect.
- Alternatively, flatten small pieces and layer them decoratively to simulate swirls.
- Fill gaps:
- Press small scraps into seams and smooth for a seamless appearance.
- Add a rim:
- Make a shallow interior rim with the scalpel so the lid sits securely on the base.
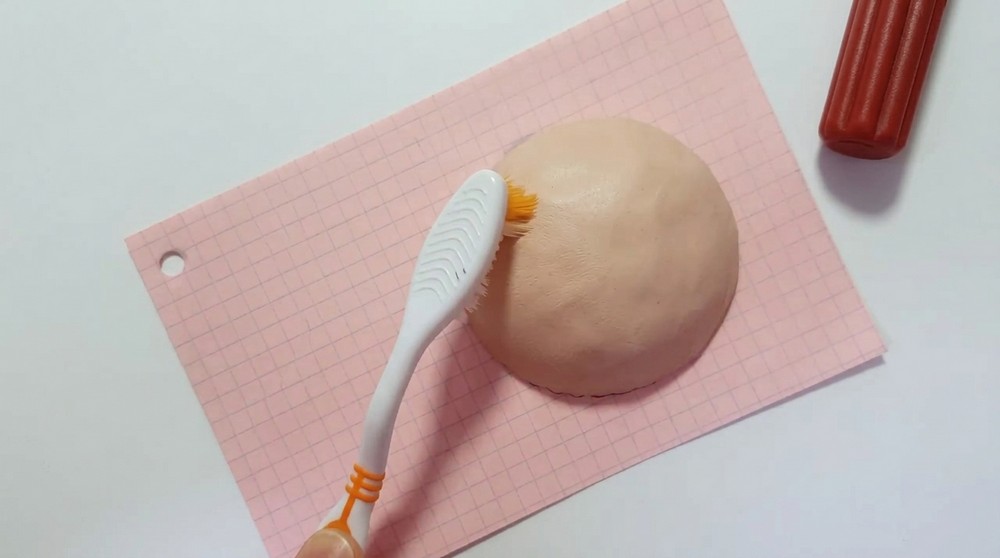
Part 3: Decorations (Sprinkles and Toppings)
- Make sprinkles:
- Roll tiny thin ropes from colored clay and slice into small pieces to create vermicelli sprinkles.
- Arrange them on the frosting as desired, pressing lightly to adhere.
- Add a cherry or topper:
- Roll a small red ball for a cherry and attach on top with a dab of clay, or create a fondant-like decoration from contrasting color.
- Add texture and detail:
- Use a toothbrush, ball stylus, or small brush handle to add subtle indentations that mimic real frosting.
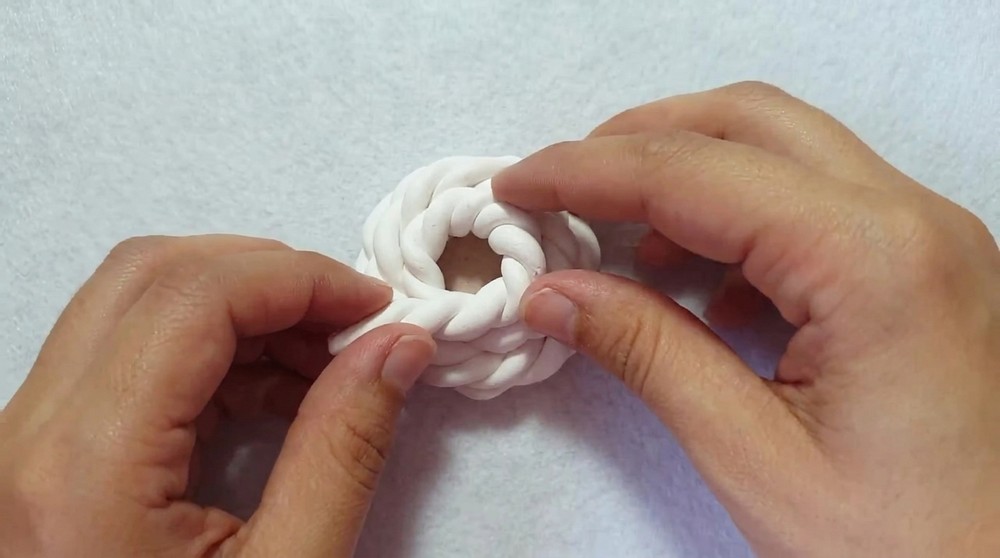
Joining the Pieces
- Test fit:
- Before baking, assemble the lid on the base to check fit and balance.
- Make any adjustments to rim depth or lid size for snugness.
- Separate for baking:
- Bake components separately on a lined tray following Fimo temperature and time guidelines (typical is 110°C for 20–30 minutes depending on thickness).
- Allow pieces to cool fully before handling or assembling.
Finishing the Project
- Sand and refine:
- After baking and cooling, lightly sand any rough edges or seam lines with fine-grit sandpaper.
- Wipe away dust with a soft cloth or brush.
- Apply gloss (optional):
- For a realistic glossy frosting, apply a thin coat of polymer clay glaze or clear varnish to the frosting and sprinkles.
- Allow glaze to cure as per product instructions.
- Final assembly:
- Place the lid onto the base. If you want the lid semi-permanent, a small dab of removable adhesive inside the rim will keep it secure while staying removable.
Design Variations
- Miniature storage: scale the design down for tiny trinket boxes suitable for rings or earrings.
- Themed cupcakes: change frosting colors and sprinkles to match seasons — red and green for Christmas, pastel for spring, or gold accents for celebrations.
- Functional hinge: embed a small fabric hinge or glue a thin leather strip between lid and base before final sealing for a hinged box variant.
- Multi-layer cupcakes: build a stacked two-tier cupcake for a larger jewelry container or gift box.
Tips and Notes
- Work cleanly: polymer clay attracts dust; keep surfaces clean and lid covered while not working.
- Even thickness: try to keep walls and lid consistent in thickness to avoid uneven baking and risk of cracking.
- Avoid air bubbles: press clay carefully and compress seams to minimize trapped air pockets that cause blemishes during baking.
- Test glaze: always test any glaze or varnish on a scrap piece of baked clay to ensure compatibility and desired sheen.
- Safe baking: use an oven thermometer to verify correct baking temperature and prevent burning or underbaking.
Finished Measurements
- Example finished dimensions: diameter 3.5 cm, total height with lid 4.5–5 cm; internal cavity depth approximately 1.5–2 cm.
- Weight: lightweight and portable; ideal to sit on a dresser or be gifted in a small box.