Tuck a little seal into a shell with DIY Clam Mamegoma With Polymer Clay and give your ocean shelf a friendly face peeking out between your favorite seashells.
Peek inside the shell and the first thing you notice is a small seal’s face. DIY Clam Mamegoma With Polymer Clay is based on a design from San-X’s Marine Series. Mamegoma is already imagined as a palm-sized seal, so the shell gives the character an especially fitting place to curl up. The shell fans out around a smooth little face, and its wide rim is easy to see from the front.
Tiny DIY Clam Mamegoma With Polymer Clay Project
About the Seal Miniatures
Among the animal projects on PolymomoTea, Alex Lee returns to Mamegoma in several outfits. His collection features a pumpkin costume and a dinosaur version alongside the clam project. The recurring seal gives viewers a chance to see how the same face works with shapes as different as shells and costumes.
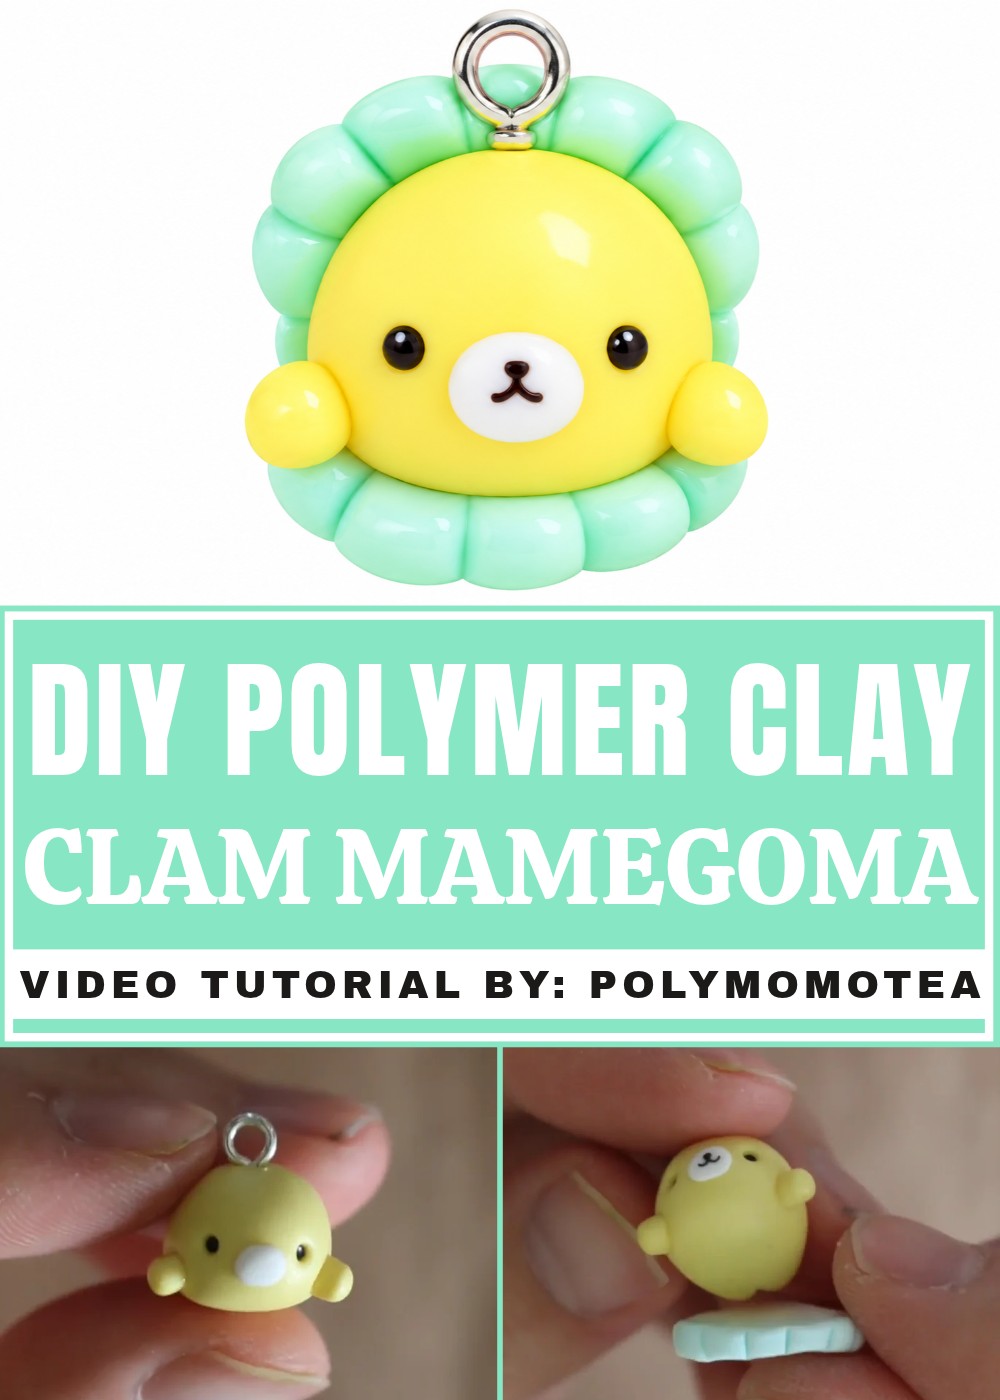
Decide how wide to open the shell before you place the seal. The upper edge should leave room for the eyes, while the lower half supports the seal so its face points outward. To suggest shell ridges, draw a few fine lines that spread from the narrow end. Keep them shallow near the lip, where a deep line could interrupt the rim. A slightly darker shell color can help the pale face stand out. Before settling on the angle, check that the clam still looks open from the side.
Set this miniature beside a few shells from a beach trip, or leave it on its own on a narrow ledge where you’ll see the seal’s expression at eye level. It could also be a small thank-you gift for someone who always stops to look for shells on a walk.
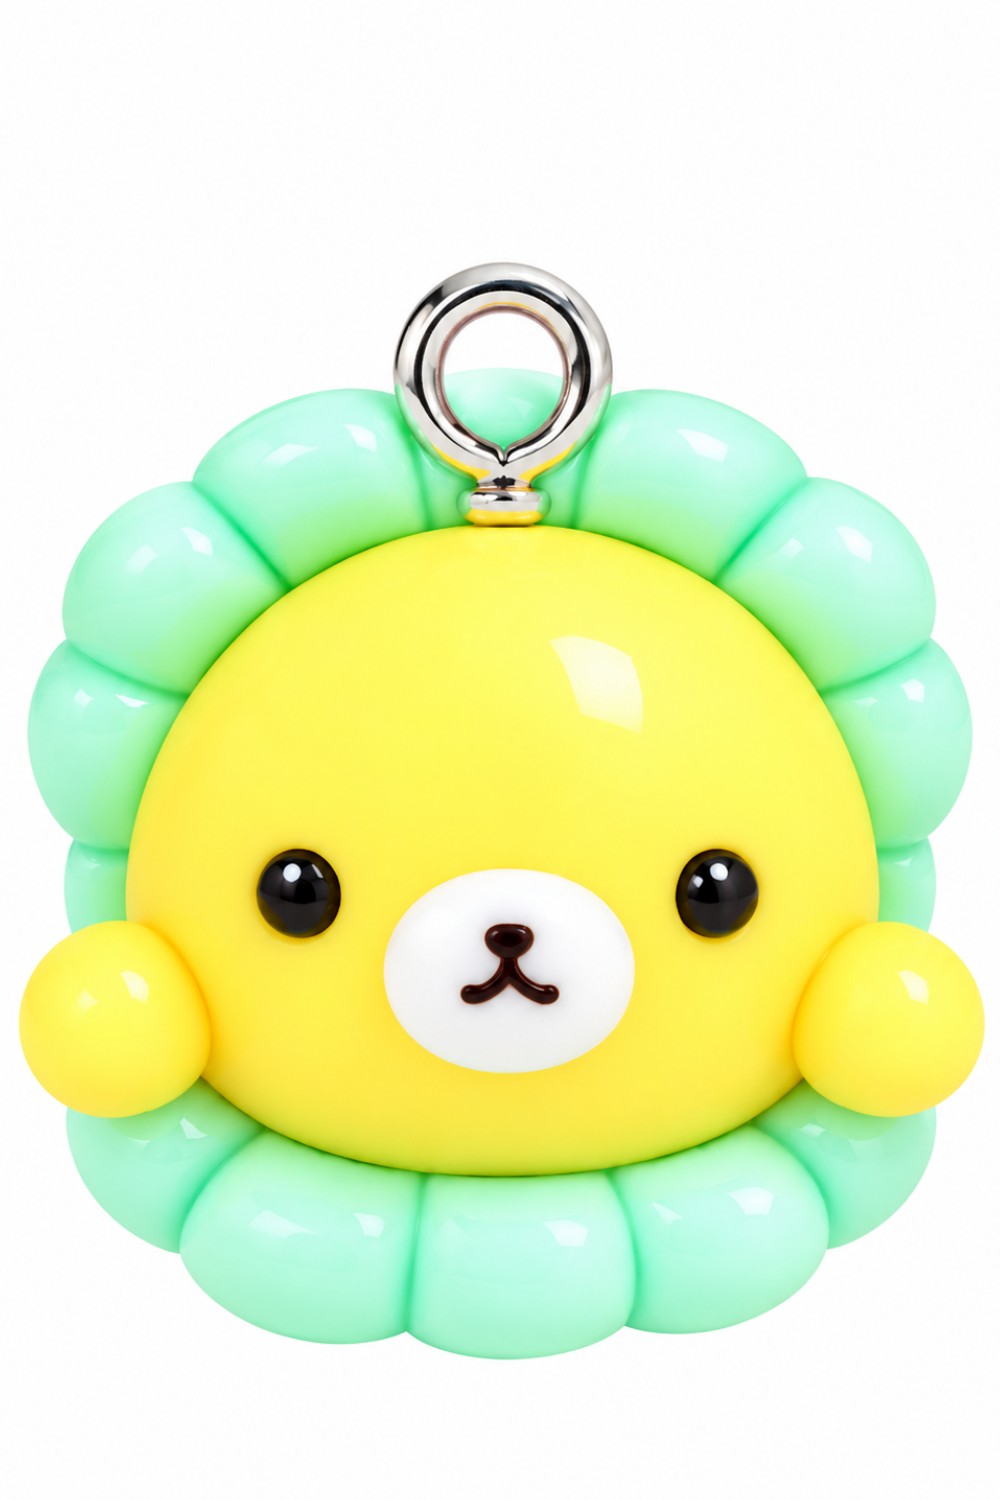
Moga in a Clam Polymer Clay Pattern
This pattern features a whimsical creature called Moga sitting in a clam shell. Inspired by the Marine series, it’s a fun, cute project perfect for fans of ocean-themed crafts or those who love creating unique characters. The techniques are straightforward and easy to follow, with opportunities to experiment using different colors and designs. Whether you’re a beginner or an experienced crafter, this project is a creative way to bring those underwater vibes to life.
Materials & Tools
Materials
- Yellow polymer clay – For shaping the body of the Moga (you can substitute another color if desired).
- White polymer clay – For creating Moga’s snout.
- Black polymer clay – For facial features like the eyes, nose, and mouth.
- Colored polymer clay scraps – Optional for creating the clam shells; you can use Skinner blends or leftover clay for a unique and colorful look.
Tools
- Blade or craft knife – For cutting and shaping clay and creating grooves in the clam shell.
- Dotting tool or toothpick – For making indentations and sculpting details.
- Chisel tool (optional) – For refining the legs, making sharper separations.
- Eye pin (optional) – If turning the piece into a charm or pendant.
- Oven and baking tray – To cure the clay pieces (based on polymer clay instructions).
Step-by-Step Instructions
1. Shaping the Moga Body
- Roll into a ball and shape into a teardrop:
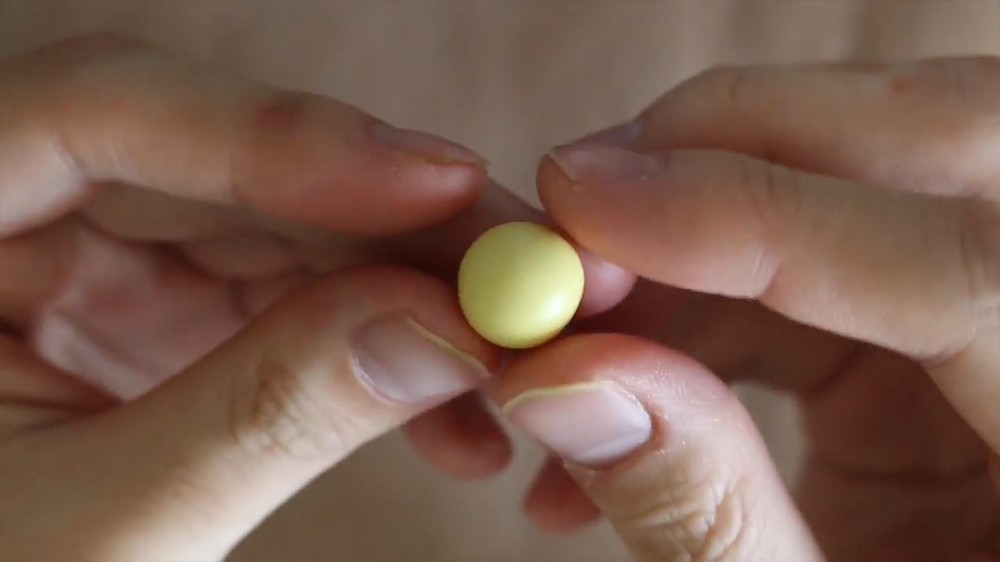
- Take yellow clay (or any preferred color for the Moga body) and roll it into a smooth ball.
- Pinch one end to form a teardrop shape; this becomes the iconic rounded body of Moga.
- Create the legs:
- Using a blade, carefully make an indentation at the pointed end of the teardrop shape.
- Separate the legs slightly by further refining the indent with a blade or chisel tool (if available).
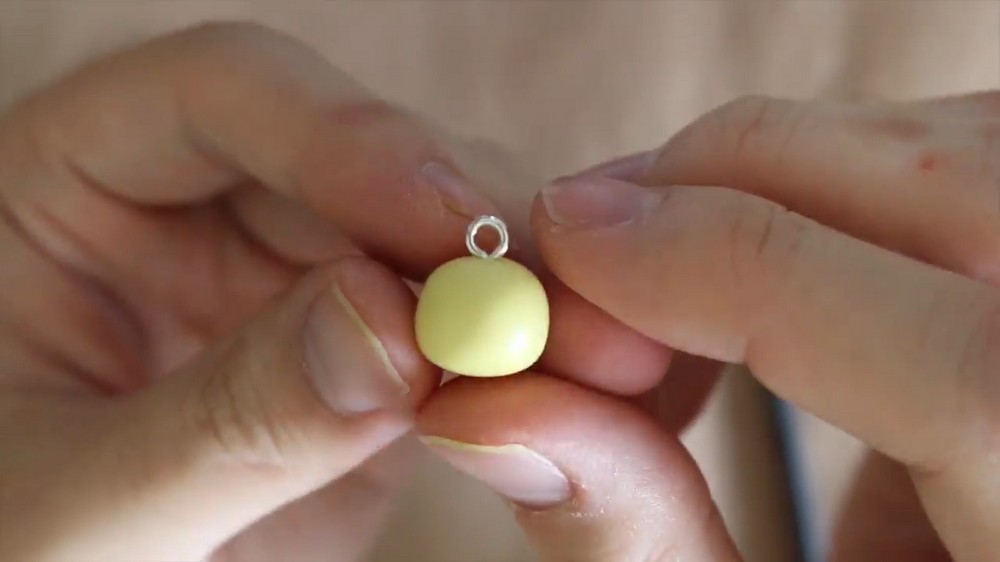
- Add the eye pin:
- Insert an eye pin at the top of the rounded end (optional, only if making a charm). The pin will stay stable once baked.
2. Making the Arms
- Roll a thick snake of clay:
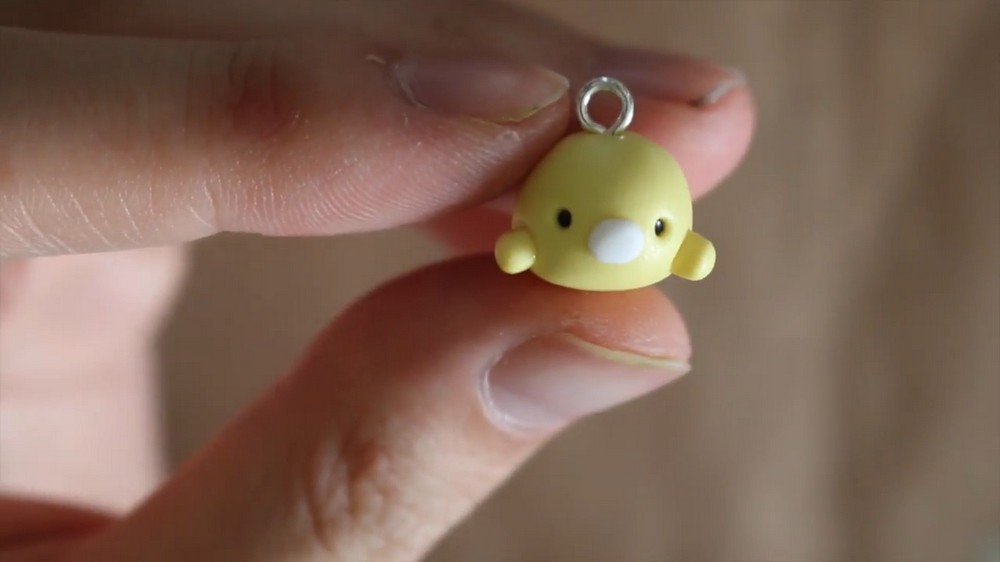
- Using the same yellow clay, roll out a thick snake for the arms.
- Cut and shape the arms:
- Cut the snake into two equal pieces to form symmetrical arms.
- Attach each arm to the sides of Moga’s body, pressing gently to secure.
- Blend the edges with your fingers or a tool, ensuring the arms look like part of the body.
3. Sculpting the Snout and Facial Features
- Create the snout base:
- Roll white clay into a small, rounded ball.
- Flatten the ball into an oval shape for Moga’s snout.
- Attach the snout:
- Position the white oval on the front of Moga’s body, gently pressing to attach it.
- Add the eyes:
- Use a dotting tool or toothpick to create two small indents above the snout.
- Roll tiny balls of black clay for the eyes and place them into the indents, pressing lightly to secure.
- Create the mouth:
- Roll black clay into thin snakes and arrange them into a “W” shape; this forms Moga’s cute, cheerful mouth.
- Position the mouth below the snout and attach it using light pressure.
- Add the nose:
- Roll an extremely small piece of black clay into a ball for the nose.
- Attach the nose above the mouth, completing Moga’s facial features.
4. Sculpting the Clam Shell
- Choose your colors:
- Pick any clay color for the shell base. Mixed or marbled clay (like Skinner blends or scraps) is ideal for achieving an organic, marine look.
- Create the shell shape:
- Roll the chosen clay into a flat sheet and cut out a pentagon-shaped piece using a blade or craft knife.
- Smooth out the edges to round them slightly, creating a soft shell shape.
- Add grooves to the shell:
- Use a blade to lightly score lines radiating outward from the center of the shell to mimic natural groves or ridges.
- Repeat the process to make a second shell piece (one for the bottom and one for the top).
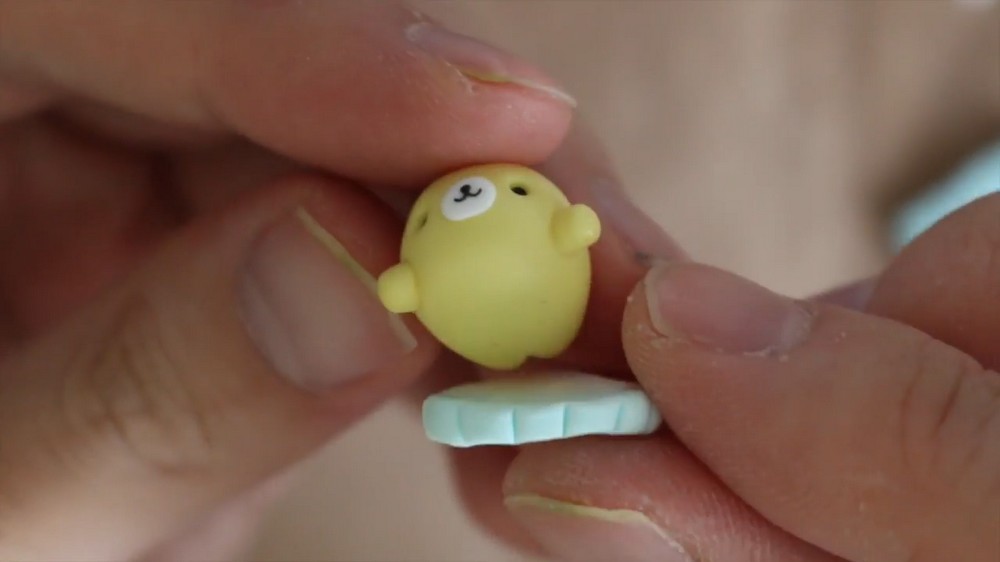
5. Assembling the Clam and Moga
- Position the bottom shell:
- Place one shell piece flat onto your work surface. This will act as the base where Moga will rest.
- Add the Moga figure:
- Position the Moga figure directly on top of the base shell, centering it carefully.
- Attach the top shell:
- Place the second shell piece over the Moga’s head, aligning it with the bottom shell.
- Press the edges together lightly, blending them as needed to give the clam a unified look.
6. Baking and Finishing Touches
- Bake your creation:
- Preheat your oven following your polymer clay’s specifications (usually 110°C to 130°C / 230°F to 275°F, depending on the brand).
- Place the assembled Moga and clam on a lined baking tray. Bake for 15–30 minutes, considering the thickness of the clay.
- Cool completely:
- Allow your piece to cool down fully after baking to ensure it sets properly and hardens fully.
- Optional: Add gloss or paint:
- If you prefer a shiny finish, apply a gloss varnish or sealer.
- Alternatively, you can paint additional details, like textures or color accents, to customize the design even further.
Conclusion
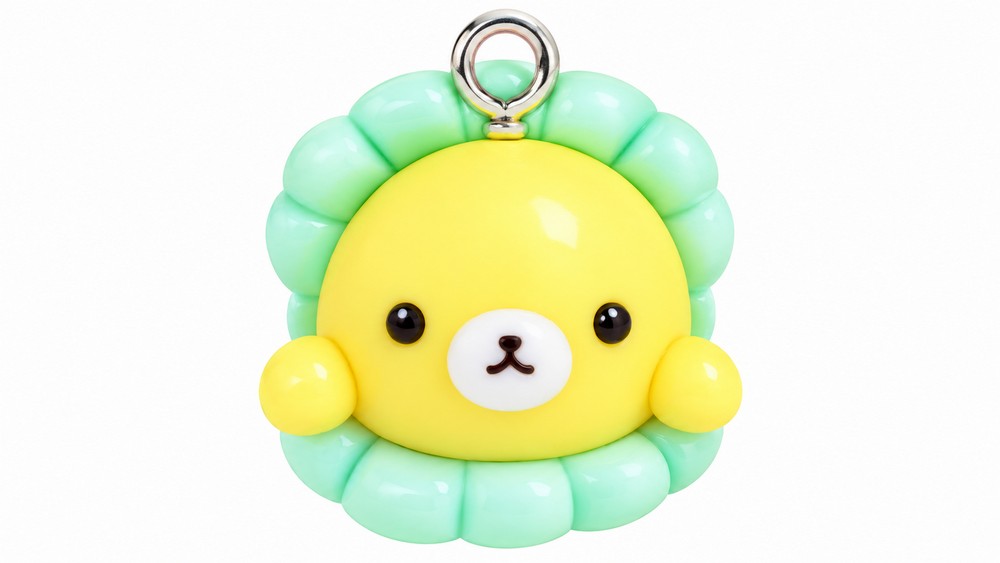
This Moga in a Clam pattern is a lighthearted and creative project that blends fun character creation with a charming marine theme. With its adorable facial features and playful shell design, it makes a great collectible, charm, or decoration for ocean lovers and polymer clay enthusiasts alike.
The pattern is simple to adapt and personalize—whether adding different colors, patterns to the clam shell, or variations on the Moga itself. Dive into your creativity and bring this cute sea creature to life!