Pair soft felt with DIY Furry Alpacasso Tsum With Polymer Clay for a fluffy little alpaca charm that keeps the rounded shape of a favorite stackable plush.
Plush toy fans often spot an Alpacasso by its woolly outline before they notice its face. That familiar fuzzy look is the heart of DIY Furry Alpacasso Tsum With Polymer Clay, a small alpaca project that borrows its low, rounded shape from stackable Tsum Tsum plushies.
DIY Furry Alpacasso Tsum With Polymer Clay
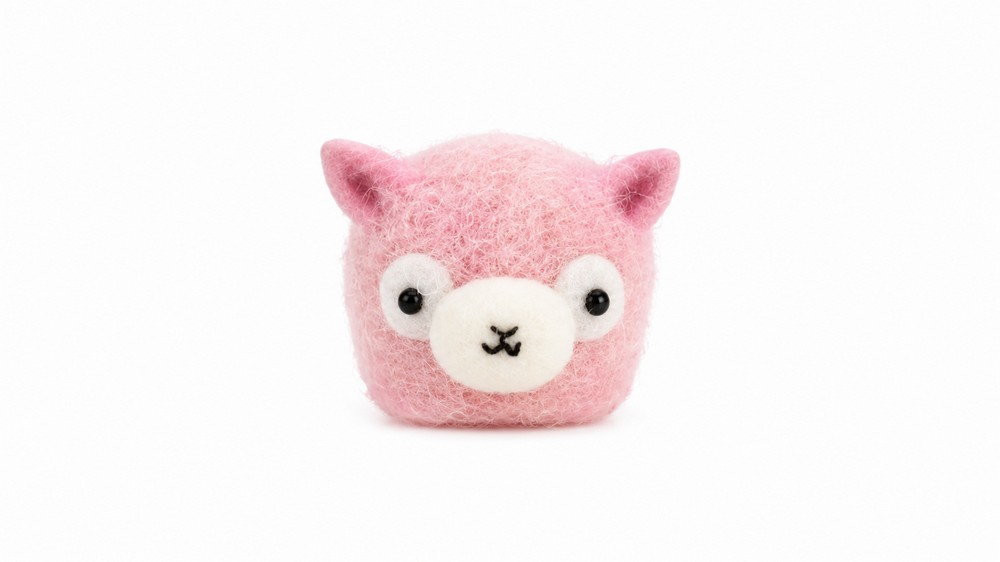
Here, polymer clay gives the alpaca its shape and felt gives it the appearance of fur. Seen from the side, the body has the squat profile of a plush toy resting on its belly. From the front, the face gives the soft outline a clear focal point. The contrast between those surfaces is especially nice up close, where you can see the difference between the felt fibers and the smooth clay.
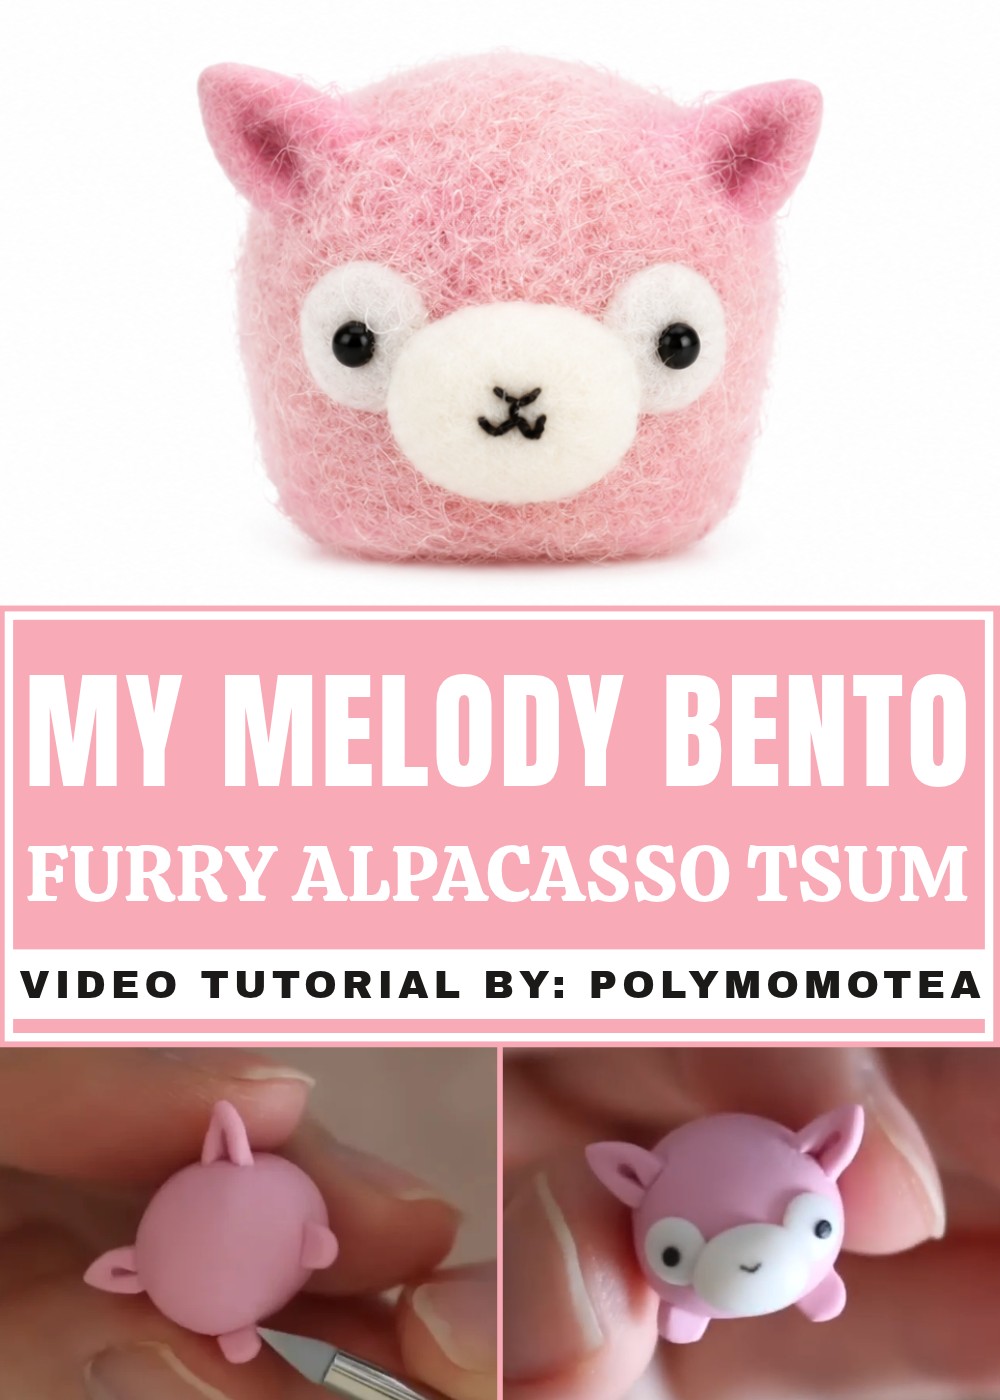
It helps to think of the body as one long, low form while you work. When planning where the felt will sit, leave the face easy to see so the fuzzy edge frames its expression. There’s room to play with color, too. Cream can give the coat a natural woolly look, while lavender or pink can pick up the feel of a pastel plush collection.
You could display the finished piece in a tray next to a favorite plush or fit it with an eye pin for use as a charm. Its compact shape also suits a small gift box for an alpaca fan.
About the Channel
On PolymomoTea, Alex Lee featured this alpaca in a Tsum Tsum Sunday video. His choice of felt shows how he works across materials when a project calls for a different surface. The finished piece fits in with the channel’s other small charms while borrowing its shape from a plush toy.
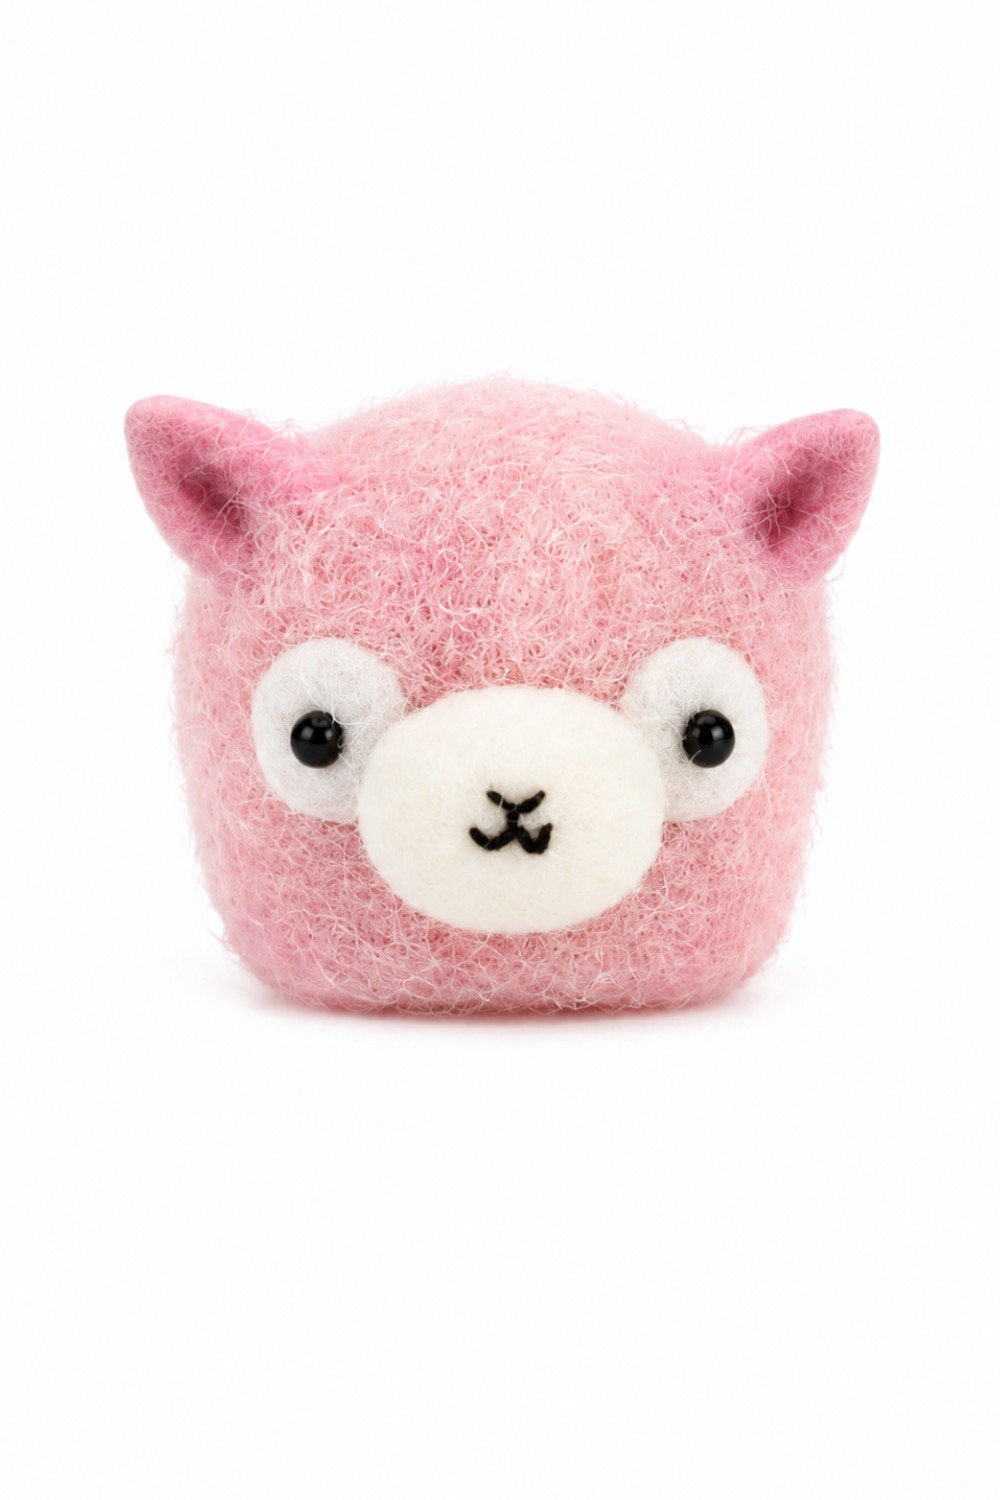
Alpacasso Tsum Tsum Charm Pattern
The Alpacasso Tsum Tsum charm is an adorable project that combines the fun of sculpting and the charm of a fluffy, cuddly alpaca. With a soft felt fur finish and a stackable shape, this miniature figure is both cute and customizable. Here's a step-by-step guide to creating your own Alpacasso Tsum Tsum using polymer clay, felt, and glue.
Materials & Tools
Materials
- Polymer Clay:
- Pink clay: For the body, ears, and feet.
- White clay: For the facial features.
- Black clay: For the eyes and nose.
- Pink Felt:
- Used to create the fluffy fur texture for the charm.
- Glue:
- Regular Elmer’s Glue or any basic school glue works well.
- Optional – Eye Pin:
- If you’d like to turn your Alpacasso into a charm rather than a figurine.
Tools
- Knife or Blade:
- For cutting and trimming clay and felt.
- Sculpting Tools or Fingers:
- For shaping and blending clay.
- Q-tips:
- For spreading glue evenly.
- Scissors:
- For trimming felt fur.
- Non-stick Work Surface:
- Protects your workspace and prevents clay from sticking.
- Oven:
- For baking the clay pieces (follow polymer clay package instructions).
- Piece of Scrap Clay (optional):
- To hold the baked Alpacasso charm upright while it dries.
Step-by-Step Instructions
Chapter 1: Shaping the Body and Features
- Create the Tsum Tsum Shape:
- Take a piece of pink polymer clay and roll it into a smooth ball.
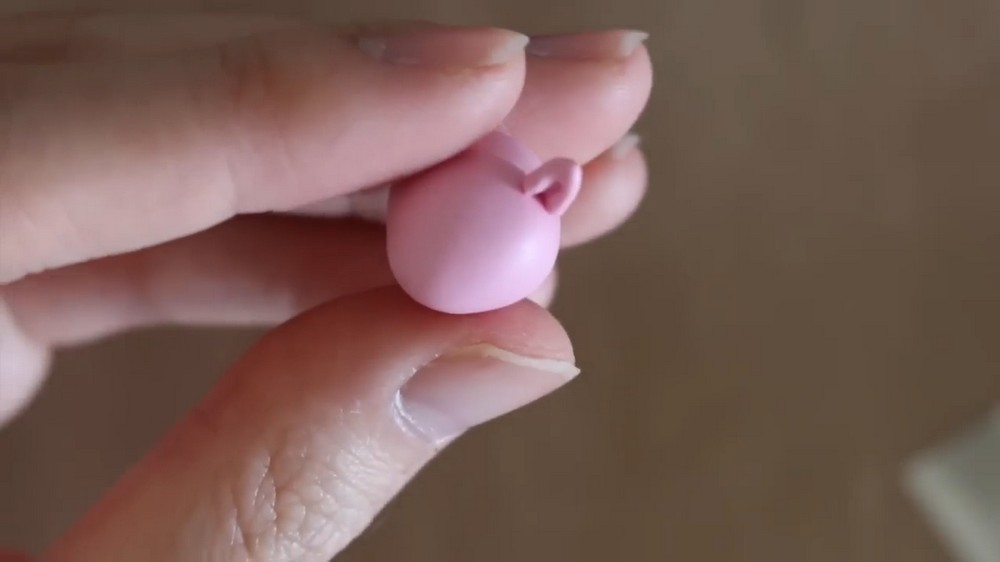
- Roll the ball into a cylinder shape and gently press one side to flatten it into an oval-like form. This will be the base of the Alpacasso body.
- Form the Ears:
- Roll out two small pieces of pink clay into tiny teardrop shapes.
- Flatten them slightly, then use a blade to trim the ends of each ear.
- Attach the ears to the top of the body using an eye pin to blend them seamlessly.
- Add the Legs:
- Roll out two small pieces of pink clay into short cylinder shapes.
- Flatten the cylinders slightly, slice each one in half, and attach them to the bottom sides of the body to create feet. Blend the edges into the body for a smooth appearance.
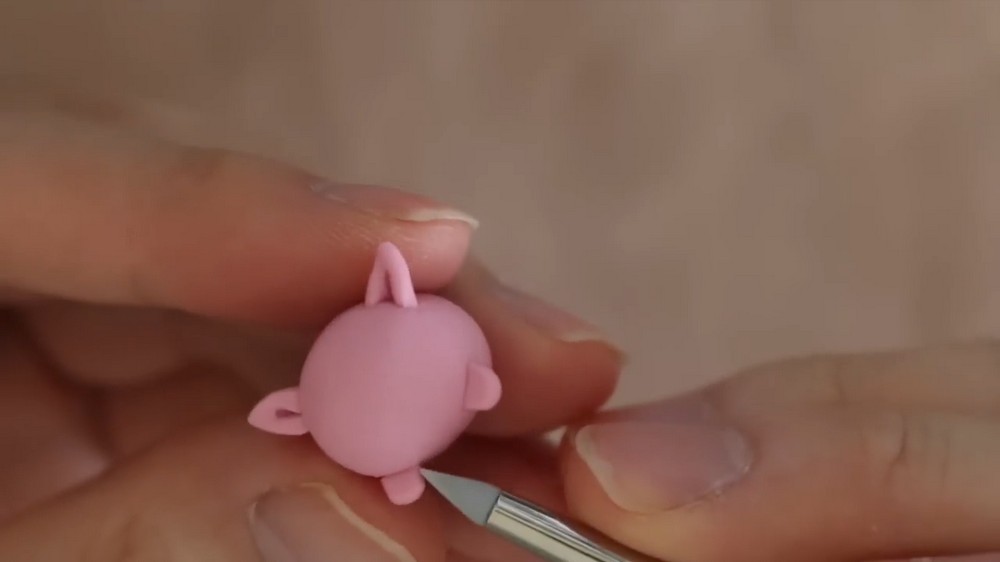
Chapter 2: Sculpting the Face and Tail
- Add the Facial Patches:
- Roll out two tiny pieces of white clay and flatten them into small discs, resembling pancakes.
- Carefully attach them to opposite sides of the head, near the sides of the face, and smooth them out.
- Add the Nostrils and Tail:
- Roll out a slightly larger oval-shaped disc from white clay and place it in the middle of the face, between the two smaller white patches. This will form the main facial area.
- For the tail, roll a small ball of pink clay, press it slightly, and attach it to the back side of the body.
- Eyes and Nose:
- Create two small balls from black clay and flatten them slightly, then position them on the white oval for the eyes.
- Roll out a very thin snake of black clay, shape it into a V with a line connecting at the bottom, and position it directly under the eyes to form the nose and mouth.
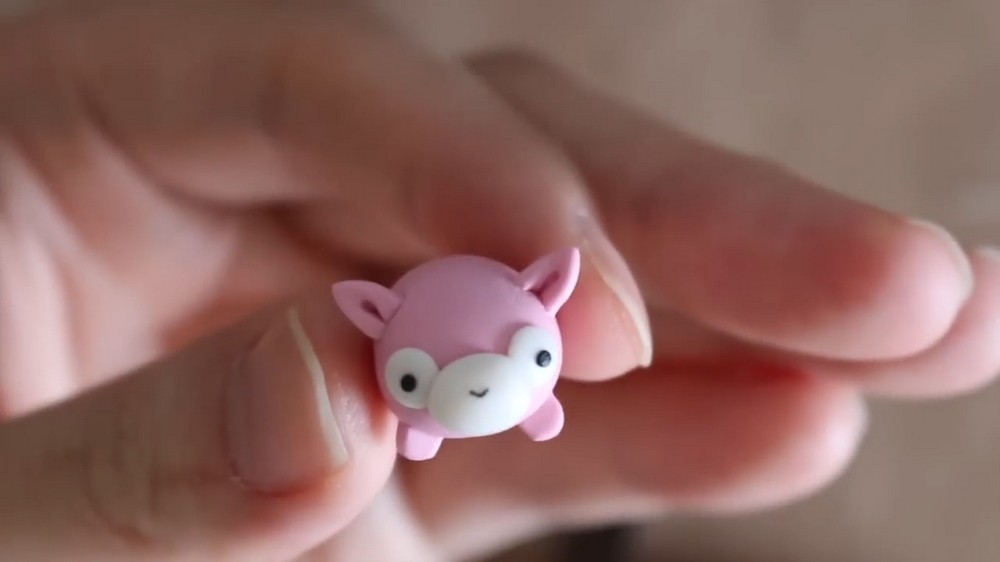
Chapter 3: Baking and Preparation
- Bake the Clay Figure:
- Place the completed Alpacasso charm on a non-stick surface and bake according to the instructions on the polymer clay package (typically 260°F - 275°F for 15–30 minutes).
- Allow the clay to cool completely before proceeding to the next steps.
- Optional – Add an Eye Pin:
- If you want your Alpacasso to be a charm, insert an eye pin into the top before baking. If you want it to remain stackable, leave the surface clean for easier stacking.
- Add Glaze (Optional):
- If preferred, glaze the charm with a thin layer of clear gloss to give it a shiny finish and help the glue adhere better in the next step. Allow the glaze to dry fully.
Chapter 4: Adding the Fur
- Prepare the Felt:
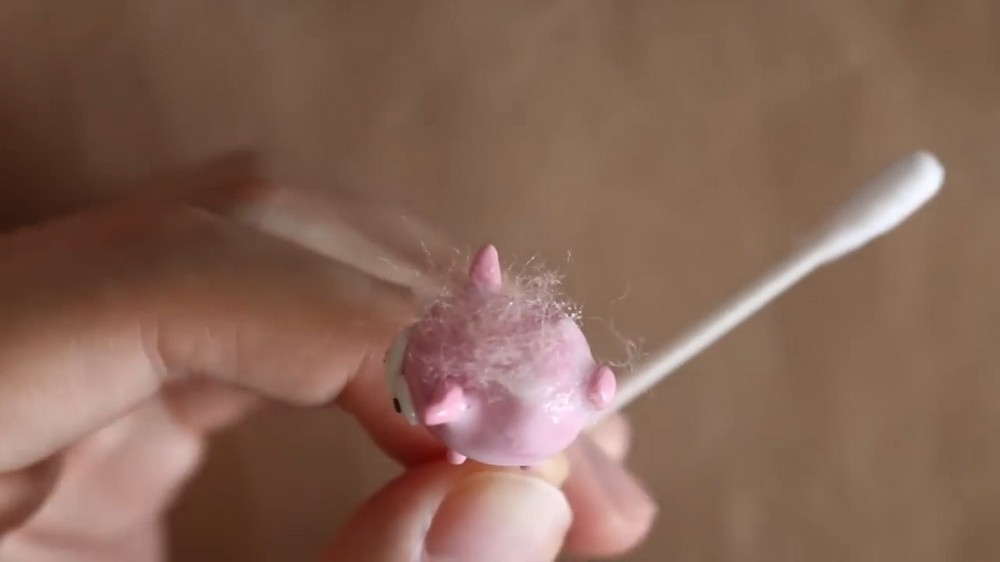
- Take a sheet of pink felt and begin pulling it apart to create a fluffy texture.
- Continue pulling until the felt becomes loose and airy, then trim the felt into small, irregular pieces using scissors. The smaller the pieces, the more natural the fur will appear.
- Attach the Felt:
- Apply a thin, even layer of Elmer’s Glue to the surface of the clay. Avoid adding too much glue, as it can clump the fur.
- Using your fingers or a Q-tip, gently press the felt pieces onto the charm. Repeat this process until the entire body is covered in fur.
- Trim Excess Fur:
- Once the glue has dried, use a pair of scissors to carefully trim the excess felt, ensuring that only a light, even layer of fur remains on the surface of the charm.
Chapter 5: Final Touches
- Inspect and Adjust:
- Make sure all felt pieces are securely in place and trim any uneven edges for a polished look.
- Leave to Dry:
- Place the Alpacasso charm upright on a piece of scrap clay or another non-stick surface, allowing it to dry completely without smudging the fur.
Conclusion
With its fluffy felt fur, adorable face, and compact Tsum Tsum shape, the Alpacasso charm is a delightful project for creating a playful figurine or charm. This easy-to-follow tutorial offers a unique blend of clay sculpting and fabric crafting, making it a fun and versatile craft for beginners and advanced creators alike. The felt fur adds a whimsical texture that brings this lovable alpaca to life, and you can customize the colors and size to suit your style.