Give your desk a dose of movie mischief with a DIY Polymer Clay Mini Minion inspired by the Au Naturel look from the 2015 film and its funny leaf outfit.
Round goggles can do most of the work in a sculpture this small. DIY Polymer Clay Mini Minion takes its cue from the Au Naturel character look featured around the release of the 2015 Minions film. Think of a yellow body with green leaf details and a goggle rim that gives the little face most of its expression. The leaf outfit changes the whole color balance and helps the figure stand out beside other movie miniatures.
Leaf Outfit for a DIY Polymer Clay Mini Minion Figure
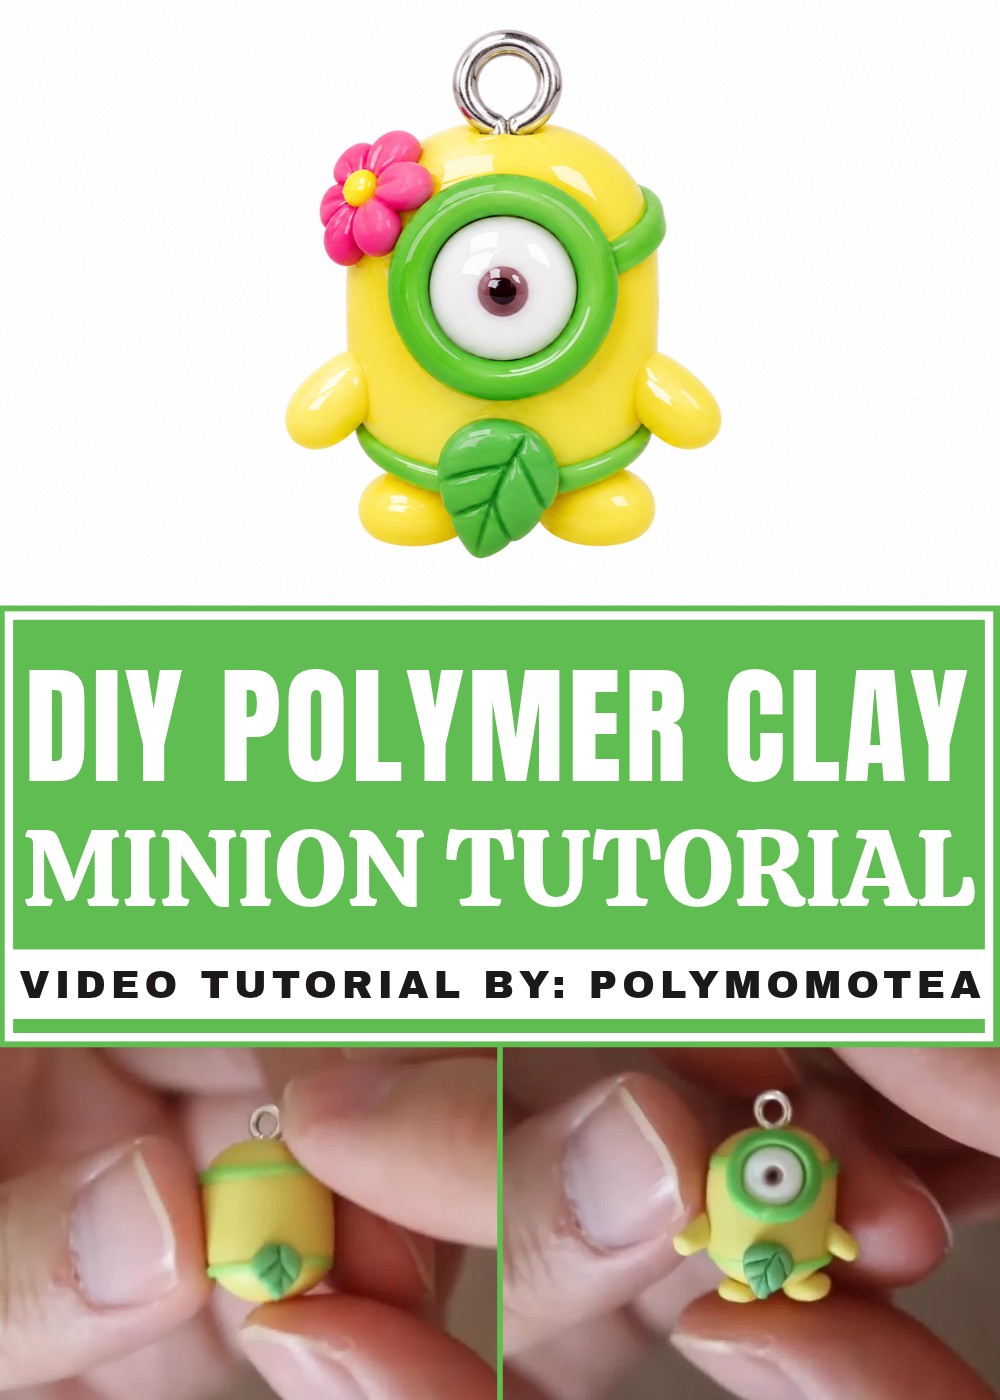
Pick an expression early. Placing the pupil slightly to one side can give the character a sneaky look, while a forward gaze suits a wide grin. For your own take on the leaf outfit, flatten a few bits of green clay and draw a line down the center of each one. Let the leaves overlap a little so the outfit looks like separate pieces around the waist. Keep the lines shallow, since a deep groove can split a leaf when you press it into place. Give the strap around the head a similar width all the way around so the goggles sit level.
Inside the PolymomoTea Channel
In 2015, Alex Lee marked the release of the Minions film with an Au Naturel clay figure on PolymomoTea. Choosing a particular movie outfit gave his miniature its own identity. It’s an example of how the channel uses a small costume detail to capture a specific version of a character.
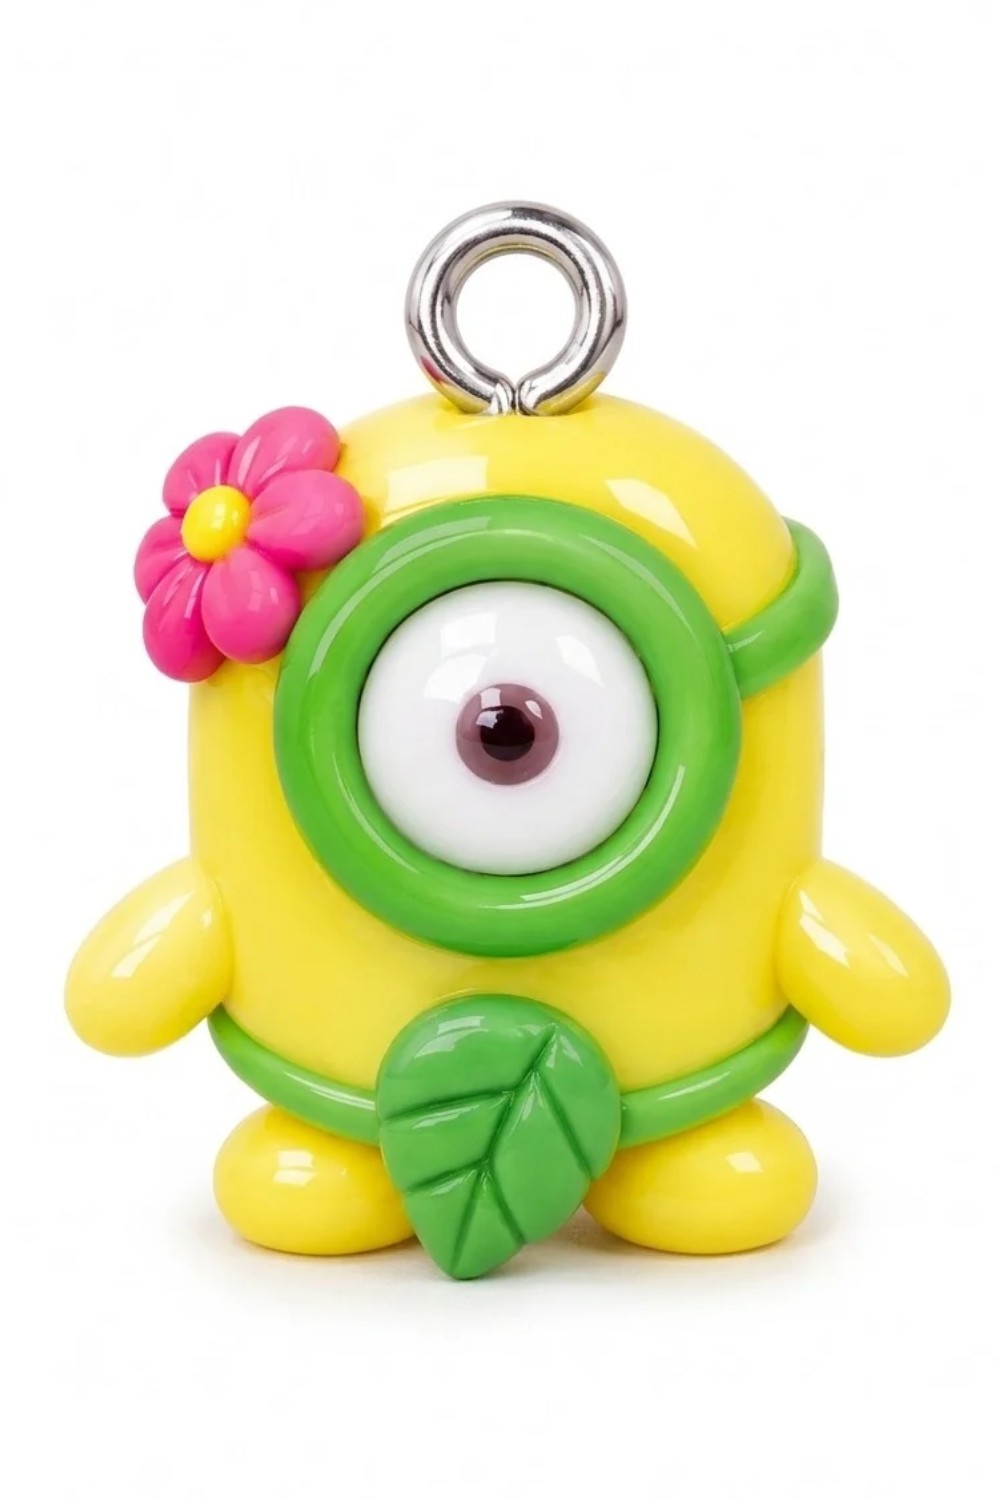
Au Natural Minion Polymer Clay Pattern
This pattern is inspired by the playful and tropical theme of the Minion characters from the popular Minions movies. Specifically, it captures the "au natural" version of a Minion, complete with a leaf skirt, starfish hat, and minimalist design. This adorable polymer clay figure is simple to make and offers opportunities for fun customization. Perfect for all skill levels, this project combines basic clay shaping techniques with easy detail work for a charming result.
Materials & Tools
Materials
- Yellow polymer clay – For the Minion’s body, feet, and arms.
- Green polymer clay – For the goggles strap, skirt, and leaves.
- White polymer clay – For the eye.
- Brown polymer clay – For the iris.
- Black polymer clay – For the pupil.
Optional Materials
- Miniature star mold – For creating the starfish decoration.
- Eye pin – For turning the Minion into a charm or keychain.
Tools
- Rolling pin or clay roller – For flattening clay to an even thickness.
- Blade or craft knife – For cutting clay strips and shaping details.
- Dotting tool (or a toothpick) – For making textures, indentations, and holes.
- Oven and baking tray – To cure the polymer clay pieces (follow specific brand instructions).
Step-by-Step Instructions
1. Sculpting the Minion’s Body
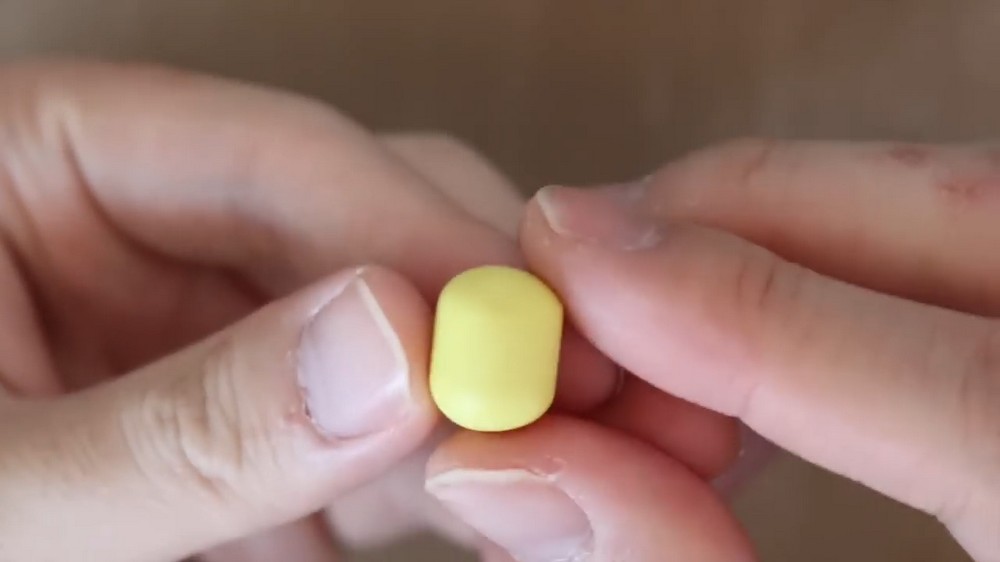
- Shape the base cylinder:
- Take yellow clay and roll it into a smooth, fat cylinder.
- Keep the edges rounded, as this will form the main body of the Minion. Adjust the height and width of the cylinder to match the desired size of your figure.
- Insert an eye pin (optional):
- If you’re planning to turn your Minion into a charm, insert an eye pin into the top of the cylinder at this stage. This will ensure it’s secure once baked.
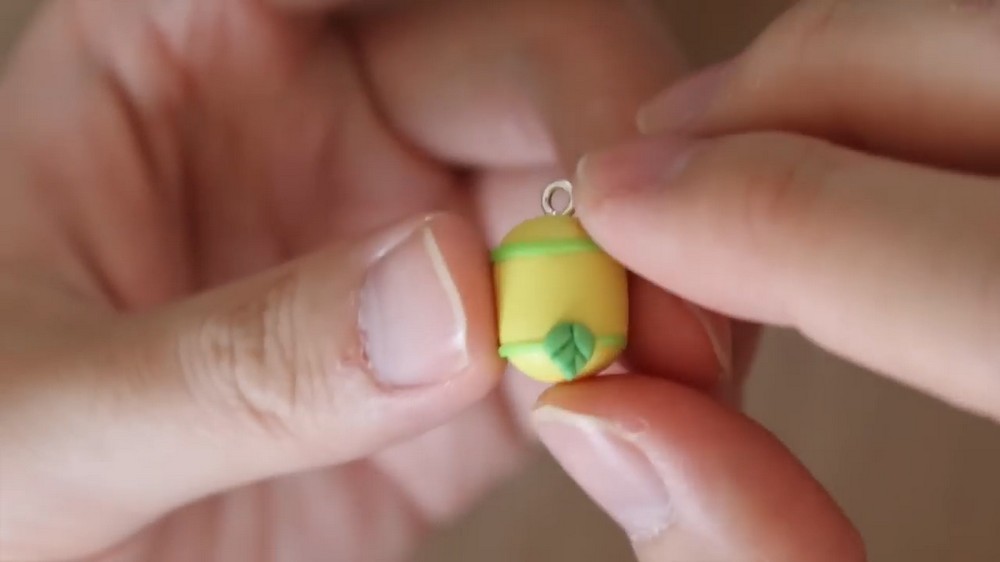
2. Creating the Goggles Strap
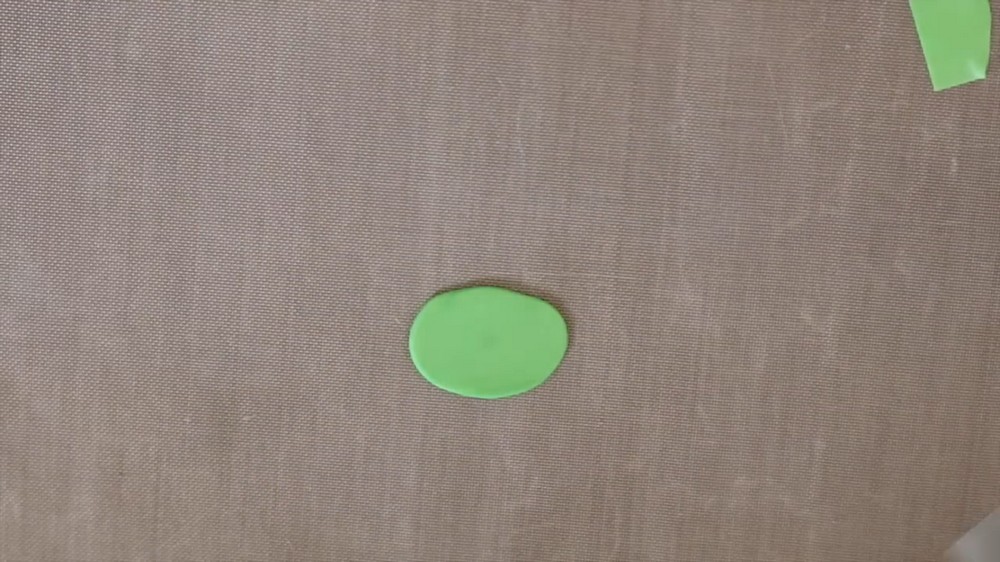
- Roll out green clay:
- Roll green clay into a flat sheet using a roller or smooth object. Keep the thickness thin but sturdy enough to hold its shape.
- Cut the goggles strap:
- Use a blade or knife to cut out a thin, rectangular strip from the rolled green clay.
- Wrap the strap around the Minion’s head:
- Position the strap around the top section of the cylinder, wrapping it around the “forehead” area.
- Trim any excess clay where the two ends meet, and press lightly to smooth the seam.
3. Crafting the Eye and Goggle
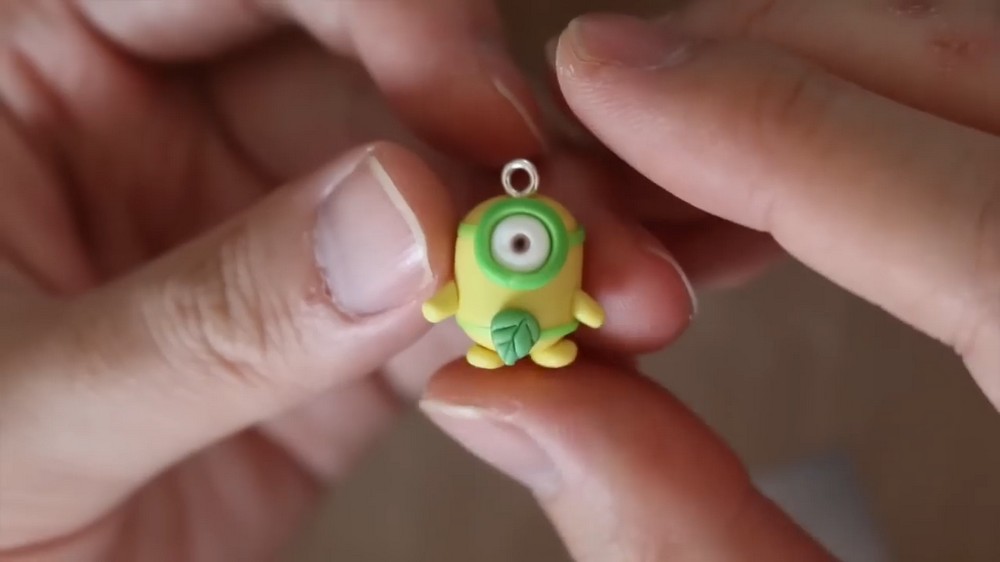
- Make the white base for the eye:
- Roll a small ball of white clay and flatten it into a "fat pancake" shape. This will form the white base of the eye.
- Create the green goggle frame:
- Roll out green clay into a medium-thick sheet.
- Cut a rectangular strip, roughly the height of the white base. Wrap this strip around the edge of the white pancake to create a 3D goggle frame. Trim and join the edges neatly.
- Add the iris and pupil:
- Make a small indentation in the center of the white part using a dotting tool.
- Roll out a small ball of brown clay and press it into the indentation to form the iris.
- Roll an even smaller ball of black clay and place it in the center of the iris to form the pupil.
- Attach the assembled eye to the Minion’s head:
- Press the finished eye (goggle and all) onto the Minion’s face, aligning it over the goggle strap.
- Position it where the ends of the green strap meet to hide the seam.
4. Making the Grass Skirt or Leaves
- Create the green strip for the base of the skirt:
- Roll out green clay into a thin sheet. Cut another rectangular strip, wider than the goggle strap, as this will become the skirt’s base.
- Wrap the green strip around the body:
- Position the strip lower on the body, near the bottom part of the Minion. Wrap it around evenly, trimming and joining the edges at the back. This will serve as the base for adding leaves.
- Sculpt the leaves:
- Take small pieces of green clay and pinch them into teardrop shapes.
- Use a blade or needle tool to etch leaf vein patterns onto each teardrop.
- Attach the leaves to the skirt:
- Place the leaves in the front center and back center of the skirt base, overlapping slightly for a natural effect. Press gently to secure them.
5. Creating the Feet
- Shape and flatten the feet:
- Roll out two small ovals from yellow clay.
- Slightly flatten each oval to create foot-like shapes that align with the proportions of the Minion’s body.
- Attach to the body:
- Position the feet at the bottom of the cylinder-shaped body and press them gently to attach. Ensure the Minion can stand upright with balance.
6. Adding the Arms
- Roll and shape the arms:
- Take yellow clay and roll it into a thick snake-like shape.
- Cut the snake into two equal pieces, each slightly longer than the desired arm length.
- Shape the arm ends:
- Cut each arm piece at a slight diagonal angle at one end. This diagonal cut will make the arms sit more naturally when attached to the body.
- Attach to the body:
- Position the arms on either side of the Minion’s body, with the diagonal ends pressed firmly into the sides. Use a tool or your fingers to blend the edges into the body for a smooth attachment.
7. Decorating with a Starfish
- Shape the starfish:
- If you have a star mold, press some colored clay (e.g., pink) into the mold to create a small star shape.
- If you don’t have a mold, you can free-form a star by rolling five equal-sized teardrop shapes and attaching them in a star pattern.
- Add texture with a dotting tool:
- Use a dotting tool to poke holes in the center and ends of each starfish arm to give it added detail.
- Place the starfish on the head:
- Position the starfish on top of the Minion’s head, pressing gently to secure it. It serves as a decorative headpiece, adding a fun island-themed touch.
8. Baking the Minion
- Bake the entire figure:
- Place the Minion on a baking tray lined with parchment paper or foil.
- Bake according to the instructions for your polymer clay (usually 110–130°C / 230–275°F for 15–30 minutes depending on size).
- Cool completely:
- Once baked, let the figure cool completely before touching it to avoid damage.
Conclusion
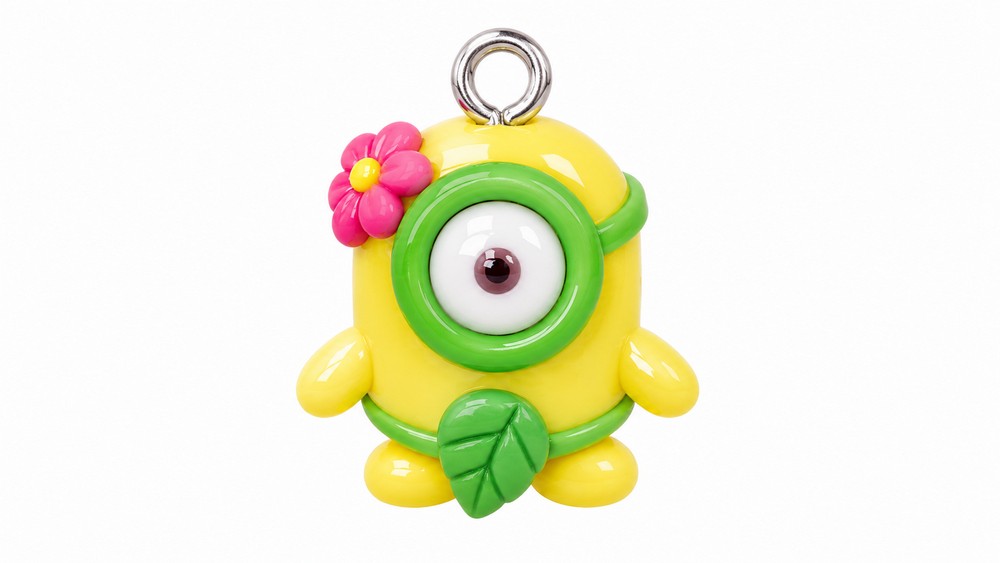
This au natural Minion design is a charming project that brings the tropical humor of Minions to life with clay. From the simple cylinder body to the adorable accessories like the starfish and skirt, this craft balances playfulness with straightforward techniques.
You can customize the Minion by creating variations, such as adding a flower to the head, sculpting different skirts, or changing the goggle style. Whether displayed as a decoration or used as a keychain, this little Minion is a cute and fun craft for polymer clay enthusiasts. Perfect for fans of Minions or anyone wanting to try a lighthearted sculpting project.