Pack a tiny lunch with this DIY My Melody Bento Polymer Clay idea and turn a favorite Sanrio character into a playful display for a miniature food collection.
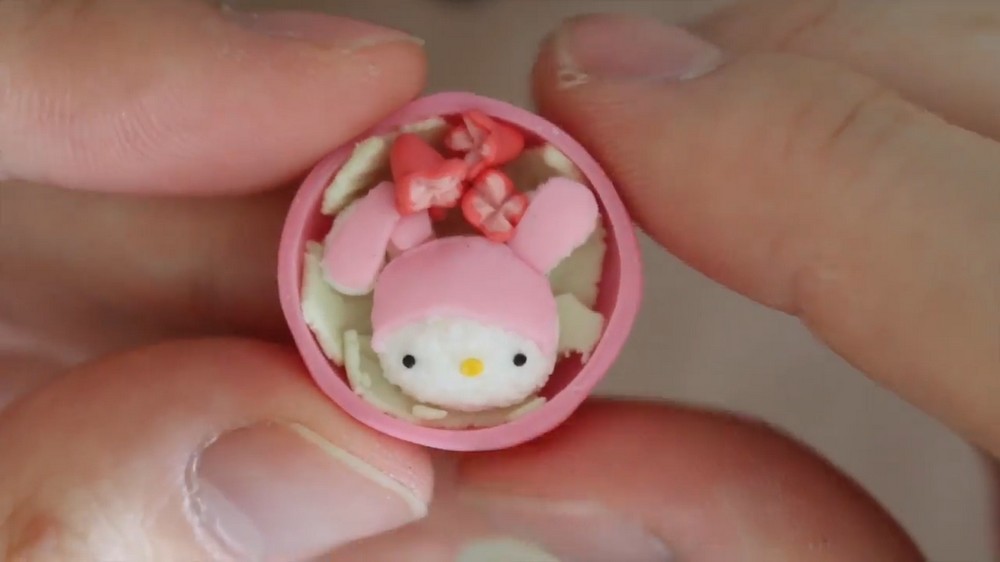
Lunch looks especially playful when the arrangement leaves room for a familiar face. DIY My Melody Bento Polymer Clay is a miniature lunch box inspired by the Sanrio character, with little food shapes arranged around her. My Melody’s hood is her signature feature. Its long ears and the light face inside give the eye a clear place to land when you look into the box.
Tiny Lunch With DIY My Melody Bento Polymer Clay
Think about how everything fits before pressing the pieces together. Leave space around the ears so their outline stays visible, then fit the smallest shapes into the open corners. Comparing a round piece with a flat or ridged one can help you decide where the side dishes look best. You might repeat one color on opposite sides to draw the eye across the box, then leave a little of the tray visible around the edge.
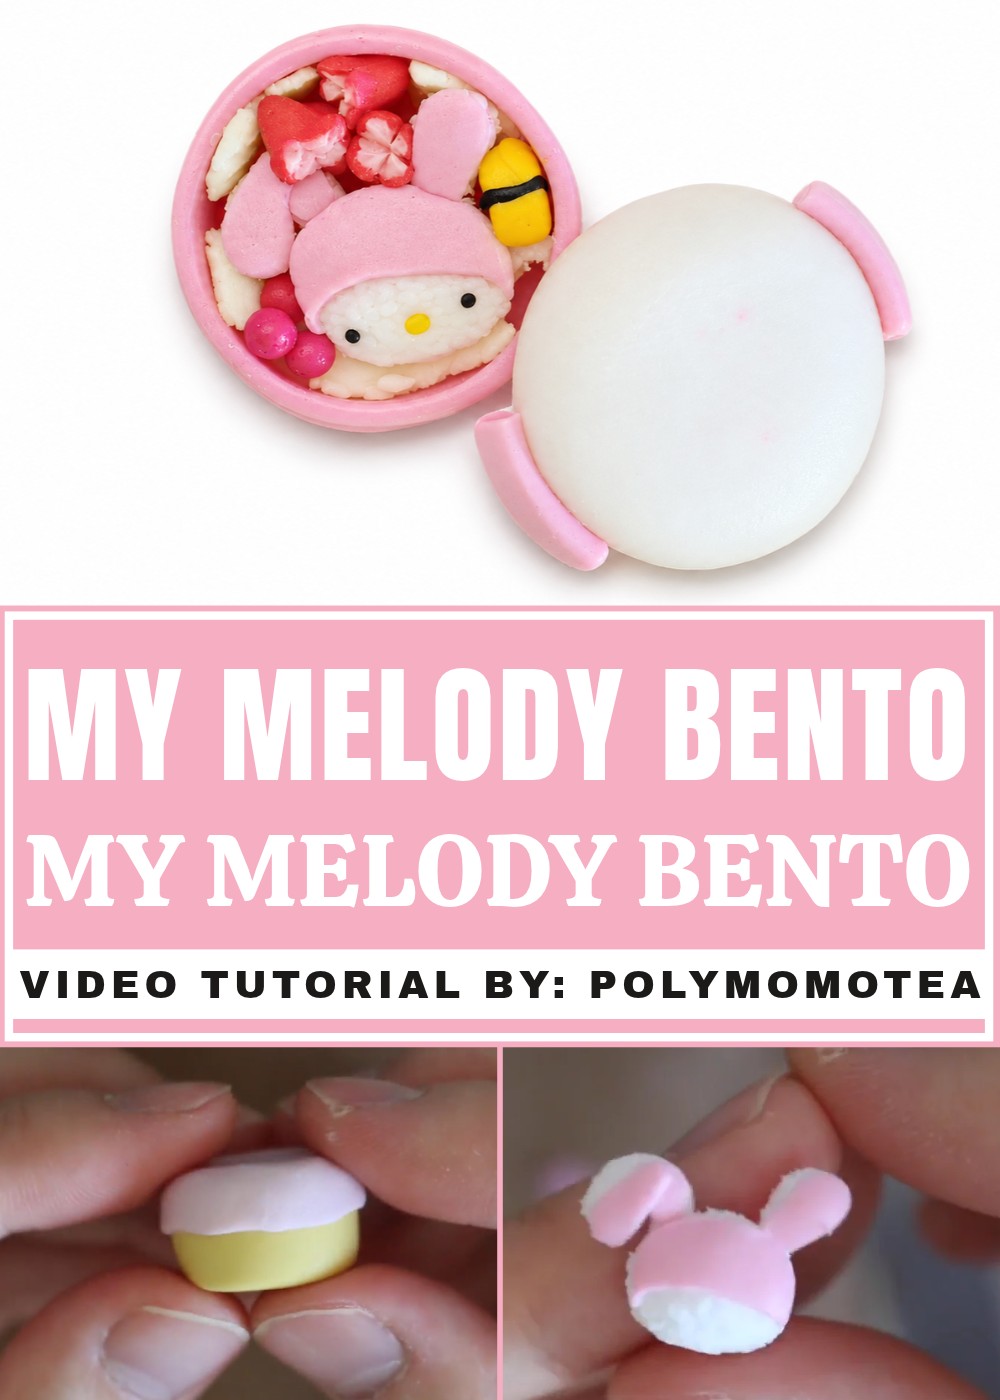
Set the miniature down and look straight over it before settling on the layout, since the whole lunch is easiest to see from above. Display it on a small dollhouse kitchen table or give it to someone who collects Sanrio items. For a simple photo, place the bento on plain paper and shoot from overhead, where the spacing between the food shapes and the outline of the hood are both easy to see.
About the Bento Collaboration
For this bento project, Alex Lee teamed up with Mini Cute Club to show two takes on a lunch box. Lee modeled his version in clay for PolymomoTea, while Mini Cute Club prepared a version with real food. Side by side, the projects show how one character can guide a miniature and a meal.
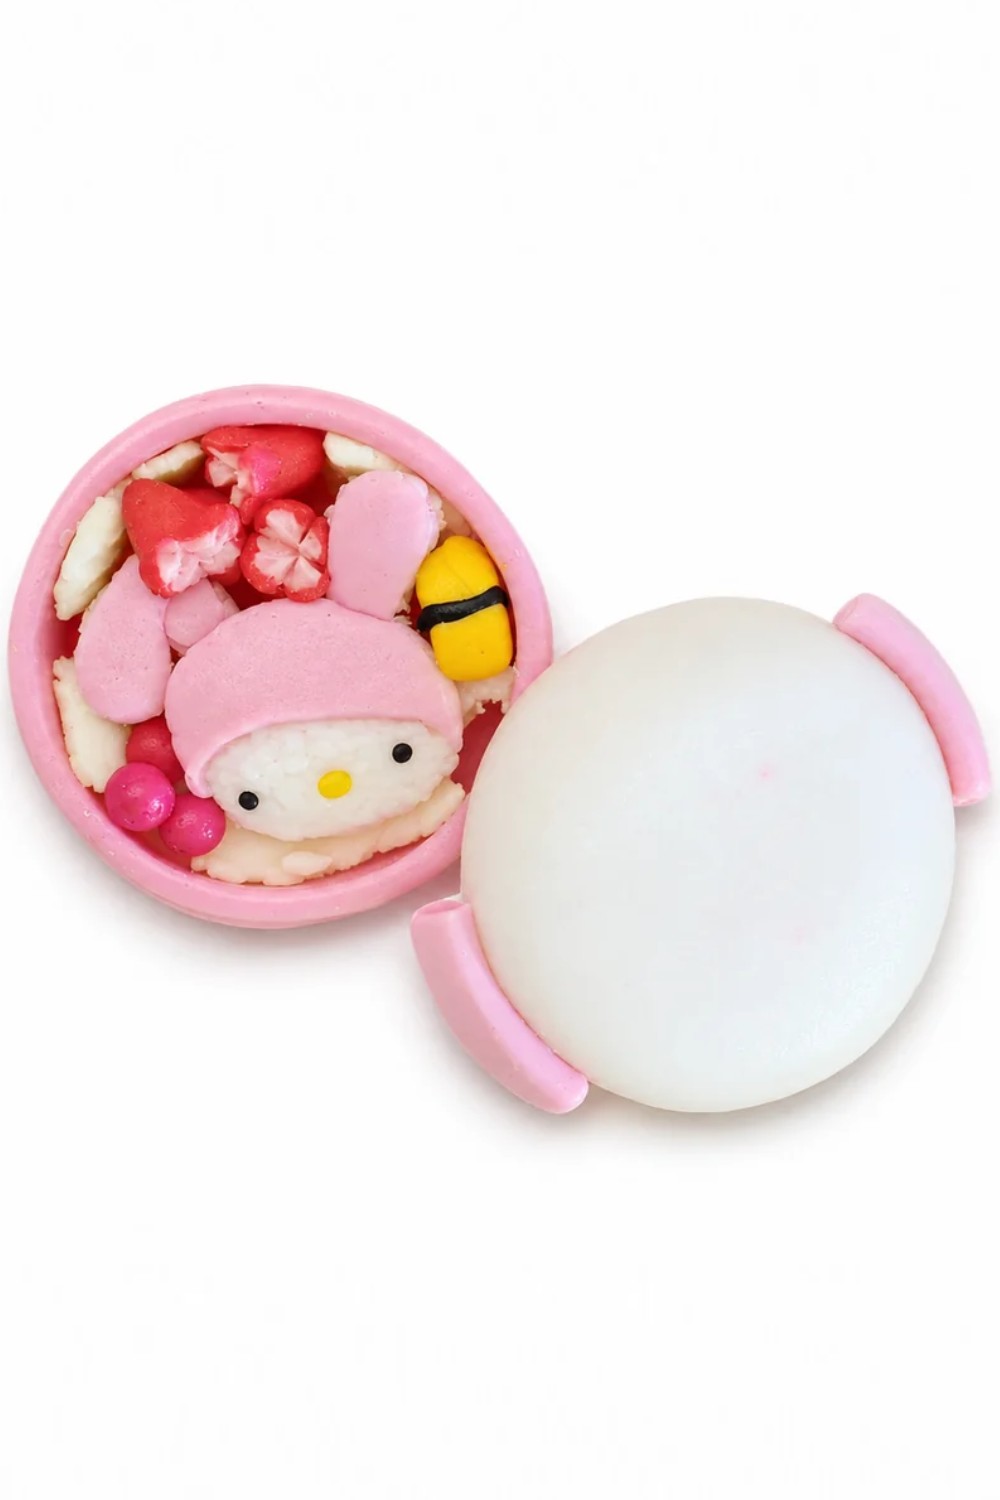
My Melody Bento Box Polymer Clay Pattern
This pattern shows how to create a polymer clay bento box inspired by My Melody, focusing on crafting adorable miniature food and playful character details. Bento boxes are famous as a way to creatively style food, add decorative touches, and make meals fun, and this polymer clay version channels all that cuteness through a miniature art piece!
Materials & Tools
Polymer Clay
- Pink clay: For the bento box body, My Melody’s hat, the lid, and decorative elements.
- White clay: For My Melody’s rice head and translucent elements like lettuce.
- Green clay (tiny amount): Mixed with translucent clay for lettuce.
- Yellow clay: For the egg strip and the nose (cheese).
- Black clay: For seaweed details, ribbon, and egg edge decoration.
- Red clay: For the sausage octopus and tomato elements.
- Salmon-colored clay: For mixing with red clay in the sausage octopus.
- Translucent clay: For rice and lettuce textures.
Tools
- Silicone mold putty: Used as a temporary wheel structure for the box molding.
- Rolling pin or clay roller: For creating smooth, flat sheets of clay.
- Fine sandpaper and water: For smoothing bento box edges after baking.
- Dotting tool / Needle tool / Blade: For fine details like texturing, cutting, and marking shapes.
- Cookie cutter (crescent moon shape): For cutting My Melody's hat.
- Oven and baking tray: To bake the polymer clay pieces (follow brand instructions).
Step-by-Step Instructions
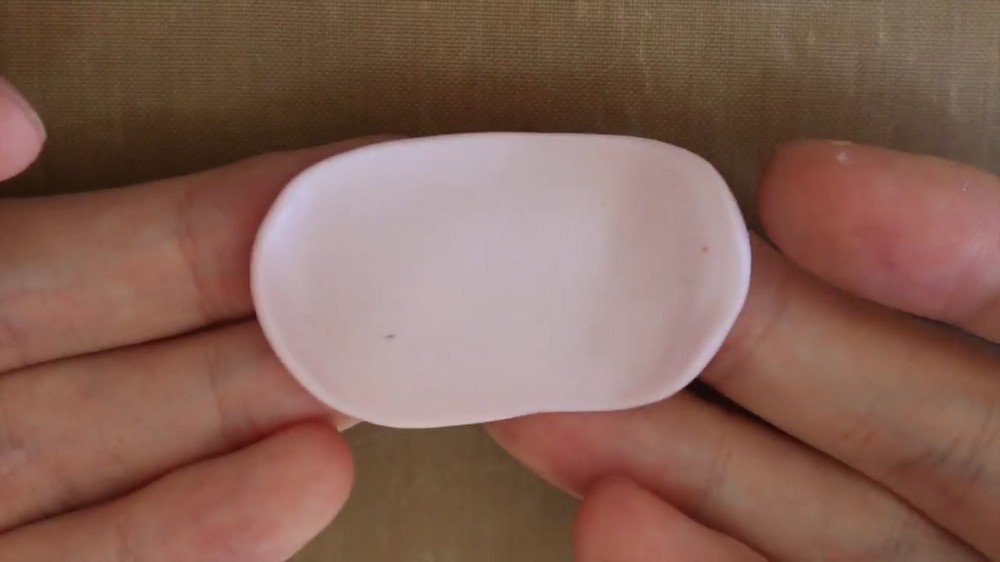
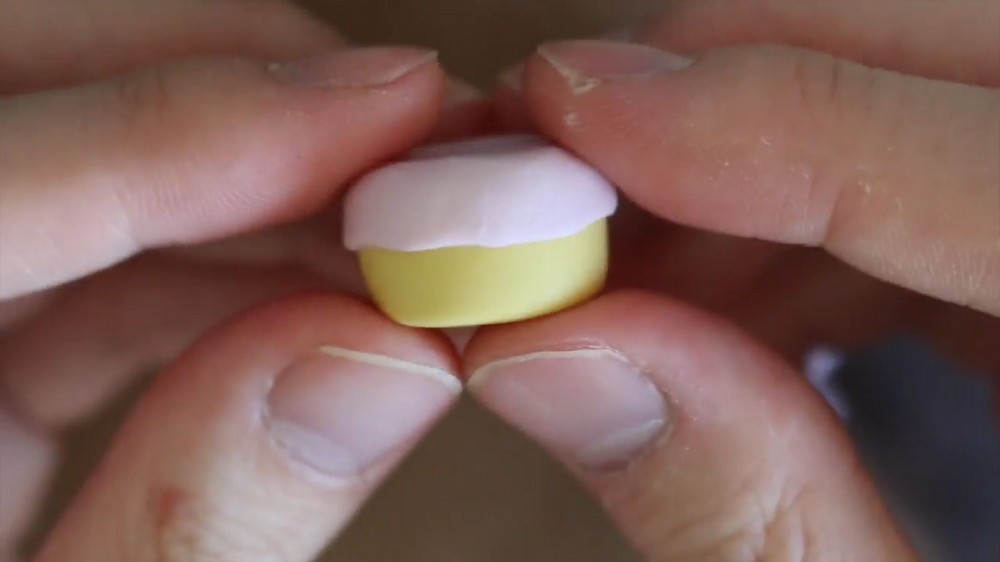
1. Making the Bento Box Structure
- Create the base box shape:
- Choose a color for the box (pink is suggested for this theme).
- Roll the clay flat into a smooth sheet using a roller or similar cylindrical object.
- Wrap the clay around a wheel-shaped support:
- Use silicone mold putty or a similar circular support to shape the box structure. Wrap the clay sheet around the mold.
- Cut off excess clay from the edges using a craft knife or blade.
- Repeat for the top lid:
- Repeat the same process to form the top lid of the box. Place the clay for the lid on a similar mold or hand-shape it with careful smoothing.
- Bake the clay pieces:
- Bake both the top and bottom of the box (along with the mold if it's safe for baking). Follow the polymer clay brand's baking instructions (typically around 110–130°C / 230–275°F for 15–30 minutes).
- Smooth the edges:
- Once baked, remove the box shapes from the molds. Use fine sandpaper and water to smooth out jagged or uneven edges for a polished look.
2. Creating the Lettuce Base
- Color mixing:
- Mix translucent clay with a small amount of green clay for a soft, natural lettuce color.
- Roll and tear into organic shapes:
- Roll out the translucent-green mixture into a flat sheet. Use your fingers to tear pieces off the sheet, leaving jagged edges for that organic lettuce look.
- Texturing:
- Use a dotting tool to etch leaf-like patterns or veins onto the torn lettuce pieces.
- Arrange in the box:
- Lay the pieces at the bottom of the bento box and over the sides, creating a natural base for all the upcoming food items.
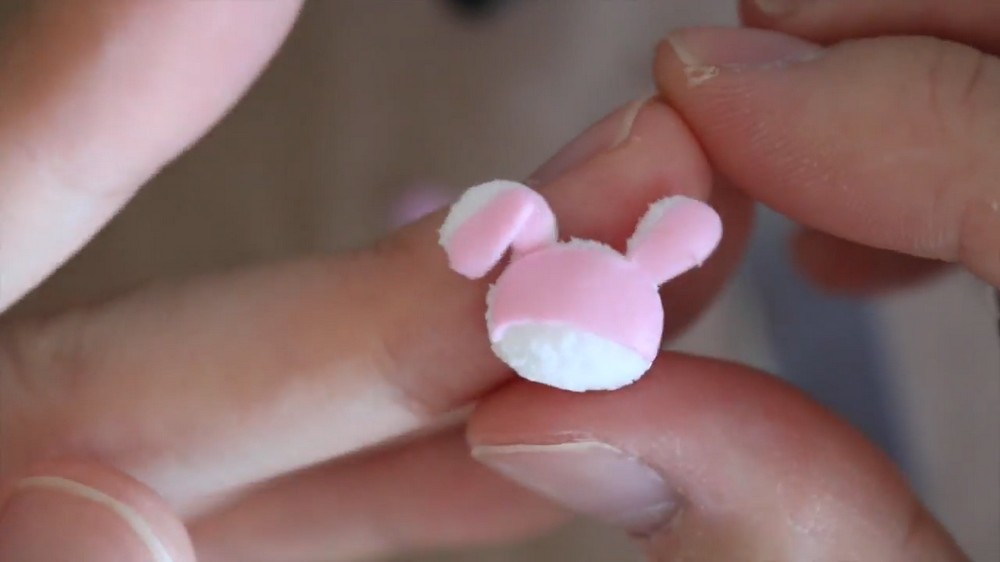
3. Crafting My Melody (Rice)
- Form the head:
- Use white translucent clay to make an oval shape for My Melody’s face.
- Shape the ears:
- Roll two short cylinders of white clay. Thin out one end of each cylinder slightly, giving them a tapered look.
- Attach the ears to the sides of the oval head, blending the bases smoothly.
- Texture like rice grains:
- Using a needle tool or blade, gently etch tiny markings across the surface of My Melody’s head and ears to mimic the texture of rice grains.
4. Making My Melody’s Hat
- Roll out pink clay:
- Roll pink clay into a smooth, thin sheet with a roller.
- Cut out the main hat shape:
- Use a cookie cutter or a blade to carve out a crescent moon shape for My Melody’s headpiece. Attach this to the top of My Melody’s rice head and blend it slightly into the edges.
- Cut the ears' hat pieces:
- For the right ear, make one large exclamation mark-shaped piece from pink clay.
- For the left ear, cut two smaller exclamation mark shapes and combine them. Attach these pieces over the ears and blend them onto My Melody’s hat.
- Place into the box:
- Once completed, place My Melody’s rice figure into the bento box.
5. Adding My Melody’s Face Details
- Create seaweed eyes:
- Roll two small black clay balls and place them symmetrically as My Melody’s eyes. Position them carefully near the center of the face.
- Add a cheese nose:
- Roll yellow clay into a small oval and place it under the eyes as My Melody’s nose.
- Final adjustment:
- Make sure the facial features are proportionate and evenly spaced. The simplicity of the face adds to the charm.
6. Crafting the Sausage Octopus
- Mix red and salmon clay:
- Combine a small amount of red clay with salmon-colored clay to create a subtle color contrast.
- Shape the octopus body:
- Roll the clay mixture into a small cylinder and cut it into equal pieces for each octopus body.
- Cut into legs:
- At one end of the cylinder, use a blade to make an X-shaped cut. Pull the pieces apart slightly—and voila! You now have octopus legs.
- Position in the box:
- Arrange the octopus sausages around My Melody rice in the bento box.
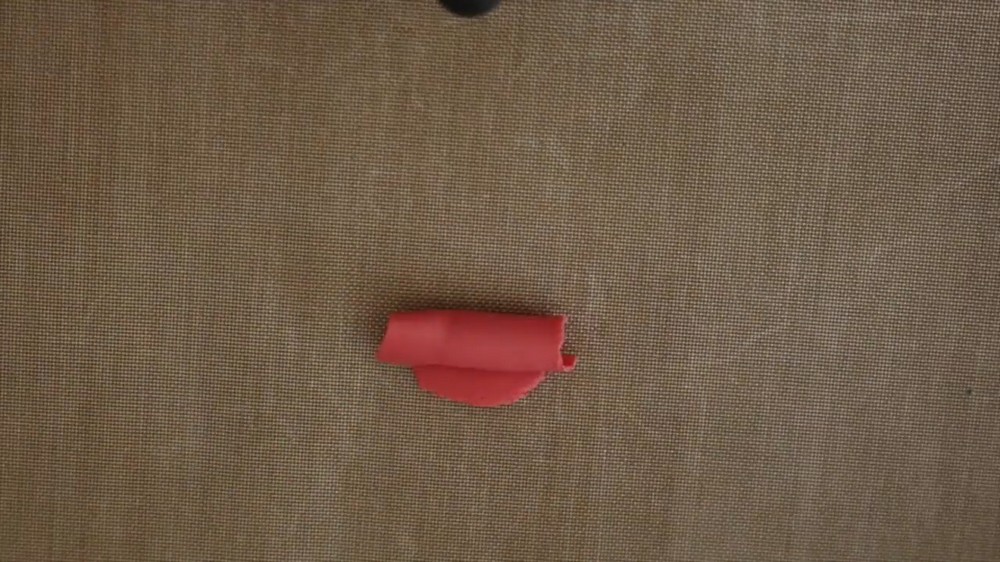
7. Adding the Egg Strip Decoration
- Prepare the egg clay:
- Roll out yellow clay into a thick, smooth strip.
- Shape the egg:
- Fold the yellow strip in half to create the folded “egg omelet” look often found in bento boxes.
- Use a blade to create small edge markings, giving the egg a realistic texture.
- Add seaweed:
- Roll thin black clay into a snake and wrap it around the folded egg for decorative seaweed strips.
- Place in the box:
- Find an empty spot in the bento box and nestle the egg strip neatly into place.
8. Finishing Touches
- Fill with tomatoes:
- Roll small red clay balls and scatter them into one of the remaining empty spaces. These simulate cherry tomatoes, adding a vibrant color accent to the design.
- Create the lid:
- Roll pink clay into a thick snake and flatten it with a roller. Cut the flattened snake into equal strips and use these to outline the lid’s edges, giving the box a polished, functional appearance.
Conclusion
This My Melody-inspired bento box charm blends the art of crafting adorable miniatures with the love of Japanese culture and foods. From the rice-textured My Melody head to the sausage octopus and lettuce, each element is charmingly designed in meticulous detail.
The final bento box can serve as a fun decoration, a keychain, or even a desk display for any Sanrio fan or lover of Japanese aesthetics. Personalize the colors, food arrangements, and box size as desired, and enjoy the creative process of building your miniature world!