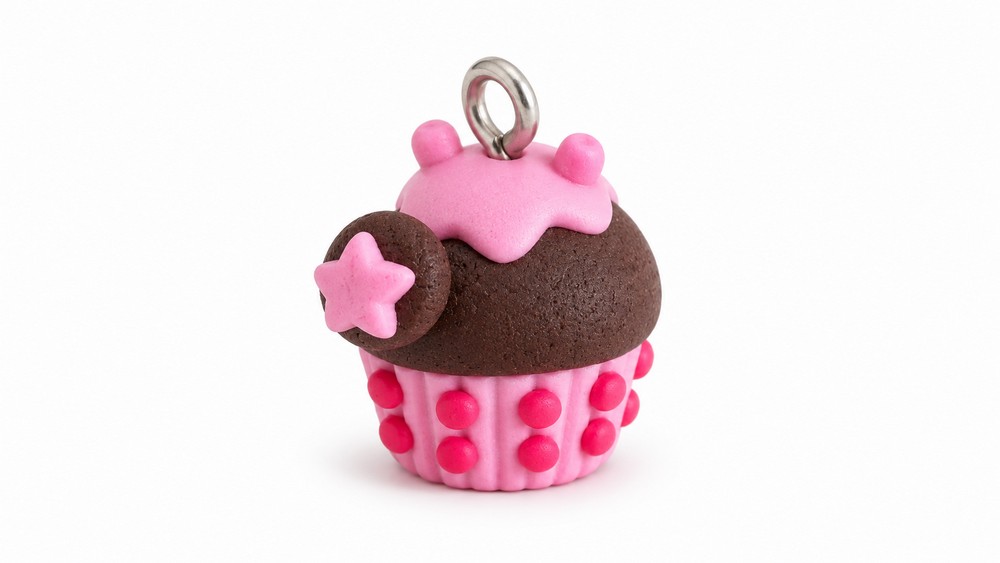
Save this DIY Who Dalek Cupcake Polymer Clay idea for a Doctor Who fan who would love a tiny sci-fi dessert to display beside their favorite collectibles.
Putting a familiar Doctor Who villain on top of a tiny dessert is the joke behind this miniature. The DIY Who Dalek Cupcake Polymer Clay idea pairs a recognizable sci-fi shape with the look of a bakery treat. It’s the kind of piece a fan might spot halfway across a room, then move closer to see how the two designs fit together.
DIY Who Dalek Cupcake Polymer Clay For Sci-Fi Shelf Decor
Daleks have a dome, a single projecting eyestalk, and rows of round bumps. Those features give you enough to work with at cupcake scale. A ridged base suggests a paper wrapper, while the curved top leaves room for the character details. You could press shallow lines around the base first so the wrapper reads clearly from every side. On the upper half, keep the bumps evenly spaced and leave some room around the eyestalk.
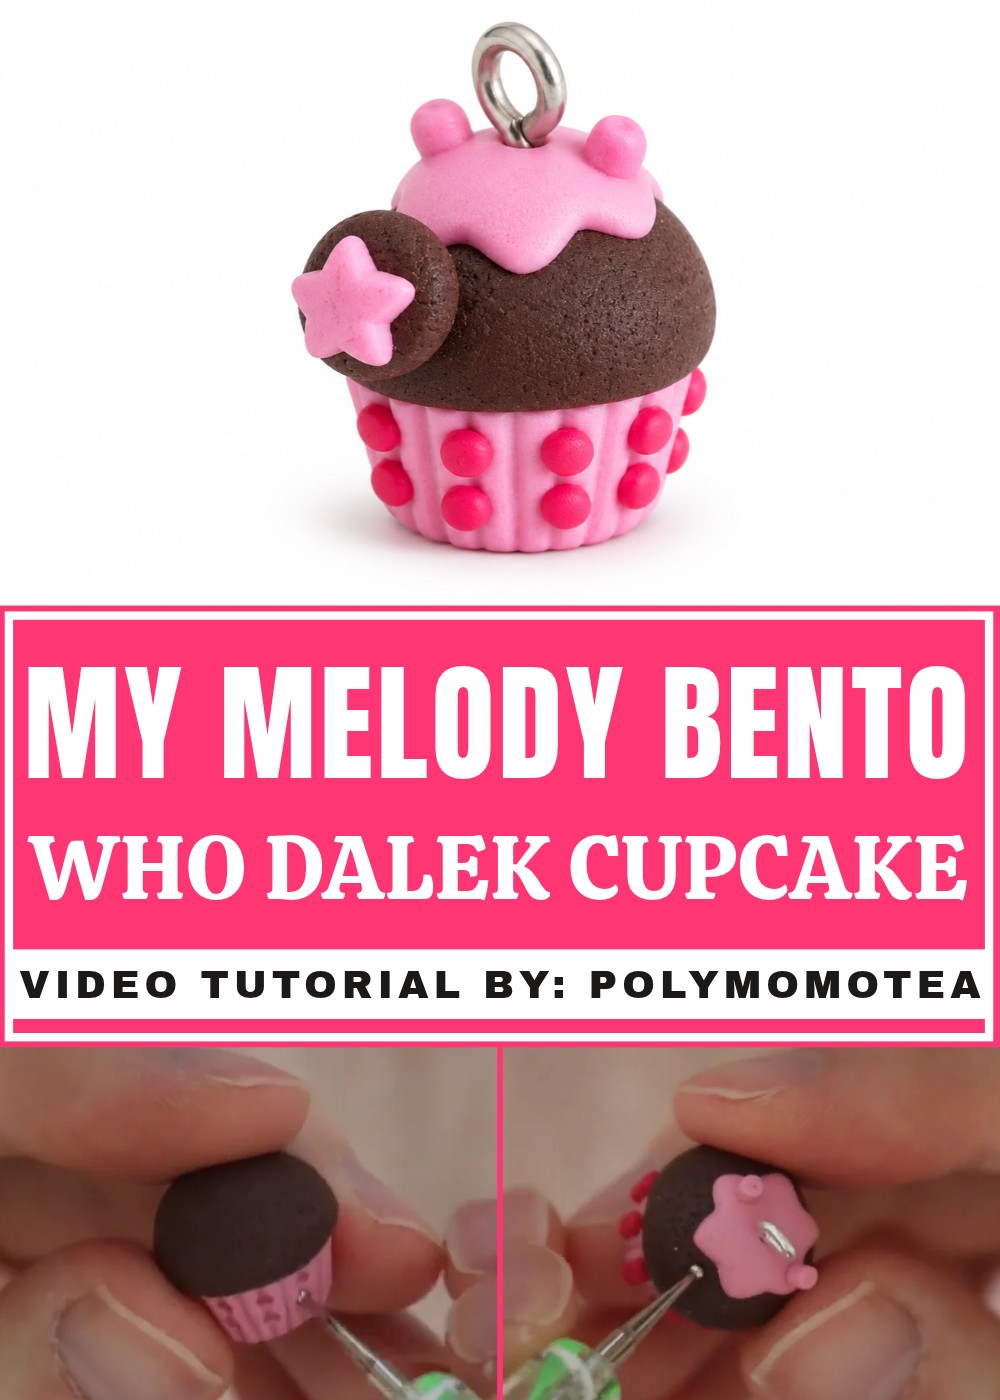
That little space helps the narrow piece show up in photos. For your own color choice, bronze and dark gray give it a familiar sci-fi look, while a lighter wrapper lets the details stand out. Slip the finished piece into a small keepsake box as a birthday gift for a Doctor Who fan. It would also look right at home among miniature cakes, where the dome and eyestalk would be a funny surprise between ordinary cupcakes and cookies.
Behind the Miniature Cupcakes
Look through PolymomoTea for a whole collection of miniature cupcakes. Alex Lee has shared designs inspired by games, animated characters, and nature, all built around the familiar dessert shape. Browsing that collection gives you ideas for which details to borrow when turning another character into a cupcake of your own.
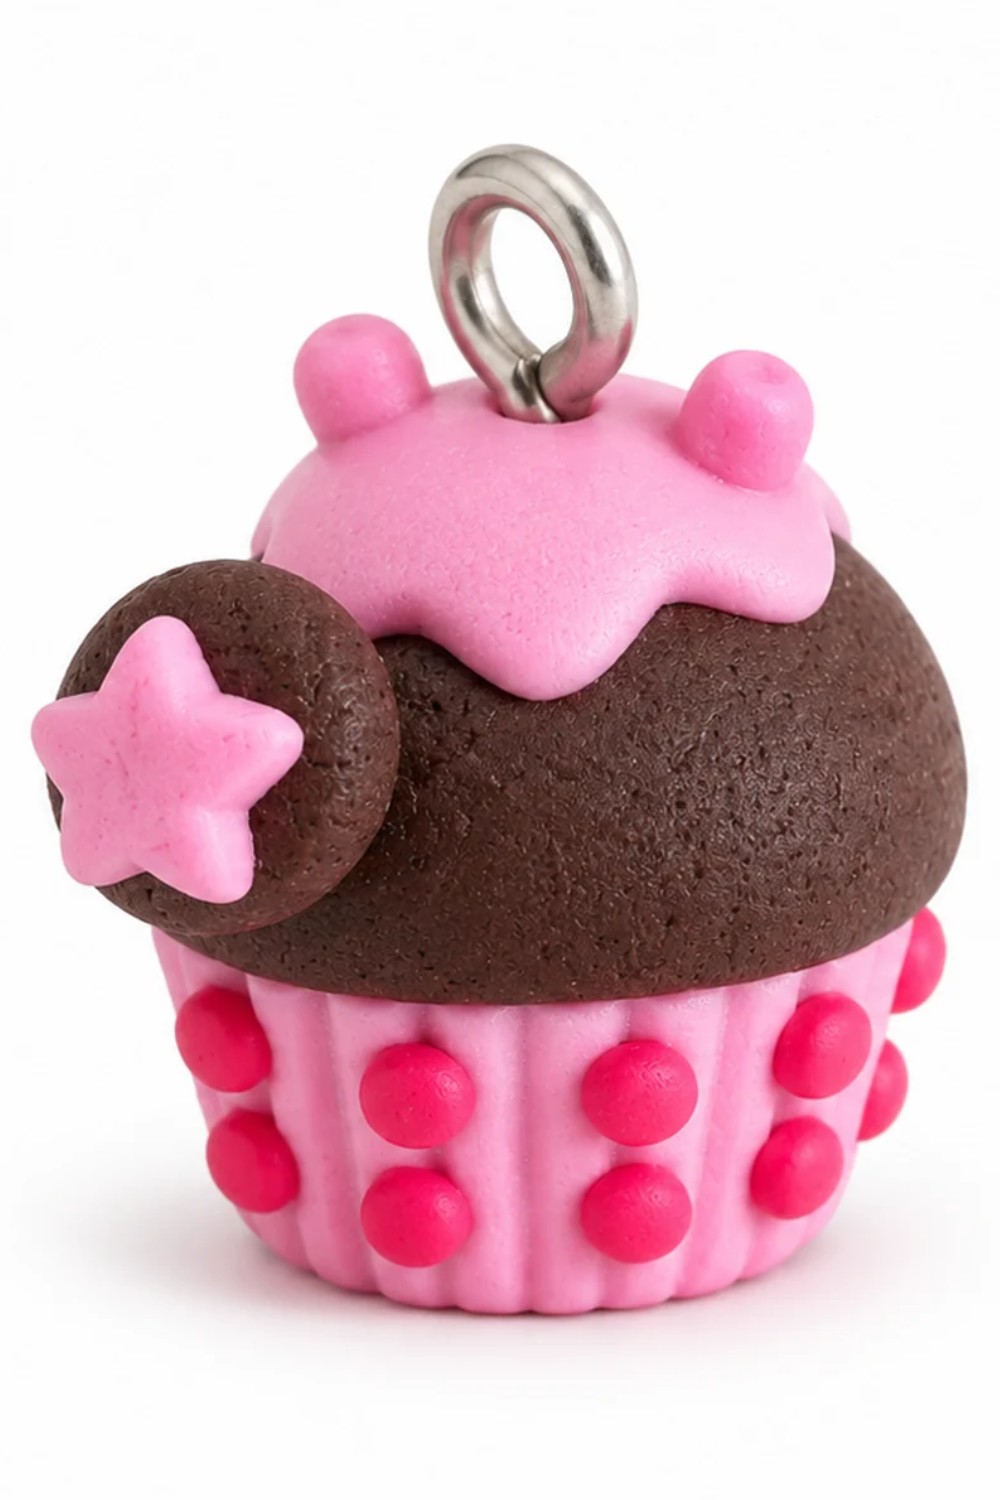
How to Make a Dalek-Themed Cupcake Polymer Clay Charm
In this tutorial, we’ll learn how to make a Dalek-inspired polymer clay cupcake charm. Daleks, the iconic villains from Doctor Who, are fearsome yet fun to create, and combining this theme into a cupcake design adds an exciting twist! This project is part of an exciting collaboration called Clay Down, where two artists creatively interpret opposing themes. Let’s dive in!
Materials & Tools
Materials
- Gray clay – for the Dalek base details (Dalek-like decorations)
- Pink clay – for the cupcake base and frosting
- Fimo chocolate clay (or brown clay) – for the cupcake top
- Tan and brown clay – for making the telescope rod
- Red clay – for decorative elements
- Eye Pin – to turn the creation into a charm or keychain
Optional Materials
- Saran Wrap (plastic wrap) – to help create smooth edges when cutting shapes
- Star mold (optional) – for shaping stars as decoration
Tools
- Roller (or anything cylindrical) – to smooth and flatten clay
- Blade or craft knife – to cut and shape clay pieces
- Dotting Tool – for adding small circular details
- Toothbrush or Sandpaper – for texturing the cupcake design and decorations
- Paintbrush (optional) – for touching up details
- Baking Tray and Oven – to bake and harden the polymer clay as per instructions
Step-by-Step Instructions
Chapter 1: Crafting the Cupcake Base and Texturing
- Prepare the clay base:
- Take some pink clay and mold it to fit your cupcake base mold (or create a freehand cupcake liner shape).
- Cut away any excess clay for a clean finish.
- Shape the cupcake top:
- Using Fimo chocolate clay (or brown clay), roll it into a mound shape resembling a half-sphere or semicircle.
- Place this mound on top of the pink base and press down lightly so it adheres securely.
- Blending the edges:
- Once the mound is positioned, smooth out the edges to blend them seamlessly over the cupcake base.
- Shape the brown mound into a tidy, rounded cupcake top.
- Adding texture:
- Use coarse sandpaper to begin texturing the cupcake top. Press it gently across the surface for an uneven, realistic texture.
- Finish the look by using an old toothbrush to add finer details and fill in any gaps. This creates a fluffy, realistic cupcake texture.
- Remove the cupcake base from the mold:
- Gently pop the textured cupcake out of the mold, taking care not to damage the design.
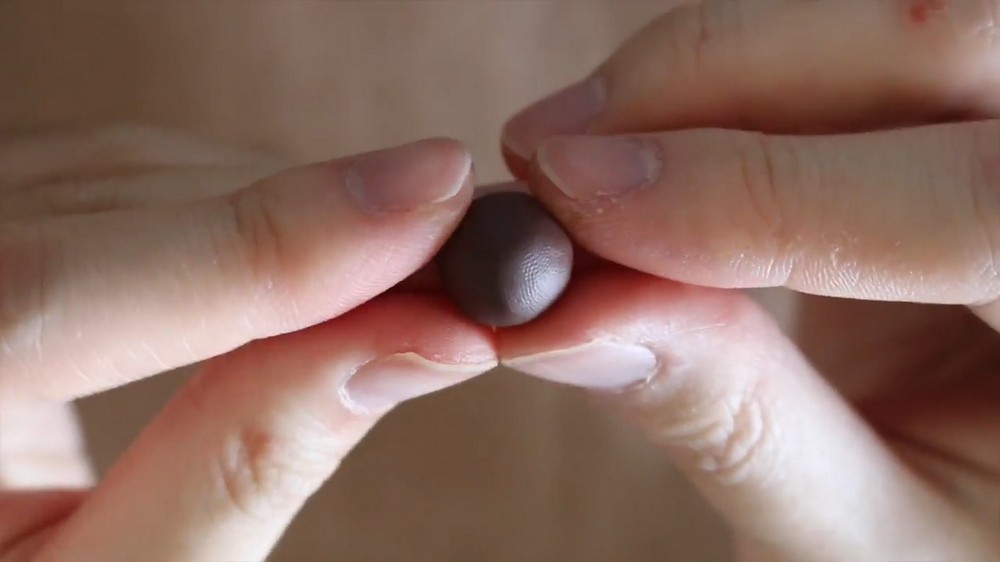
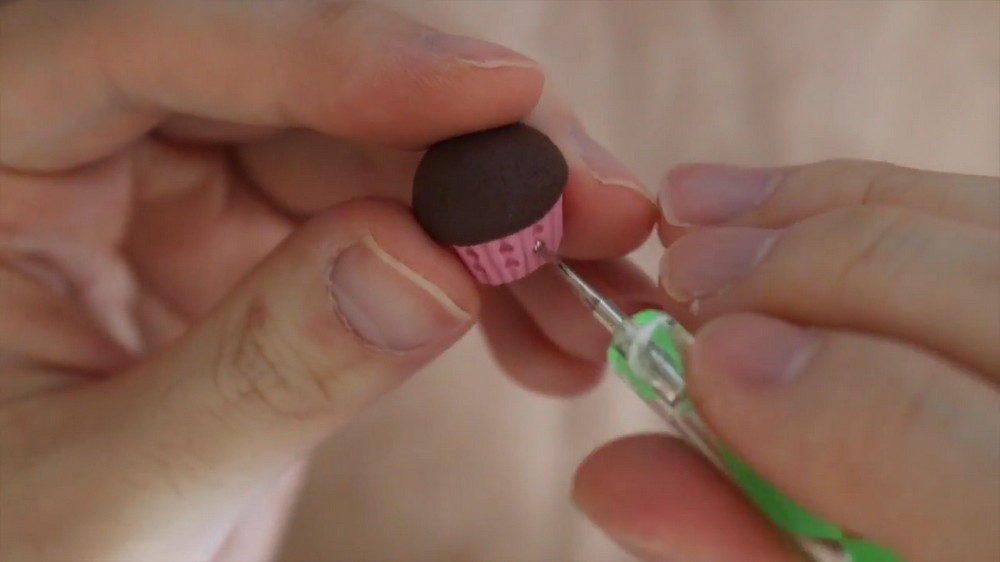
Chapter 2: Adding Dalek Details to the Base
- Create indentations:
- Using a dotting tool, add evenly spaced indentations on every other line of the cupcake base. These will represent the Dalek’s signature circular details.
- Fill the indentations:
- Take red clay and roll it into a thin snake. Cut the snake into equally sized small pieces, and roll the pieces into tiny spheres.
- Place each sphere of red clay carefully into the dotting tool-created holes on the cupcake base. This mimics the Dalek’s iconic armor-style design.
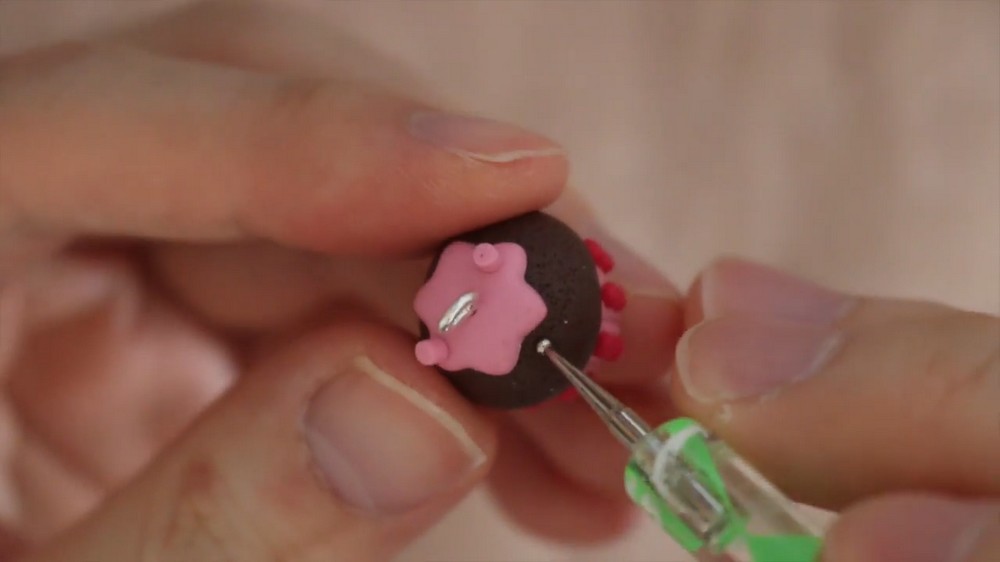
Chapter 3: Creating the Icing and Antenna
- Make the frosting:
- Use pink clay and roll it flat.
- For a neat and smooth shape, place some Saran Wrap (plastic wrap) over the clay before using a star-shaped cookie cutter to cut your frosting shape.
- The plastic wrap ensures smooth edges rather than sharp ones.
- Add the antenna:
- Roll out a thin pink clay snake, then cut it into two small equal pieces.
- Attach each piece to either side of the frosting star, mimicking the Dalek’s alien look.
- Position the frosting on the cupcake:
- Place the pink frosting star with attached antenna on top of the cupcake mound. Adjust it until it fits neatly, then gently press it down to secure.
- Insert the eye pin (optional):
- If you plan to turn the cupcake into a charm, insert the eye pin into the top of the frosting securely.
Chapter 4: Adding the Telescope Feature (Dalek Gun)
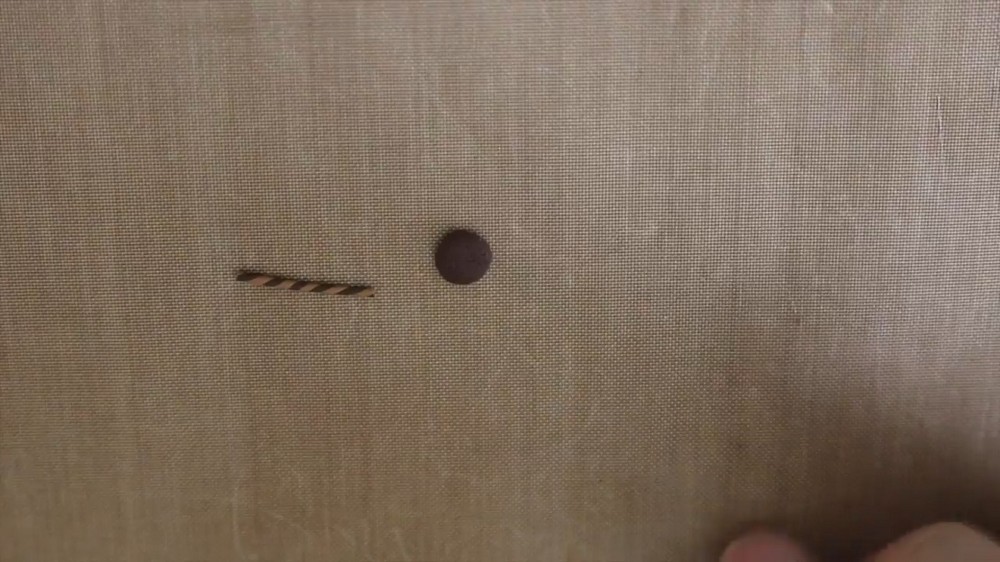
- Create the telescope rod:
- Roll some tan and brown clay into separate snakes of equal thickness.
- Twist them together to create the striped telescope effect.
- Bake the rod:
- Pre-bake the twisted clay rod for approximately 10 minutes (following the baking instructions for your polymer clay). This step hardens the rod so it’s easier to handle later.
- Create the telescope base:
- Flatten some brown clay into a pancake shape and texture it with sandpaper or a toothbrush.
- Poke a hole in the center of the textured pancake using the pre-baked rod to ensure it fits securely.
- Assemble the telescope feature:
- Insert the striped rod into the textured base, allowing the telescope to take shape.
- Optional: Add thin wire inside the rod for extra support before fully attaching.
- Attach the telescope to the cupcake:
- Use a dotting tool to make a small hole on the cupcake base (near the top or side). Insert the telescope feature into this hole and press firmly so it stays in place.
Chapter 5: Final Assembly and Decoration
- Additional decoration (optional):
- Use a star mold (or freehand your design) to cut small stars or shapes out of leftover clay.
- Attach these decorations to the telescope or base for added detail.
- Inspect and adjust:
- Look over your entire cupcake to ensure all pieces are secure and aligned properly.
- Final baking:
- Bake the entire piece according to the specific polymer clay instructions (typically 110–130°C / 230–275°F for 15–30 minutes, depending on the thickness).
- Let cool completely:
- Allow your cupcake to fully cool before handling or painting further.
Conclusion:
If you enjoyed this tutorial and love Doctor Who, don’t forget to check out Amy’s Cyberman Ice Cube tutorial in the description (referenced in collaboration). Together, Dalek vs. Cyberman completes this exciting Clay Down theme.