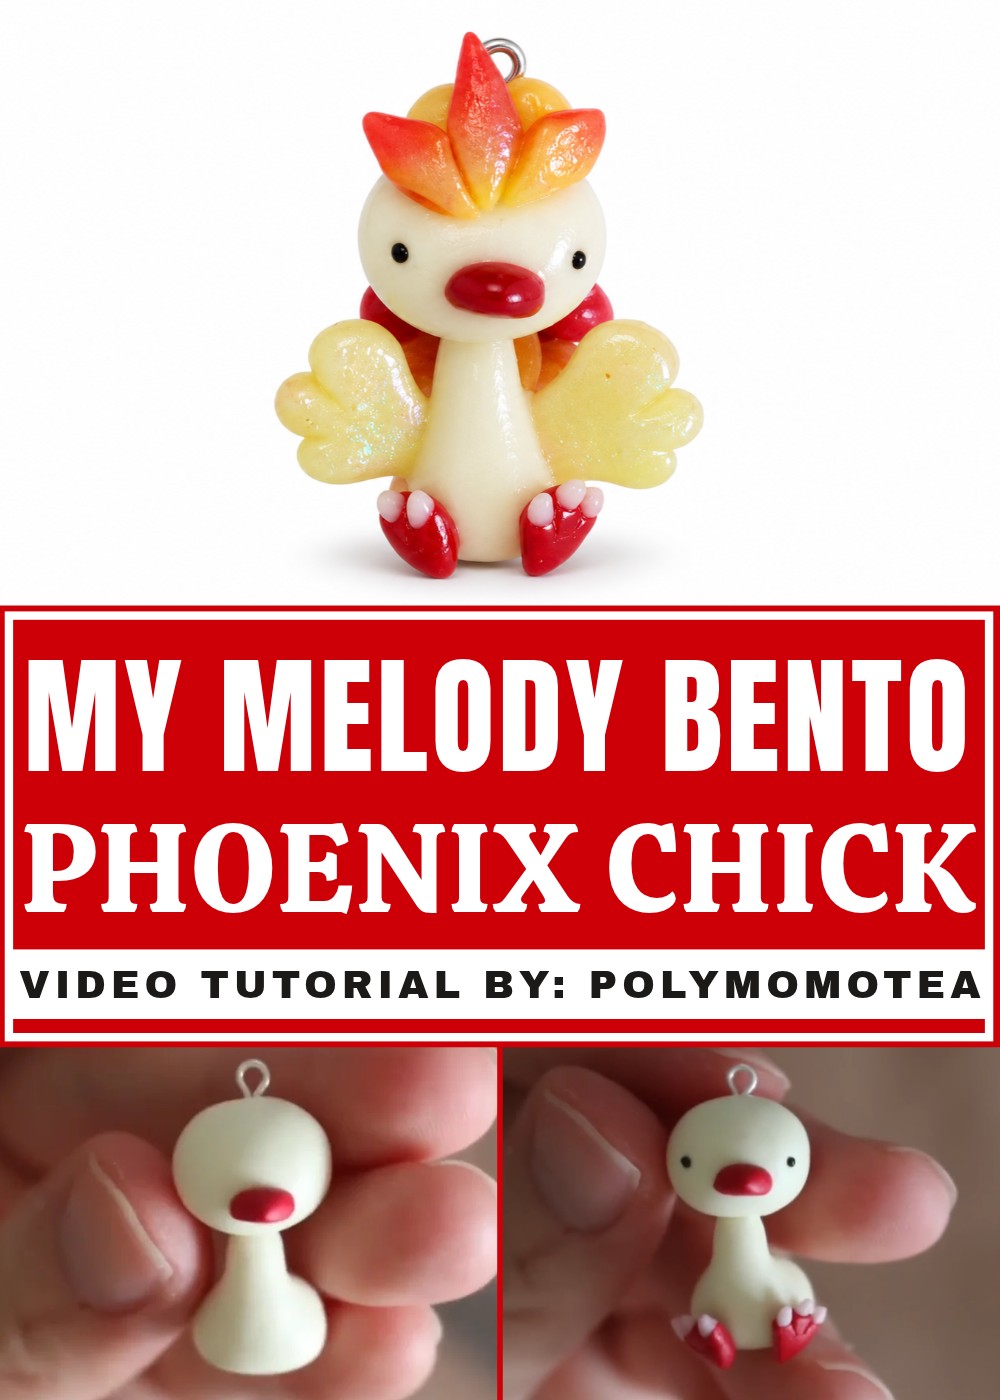
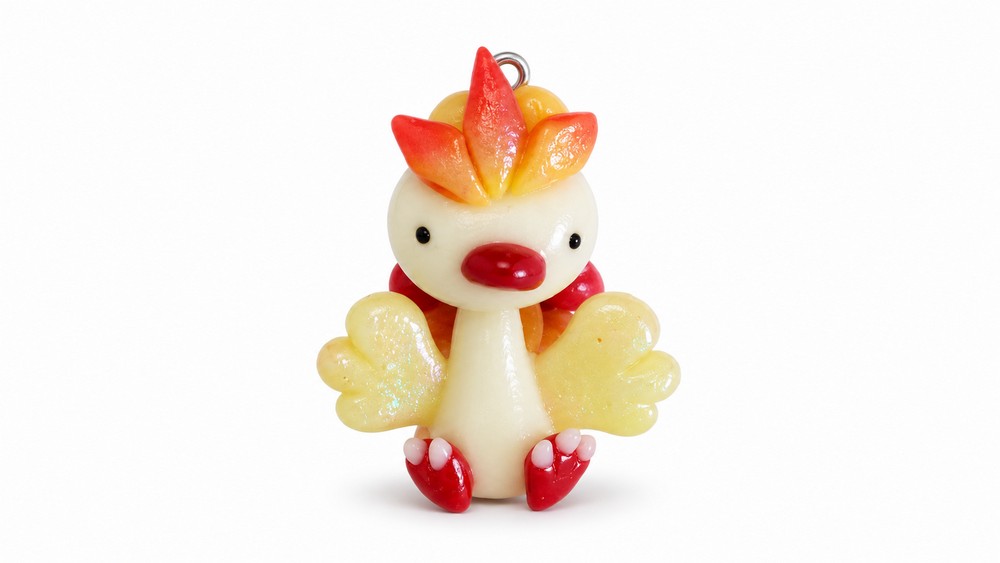
Sculpt a fiery little charm with this DIY Phoenix Chick Polymer Clay project and give it glittery golden wings, a pointed crest, and a pair of cute red feet.
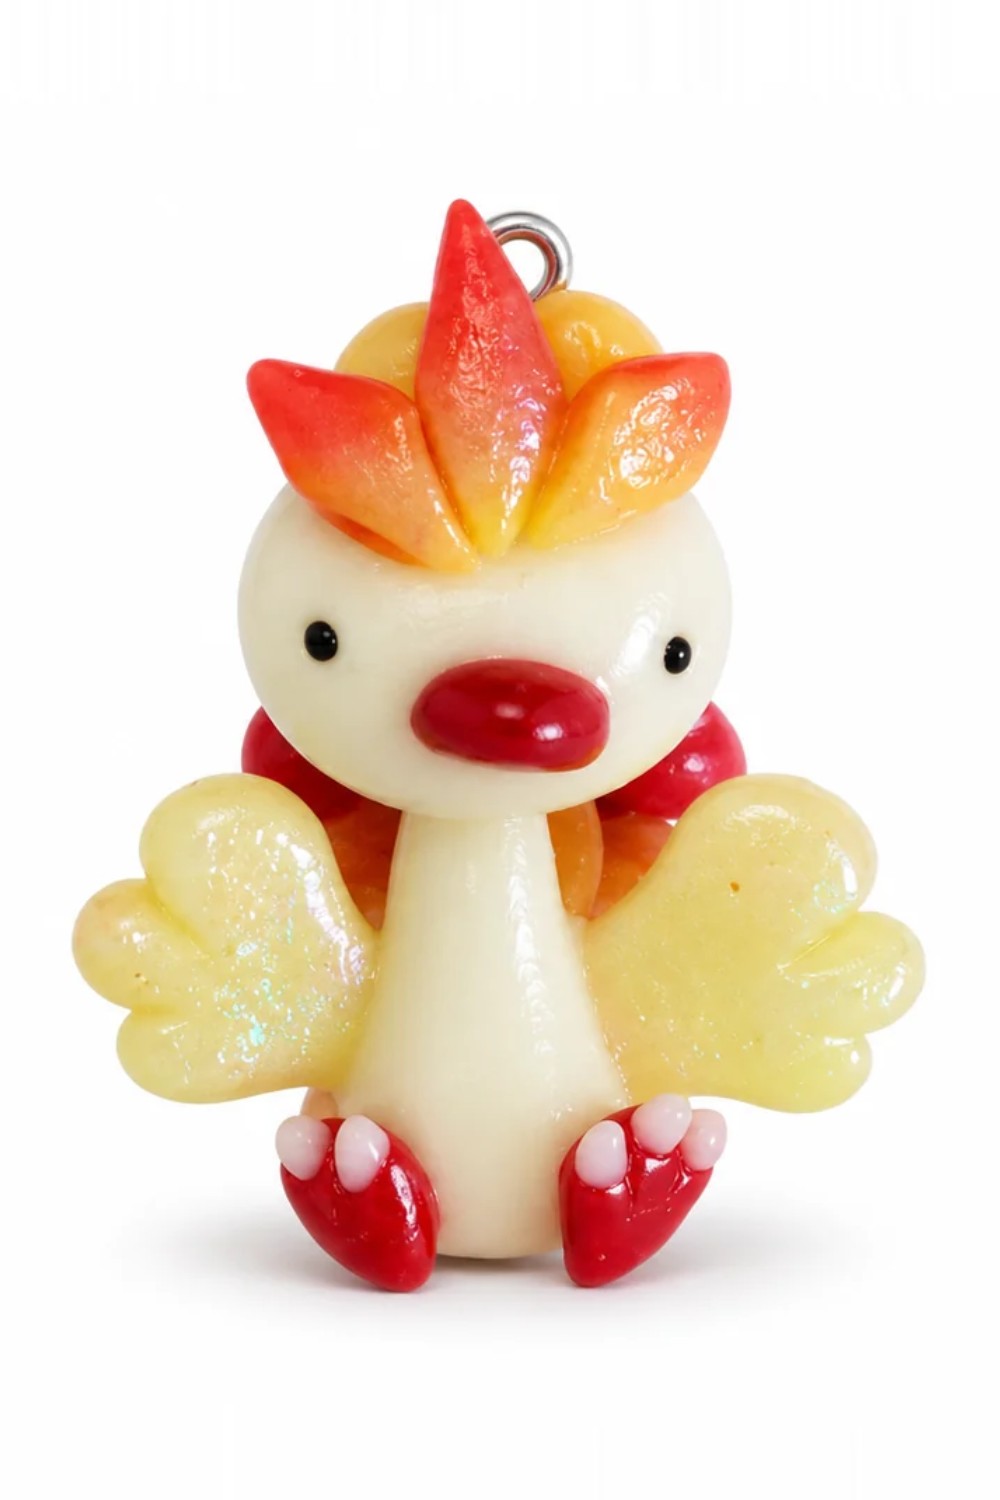
Fantasy shelf displays have room for creatures that fit on the tip of a finger. This DIY Phoenix Chick Polymer Clay project turns a legendary firebird into a tiny charm with a cream body and a crown of feathers that looks like a little flame. Its red beak and feet stand out against the pale clay, while the golden wings catch the light. Even the toes have tiny white tips.
DIY Polymer Clay Phoenix Chick With Golden Wings
Start with the shape you want to see from across the table. A round head, a slim neck, and a seated body give the baby bird its playful look. For the crest, think of three pointed pieces fanning out from one spot. A touch of orange or red at the tips draws the eye to the top of the head. Keep the wing edges rounded so they look soft next to the sharp crest, and check the front before pressing the wings firmly into place.
The loop tucked behind the crest gives you a way to display the finished piece without hiding its face. Thread a thin ribbon through it and hang it from a small display stand, or tie it to a wrapped birthday present for someone who likes fantasy stories. On its own, the charm is small enough to sit beside a favorite book where you can still see the sparkle in its wings.
About the Designer
Alex Lee is the artist behind PolymomoTea and the author of Kawaii Resin and Clay Workshop. His book covers basic tools, shaping, coloring, and ways to use clay and resin together. He also shares animal miniatures and character charms on YouTube, including the little firebird he sculpted for a collaboration.
Phoenix Charm Pattern
This Phoenix charm is a vibrant, mythical creation made from polymer clay, inspired by the beauty and symbolism of the legendary firebird. The design incorporates intricate details like wings, a fiery tail, and a headdress using gradient blending techniques. Once complete, this Phoenix charm becomes a stunning piece of art, perfect for display or gifting.
This guide provides a step-by-step breakdown of how you can make the Phoenix charm, along with tips to add your personal flair to the design. The pattern also allows for some flexibility in details, so you can customize your Phoenix to make it uniquely yours.
Materials & Tools
Materials
- Polymer clay:
- Citrine (yellow-orange) clay – Base clay for the Phoenix.
- Red clay – For the beak and flame details.
- White clay – For blending gradients and making claws.
- TLS (Translucent Liquid Sculpey) – Optional, for stronger bonds between clay pieces.
- Fimo Deco Gel – For adding an optional glossy finish.
- Glitter (yellow and red) – Optional, to enhance the fiery look.
- Pearl-Ex powders – To add shimmer and sparkle to the feathers and flames.
- Eye pins – For creating a charm loop.
Tools
- Clay blade – For cutting clay precisely.
- Rolling pin or clay roller – For flattening the clay.
- Pointed tool (toothpick or needle tool) – For sculpting details.
- Paintbrush – For applying glitter, powders, or gel.
- Baking tray and oven – For curing the clay.
- Work surface – A non-stick or silicone mat to work on.
Step-by-Step Instructions
Chapter 1: Creating the Phoenix Body
- Mix and prepare the base clay:
- Combine citrine clay with white clay to create a lighter shade of yellow-orange suitable for the Phoenix body. Knead the colors together until fully blended.
- Shape the head:
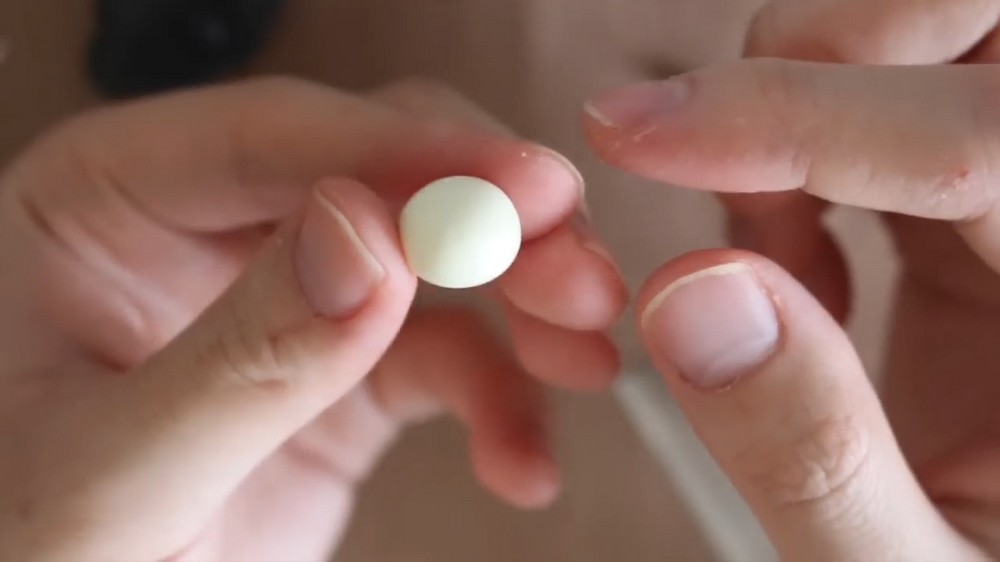
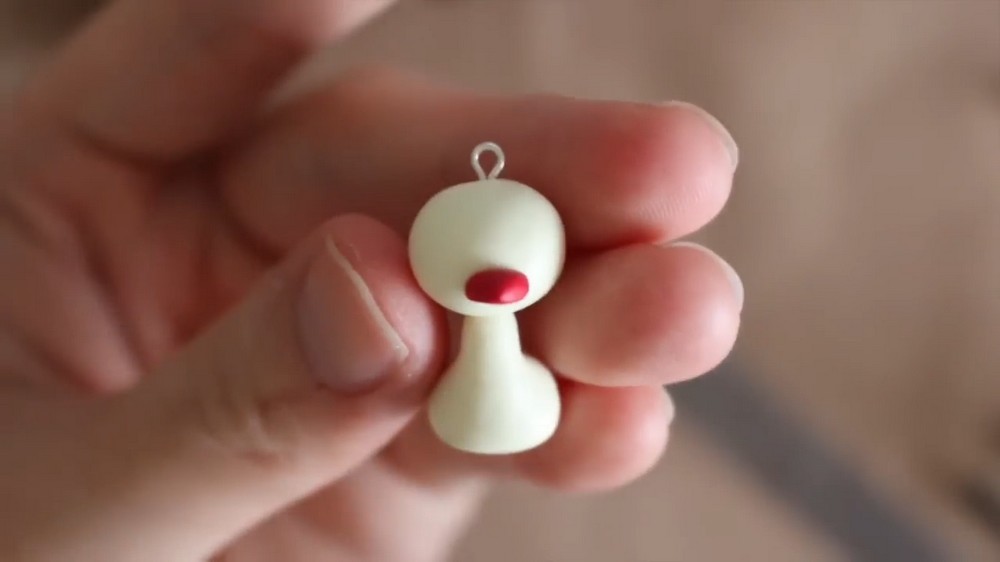
- Roll a small ball of the citrine-white mixture into a sphere. Flatten the top and bottom slightly to create a “burger” shape.
- Use a pointed tool to poke a hole for the eye pin, but don’t attach anything yet, as the piece will get baked later.
- Shape the body:
- Roll a larger ball of the citrine-white mixture. Pinch one end and roll it into a long, thin cylinder to form the neck.
- Adjust the shape to create a graceful, curved body that resembles a musical note.
- Trim the excess clay from the neck with your blade and attach the body to the head. Blend the neck edges into the head for a smooth connection.
Chapter 2: Adding the Beak and Feet
- Make the beak:
- Take a small piece of red clay and shape it into a tiny teardrop.
- Use your blade to cut the tip of the teardrop, then attach it to the head as the beak.
- Make the feet:
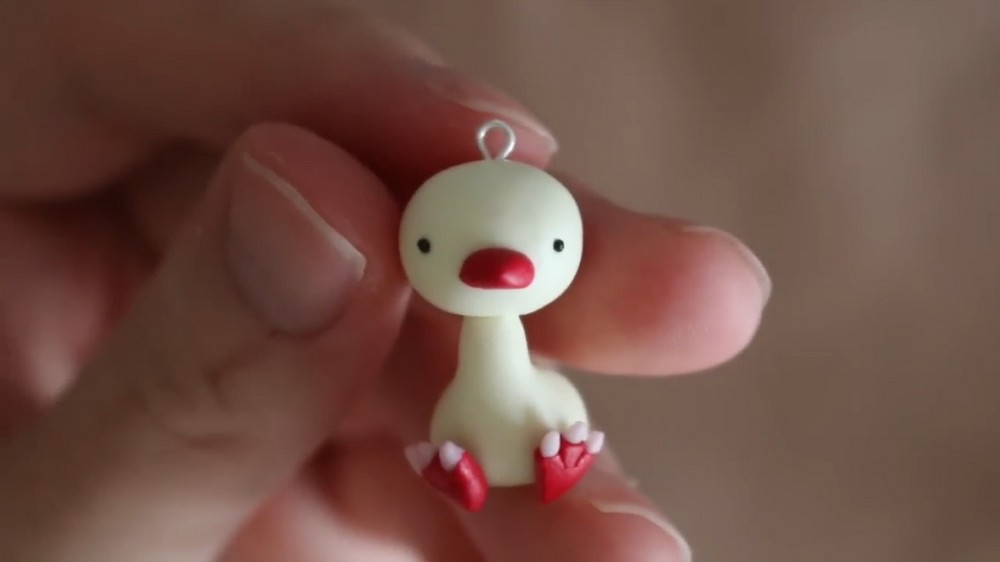
- Cut a small triangle from citrine or yellow clay to serve as the base of the foot.
- Roll three tiny snakes of clay for the toes and attach them to the triangle base. Blend the toes into the base for a unified look.
- Roll white clay into small pieces for claws. Cut off the tips and attach them to the ends of the toes.
- Secure the feet to the bottom of the body, blending them in carefully.
Chapter 3: Adding the Wings and Baking
- Make the wings:
- Roll out some citrine clay into a flat sheet.
- Cut a teardrop shape from the clay, then divide it into sections with your blade: cut the teardrop in half lengthwise and make an additional cut at one-quarter of the way. You will now have layered wing pieces.
- Attach the wings to either side of the body and blend smoothly. Ensure you position them symmetrically.
- Bake the body and wings:
- Bake the Phoenix body according to the brand directions of your polymer clay. Usually, polymer clay bakes at 265°F–275°F (129°C–135°C) for 15–30 minutes, depending on the piece’s thickness.
- Let the body cool completely before proceeding to the next steps.
Chapter 4: Crafting the Tail and Headdress
- Prepare a color gradient (Skinner Blend):
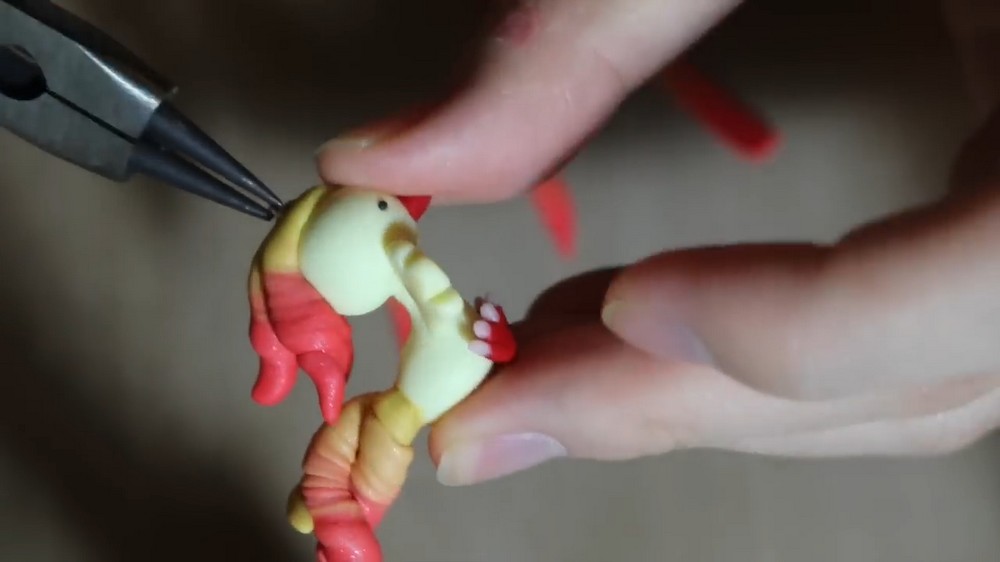
- Use the Skinner Blend technique to create a gradient of colors (yellow to red) for the tail and flames. If unfamiliar with the technique, tutorials are widely available. The process involves rolling two colors together repeatedly until a seamless blend is achieved.
- Make the tail:
- Roll out the gradient-colored clay and twist or fold it into a flame-like pattern. Pinch and pull at parts of the clay to create sharp tips for a dynamic flame effect. Adjust the thickness and length to match your desired tail shape.
- Position the tail at the back of the body and press to attach.
- Make the headdress:
- Roll out small gradient pieces from the Skinner Blend clay.
- Use these to sculpt feather shapes for the head. Pinch or twist the pieces to enhance the flame-like appearance.
- Attach the feathers to the top of the head in a fanned-out pattern, blending as necessary.
- Add extra details (optional):
- Cut small diamond shapes from citrine or red clay and attach them to the front of the head feathers for added detail.
Chapter 5: Finishing Touches
- Add sparkle and shimmer (optional):
- Mix yellow and red glitter, Pearl-Ex powders, and a small amount of Fimo Deco Gel. Use a paintbrush to lightly apply this mixture to the feathers, tail, and flames for a sparkly effect.
- This step is optional but adds a lot of character and dimension to the Phoenix.
- Bake the Phoenix one final time:
- Bake the fully assembled Phoenix (with wings, tail, and headdress) following the same instructions used earlier. Allow it to cool completely after baking.
- Attach the eye pin:
- Insert the eye pin into the pre-made hole at the top of the head. Secure with UV resin or super glue if necessary.
Conclusion
This Phoenix charm embodies the fiery beauty of the mythical bird of resurrection. Through thoughtful blending of colors and detailed sculpting techniques, the charm comes together as a dynamic piece of art. The flexibility in creating flames and feathers allows for endless personalization, and the optional addition of glitter and Pearl-Ex powders provides a brilliant finishing touch.