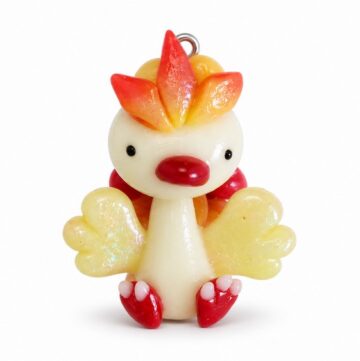
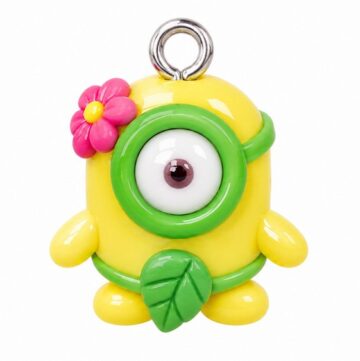
Even lazy eggs can tag along on your bag when you shape a sleepy yellow yolk on a soft white base with this DIY Easy Gudetama With Polymer Clay project.
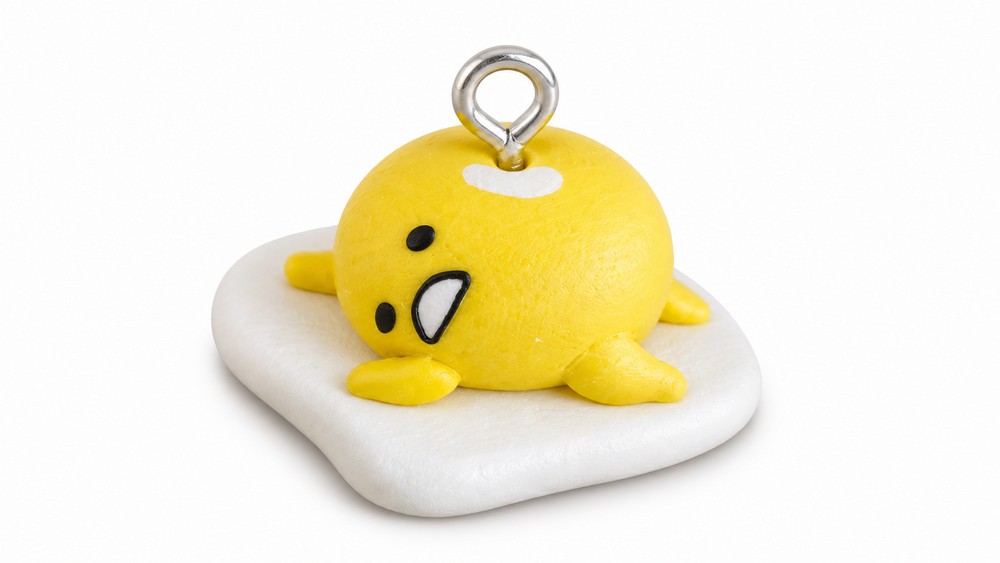
Some mornings call for five more minutes, and Sanrio’s sleepy egg seems to agree. In this DIY Easy Gudetama With Polymer Clay project, a yellow yolk slumps over a flat white base, with short arms and legs sticking out close to the edges. Two dot eyes and a little open mouth capture that tired expression. Keep the yolk low and wide for that just flopped down look. You can press the white clay out with your fingers, leaving the edges gently uneven like an egg in a frying pan. Set the yellow piece down slightly off center so that some of the white shows around it.
Beginner DIY Gudetama Charm With Polymer Clay
Meet the Maker
On PolymomoTea, Alex Lee works with polymer clay and UV resin across projects that range from simple character figures to sets of miniature sweets. He introduces this little Gudetama charm as an easy version, which gives new viewers a way to start with basic shapes before taking on smaller details.

When you place the face, look at it from the front and from above. The eyes and mouth sit low on the rounded yolk, where they’re easiest to see when the charm rests flat. This project is a good fit for someone new to sculpting who wants to practice giving a character an expression with just a few marks. There’s a loop on top for hanging it from a bag, where the flattened base keeps the whole piece compact. It would also fit in a small gift box for a Sanrio fan, especially one who knows exactly how that egg feels on a Monday morning.

Gudetama Charm Pattern
Gudetama, Sanrio's beloved "lazy egg" character, is adorable and easy to recreate as a polymer clay charm. This guide walks you through crafting a Gudetama charm complete with its egg base, curved limbs, sleepy facial expression, and a shine detail. Because the design is simple, it's suitable for beginners or anyone looking to make a quick and fun character.
Materials & Tools
Materials
- Polymer clay:
- White clay – For the egg base and mouth details.
- Yellow clay – For Gudetama’s body, arms, legs, and head.
- Black clay – For the eyes and border around the mouth.
- White acrylic paint – For adding a shine detail to the charm.
- Eye pin or screw – Optional, for making the charm functional.
Tools
- Clay blade or craft knife – For cutting and shaping.
- Rolling pin or clay roller – For flattening clay into organic shapes.
- Needle or pointed tool – For blending and adjusting details.
- Paintbrush – For applying acrylic paint.
- Non-stick or silicone work surface – To prevent clay from sticking to your workspace.
- Oven and baking tray – For curing the polymer clay according to brand instructions.
Step-by-Step Instructions
Chapter 1: Preparing the Base Parts
- Create the egg base:
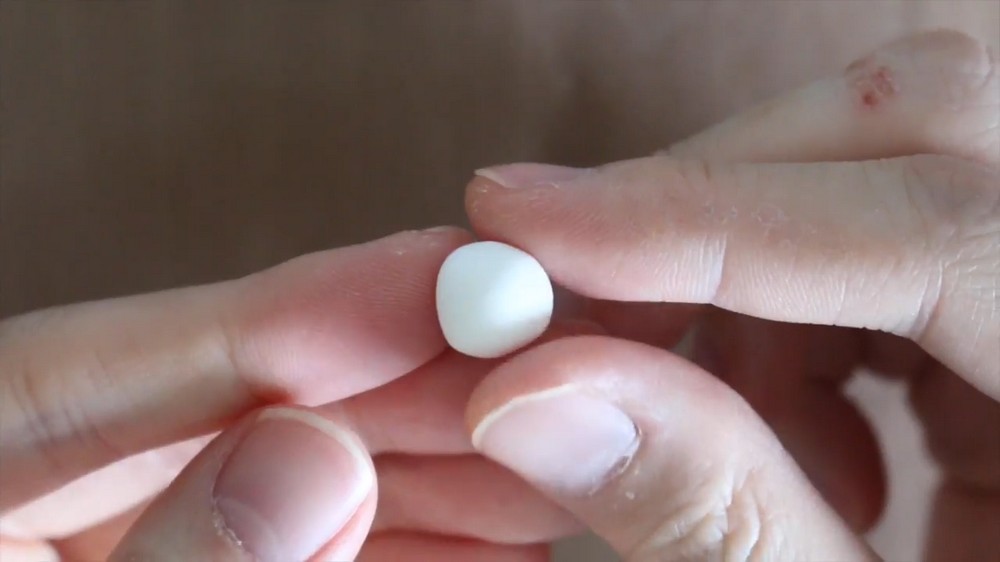
- Take a piece of white clay and roll it into a flat, organic shape.
- An organic shape means something irregular, such as a blob-like form—not a perfect square or circle. Use your roller to achieve a smooth finish. This shape will represent Gudetama’s egg white.
- Create Gudetama’s body:
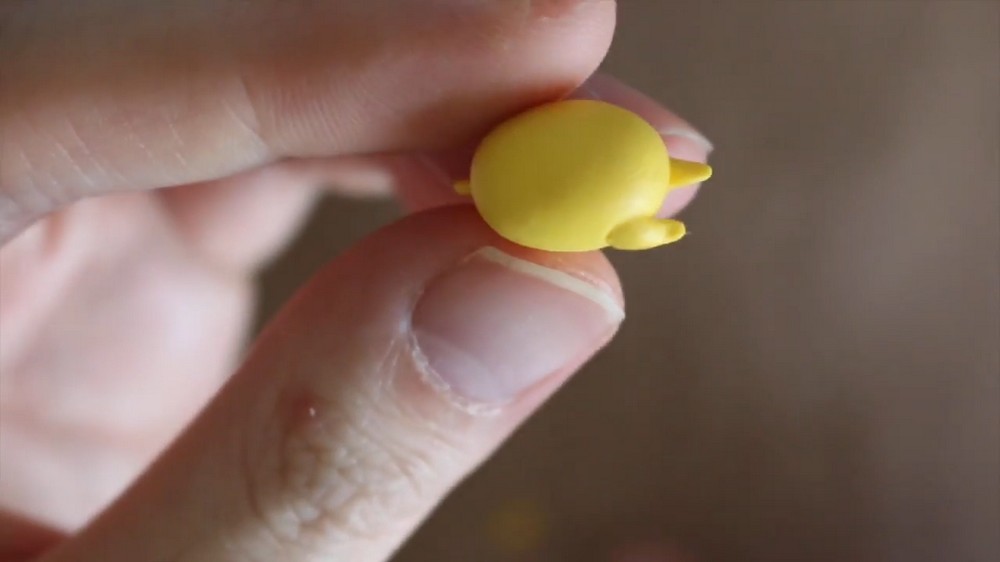
- Roll a ball of yellow clay into a short, fat cylinder. This will serve as Gudetama’s torso.
- Shape the arms and legs:
- Roll thin snakes of yellow clay for the arms. The arms should be small and narrow. Attach one end of each snake to Gudetama’s body, adjusting the angles so one arm is straight while the other is bent.
- For the legs, roll slightly thicker triangular shapes using yellow clay. Attach one leg so it’s curled upward and the other stretched straight out in line with the straight arm.
- Attach Gudetama to the egg base:
- Secure Gudetama’s completed torso, arms, and legs to the center of the white egg base using light pressure. Blend any edges where needed to ensure Gudetama looks naturally “plopped” onto the egg.
Chapter 2: Adding Facial Features
- Add the eyes:
- Roll out two tiny balls of black clay and gently press them onto the front of Gudetama’s face.
- Shape the balls into small ovals using a pointed tool or fingers, angling both ovals slightly inward to give Gudetama a sleepy or lazy appearance.
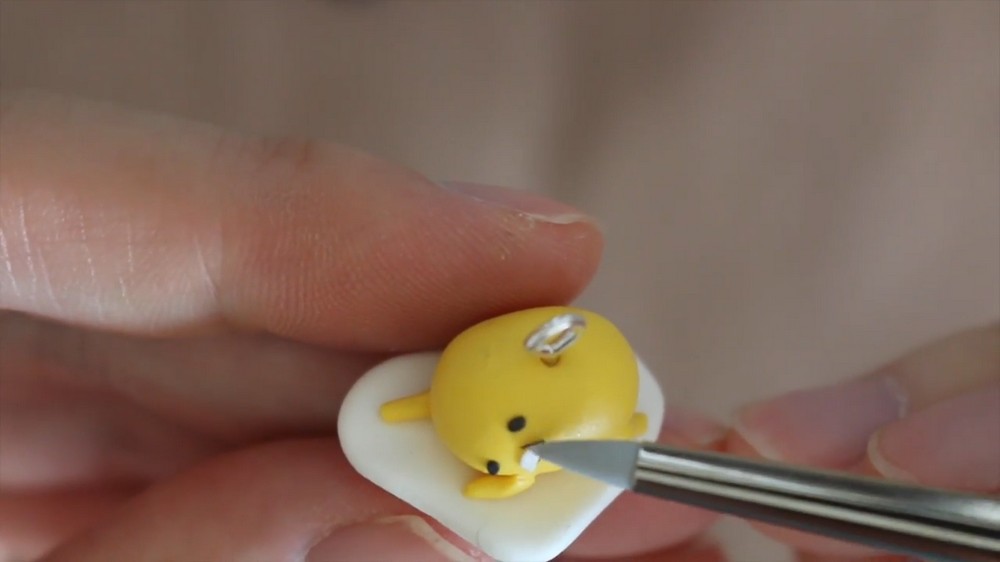
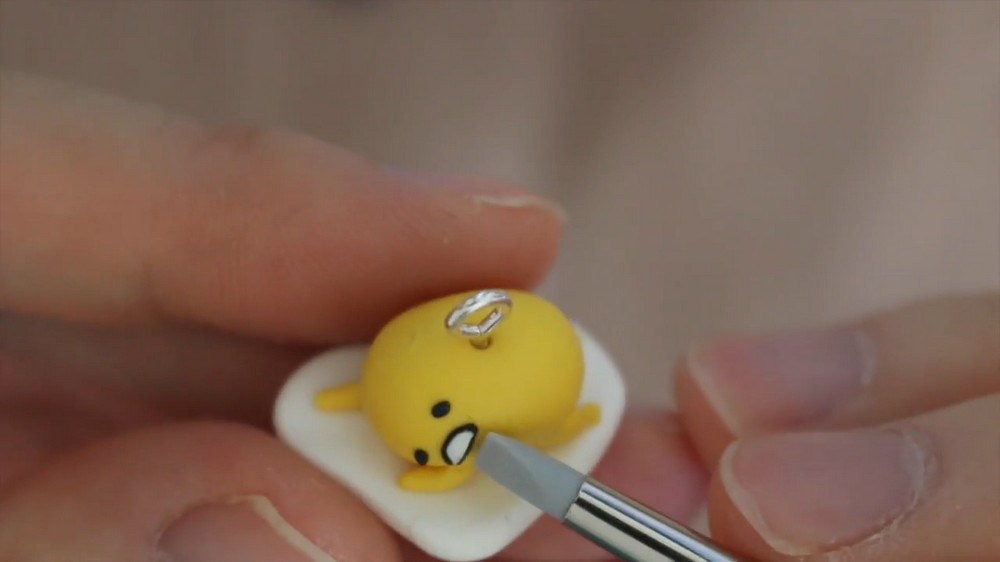
- Create the mouth:
- Roll out a small piece of white clay into a flat circle. Use your blade to cut one edge of the circle, creating a crescent shape for the mouth.
- Position the crescent mouth below the eyes.
- Add the mouth border:
- Roll a thin snake of black clay and wrap it carefully around the white crescent mouth to create a border. This gives the mouth a more defined appearance.
Chapter 3: Baking the Charm
- Bake Gudetama:
- Preheat your oven according to your polymer clay’s instructions. Polymer clay typically cures at 265°F–275°F (129°C–135°C).
- Bake the charm for 15–30 minutes depending on its size. Let it cool completely before handling it.
Chapter 4: Final Touches
- Add the shine detail:
- Using white acrylic paint, add a small curl or curved line near the eye pin or on the body to give the illusion of shine. This small detail adds dimension to Gudetama's design. Use a paintbrush for precision.
- Attach the eye pin (optional):
- If turning your project into a charm, insert an eye pin or screw into the top of Gudetama’s head before baking. Secure with UV resin or glue if necessary after baking.
Conclusion
The Gudetama charm captures the essence of Sanrio’s famous lazy character—a crumpled egg resting on an uneven white base with droopy arms and legs. Its sleepy features and relaxed pose make it a lighthearted craft that requires minimal effort but guarantees a fun result. The organic shapes and minimal detail lend flexibility, making this project highly beginner-friendly and customizable for any creative version of Gudetama.