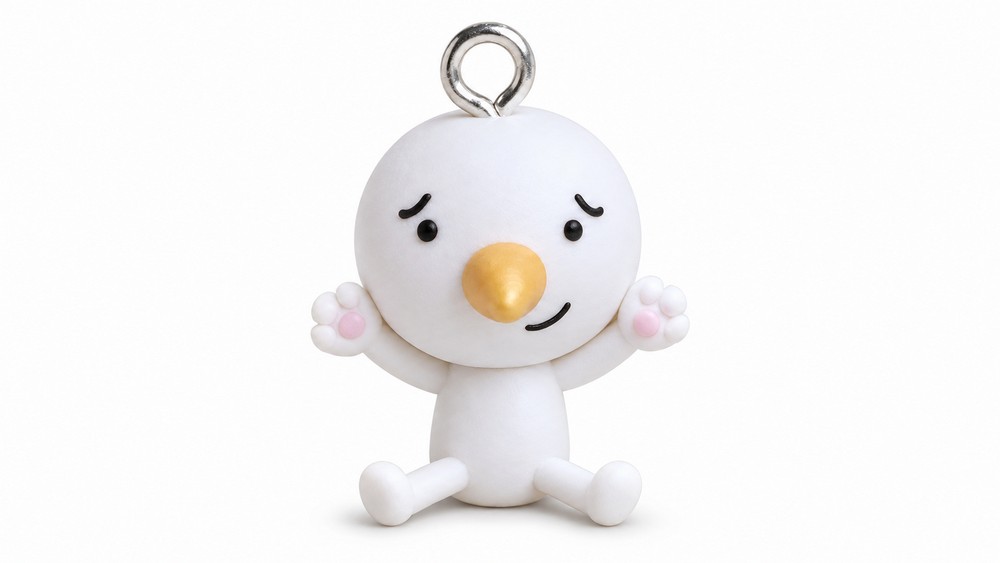
With raised paws and a shiny golden nose, this DIY polymer clay Plue charm from Fairy Tail looks like it is waving from the zipper of your pencil case.
Fans of Fairy Tail can spot Lucy’s little Celestial Spirit by his nose alone. A DIY polymer clay Plue charm turns that familiar golden point and round white head into something you can hang from a zipper. In this version, both arms reach up, the feet splay outward, and a small curved smile sits off to one side. The pose looks almost like he’s waving.
Playful Plue Charm for a Fairy Tail Polymer Clay DIY
About the Channel
Character charms are one part of the PolymomoTea channel. In the Fairy Tail collaboration, Alex Lee handled the Plue figure while Jesika Kula of Kulacreations shared the matching Celestial Key. Alex also has a charm collection video for viewers who want to see more of his early work in miniature.
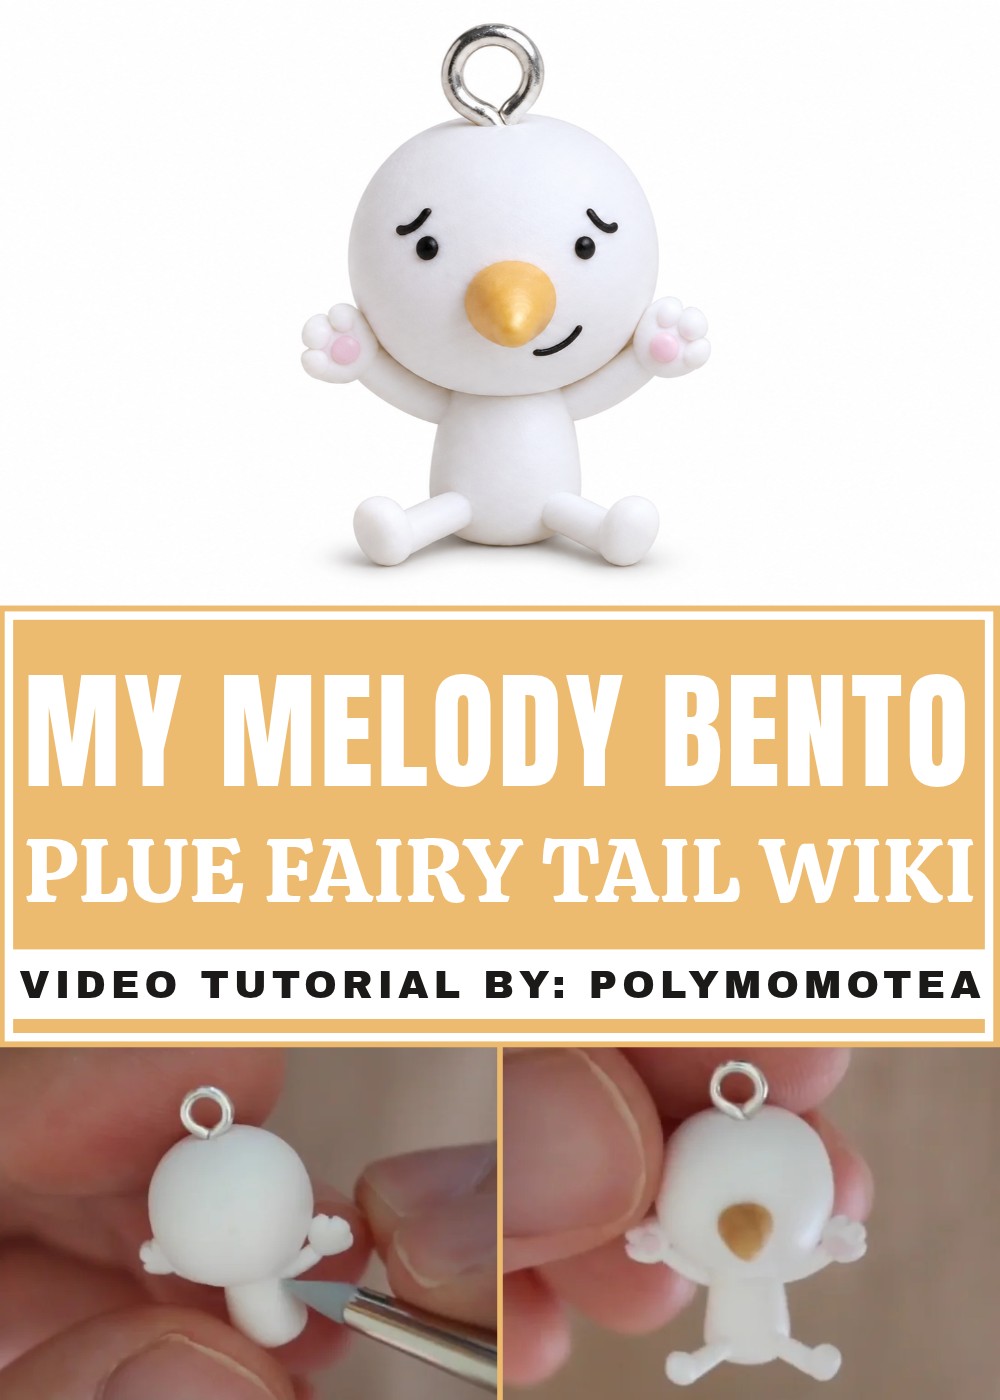
For this design, the face does most of the work. Place the nose first so there’s a clear middle point, then leave a little space for the black eyes and the short curved brows. Moving one brow slightly higher changes how shy or surprised he looks.
The hands have small rounded tips, so you can suggest fingers with shallow marks while keeping the ends of the arms sturdy. Give the white clay a quick check for lint before baking, since stray fibers show up easily against that color.
The metal loop above Plue’s head works well with a short necklace or a narrow zipper pull. For a gift, tuck him into a box beside a miniature version of Lucy’s Celestial Key. Plue’s expression and raised arms give that pairing some personality, especially for someone who knows him from the anime.
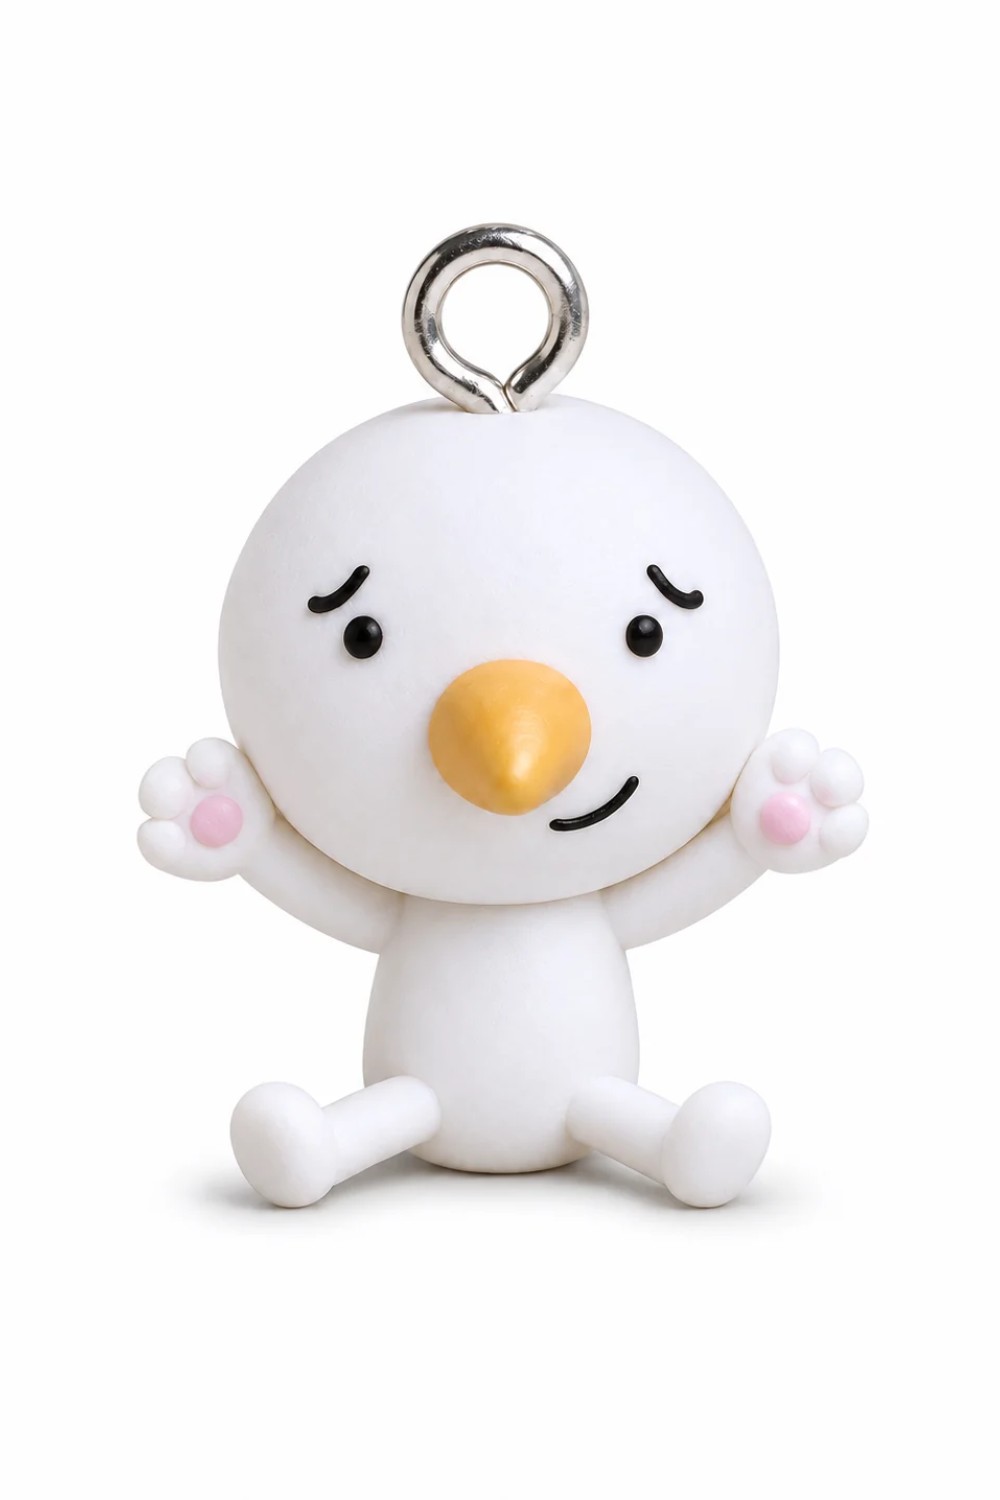
Plue Charm Pattern
The Plue charm, inspired by the “Fairy Tail” anime and manga series, represents one of Lucy’s Celestial Spirits. This adorable, droopy-faced character is simple to sculpt and makes a great addition to your crafting projects. The charm is made entirely of polymer clay, with thoughtful attention to its tiny paws, horn, and signature sad expression. This guide will walk you through the steps to create your own Plue charm.
Materials & Tools
Materials
- Polymer clay:
- White clay – For the body, tail, paws, and base parts of Plue.
- Gold clay – For the horn.
- Black clay – For the face details and eyebrows.
- Pink clay – For the paw prints.
- Eye pin or screw – For making the charm functional.
Tools
- Clay blade or craft knife – For cutting and shaping precision details.
- Rolling pin or clay roller – For flattening clay and creating uniform shapes.
- Pointed tool (toothpick or needle tool) – For sculpting fine details and blending.
- Non-stick or silicone work surface – To prevent clay from sticking to your workspace.
- Oven and baking tray – For curing the polymer clay according to brand instructions.
Step-by-Step Instructions
Chapter 1: Head and Body Assembly
- Shape the head:
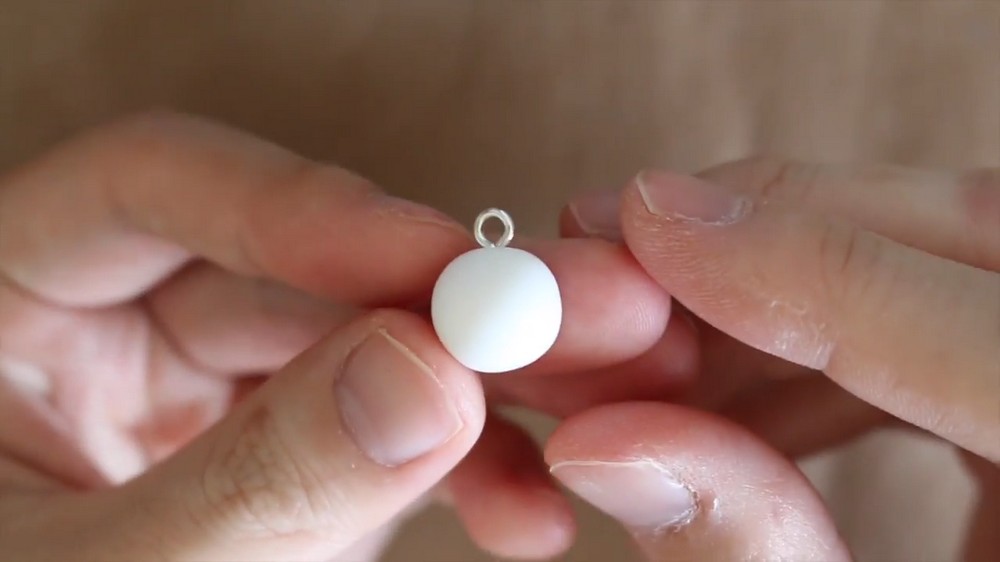
- Roll a small ball of white clay to create Plue’s head.
- Insert an eye pin or screw into the top-center of the head. This will allow you to turn it into a charm later.
- Shape the body:
- Roll a larger piece of white clay into a cylinder.
- One end of the cylinder should be slightly thicker than the other. Achieve this effect by gently rolling one side to taper it.
- Trim the thinner end with your blade and blend the wider end into the head using a toothpick or blending tool.
Chapter 2: Crafting the Paws
- Make the limbs:
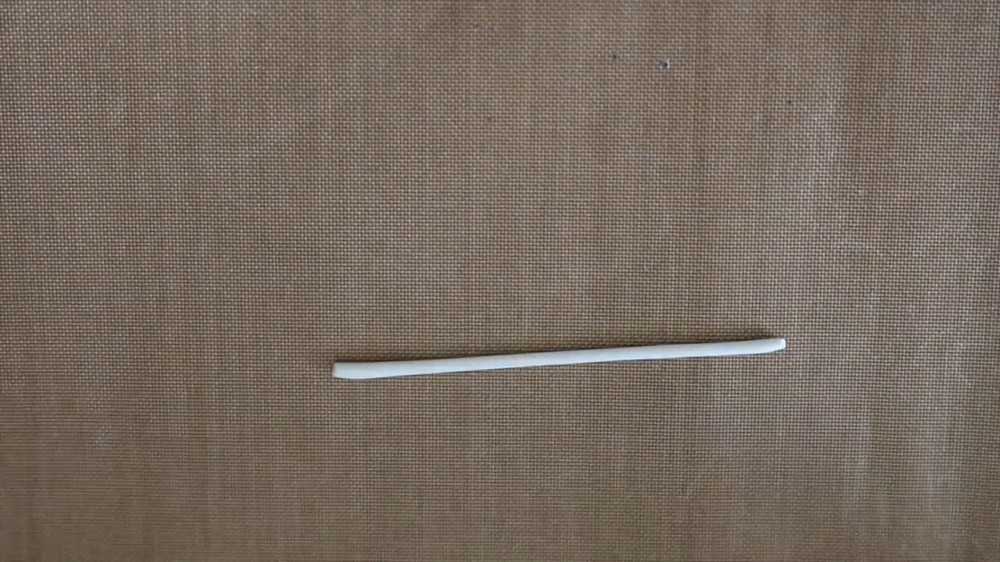
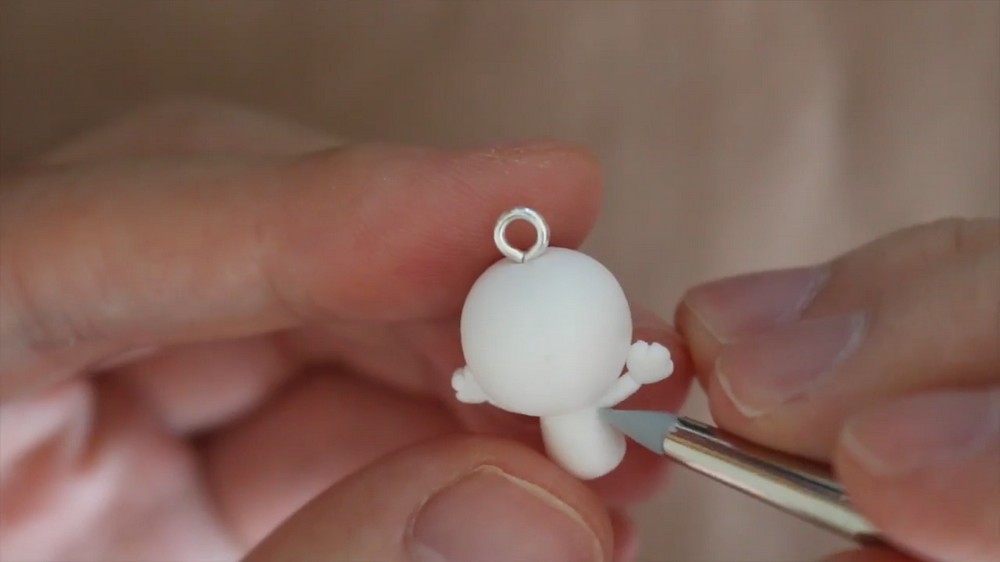
- Roll a thick snake of white clay, long enough for all four limbs. Cut the snake into four equal pieces using your clay blade.
- Shape the paws:
- Take four small balls of white clay and flatten each into a pancake shape for the paws.
- Use your blade or pointed tool to indent the top of the pancakes, creating three “fingers” for the paws.
- Add paw prints:
- Roll tiny balls of pink clay for the paw prints. Place one small ball on each finger of the paw and press lightly to secure them.
- Add a slightly larger pink clay ball in the center of each paw as the main pad.
- Attach the paws to the limbs:
- Attach each paw to the end of the white clay limbs and blend carefully for a clean connection.
- Attach the arms to the body:
- Secure the sculpted arms to the sides of Plue’s body. Blend the top edges into the body for a seamless look.
Chapter 3: Assembling the Legs and Feet
- Shape the legs:
- Roll larger pieces of white clay into cylinders for the legs.
- Attach the legs to the bottom of Plue’s body and blend them into place using a clay tool for smooth integration.
- Shape the feet:
- Add small flattened or rounded shapes to the bottom of the legs to create Plue’s feet. Blend these as necessary.
Chapter 4: Tail Attachment
- Shape the tail:
- Roll a small piece of white clay into a teardrop shape for Plue’s tail.
- Attach the pointed end of the teardrop shape to the back of the body, blending the edges for stability.
Chapter 5: Creating the Horn
- Shape the horn:
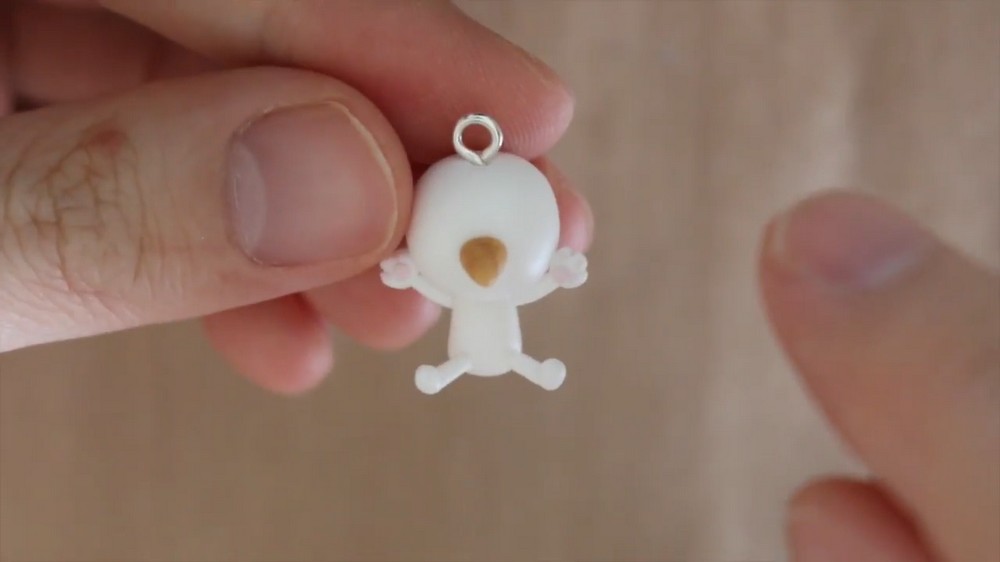
- Roll out some gold clay and shape it into a small cone.
- Use your blade to cut the cone into equal segments (like rings).
- Reattach the segments slightly spaced to replicate the horn’s segmented appearance.
- Attach the horn:
- Position the horn at the center top of Plue’s head. Blend the edge into the head slightly to secure it.
Chapter 6: Final Details
- Add the facial features:
- Flatten two tiny balls of black clay and place them on either side of the horn for the eyes.
- Roll thin snakes of black clay to create sad, droopy eyebrows. Attach them above the eyes, angling them downward for Plue’s signature expression.
- Use black clay to create a half smile and position it just beneath the eyes.
- Bake Plue:
- Preheat your oven based on your clay brand’s instructions (usually 265°F–275°F / 129°C–135°C) and bake Plue for 15–30 minutes, depending on the size of the charm.
- Allow the charm to cool completely before handling it.
Conclusion
This Plue charm captures the adorable simplicity of Lucy’s Celestial Spirit from “Fairy Tail.” By combining basic polymer clay techniques, intricate details like the horn segments, paw prints, and droopy eyebrows bring Plue’s character to life. The charm can be customized by experimenting with different horn shapes, expressions, or even glitter details for a unique twist.