Add a touch of style to your wardrobe with this free crochet mesh top, offering a lightweight and breathable option that's both fashionable and versatile.
Stylish Crochet Mesh Top Pattern Design for Warm Days
Crochet tops are such a fun way to blend comfort with style, especially when working with breathable, airy designs. A beautifully crocheted mesh top is perfect for layering and adds a touch of effortless elegance to any wardrobe. The Free Crochet Mesh Top pattern makes it easy to create your own lightweight, openwork garment that’s both chic and versatile.
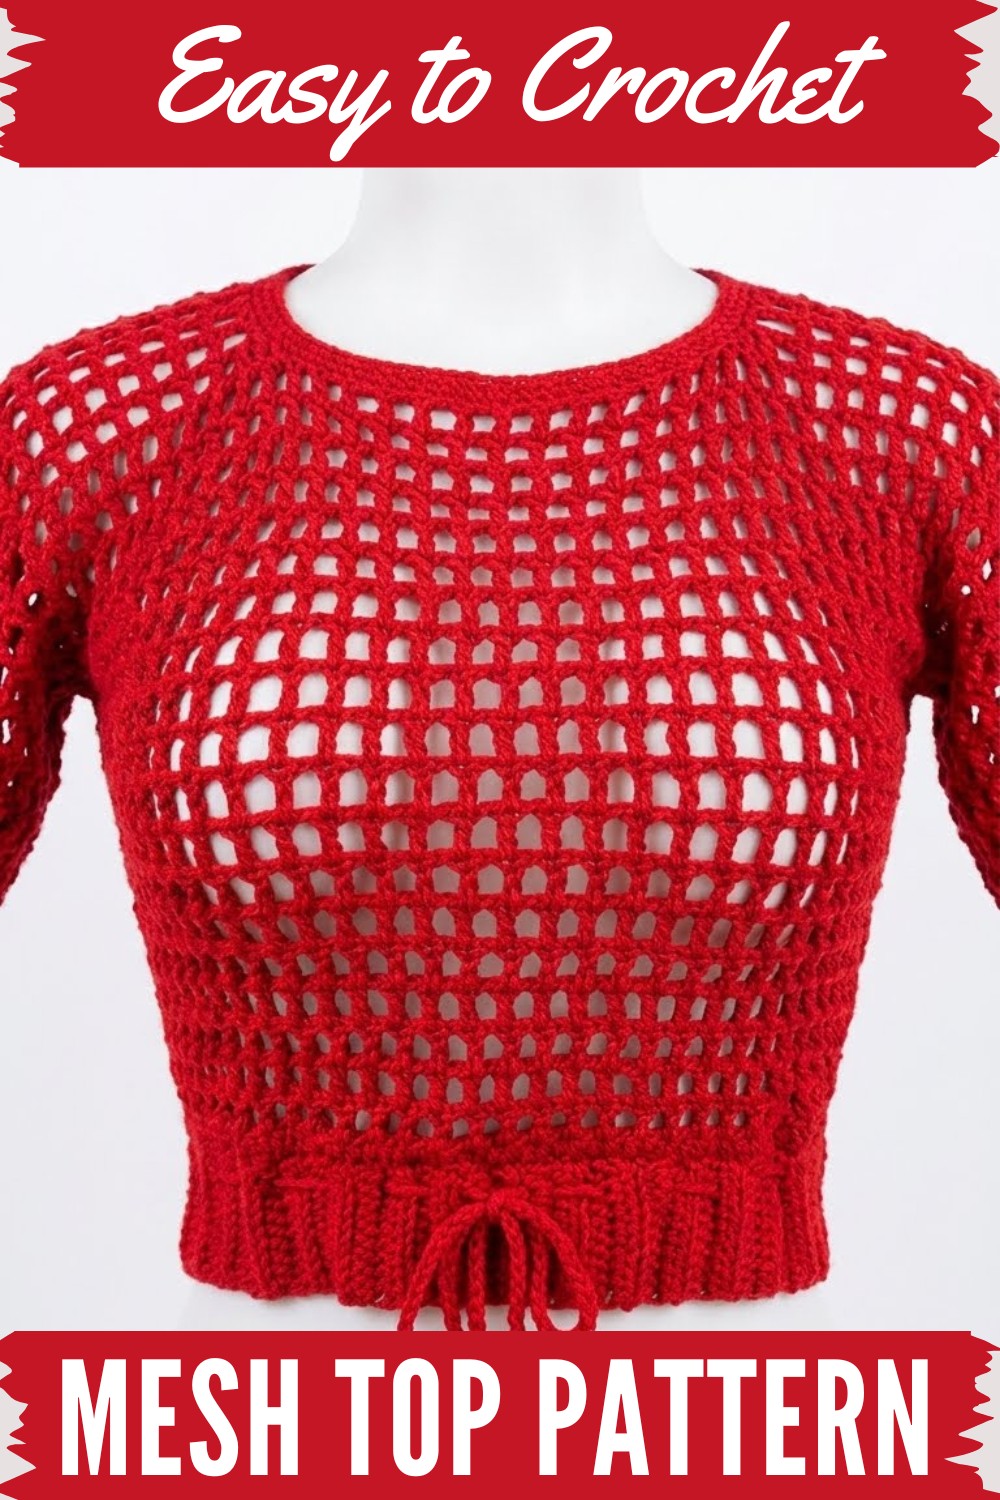
This project results in a trendy, loose-fitting top characterized by its open, lacy texture and relaxed silhouette. The mesh style creates a visually striking pattern of interconnected stitches, allowing plenty of airflow, ideal for warmer days or layering over tank tops and dresses. The shape usually features a comfortable boxy cut with simple lines, letting the stitchwork shine. What’s great about this pattern is its adaptability; it often comes with size options or can be easily adjusted by changing yarn weight or hook size to fit everything from a small to plus size.
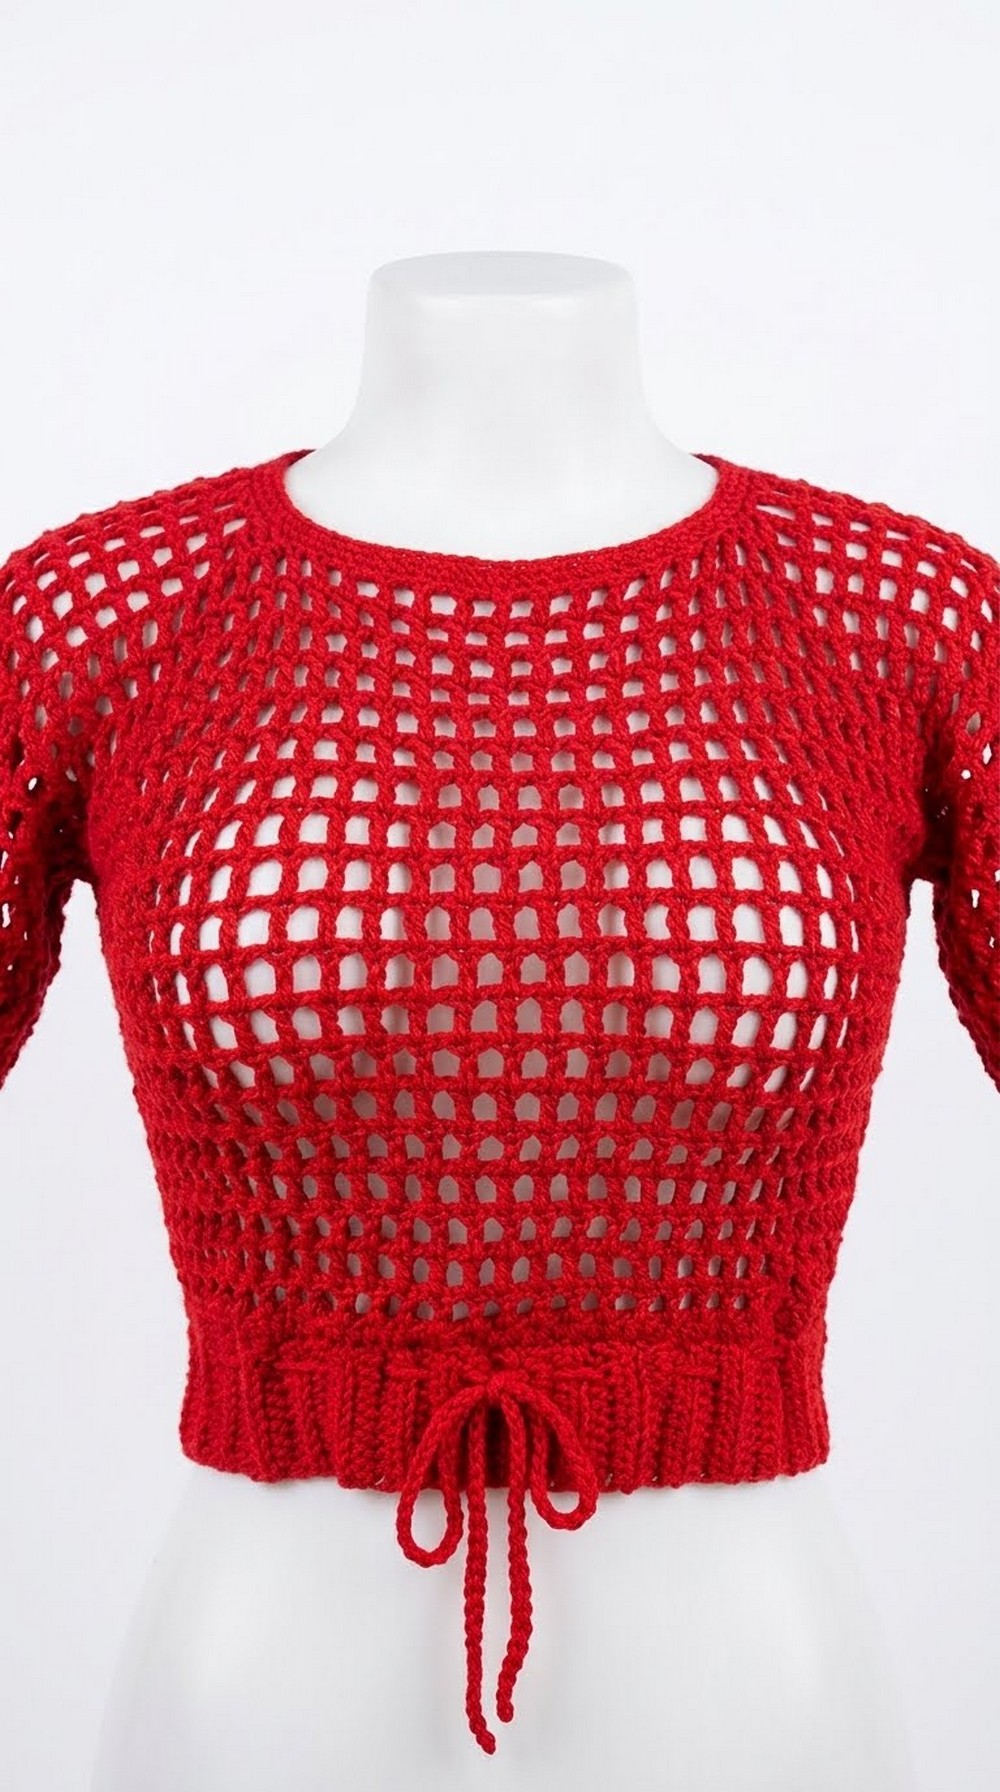
The top typically involves working in rows or rounds using basic stitches like chains and double crochets to create that classic mesh effect. As a tip, using a smooth, lightweight yarn such as cotton or a cotton blend really enhances the stitch definition and keeps the garment breathable, while also offering some durability and softness against the skin.
The inspiration behind this design stems from the desire for easy, breezy clothing that can transition from casual outings to beach cover-ups or festival wear. Plus, the pattern makes a fantastic handmade gift for friends who love unique fashion pieces. Don’t hesitate to personalize your mesh top with colorful yarns, decorative edging, or even crochet motifs to really make it your own. This Free Crochet Mesh Top pattern is a delightful way to get creative while making a stylish staple piece.
Crochet Mesh Crop Top Pattern
This beginner-friendly crochet mesh crop top is perfect for adding a stylish touch to your wardrobe. Below is a step bymstep guide for a size small (36-inch bust measurement) with full stitch instructions.
Materials Needed
- Yarn: Yeye regular (approximately 4 balls).
- Yarn Color: Bright Red
- Crochet Hook: 4.0mm.
- Tools: Measuring tape, stitch markers, darning needle, scissors.
Step by Step Instructions
1. Main Body Panels (Front & Back)
Foundation Chain
- Chain 71 (~18 inches, for size small without stretching).
- Adjust the chain length for larger sizes to match half of your bust measurement.
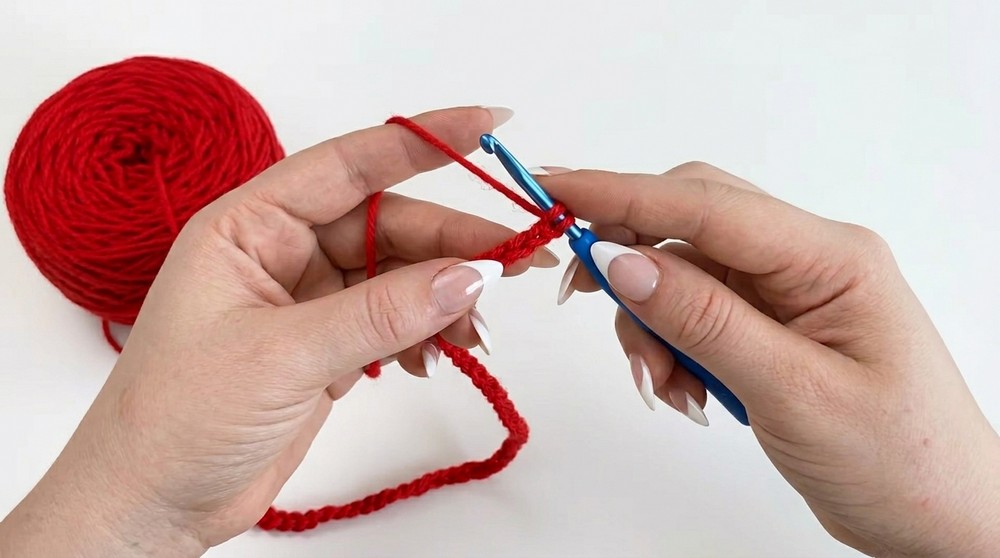
Row 1: Half Double Crochet (HDC) Foundation
- Yarn over.
- Insert hook into the third chain from the hook.
- Pull up a loop (3 loops on your hook).
- Yarn over and pull through all 3 loops on your hook (HDC complete).
- Repeat HDC in each chain across the row.
- At the end of the row:
- Chain 1, turn your work.
Row 2: Start of Mesh Stitch
- Chain 4 (counts as 1 DC + chain 1 space).
- Skip the first stitch.
- Work 1 DC into the next stitch.
- Chain 1, skip the next stitch, then work 1 DC into the next stitch.
- Repeat the following sequence:
- Chain 1, skip 1 stitch, DC in the next.
- At the end of the row:
- DC into the last stitch.
- Turn work.
Row 3 and Onwards: Continue Mesh Stitch
- Chain 4 (counts as 1 DC + chain 1 space).
- Work 1 DC into the next DC from the previous row.
- Chain 1 and skip the next chain space.
- Continue repeating the mesh pattern:
- Chain 1, skip 1 stitch, DC in the next stitch.
- At the end of every row:
- DC into the last stitch, turn your work, and chain 4 to start the new row.
Length
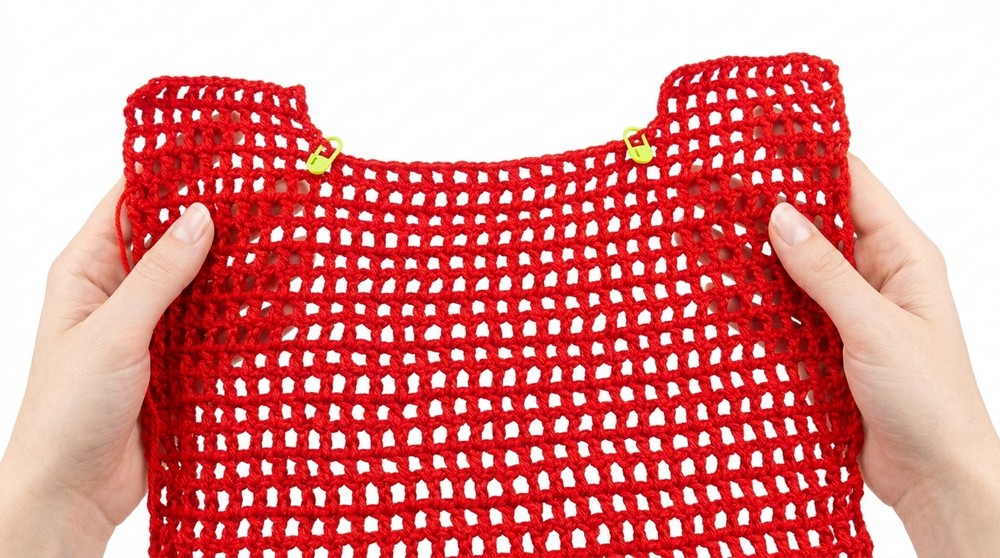
- Continue working the mesh stitch for a total of 22 rows to achieve around 13 inches in length for size small.
- Adjust the total number of rows for medium, large, or custom sizes.
2. Neckline Shaping
Step 1: Mark the Neckline
- After reaching 19 rows (or your desired top length before the neckline), lay the panel flat.
- Divide the neckline:
- Use a measuring tape and place stitch markers to leave 3.5 inches in the middle for the neck opening (size small).
- Check that the stitches on each side are symmetrical.
Step 2: Shaping the Neckline
- Attach yarn to the right shoulder section, where the stitch marker is placed.
- Row 20 (First Shoulder):
- Chain 4 (counts as DC + chain 1).
- Work mesh stitches (DC + chain 1, skipping a stitch between Dcs) up to the last stitch before the neckline.
- Perform a DC Decrease (DC Dec) at the neckline edge:
- Yarn over, insert the hook into the next stitch, pull up a loop (3 loops on the hook).
- Yarn over, pull through 2 loops (2 loops on the hook).
- Yarn over, insert the hook into the next stitch, pull up a loop (4 loops on the hook).
- Yarn over, pull through 2 loops (3 loops on the hook).
- Yarn over, pull through all 3 loops.
- Row 21 & Row 22:
- Perform mesh stitches across the shoulder section only.
- At the end of each row: Chain 4, turn your work.
- Fasten off after completing 3 rows for the first shoulder.
- Repeat for the Second Shoulder:
- Attach yarn to the opposite side and follow the same steps to complete 3 rows.
3. Assembly
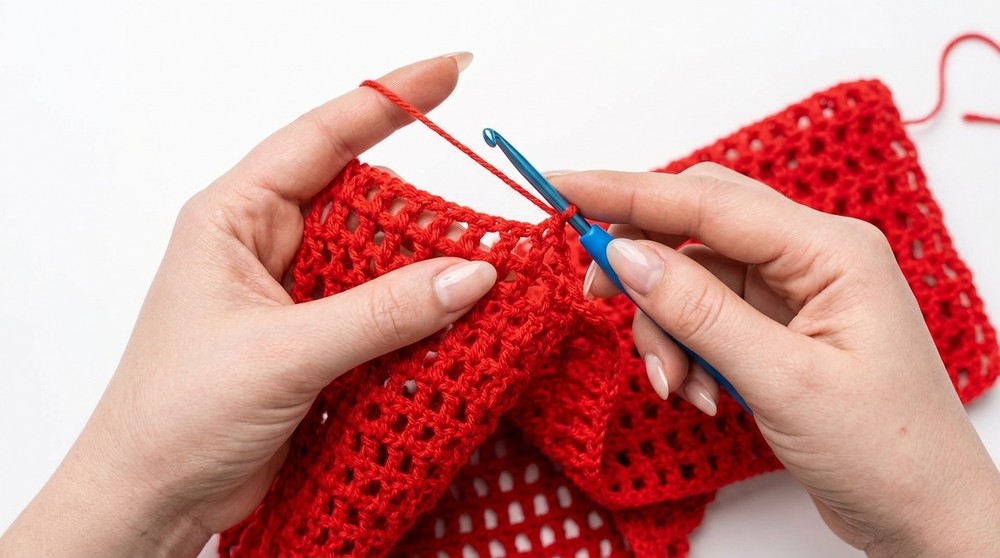
Side Seams
- Place the front and back panels together, right sides facing each other.
- Sew the sides using:
- A slip stitch or a darning needle with yarn.
- Leave openings for armholes:
- 6 inches for size small, 7–8 inches for medium or large sizes.
- Securely knot and weave the ends.
4. Waistband
Step 1: Foundation Chain
- Chain 10 + 2 extra for turning.
Step 2: Ribbed Band
- Yarn over, insert the hook into the third chain from the hook.
- Work HDC in each chain to the end of the row.
- Chain 1 and turn your work.
- From Row 2 Onwards:
- Work HDC into the back loop only of each stitch across. Chain 1, turn.
- Continue this pattern of back loop only HDC until the ribbing is long enough to wrap around the bottom of your top.
Step 3: Attach the Waistband
- Align the ribbed band with the bottom edge of the top.
- With the wrong sides facing outward, sew the ribbing onto the bottom edge using:
- A slip stitch or darning needle.
5. Sleeves & Finishing
Step 1: Mesh Stitch for Sleeves
- Attach yarn at the armhole opening.
- Round 1:
- Chain 4 (counts as DC + chain 1 space).
- Work a mesh stitch (chain 1, skip 1 stitch, DC into the next stitch) evenly around the armhole.
- Sl st into the third chain of your starting chain to join.
Step 2: Repeat Rounds for Sleeve Length
- Repeat the mesh stitch rounds for 7 rounds (or your desired sleeve length).
- After completing the mesh rows, sl st to the start and fasten off.
Step 3: Finishing Edges
- Work 3 rows of single crochet (sc) to finish the sleeve ends.
- At the start of each row, chain 1, then sc into each st or ch 1 space.
- Work the same 3 rows of single crochet around the neckline for a clean and polished finish.
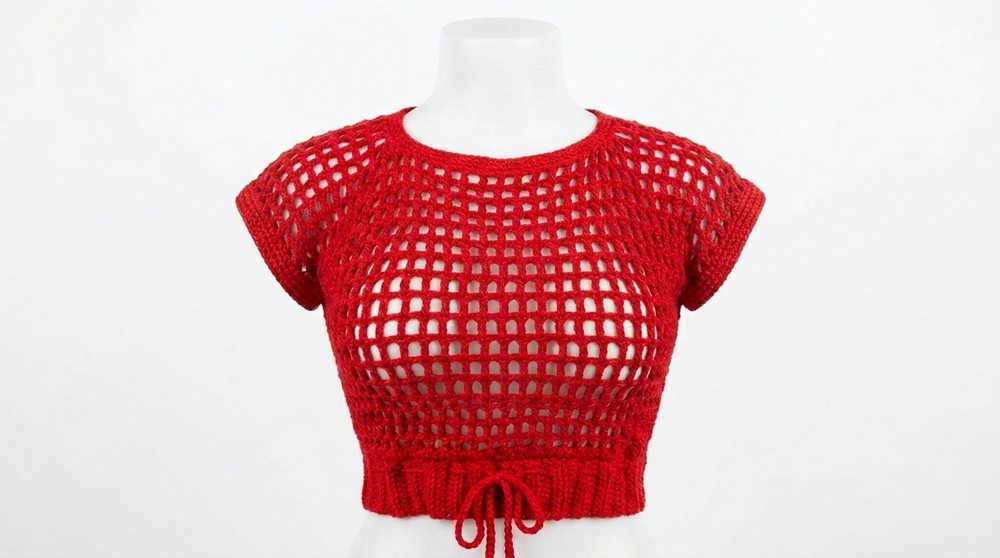
Optional Drawstring
- Chain 150 stitches.
- Weave the chain through the ribbing along the waistband to allow it to cinch and adjust the fit.
Final Assembly and Measurements
- Turn the crop top right-side out.
- Check all the seams and remove any loose yarn tails.
For Size Small
- Bust Circumference: 36 inches.
- Length: 13 inches (22 rows).
- Armhole: 6 inches.
Adjust the width, row count, and armhole openings for medium or large sizes.
Conclusion
Congratulations,You’ve completed your Crochet Mesh Crop Top. It’s a perfect project for beginners and can be customized in various colors and sizes to suit your style. Add more rows to the sleeves or body if you desire a longer fit, or stick to the simple cropped design for a chic look.