Add style to your wardrobe with this Free Crochet Wrap Sweater Pattern that is simple to follow and great for creating a cozy and fashionable outfit for any day.
Lady\_Anika - Szydełkowe Światło shares clear, inspiring tutorials that make creating beautiful crochet projects both easy and enjoyable for crocheters of all levels.
A cozy wrap sweater offers warmth and effortless style with a thoughtful, elegant design. The Free crochet Wrap Sweater Pattern combines cotton and alpaca silk yarns for a soft, comfortable texture that improves with washing.
Cozy Free Crochet Wrap Sweater Pattern for Any Season
This wrap sweater is made from two large panels sewn together, featuring a loose, comfortable fit with wide, batwing sleeves that add a relaxed elegance. The front is slightly open to show off layers beneath, perfect for pairing with dresses or shirts during cooler days or festive occasions.
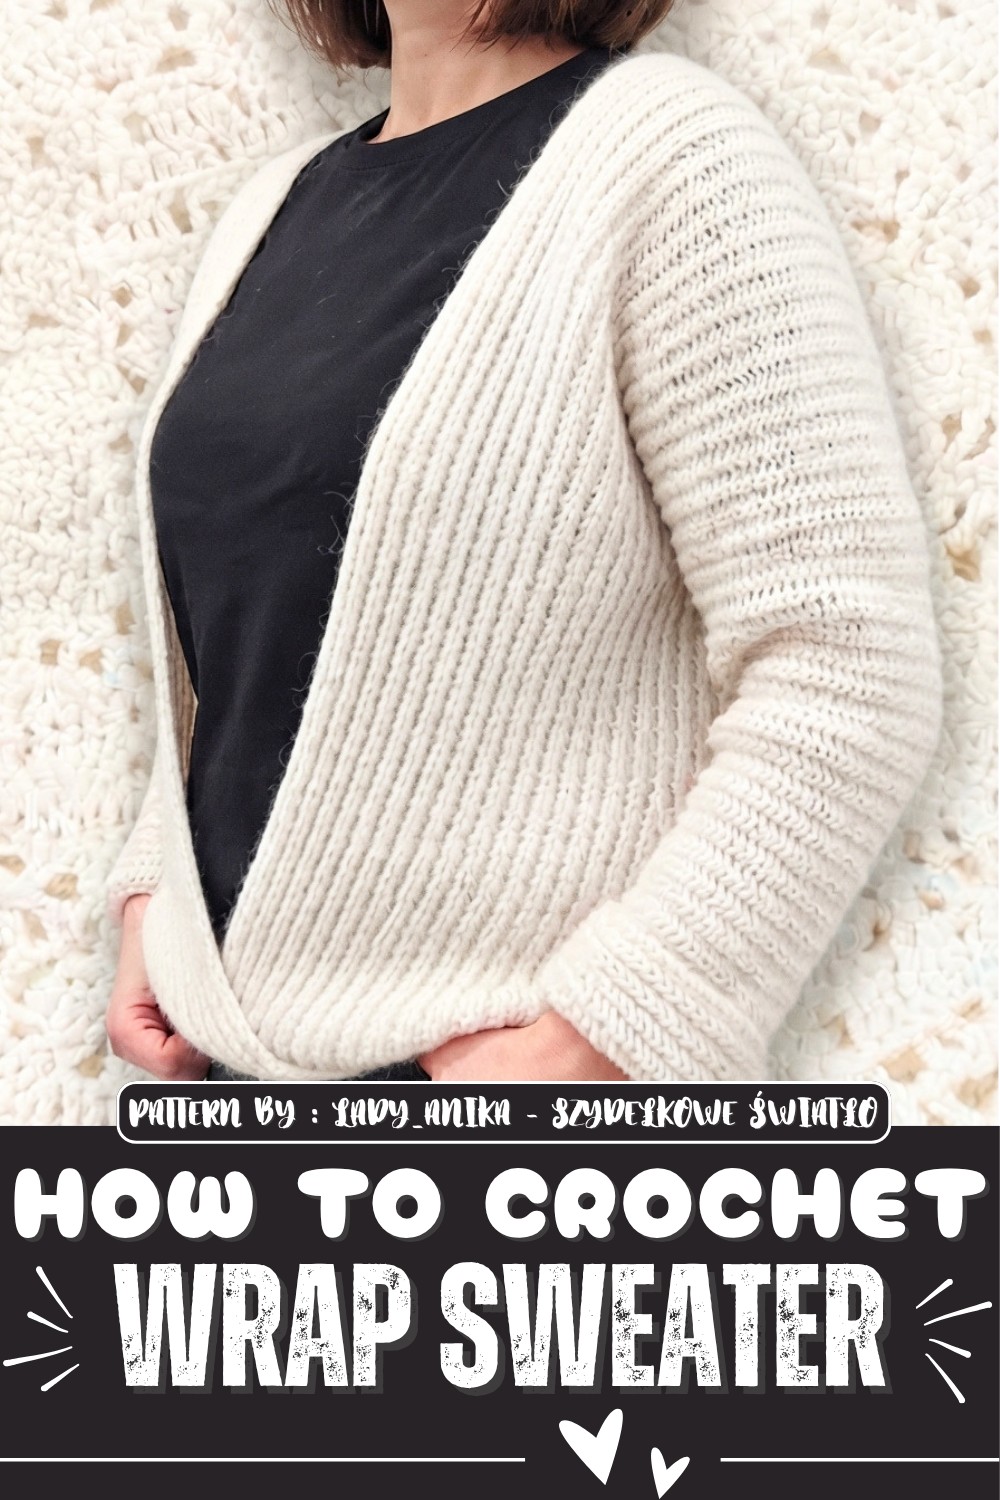
The texture is created using a simple but eye-catching stitch pattern worked mostly in the back loops, giving the fabric a neat, slightly raised pattern that looks similar on both sides. This double-sided feature adds versatility, as either side can be worn outward depending on your mood or style. The edges are carefully finished with ribbing and cuffs that roll slightly for a polished look and better fit around the waist and arms.
This pattern has great gifting potential too, as the handmade nature and elegant simplicity make for a thoughtful and stylish present that anyone can cherish. With clear instructions and adaptable sizing, it’s a rewarding project for both beginners and experienced crocheters seeking a striking wrap sweater.
Batwing Panel Sweater Pattern
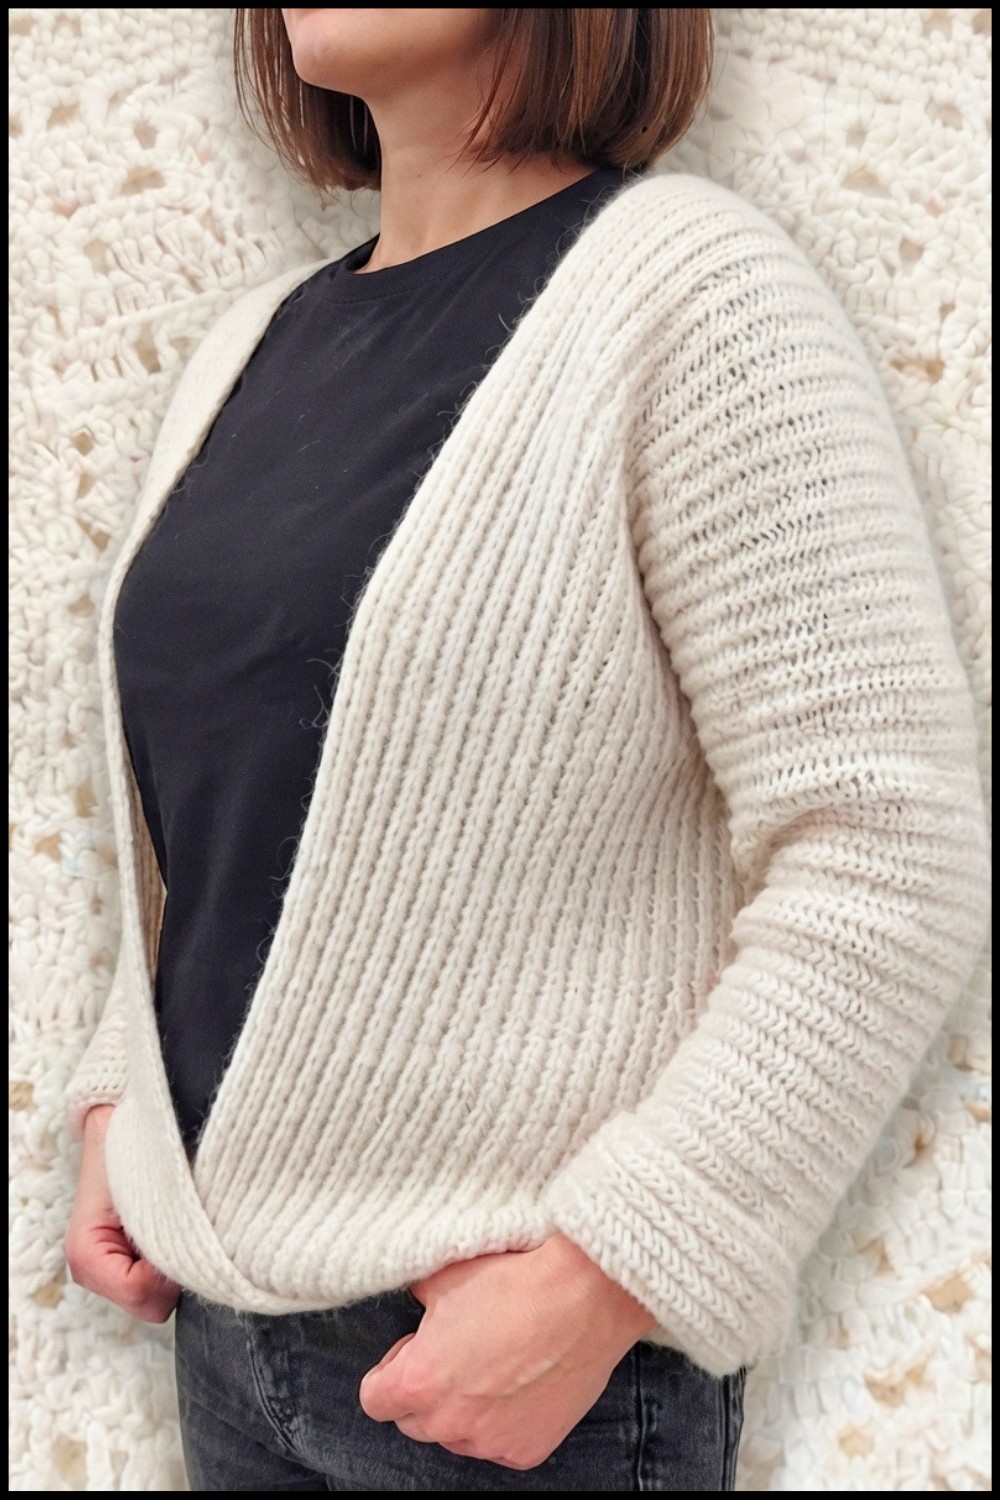
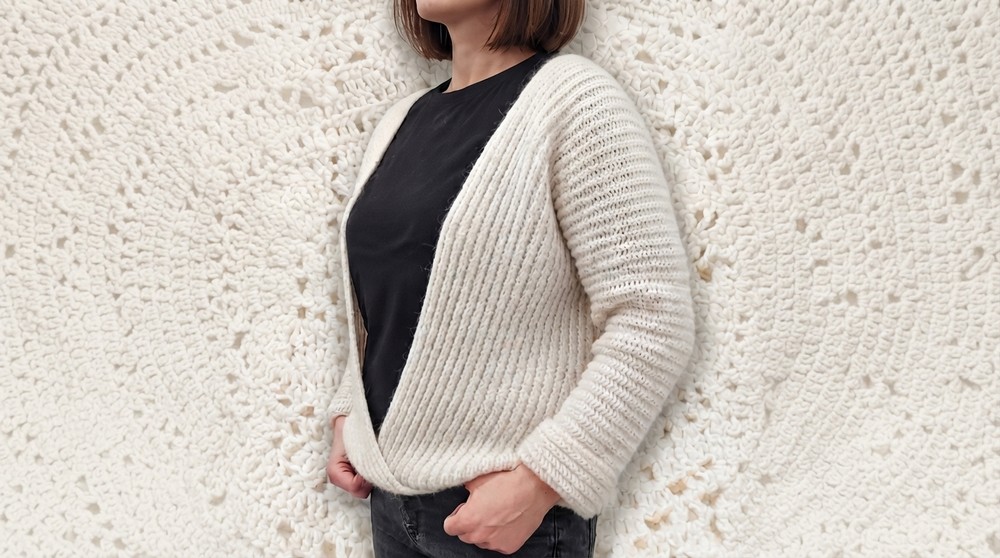
This open-front, batwing-sleeved sweater combines warmth with a modern, relaxed style. Worked in two large, shaped panels and assembled with minimal seams, the design creates an effortless layering look, with a rolled or ribbed cuff and an optional tidy seam across the back. The finished piece drapes beautifully—showcasing a comfortable neckline, a touch of volume at the arms, and a figure-friendly silhouette. Combining Drops Brushed Alpaca Silk with cotton yarn produces exceptional softness after washing, resulting in an elegant, wearable garment suitable for festive occasions or everyday coziness.
Skill Level
Beginner to Intermediate. Construction is straightforward, involving basic stitches, working increases, and simple seaming. Some attention to counting and placement is required, especially during the shaping of the panels and during assembly.
Materials
- Yarns:
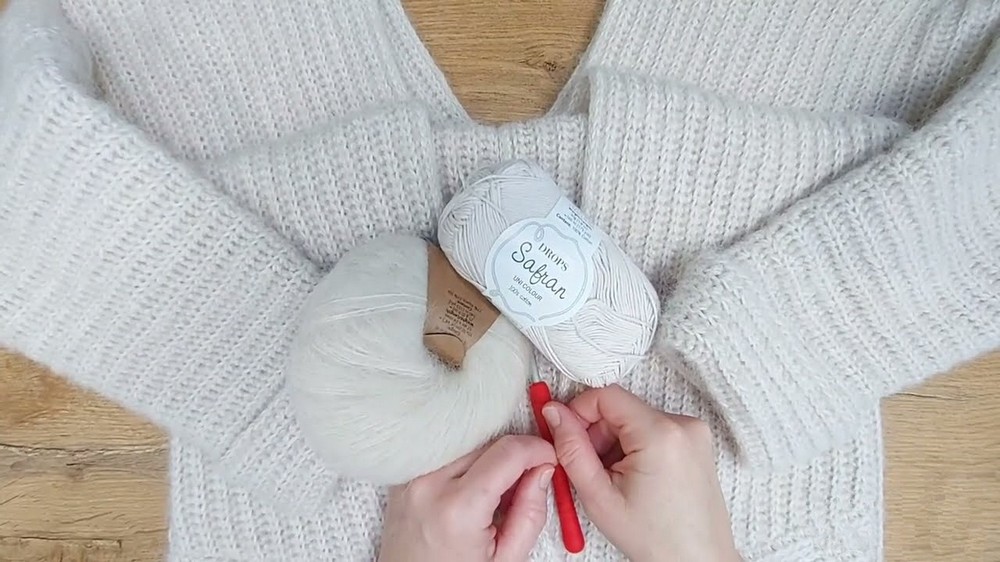
- Drops Brushed Alpaca Silk (Color 1), approx. 9 skeins
- 100% Cotton yarn (Color 72), approx. 7 skeins
- Both yarns are held together throughout for maximum softness and warmth
- Hooks:
- 5 mm (main body)
- 4.5 mm (ribbing and finishing rows)
- 4 mm, 3.5 mm, and 3 mm as needed for cuffs and seaming
- Notions:
- Yarn or stitch markers (to track right side/edges)
- Scissors
- Yarn needle or smaller hook for weaving and finishing
Special Stitches
- Single Crochet with Yarn Over: Insert hook into stitch, yarn over, pull up a loop (2 loops on hook), yarn over and pull through both loops.
- Half Double Crochet (HDC): Yarn over, insert hook into stitch, yarn over, pull up a loop (3 loops on hook), yarn over and pull through all loops.
- Back Loop Only (BLO): Insert the hook under only the back loop of the stitch for textured ribbing.
- Slip Stitch (SL ST): For seams and tidying edges.
Stitch Abbreviations
- CH – Chain
- SC – Single Crochet
- HDC – Half Double Crochet
- BLO – Back Loop Only
- SL ST – Slip Stitch
- st(s) – Stitch(es)
Useful Tips
- Always make a swatch with your yarn combination to determine gauge and fabric behavior.
- The sweater softens after washing; anticipate a slight stretch increase of 2–3 cm in width and length.
- Create two identical panels. Measure as you go and check against your body for best fit.
- Use markers to keep track of the right side and increase placement; this prevents confusion and keeps seam allowances and shaping symmetrical.
- Increases for the batwing shaping are added at the end of every 4th row (or as preferred for a more dramatic sleeve).
- For the bias (waist-bottom shaping), increases are made every second left-side row.
- Be careful with seaming to maintain the curved lines and panel alignment. Use a smaller hook for sturdy, less bulky seams.
- Cuffs and ribbing can be rolled or extended to your liking.
Detailed Pattern
First Panel (Sleeve into Body)
- With 5 mm hook and both yarns held together, make a slip knot.
- Sleeve Foundation Chain: CH 50 for the sleeve width (for approx. 27 cm; adjust based on preference and swatch).
- Add 1 extra chain for turning.
- Row 1:
- Turn. Work single crochet with yarn over in the back (middle) loop of each chain. This ensures a neat edge.
- At row end, work an extra turning chain (edge stitch), not counted in panel width.
- Rows 2–10: (or until ribbing section measures approx. 6 cm/5 “braids”)
- CH 1 (edge stitch), turn.
- Work single crochet with yarn over in BLO across.
- For the last stitch, insert under both loops for a sturdy edge.
- Mark your right side with a scrap of yarn.
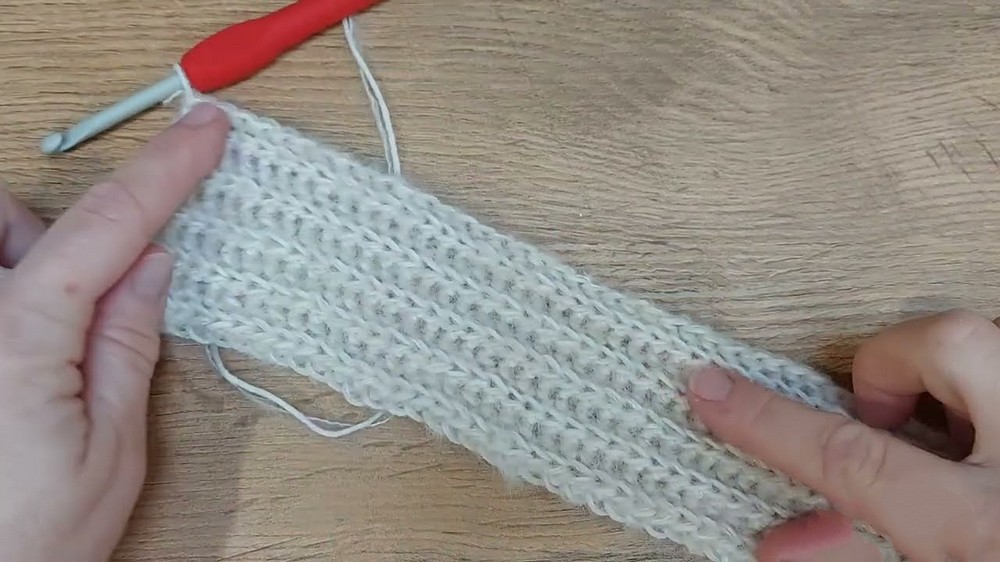
Begin Batwing Increases:
- Starting after the ribbing rows, increases are made at the start and end of every 4th row (always on the same—typically wrong—side for a gentle batwing shape).
- On increase row: At beginning and end, work 2 sc (with yarn over) into one stitch (BLO), then proceed as established.
- For next 3 rows, continue without increases.
- Repeat this “every 4th row” increase sequence throughout body shaping.
- Continue until piece measures about 40 cm from underarm to desired length, or until you reach a stitch count suitable for your size (sample: from 50 sts (27 cm) to 74 sts (about 40 cm)).
- There should be about 29 “braids” (vertical ribs) for full panel.
- End with a right side row.
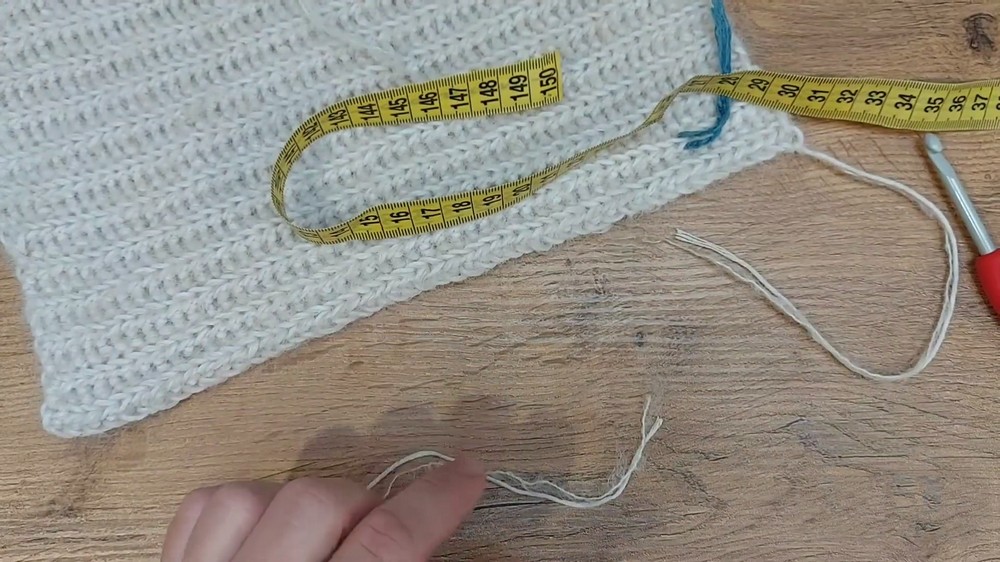
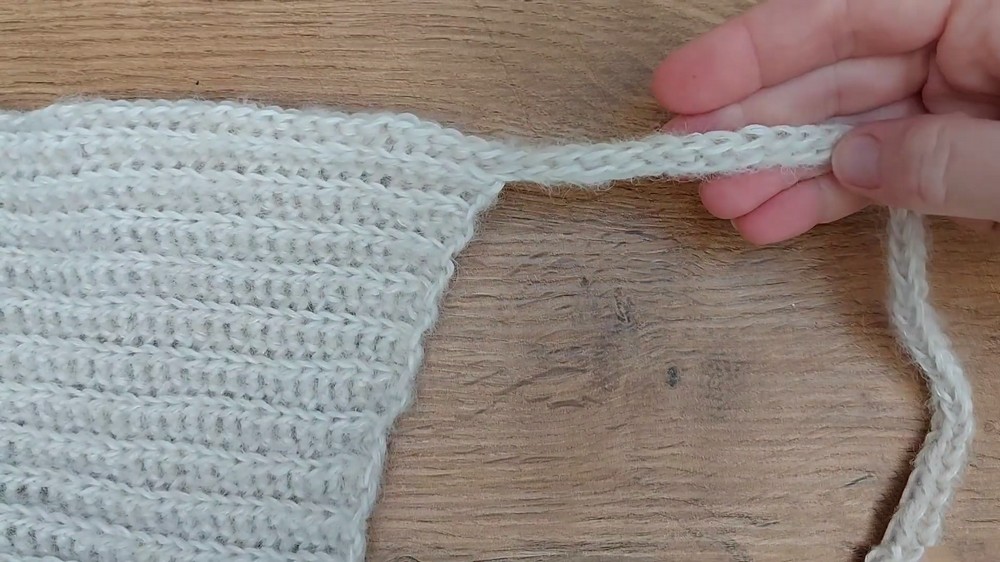
Waist/Body Expansion (Bottom Bias Increase, Panel Shaping)
- With the panel on the right side, at panel edge, add a foundation chain (for bottom/hem of panel):
- CH 60 (or as measured/calculated for desired length).
- Add 1 edge chain, turn.
- Work along the chain as at the beginning (SC with yarn over in back/middle loop).
- Continue in row, working into panel stitches as established, until end.
- At second edge, add a matching (but thicker, for symmetry) foundation chain:
- Use a smaller hook (3.5–4 mm) and make 60 “yarn over” chains, working with the same movement as before for evenness and stretch.
- Once both sides are complete, return to main hook (5 mm) for subsequent rows.
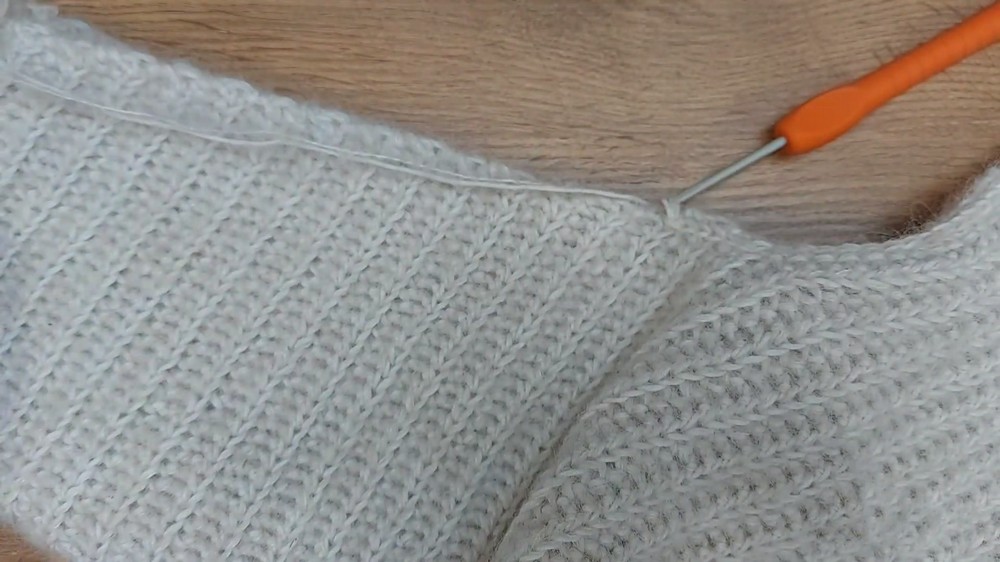
Body/Bottom Diagonal Increases (Bias):
- From this point, for the bottom curve, increase at start and end of every left-side row (i.e., every second row for a more pronounced bias).
- At increase rows, start and end with 2 stitches in one (BLO); work rest as established.
- Work straight (no increases) on right-side rows.
- Continue this bias shaping for approx. 18 rows or to desired width, checking proportions on yourself or a template.
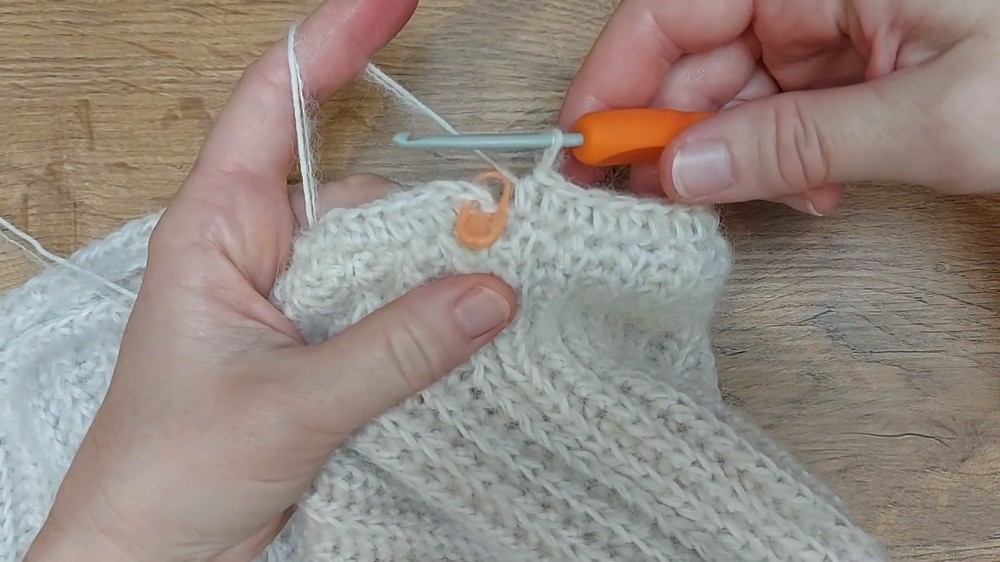
- Panel Finishing Rows:
- End with 2 rows of single crochet (not yarn over), in BLO, to stiffen and prevent curling.
- Use 4.5 mm for first row, then 3.5 mm for the final row.
- Fasten off and carefully block (wash gently and dry flat).
Second Panel
- Repeat all steps as for first panel, ensuring identical size, sequence, and shaping.
Assembly and Sizing
- Wash both panels before seaming to allow yarn to relax and adjust dimensions if needed.
- Place panels with wrong sides together.
- Seaming Sides and Underarms:
- Seam from hem up under the sleeve, folding cuff inwards if desired (“rolled cuff” style). Use SC or SL ST and a small hook for a strong, neat seam.
- When seaming the sleeve underarm, make sure “braids” and increases align on both panels.
- Joining at Neck and Hem:
- Leave front open; simply overlap and secure a few stitches/rows at the desired point across the back, folding as indicated for intended collar opening.
- Ribbing/Hem Band:
- With right side facing, attach yarn at side seam near hem with a smaller hook.
- SC loosely around, once into every row-edge or stitch, all the way around hem and up both front edges for a clean finish.
- Join with SL ST at the start.
- Switch to HDC (BLO) with a 4–5 mm hook for six rounds for visible ribbing; end with a final round of SC to further neaten and reduce height step if needed.
- Fasten off and weave in all ends.
Finishing the Back
- If preferred, connect back neckline by seaming 7–10 cm at the center with a small hook (2–3 mm) and SC. This reduces gaping without altering front drape.
- Secure seam ends and conceal all loose yarn tails with a needle or small hook between stitches for invisibility.
Ending Words
The batwing panel sweater project provides a rewarding exploration of modular shaping, creative seaming, and the interplay of mohair and cotton for warmth. Its construction offers simplicity combined with sophisticated shaping, giving a unique, loose-draped but flattering garment with the flexibility to adapt length, width, and details. After assembly and gentle blocking, the resulting sweater envelops the wearer in softness and displays elegant ribbed patterning—suited for holidays or any occasion desiring both comfort and style. Experiment with proportions and finishes to make each version uniquely personal.