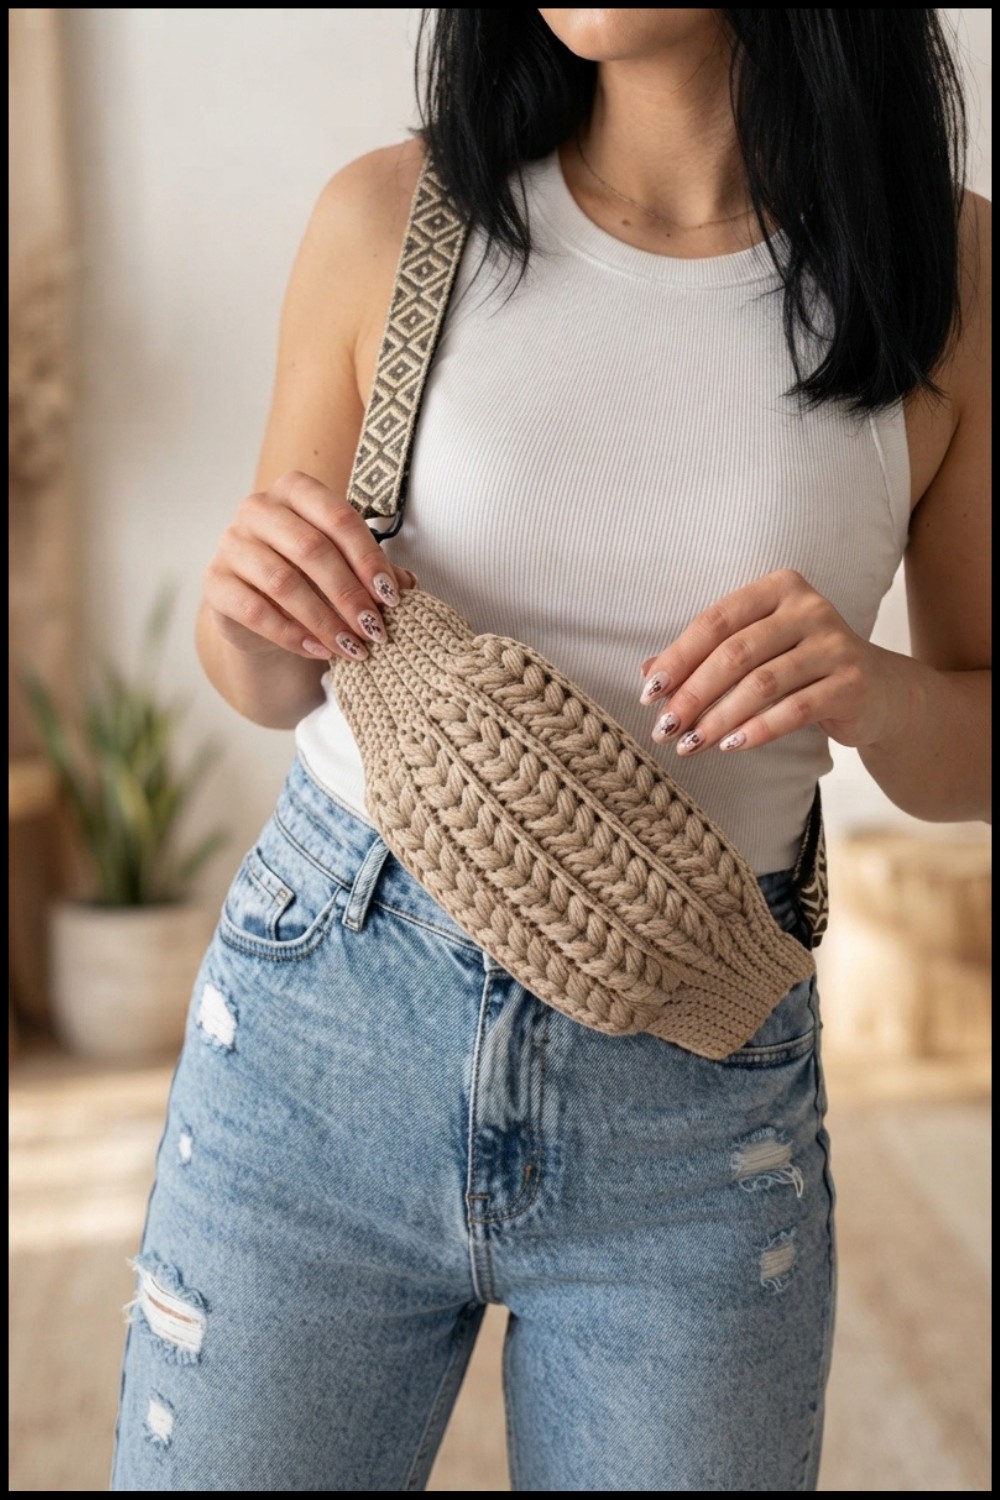
Highlight your personal style with this free crochet crossbody bag pattern that combines unique texture and functional design effortlessly.
Having a handy bag to carry your small things is really helpful. The Free Crochet Crossbody Bag Pattern gives you a way to make a cute, easy-to-wear bag all by yourself. This project is great for people who love making their own accessories and want a stylish bag to use every day.
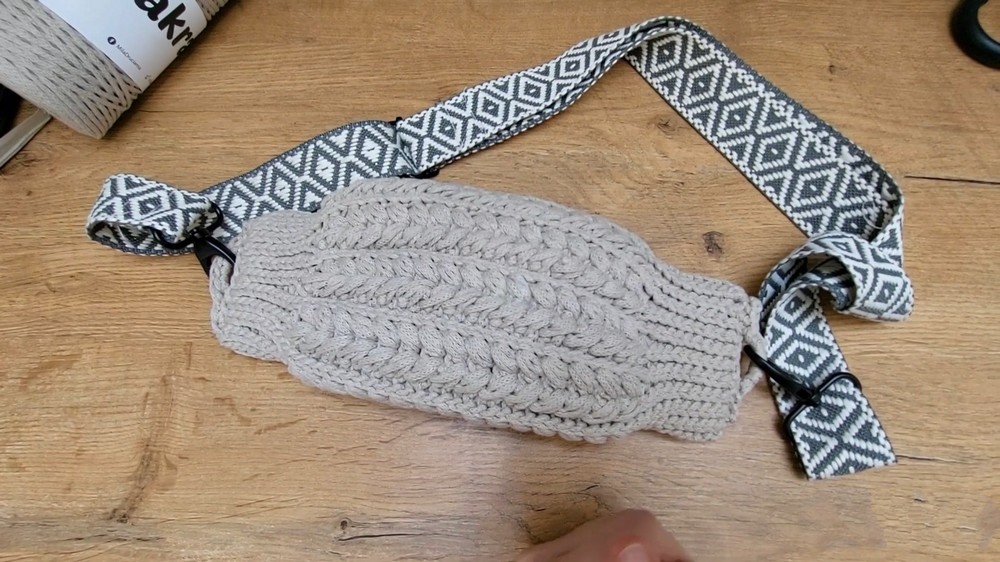
This crossbody bag has a nice square or slightly rounded shape that hangs comfortably over your shoulder. It’s just the right size—not too big and not too small—so you can carry your phone, keys, and other little items. The style is simple but charming, with a soft texture from the yarn and a cozy feel. Its strap is long and can be worn across your body, which is very convenient when you want your hands free. The bag’s colors and stitches give it a warm, homemade look that matches many outfits.
Simple Free Crochet Crossbody Bag Pattern for Quick Projects
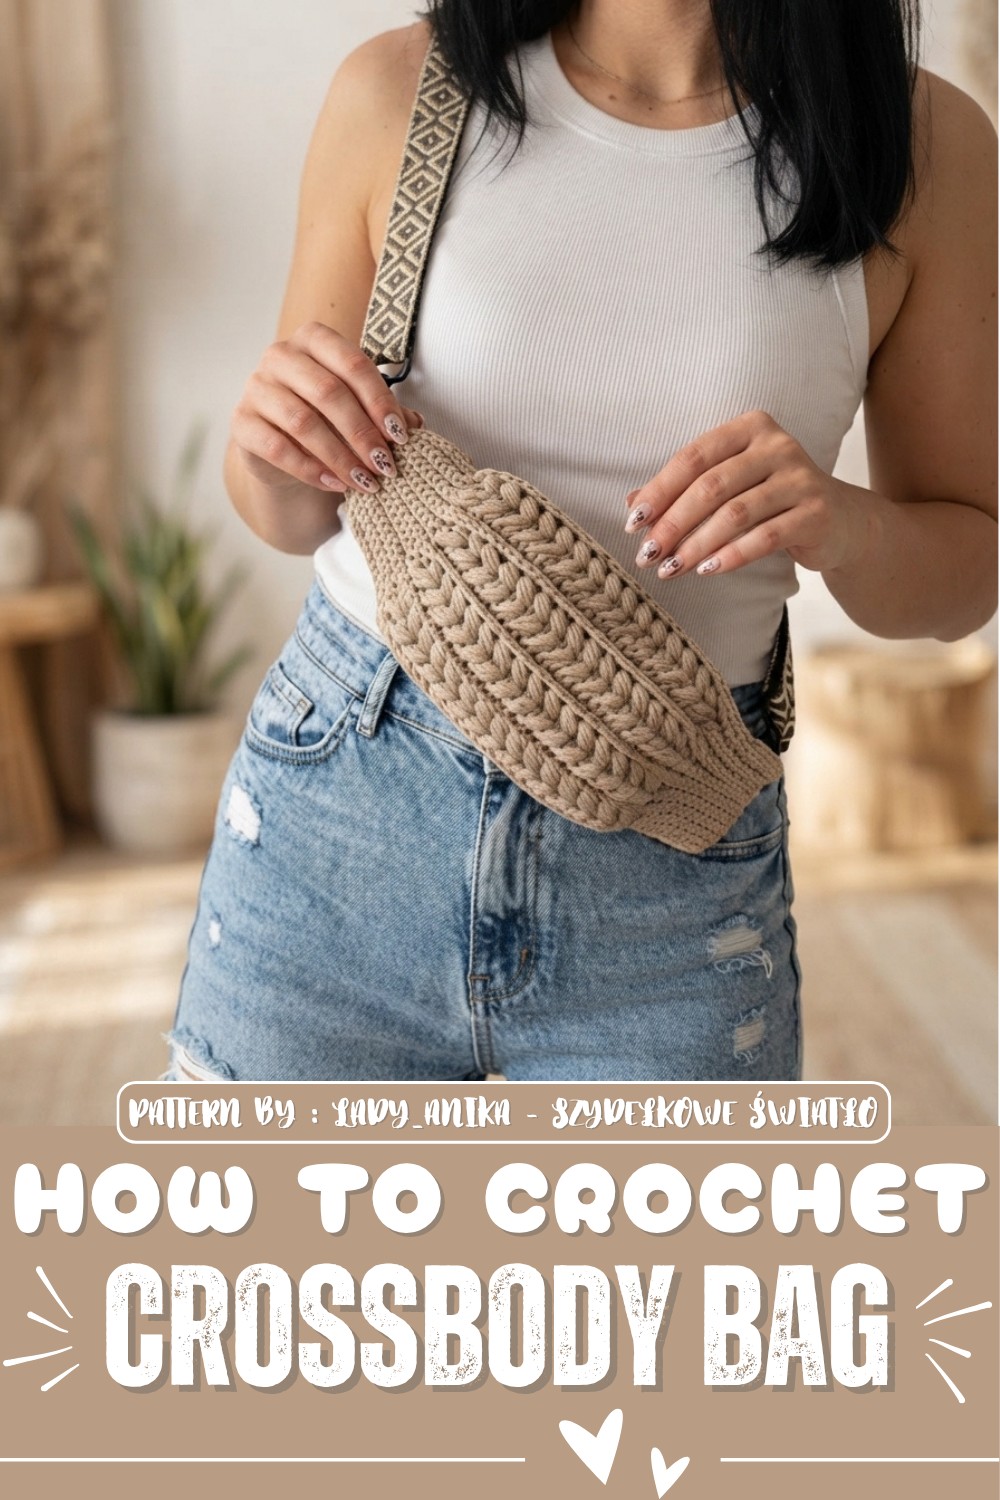
A creative maker shared this amazing pattern for free, making it easy for beginners to follow. If you want extra help, you can check out the YouTube channel Lady\_Anika - Szydełkowe Światło, where clear tutorials guide you through every step of the crochet process.
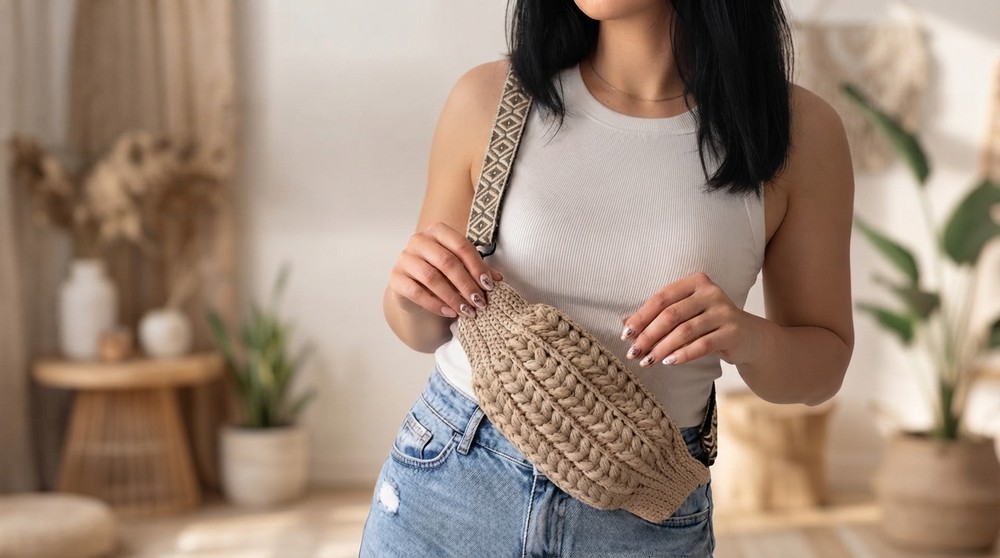
People will enjoy this finished crossbody bag because it is practical and pretty. It fits perfectly for school, shopping, or just going out with friends. Plus, it makes a thoughtful gift since it’s handmade with heart and care. Whether you want a cute new accessory or a fun new project, the Free Crochet Crossbody Bag Pattern is a wonderful choice that brings joy and usefulness in one pretty package.
Macramé Crochet Crossbody Bag Pattern
This detailed tutorial guides you through creating a stylish and functional crocheted crossbody bag (nerka) using a macramé technique combined with crochet. The bag features a durable structure made from 2mm polyester macramé cord worked with a 3.75mm hook to achieve tight and precise stitches. A distinctive “bubble” stitch pattern creates a textured fabric, while the bag is finished professionally with a zipper closure and custom adjustable strap hardware.
Quick Overview of Pattern
- Materials Preparation: Selecting and organizing quality 2mm polyester macramé cord and appropriate hook size for tension control.
- Foundation Chain: Establishing the base width with stitch markers to designate side panels.
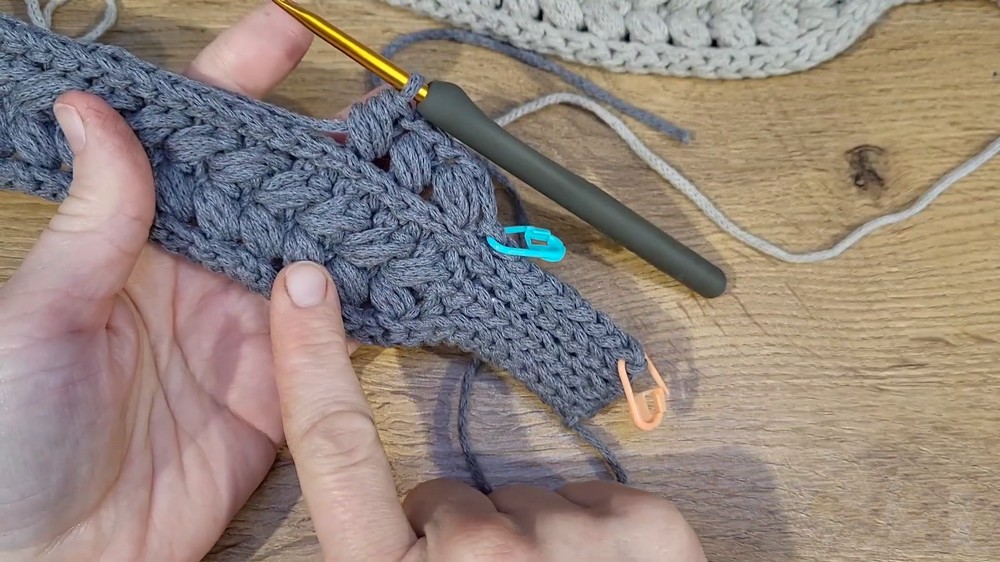
- Bubble Stitch Fabric: Crocheting in back loops only to create textured bubble rows, alternating with rows of single and slip stitches for structure and design balance.
- Pattern Maintenance: Ensuring symmetry with an even stitch count through continuous rows.
- Assembly: Precise sewing in of the zipper followed by slip-stitch joins of bag sides. Integration of loops for metal hardware attachment.
- Custom Strap: Creating an adjustable strap using webbing, carabiners, and an adjuster for comfortable wear.
Notes
- The macramé cord requires a larger hook size (3.75mm) than its thickness to produce tight, uniform stitches and durable fabric.
- Stitch markers are used early to segment the bag width precisely for consistent shaping and size.
- The “bubble” stitch is key to the bag’s signature texture and volume; it uses loop pooling and multiple yarn wraps.
- Rows alternate between decorative bubble stitches and foundation single/slip stitch rows worked into back loops only.
- Assembly steps require patient and careful zipper sewing and side joining to maintain the bag's structure.
- Using an adjustable strap setup with carabiners and hardware allows versatility and professional finish.
Skill Level
Intermediate to Advanced
Recommended skills include:
- Working with macramé cord and adapting crochet tension accordingly.
- Advanced stitches such as bubble stitches with multiple yarn wraps and loop pulls.
- Back loop only (BLO) crochet technique.
- Accurate stitch counting and pattern maintenance for symmetry.
- Sewing zippers and hardware attachment with crochet pieces.
- Creating and attaching custom webbing straps.
Materials
- 2mm Polyester Macramé Cord (approximately 200 meters)
- 3.75mm Crochet Hook (to optimize stitch tightness)
- Zipper approximately 20 cm in length
- Hardware for Strap: Carabiners, adjuster, and D-rings or half-rings
- Scissors, sewing needle and thread, stitch markers
Measurements / Sizing
- The bag width is designated by the chain length and marked side sections (10th stitch marker).
- The finished size depends on chain length and rows completed but typically designed for comfortable crossbody use.
- Strap length is fully adjustable based on preferences, adjusted through hardware features.
Gauge and Stitch Pattern
- Gauge is dictated by tension with 2mm macramé cord and 3.75mm hook; tight stitches are necessary for structured fabric.
- The primary stitch is the “bubble” stitch worked into the back loop only (BLO), alternating with single and slip stitch rows also in BLO for texture and firmness.
Stitch Abbreviations
- ch = chain
- sc = single crochet
- hdc = half double crochet
- sl st = slip stitch
- BLO = back loop only
- bubble stitch = a special textured stitch worked by multiple yarn wraps and loop pulls (explained below)
Special Stitches
- Bubble Stitch:
- Worked in BLO for textured, raised effect.
- Yarn is wrapped multiple times around the hook (typically 7 loops initially, later refined to 5).
- Hook is inserted into the previous row’s space, pulling up multiple loops which are then worked off in stages to build a “bubble”.
- Back Loop Only (BLO):
- Working stitches in the back loop of each stitch only, producing a ribbed texture and heightened stitch definition.
The Crochet Pattern
1. Preparation
- Gather all materials before starting to crochet to maintain workflow efficiency.
- Use a 3.75mm hook for working with 2mm macramé cord, which ensures a tight, precise fabric with non-loose stitches.
- Cut cord lengths comfortable for crochet without frequent joins.
2. Foundation Chain and Side Marker
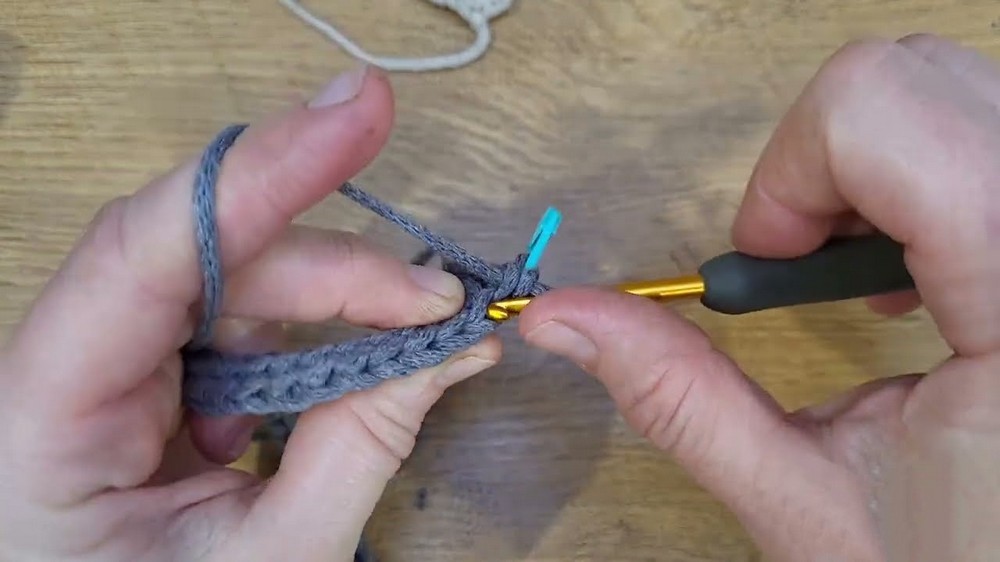
- Using the macramé cord and 3.75mm hook, chain to the desired length for the bag base (length is project-dependent, typically sized for crossbody fit).
- Place a stitch marker at the 10th chain stitch – this demarcates the side panel stitching sections for symmetry and pattern balance.
3. Main Pattern: Bubble Stitch Construction
- Begin the first row working into the back loop only (BLO) to gain ribbed texture.
- Skip the first stitch, then work a half double crochet (hdc) as a base.
- To create the bubble:
- Wrap the yarn multiple times (initially 7 wraps, later reduced to 5 wraps for tighter bubbles).
- Insert the hook into the space created in the previous row.
- Pull up loops to accumulate multiple strands on the hook.
- Work off the loops in stages to form the bubble’s raised surface.
- The bubble stitches provide volume and a distinct tactile pattern; keep tension consistent for best effect.
4. Maintaining the Pattern
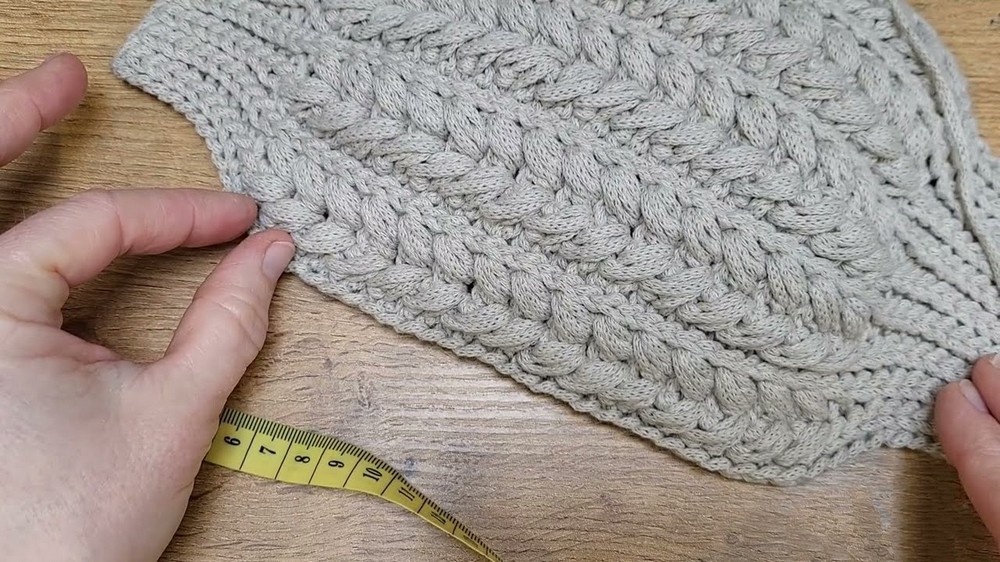
- Alternate rows of bubble stitch with rows of single crochet and slip stitches worked in BLO to strengthen fabric and add contrast.
- Ensure the number of stitches per row stays even to retain pattern symmetry and fabric stretch.
- Continue the repeating sequence of textured bubble rows and foundational single/slip stitch rows until the bag body reaches desired height.
5. Assembly and Zipper Attachment
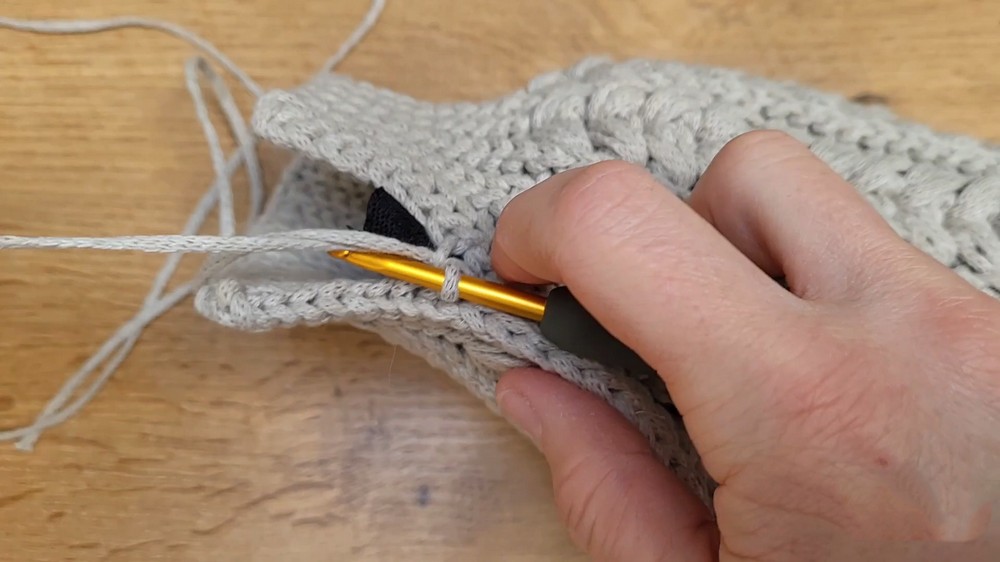
- Once the main body is complete, sew the zipper onto the bag's upper opening carefully.
- Use a strong needle and thread to attach the zipper edges securely while maintaining the bag’s shape.
- The zipper installation should be neat and sturdy for consistent use without snagging.
6. Finishing the Sides
- Close the bag’s sides by joining edges using a slip stitch join, worked on the right side of the work for a clean appearance.
- If no metal D-rings are used for the strap, create integrated loops from macramé cord in the joining process for carabiner attachment points.
7. Custom Strap Creation
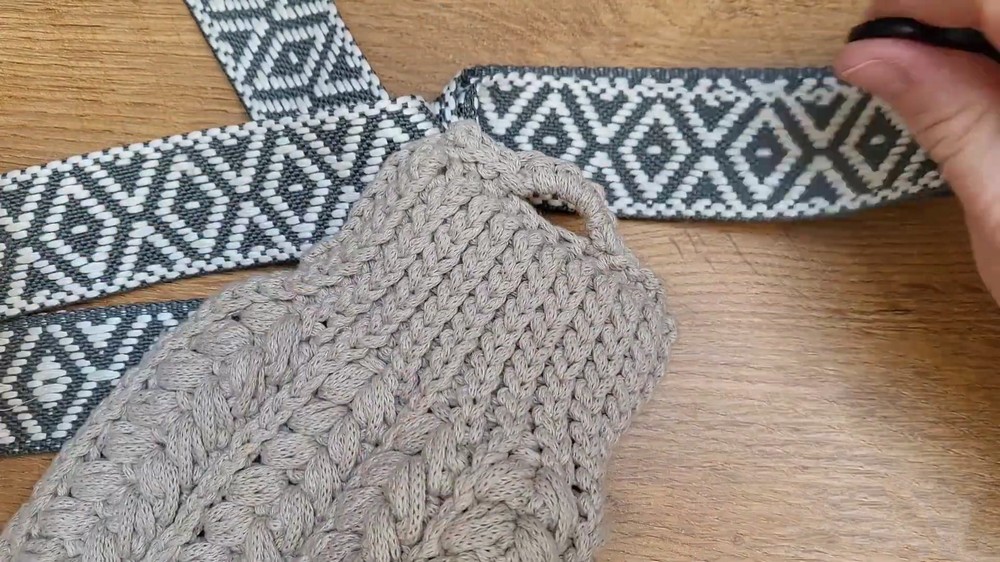
- Cut strap webbing to desired length based on preferred wear and comfort.
- Attach strap hardware: thread the webbing through the adjuster and connect carabiners at both ends.
- Securely stitch the strap ends either with a sewing machine or by firm hand-stitching to prevent slippage or detachment during wear.
Assembly & Finished Size
- The bag width and length are defined by the foundation chain and number of crocheted rows, with preferable tight stitches for shape retention.
- The height matches practical crossbody bag dimensions based on user preferences and yarn input.
- Finished bag showcases bubble stitch texture alternating with firm, neat rows, enhancing both durability and style.
- Strap hardware allows easy adjustment for crossbody or shoulder use.
- The zipper and side joins finalize a professional-quality, wearable accessory.
Conclusion
This macramé crochet crossbody (nerka) bag project combines unique textural elements with practical bag construction to produce a versatile, elegant accessory. The firm yet decorative “bubble” stitch pattern provides an attractive focal point, while working in back loop only ensures strong fabric with clear stitch definition. The stepwise foundation, careful zipper insertion, and slip stitch side joins guarantee structural integrity. Completing the bag with a custom adjustable strap featuring carabiners and an adjuster imparts professional polish and user personalization. This pattern is ideal for crocheters seeking to expand their technique repertoire through macramé materials and complex stitch designs.