Stay cozy and stylish with a soft crochet neck scarf that keeps you warm during chilly days while perfectly complementing your wardrobe for any occasion.
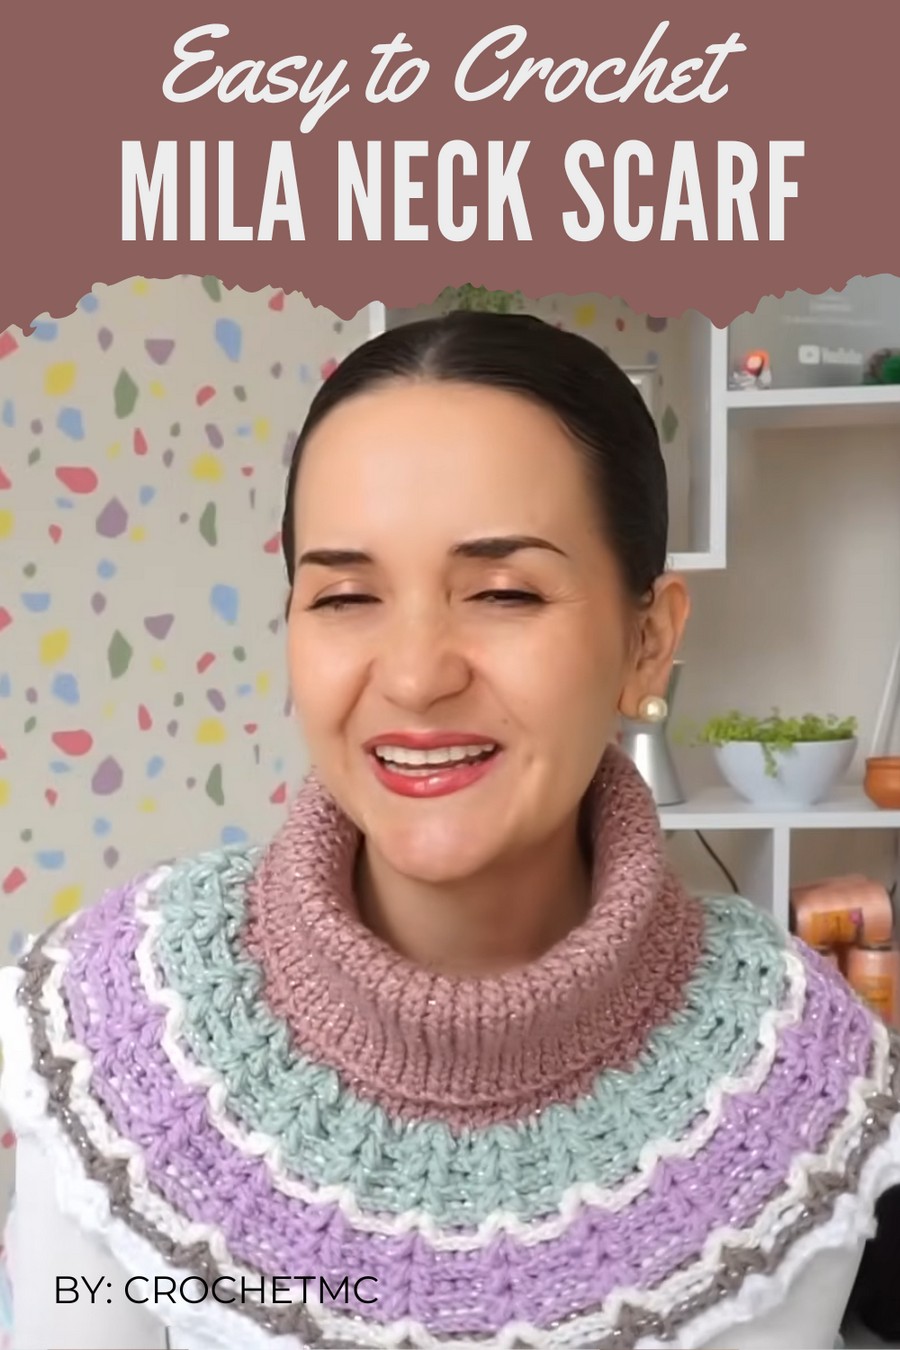
A neck scarf is the perfect blend of style and comfort, adding coziness and charm to any outfit. Soft, lightweight, and warm, it wraps snugly around your neck to keep you comfortable during chilly days. Its delicate patterns and textures make it a beautiful accessory, whether you’re out for a casual stroll, heading to work, or attending a special event.
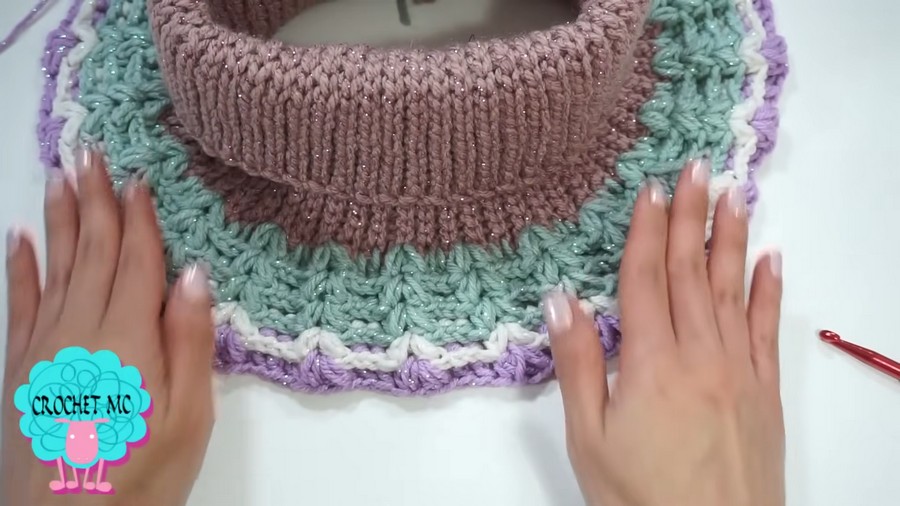
Easy Crochet Neck Scarf Pattern For Winter
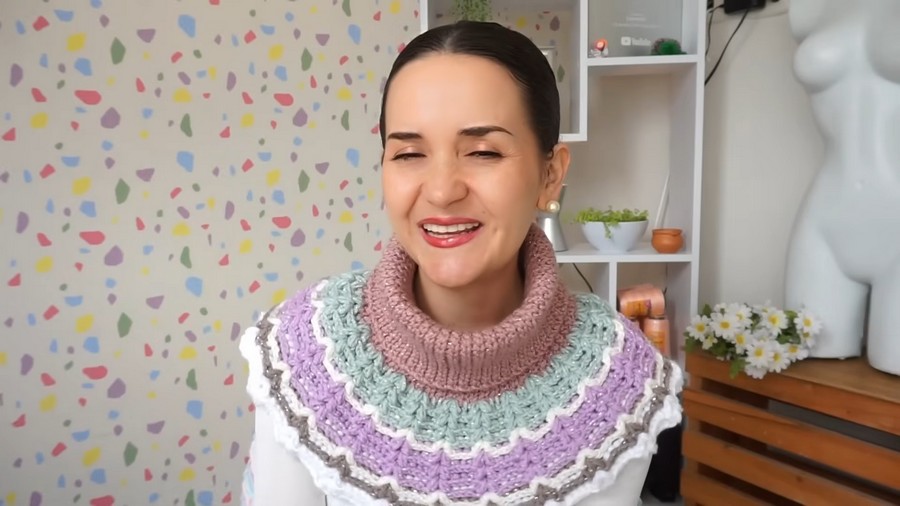
The scarf can be made in any color to match your wardrobe, making it both versatile and unique. Handmade and carefully crocheted, it radiates elegance while being practical, ensuring you stay warm and stylish in any season or setting.
Materials List
Yarn
- Primary Yarn Suggested:
- Lidia Yarns: Medium-weight (100g per skein, 200m) acrylic yarn with a shiny finish.
- Total yarn required: Approximately 210g across multiple colors (or use a single color).
- Alternative Yarn Options:
- Any medium-weight yarn (4, also called worsted weight).
- Acrylic, wool, or blends are ideal. Note: Avoid very thin yarn as increases might make the piece overly wavy.
- If using leftover yarn, ensure all are similar in thickness and texture.
Hook Size
- 6 mm Crochet Hook: Use a size one step larger than the manufacturer’s suggested hook size for a looser, more comfortable fabric.
Other Supplies
- Scissors
- Yarn Needle (for weaving in ends and sewing seams).
- Measuring Tape
Skill Level
Intermediate
This project involves ribbing, puff stitches, and a decorative stitch pattern, making it ideal for those with some crochet experience. Minimal sewing is required for finishing.
Key Abbreviations (US Crochet Terminology)
- ch: Chain
- sl st: Slip Stitch
- st(s): Stitch(es)
- bl: Back Loop
- dc: Double Crochet
- sc: Single Crochet
- puff st: Puff Stitch
Special Notes
- Yarn Choice: Choose a medium-weight yarn that maintains breathability and stretch without being too heavy.
- Gauge Flexibility: Measure frequently as exact gauge is less important than achieving your desired fit for the neck portion.
- Seam Placement: The join seam can be kept subtle using the sewing technique provided in the pattern.
- Adjusting Increases: Be mindful of overextending increases to maintain balance in fabric shape when knitting the decorative border portion.
Pattern Instructions
Step 1: Foundation Chain
- Begin with a Slip Knot:
- Create a slip knot and place it on the 6 mm crochet hook.
- Chain the Foundation Length:
- Crochet enough chains to fit loosely around the neck.
- Measure the chain without stretching it to fit around the base of your neck. For an adult size, this is approximately 24 cm unstretched.
- If you want a looser fit, measure around your shoulders instead.
- Join into a Round:
- Ensure the chain is not twisted, then slip stitch (sl st) into the first chain to form a ring.

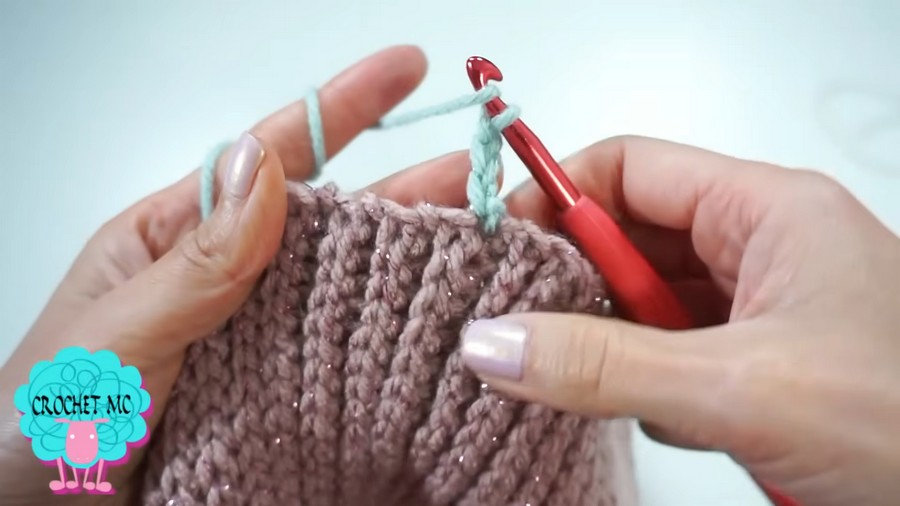
Step 2: Ribbing for the Neck
- First Row:
- Chain 1 (does not count as a stitch). Turn the chain over to work into the back bumps of the foundation chain for a clean edge.
- Insert into the first back-bump, yarn over, pull up a loop, and complete a slip stitch (sl st).
- Repeat sl st into each back bump until the end of the round.
- Subsequent Rows:
- To begin each new row:
- Chain 1, turn the work, and work into the back loop only (bl) of each slip stitch from the previous round.
- Complete slip stitches across, remembering to insert into both loops for the last stitch of each row (to maintain even edges).
- To begin each new row:
- Repeat Rows for Desired Length:
- Continue working slip stitches in bl only for a stretchy ribbing texture until the neck warmer measures approximately 48 cm in circumference, stretched. Tip: Ensure it is comfortable when slipped over the head.
- Join Edges:
- Fold the ribbing in half lengthwise. Line up the ears of corn created by the foundation and final row.
- Use a yarn needle or slip stitch to sew the beginning edge to the final row for a seamless tube.
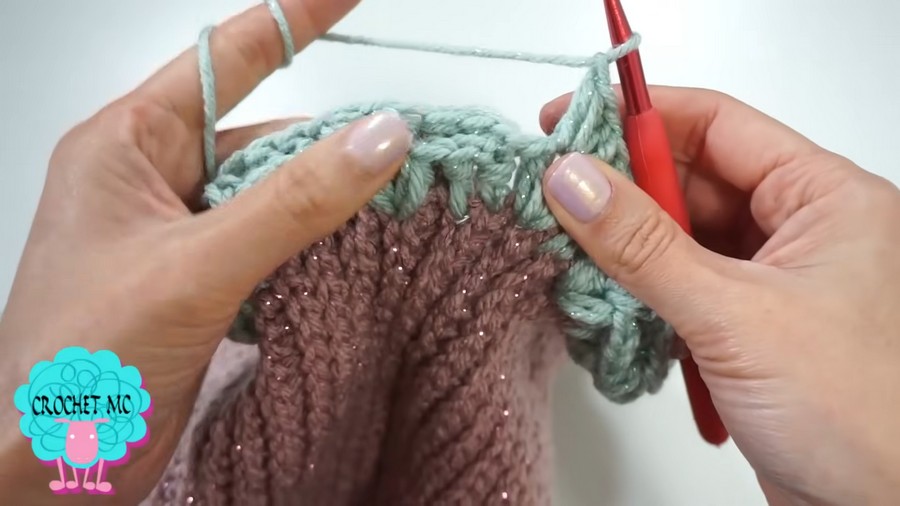
Step 3: Decorative Stitch Pattern
- Start the Border:
- Attach the yarn at the seam where the ribbing ends. Chain 3 (counts as the first dc).
- Begin working dc clusters and puff stitches to form a wavy decorative texture.
- Repeat the Pattern:
- Alternate between these stitches throughout the row:
- Dc Cluster: Work 2 dc stitches into the same space.
- Puff Stitch: Pull up a long loop, yarn over, insert again, pull up another long loop (repeat this twice for a total of 5 loops on the hook). Yarn over and pull through all loops, securing with a ch 1.
- For consistency, work puff stitches between dc clusters.
- Alternate between these stitches throughout the row:
- Increase Rows:
- Every 4th row, increase by adding an additional stitch in every other section of double crochets.
- Be mindful of "too much flare." If the fabric begins to ruffle too much, reduce the number of increases.
Step 4: Final Adjustments and Edging
- Measure the Fit:
- Fold and measure the piece periodically to ensure it maintains the desired shape without excessive flair.
- Finishing Rows:
- Neatly complete the final row by reducing the height:
- Switch to half double crochets (hdc) or slip stitches for a flatter finish.
- Neatly complete the final row by reducing the height:
- Hide Tails:
- Use a yarn needle to weave any remnant yarn ends into the fabric for a clean, professional look.
Conclusion
The "Fake Sweater" Neck Warmer is a functional, stylish, and adaptable project that makes smart use of leftover yarn. Whether you need to accessorize a jacket or add a layer of warmth, this piece mimics the look of a turtleneck sweater while maintaining versatility. The ribbing provides stretch, and the decorative border adds a classy touch, making the project both fun and practical.
Pattern Corrections
- Ensure the ribbing joins cleanly without twisting by carefully straightening the chain at the foundation row.
- If puff stitches appear too bulky, consider working shorter loops for a more streamlined texture.
Tips for Success
- Measure Often: The neck circumference and border length should be checked regularly to ensure a good fit.
- Practice Puff Stitches: If new to puff stitches, practice on a swatch to avoid inconsistencies.
- Avoid Over-Increasing: If the border begins to ripple excessively, reduce the number of increases or skip increases entirely in some rows.
Pattern Variations
- Sizing:
- For children, reduce the foundation chain to 19–21 cm for a snug neck fit.
- For plus sizes, increase the chain for a larger circumference (but keep the loose fit in mind).
- Color Variations:
- Use a gradient or multicolor yarn for a unique finish, allowing the decorative stitches to pop.
- Alternate stripe colors every 2–4 rows for a bold, modern look.
- Thickness Adjustments:
- Thicker yarn and larger hooks will create a bulkier, cozy version perfect for winter.