
Add a pop of color and fun to your wardrobe with this Crochet Clown Scarf Pattern featuring vibrant designs soft yarn and playful details everyone will love.
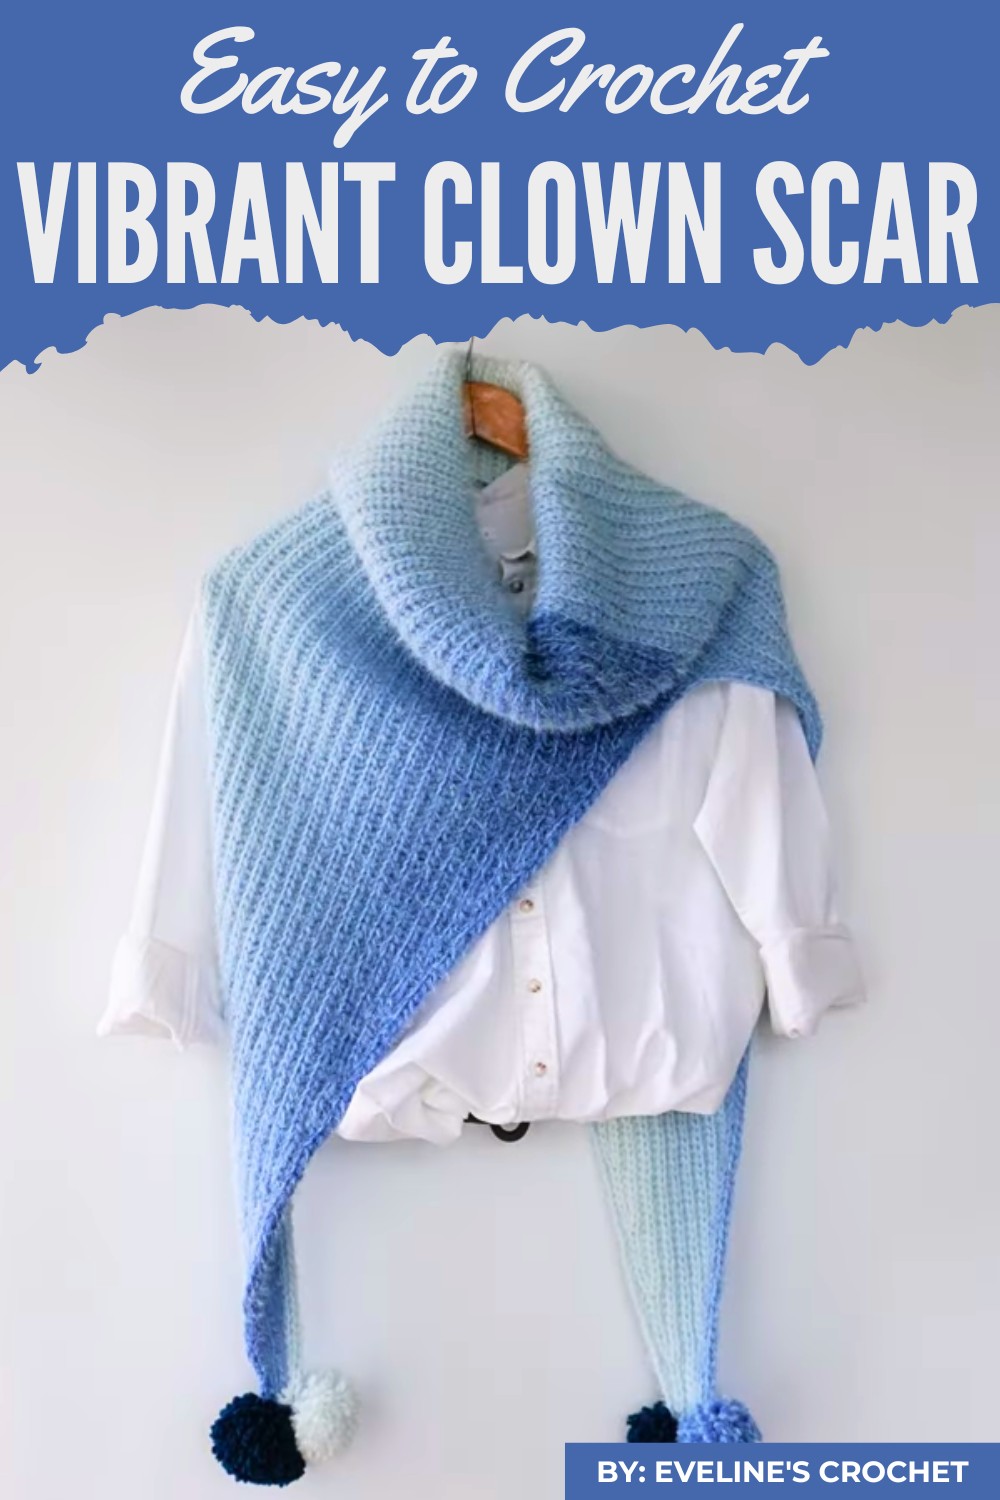
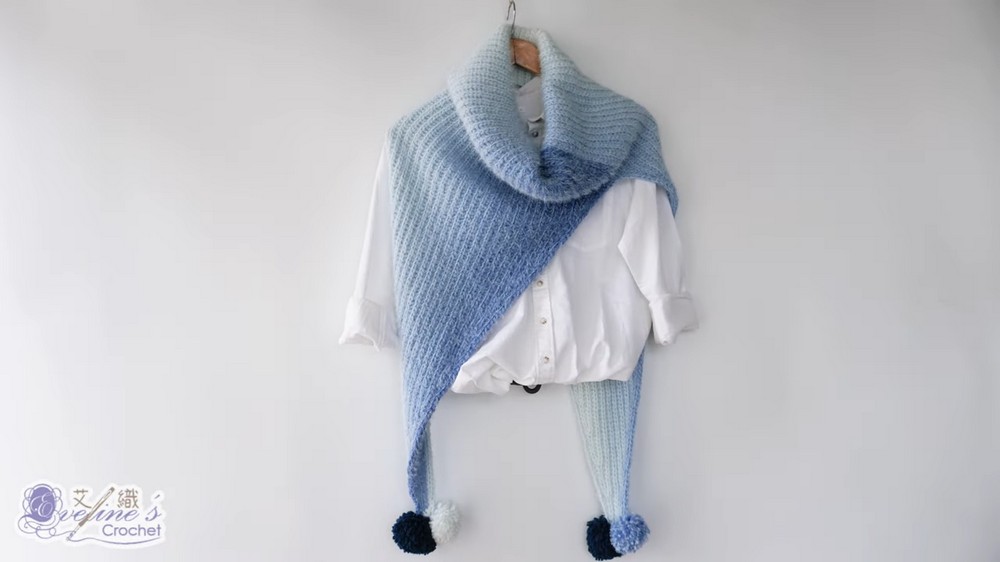
Bright and colorful, this fun scarf brings joy to anyone who sees it! The Crochet Clown Scarf Pattern is a playful design full of vibrant colors, perfect for kids and adults alike. With its cheerful look and whimsical charm, it’s great for costumes, parties, or just adding a splash of happiness to your outfit. The scarf features bold stripes, pom-poms, and soft yarn, making it both cozy and eye-catching. Its unique feature is the combination of fun textures and lively patterns that truly stand out.
Crochet Clown Scarf Pattern That’s Guaranteed to Impress
This scarf isn’t just for warmth; it’s a statement piece that spreads a sense of fun wherever you go. Plus, it’s easy to customize using various colors, whether you want a bright, bold look or a softer pastel theme. For lovers of fun and creativity, the clown scarf pattern is a must-try project, combining style and playfulness for all ages.
Materials Needed:
- Yarn: Gradient long-pile yarn (enough to complete the scarf).
- Suggestion: Approximately 1 large skein (or 2 smaller skeins) of medium-weight yarn with a smooth color gradient.
- Crochet Hook: Size 6.0 mm.
- Stitch Markers (5–6, as needed).
- Scissors.
- Tapestry needle (for sewing and weaving ends).
- Optional: Pompom maker for decorative ends.
Pattern Abbreviations (US Terminology):
- ch = chain
- sl st = slip stitch
- sc = single crochet
- yoss = yarn-over slip stitch (linked slip stitch)
- yo = yarn over
- st(s) = stitch(es)
- bl = back loop only
Pattern Instructions
Foundation and Setup
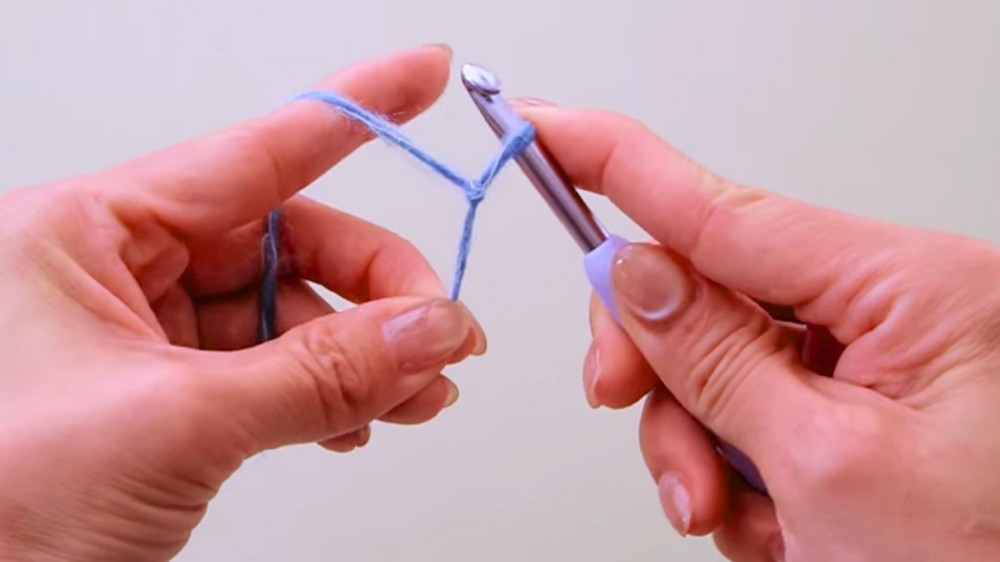
- Start with 141 foundation chains (ch):
- Wrap the yarn around your left hand and pull a slightly loose loop on the crochet hook.
- Yo, pull through, and repeat to create even-sized chains.
- If you're new to tension control, use a larger hook for the foundation row and switch back to a 6.0 mm hook for subsequent rows.
Row 1: Foundation Row
- Turn your work.
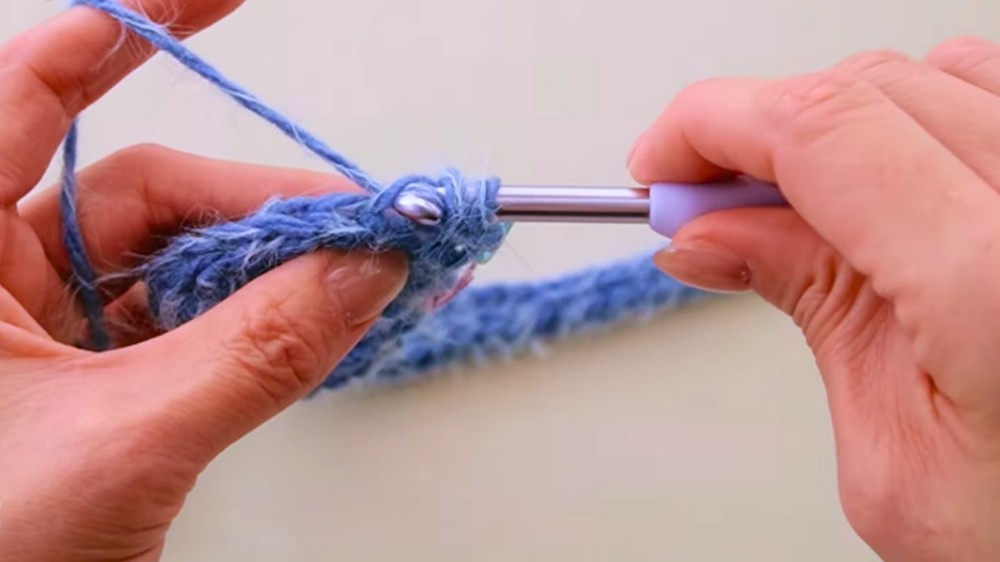
- Begin with the 2nd chain from the hook to create 140 yoss stitches:
- Yarn over, insert your hook into the back loop (bl) of the chain.
- Yarn over again and pull through all loops on the hook.
- Tip: Gently tilt the hook forward to smoothly work through the loops.
- Place a stitch marker: On the front loop of the first stitch to identify the last stitch of the next row.
Row 2: Adding Texture and the Neckline
- Turn your work and begin with ch 1 (does not count as a stitch).
- Work into bl only for the row:
- Crochet 14 slip stitches (sl st). These will form the neck part of the scarf.
- Place a stitch marker on the first stitch of the row.
- Continue with extended texture: Work 35 yoss stitches in a row. The total stitch count for Row 2 is 49 stitches.
- Finish Row 2, but leave the remaining foundation chains unworked.
Row 3: Mirror the Stitch Pattern
- Turn your work. Begin with ch 1 (does not count as a stitch). Place a marker at this chain for alignment later.
- Work 14 sl sts in the bl only.
- Continue with 35 yoss stitches across the row. Ensure the stitch count remains consistent (49 sts).
Row 4: Expanding the Triangle
- Begin with ch 1 and work 14 sl sts in the bl only.
- Crochet 35 yoss stitches.
- Add 7 extended stitches: Return to Row 1 and crochet the height-leveling yoss stitch:
- Yarn over (yo), insert into the turning chain from the previous row, yo again, insert into Row 1’s back loop, and pull through all loops on the hook.
- Complete the next 6 yoss stitches from Row 1’s back loop.
- Row 4 stitch count: 56 stitches.
- Mark your work: Place a stitch marker on the last stitch of Row 1 extending into this row.
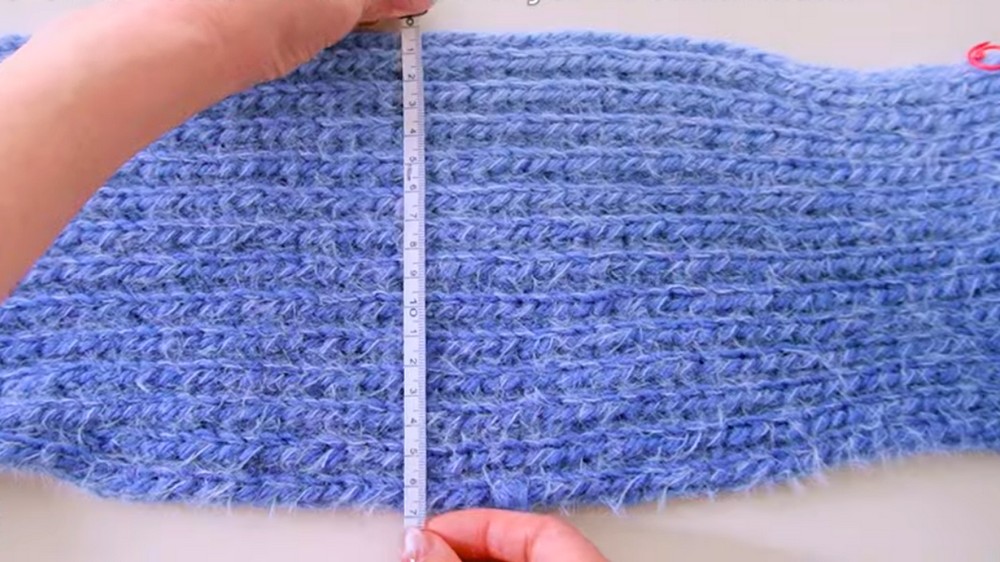
Rows 5–28: Repeating Back-and-Forth Rows
- Repeat the back-and-forth rows, expanding across by adding 7 stitches every even-numbered row from Row 1.
- Continue using yoss stitches for extended sections, working all stitches into bl only.
- By Row 28, you should have used up Row 1’s chains.
Rows 29–58: Central Scarf Section
- Work even stitches back and forth without additional increases.
- Maintain the triangular shape's center, ensuring both sides stay aligned.
Rows 59–119: Mirrored Decrease Rows
- Begin reducing 7 stitches on even-numbered rows as you crochet towards the end of Row 1’s foundation.
- Each row begins with a slip stitch and a height-leveling yoss stitch to smooth stair-step edges.
Notes: These decreasing rows will mirror Rows 29–58 with the same stitch counts.
Row 120: Seam Side A and Side B
- Fold the scarf so Side A aligns with Side B.
- Seam the edges together using slip stitches along the foundation chain of Side A and Row 119 of Side B.
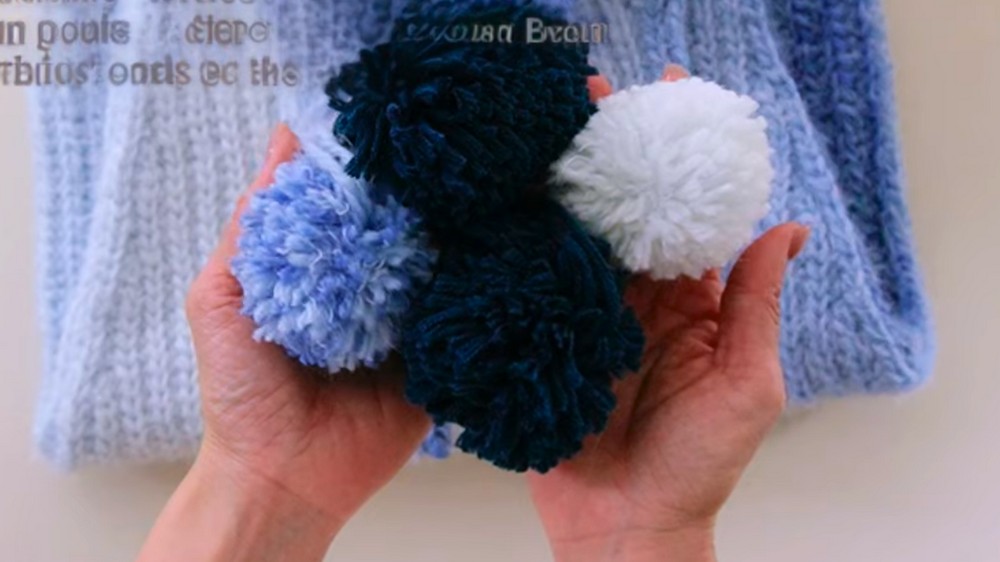
Optional Pompoms:
Add pompoms to the scarf's pointed ends for extra playfulness. Use colorful yarn to match or contrast the scarf’s gradient.
Conclusion
The Clown Scarf combines playful texture, vibrant colors, and warmth into a single winter accessory. It’s both practical and stylish, perfect for anyone wanting to stand out with bold, gradient hues.
Special Features of the Pattern
1. Gradient Color Transition:
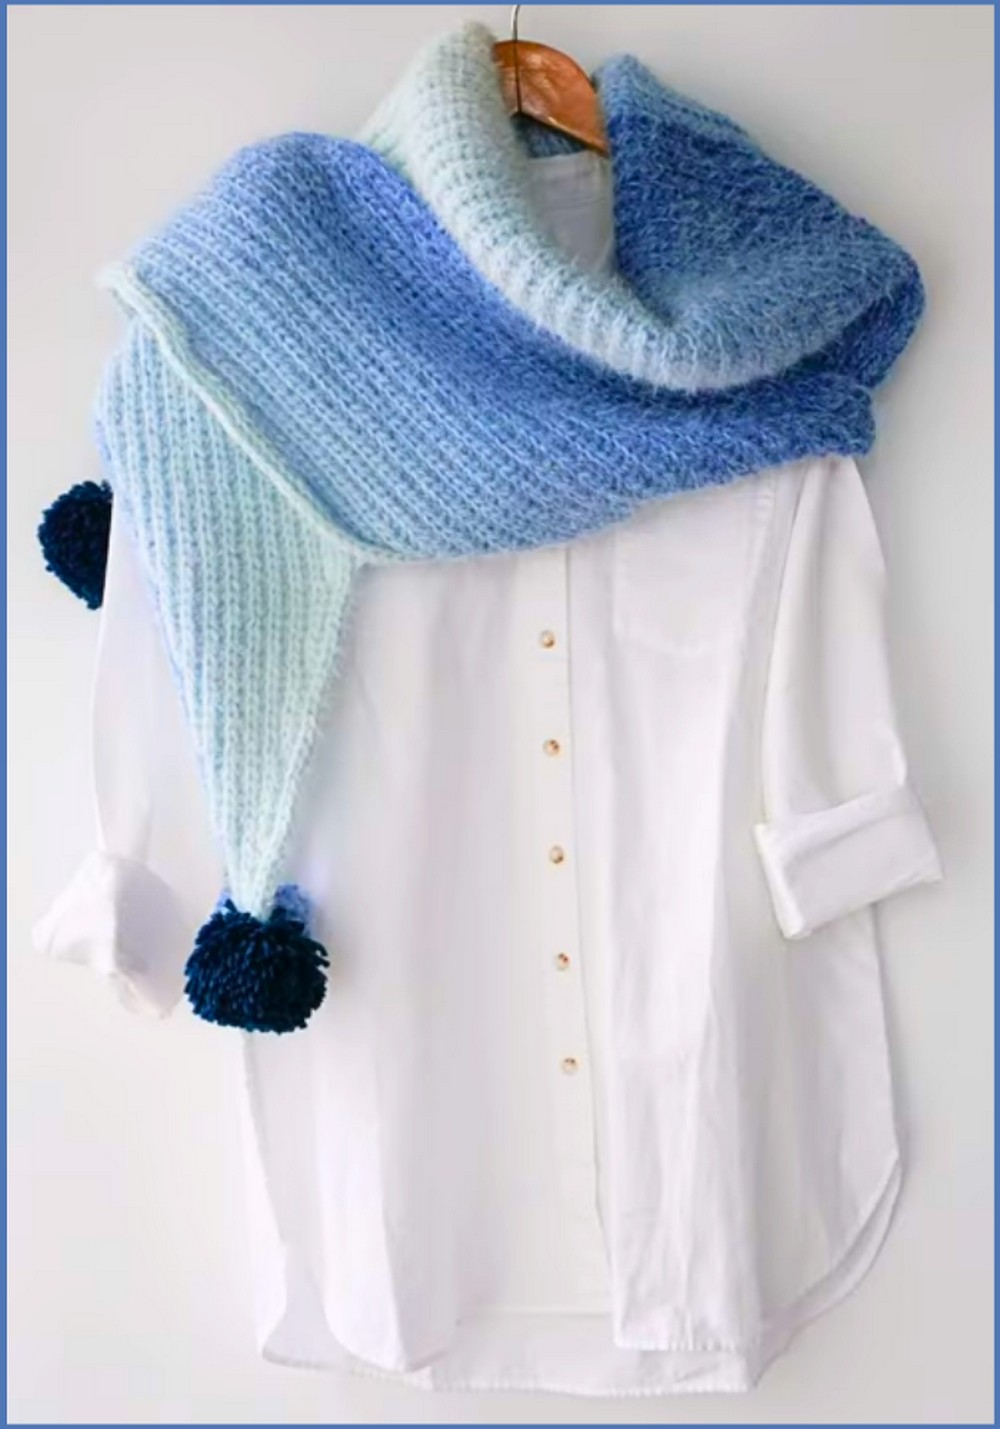
The yarn smoothly transitions from darker tones to lighter shades, adding depth and a natural flow of vibrant hues.
2. Unique Texture:
The yarn-over slip stitch (yoss stitch) creates an elegant yet playful fabric with smooth ridges.
3. Playful and Versatile Design:
The scarf's triangular shape forms a stylish wrap-around neckpiece when draped and includes optional pompoms for added fun.
Skill Level: Intermediate
This pattern involves techniques like foundation chains, yarn-over slip stitches (linked slip stitches), height-leveling stitches, seaming, and working in the back loops only. It’s suited for crocheters already familiar with working in rows and managing stitch markers.
Tutor's Suggestions:
- Start with the darker tones of the gradient yarn: This ensures a smooth transition to the lighter shades.
- Blocking: Once complete, block the scarf to enhance the texture and maximize its length/shape.
- Experiment with Pompoms: Add playful pompoms to the scarf's ends for a polished and fun finish.
Tip:
For a smoother texture during height-leveling (yoss stitches), ensure your yarn-over loops are loose enough to glide through all loops comfortably. A consistent tension is key for neat finishes.



