
Make a cute crochet Pikachu keychain pattern free with easy steps that's perfect for Pokemon fans and those who love creative handmade projects.
If you enjoy making small crochet projects that are both fun and practical, this Free Crochet Pikachu Keychain pattern is a delightful choice for your next crafting session. Designed as a cute amigurumi keychain, it captures Pikachu's iconic look with bright colors, tiny ears, rosy cheeks, and a cheerful expression. Its compact shape, soft texture, and adorable details make it a charming accessory for keys, backpacks, purses, or zipper pulls.
Free Crochet Pikachu Keychain Pattern for All Skill Levels
This pattern is perfect for adventurous beginners and experienced crocheters who love creating quick projects with personality. You can easily customize the finished keychain by choosing different yarn weights, adjusting the hook size, or adding accessories like a mini scarf, bow, or tiny charm. Whether you want a pocket-sized companion or a slightly larger bag charm, the design is simple to personalize.
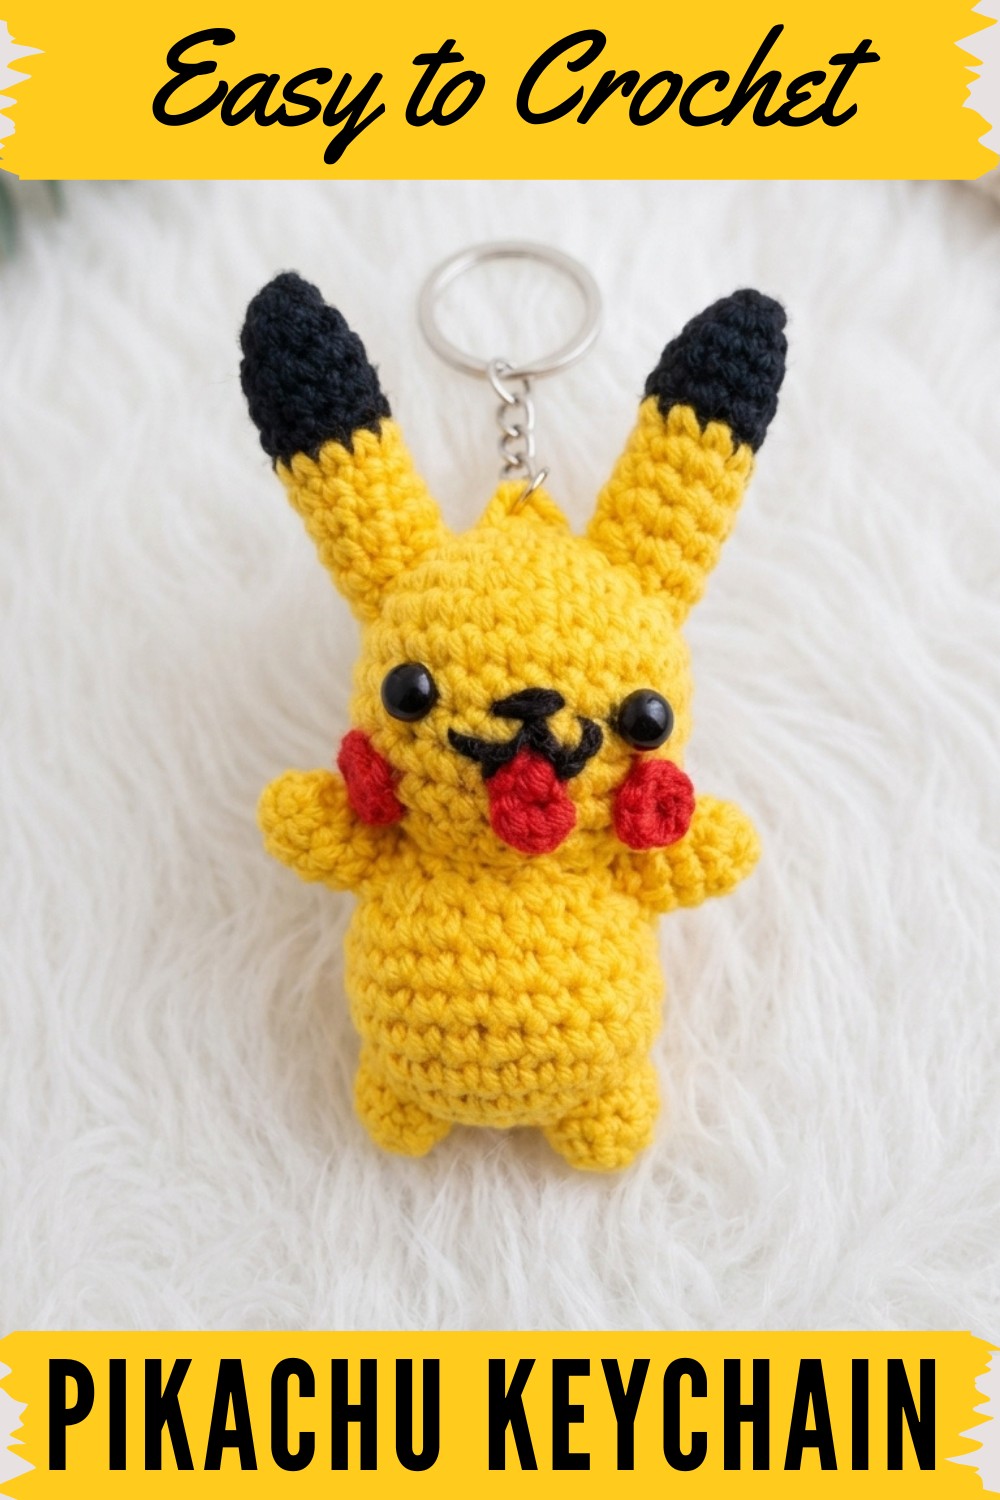
The project is made by crocheting small pieces that are assembled to create a neat and sturdy finish. Taking time to keep your stitches even and stuffing the body lightly will help maintain its rounded shape. Cotton yarn or a cotton blend works especially well because it offers excellent stitch definition, allowing Pikachu's facial features, ears, and tail to stand out beautifully while helping the keychain keep its form through everyday use.
Inspired by the playful energy of this beloved character, the design is meant to bring a smile wherever it goes. It makes a thoughtful handmade gift for Pokémon fans, children, friends, or fellow crocheters and is a fun project for birthdays, party favors, or stocking stuffers. Feel free to experiment with colors and tiny details to create a one-of-a-kind Pikachu that reflects your own creative style.
Mini Amigurumi Doll Crochet Pattern
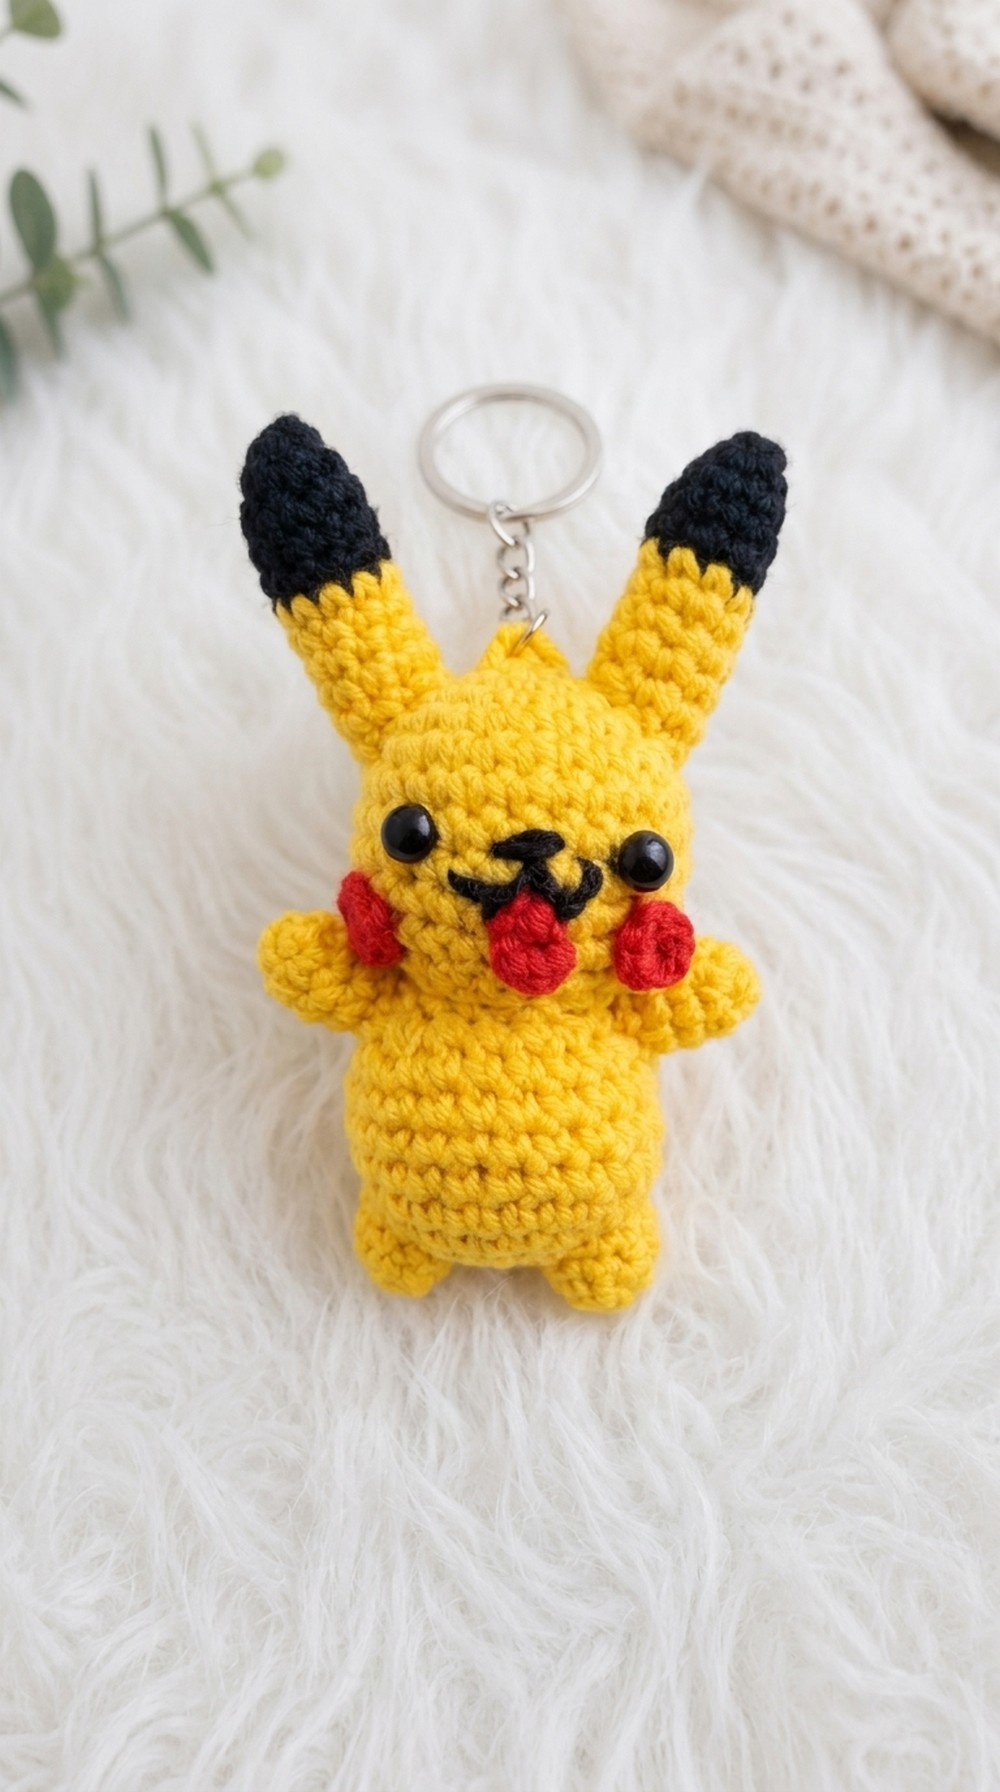
This delightful step-by-step pattern shows you how to crochet a cute mini amigurumi doll using classic amigurumi techniques—magic ring, single crochet increases, and decreases. The doll is worked in separate pieces (head, body, hands, feet, etc.), then assembled for a cheerful and beginner-friendly toy. The pattern follows the described Urdu-language video, including all increases, rounds, color changes, and construction details.
Skill Level
Beginner/Advanced Beginner
(Stitches: magic ring, single crochet, increases, decreases, sewing)
Materials
- #2 (fine) or #3 (light worsted) yarn in:
- Skin color
- Dress and accent colors (e.g., yellow, black)
- 2.0 mm crochet hook
- Polyester fiberfill/cotton for stuffing
- Scissors
- Yarn needle/tapestry needle for sewing parts
- Stitch marker (optional)
Measurements / Sizing
- Finished doll is approx. 9–12 cm (3.5–5 inches) depending on yarn/hook and stuffing.
- For larger/smaller dolls, change yarn size and hook accordingly.
Gauge
Gauge is not strictly required—just aim for tight, sturdy stitches.
Stitch Abbreviations
| Abbr. | Meaning |
|---|---|
| MR | Magic ring |
| ch | Chain |
| sc | Single crochet |
| inc | Increase (2 sc in same st) |
| dec | Decrease (sc2tog, see below) |
| sl st | Slip stitch |
| st(s) | Stitch(es) |
Special Stitches
- Magic Ring (MR): Form adjustable loop, crochet into it, pull tail to tighten.
- Increase (inc): Work 2 sc in same st.
- Decrease (dec): Insert hook into front loop of next two stitches, yarn over, pull through all three loops (invisible decrease).
- Slip Stitch (sl st): Insert hook into st, yarn over, pull through both loops.
Pattern Notes
- This pattern is worked mostly in continuous rounds (spirals). Use a stitch marker or scrap yarn to help track your first stitch.
- Tight tension is important so stuffing does not show through.
- Stuff as you go, before the opening becomes too small.
- Standard sewing or tapestry needle is used to assemble the parts.
- Tailor colors to match your taste; color changes and yarn choices are simple and flexible.
The Crochet Pattern
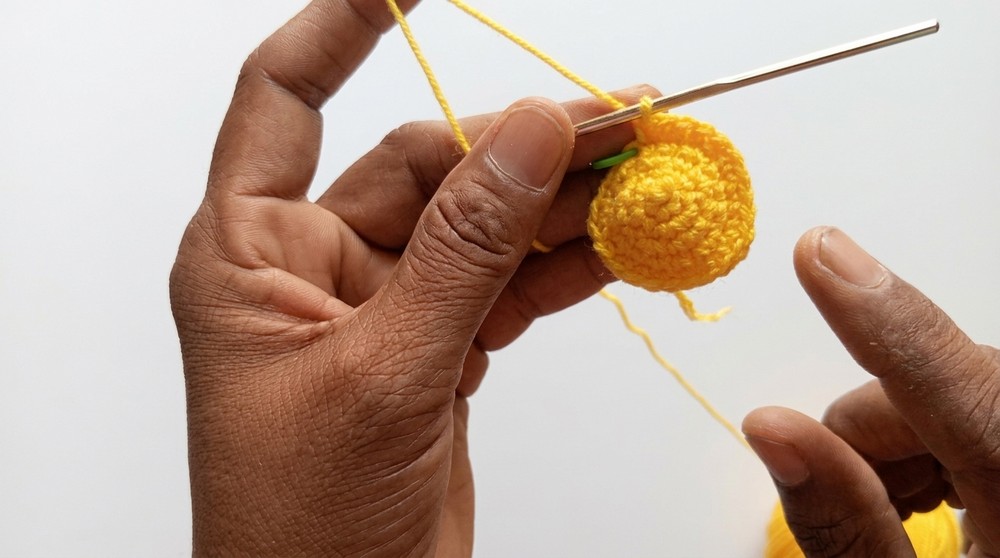
Head
- MR, ch 1.
- 5 sc into MR. Pull tail to close. [5 sts]
- Sl st into first st to join.
- Increase round: 2 sc in each st around. [10 sts]
- Sl st join.
- (sc, inc) around:
- (sc in next st, 2 sc in next st) repeat around. [15 sts]
- Sl st to join.
- (2 sc, inc) around:
- (sc in next 2 sts, 2 sc in next st) repeat around. [20 sts]
- Sl st to join.
- (3 sc, inc) around:
- (sc in next 3 sts, 2 sc in next st) repeat around. [25 sts]
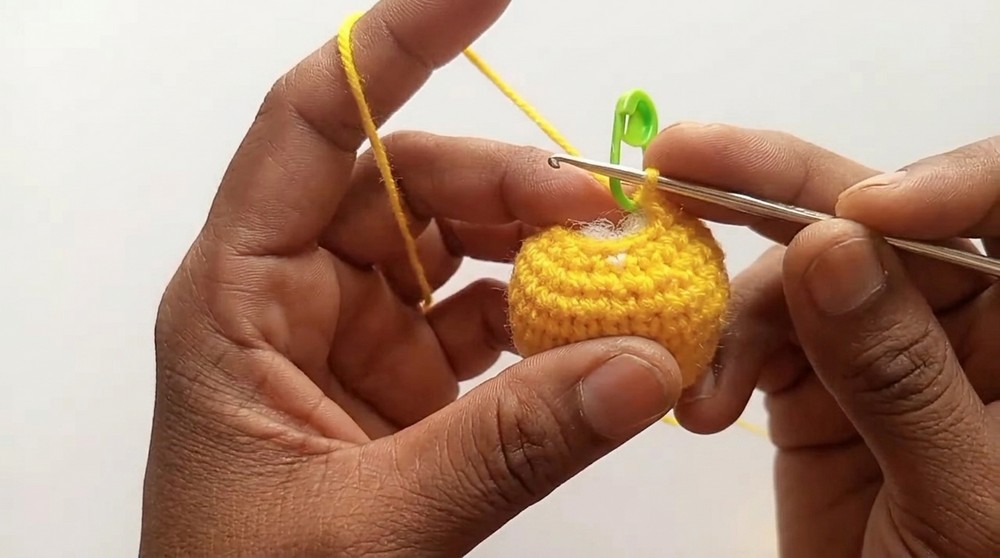
- Rounds 6–10: sc in each st (work 5 rounds, 25 sc per round).
- R11: (3 sc, dec) around:
- (sc in next 3, dec) repeat—end with 20 sts.
- Stuff head gently.
- R12: (2 sc, dec) around:
- (sc in next 2, dec) repeat—end with 15 sts.
- R13: (sc, dec) around:
- (sc in next, dec) repeat—end with 10 sts.
- Weave yarn through last stitches to close, fasten off, leaving tail for sewing.
Ear (Make 2)
- MR, ch 1.
- 5 sc in MR, sl st to close.
- Leave a long tail for sewing.
- Repeat for the other ear.
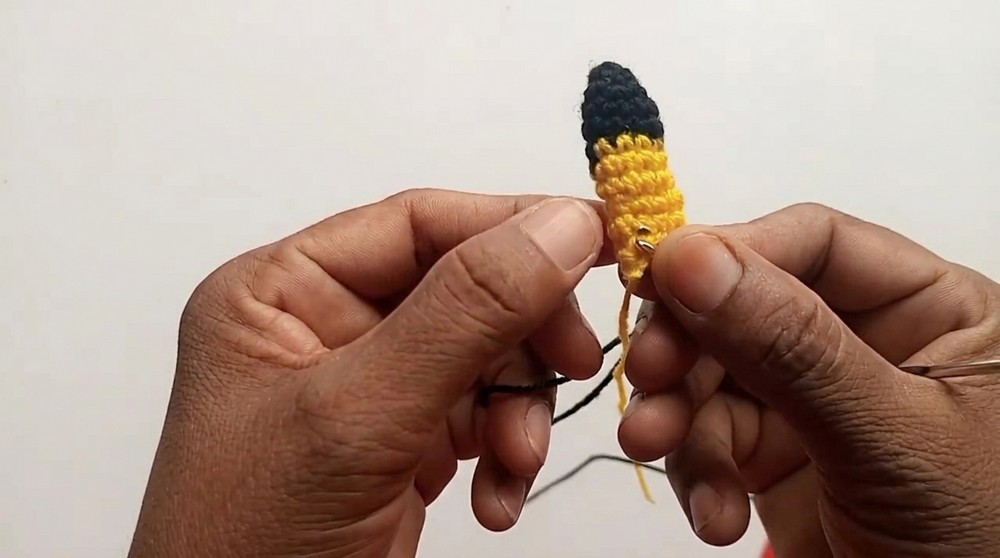
Leg (Make 2, Start with Black/Boot Color)
- MR, ch 1.
- 5 sc in MR, join with sl st.
- Change to main leg color (e.g., yellow for socks).
- (sc in next st, inc) around—[7 sts]
- Rounds 3-6: sc in each st (4 rounds, 7 sc). Change color if desired after 5 rounds.
- Fasten off, stuff, leave tail for sewing.
Body
- MR, ch 1.
- 6 sc in MR, join with sl st. [6 sts]
- Round 2: inc in each st around—[12 sts]
- Round 3: (sc in next st, inc) around—[18 sts]
- Round 4: (2 sc, inc) around—[24 sts]
- Rounds 5–8: sc in each st (4 rounds, 24 sc)
- R9: (2 sc, dec) around—[18 sts]
- R10–11: sc in each st (2 rounds, 18 sc).
- R12: (sc, dec) around—[12 sts]
- Stuff firmly.
- R13: dec around—[6 sts] or until closed.
- Fasten off, leave long tail to sew to head.
Arm (Make 2)
- MR, ch 1.
- 5 sc in MR, join.
- (sc, inc) around—[7 sts]
- Rounds 3–7: sc in each st (5 rounds, 7 sc).
- Fasten off, stuff lightly, leave tail for sewing.
Foot (Shoe) – Make 2
- MR, ch 1.
- 6 sc into MR, join.
- (inc in next st, sc in next 2 sts)—repeat to make 8–10 sts total (not critical, just fit to foot).
- Rounds 2–4: sc in each st (2-3 rounds, 8–10 sc).
- Fasten off, sew closed, leave tail to sew to leg.
Assembly and Sew-On Features
- Sew ears to the sides of the head.
- Attach arms to sides of body (sew or glue).
- Attach legs/feet to bottom of the body.
- Attach head securely on top of the body using the long yarn tail.
- Embroider face or glue safety eyes, or use small bits of felt/yarn for features.
- Weave in all yarn ends for a clean finish.
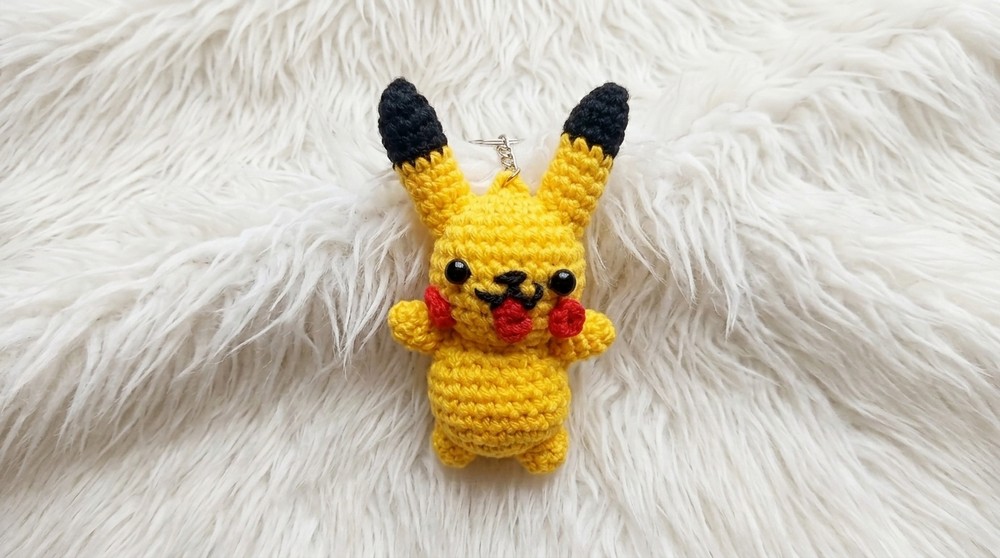
Assembly & Finished Size (Bulleted)
- Assemble as follows:
- Attach head to body with tail yarn and tapestry needle.
- Sew arms and legs symmetrically.
- Attach ears at appropriate spots.
- Place and sew or glue feet (if not part of legs).
- Add face details with thread, felt, or glue.
- Finished size: 9–12 cm (3.5–5 in) tall.
Quick Overview for Beginners
- Make head: MR, increase to 25 sc, several straight rounds, then decrease, stuff.
- Make ears: Small MR, sew to head.
- Make legs: MR, 5-7 sc, change color for socks, stuff, leave tail.
- Make body: MR, increase to 24 sc, several straight rounds, decrease, stuff.
- Make arms: MR, 5-7 sc, several rounds, stuff, sew on.
- Make and attach shoes/feet, or just embroider on.
- Sew all pieces together carefully.
- Stitch on face or use eyes as desired.
- Enjoy your mini doll.



