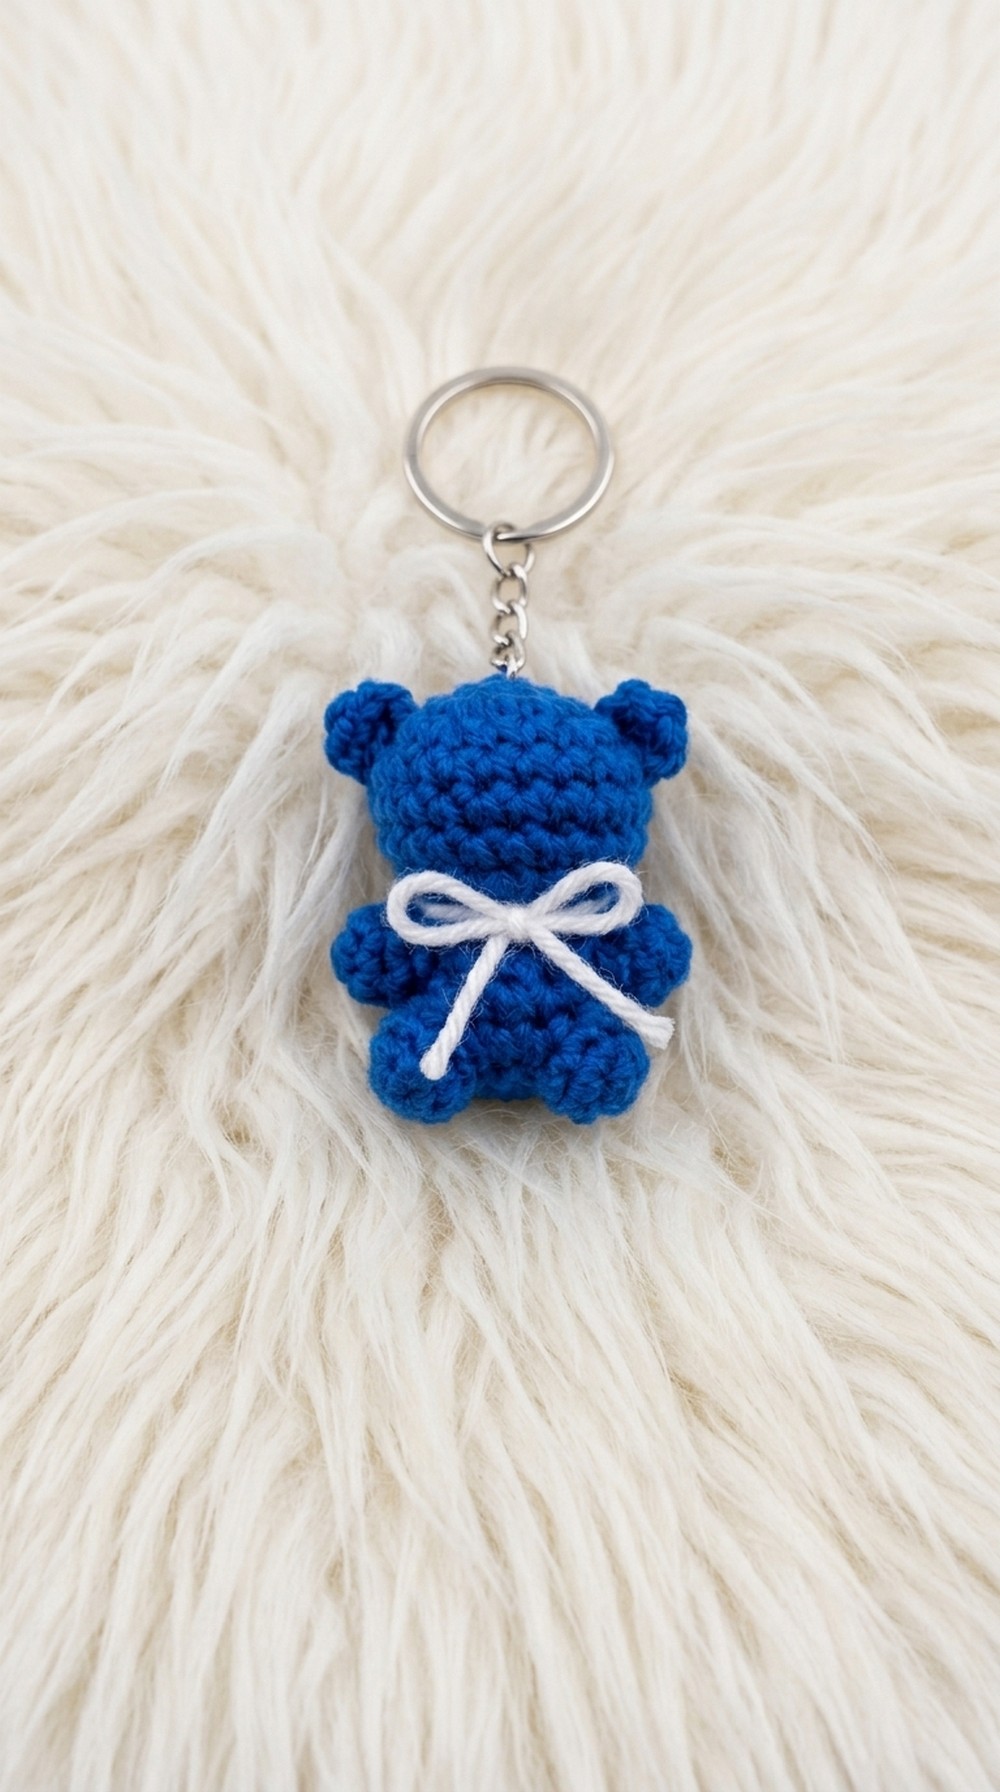
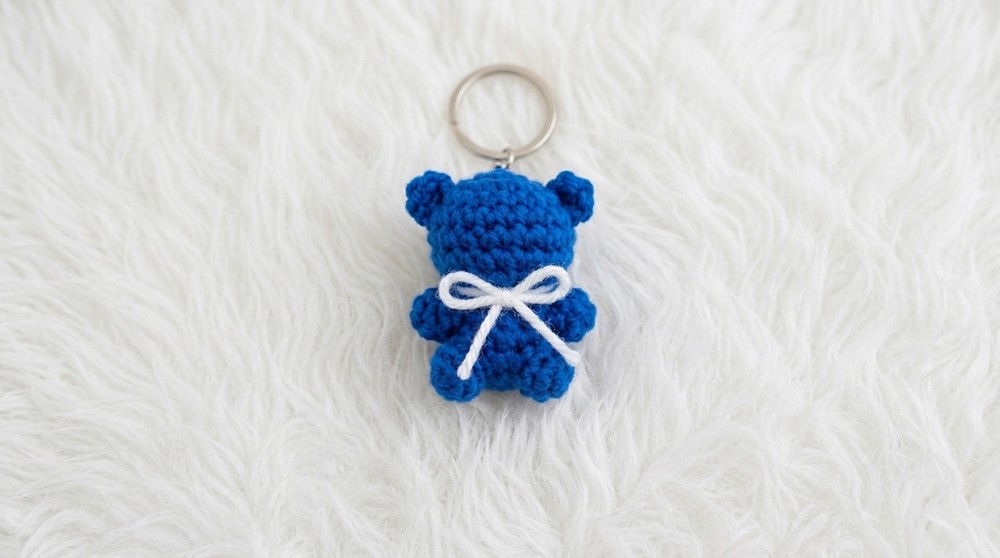
Turn yarn into an adorable Free Crochet Bear Keychain Pattern, perfect for creating cute, personalized gifts or adding charm to your bags and accessories.
Crocheters seeking a delightful and quick amigurumi project will enjoy making their own adorable bear accessory. With the Free Crochet Bear Keychain Pattern, you can create a cute and compact bear that works perfectly as a bag charm, keyring, or mini gift. The finished bear stands out for its plump, rounded head, tiny ears, and playful details like a simple tie at the neck. Whether made in classic brown, soft pink, or any color you like, this little bear always looks sweet and stylish.
Free Crochet Bear Keychain Pattern for Cute Amigurumi Lovers
Charming texture is a highlight of this project, with neat single crochet stitches forming a smooth fabric and bubble stitches adding special touches to the arms and legs. The overall shape is classic and appealing, with subtle shaping created through evenly placed increases and decreases, allowing the bear to have a cozy, huggable look. Makers can personalize their bear with different colors for the body or tie, and even add facial features or safety eyes for extra character.
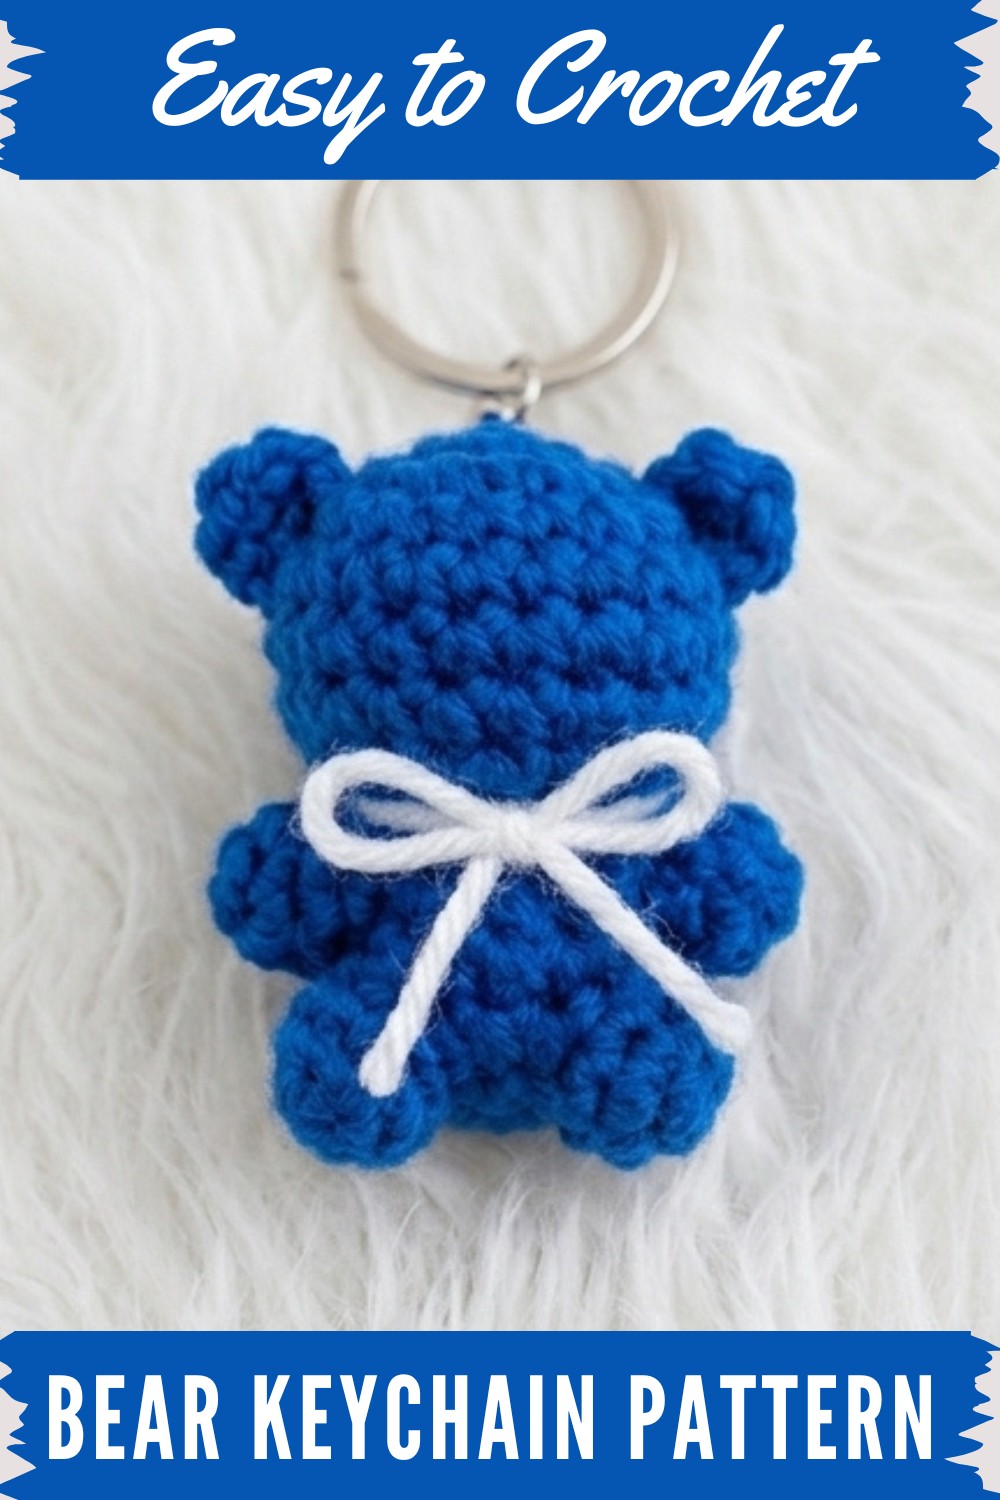
The construction for this tiny bear is straightforward, making it accessible for beginners and fun for more experienced crocheters. The project starts with a magic ring and grows through rounds of single crochet, using basic increases for shaping. Bubble stitches are used for arms and legs to add extra texture. The ears are shaped with simple single and half double crochets and sewn securely into place. Stuffing is added before closing up the body, making the bear soft and squeezable. The finishing touch is a little tie, but crocheters can also add a keychain or hanging loop for practical use.
Ideal as a quick gift, collectible item, or accessory for bags and keys, this bear is both fun to make and share. Crafters will learn essential techniques like starting with a magic ring, working increases and decreases, and assembling small amigurumi parts. If you’re looking for a project that builds your skills, adds a touch of cuteness to your everyday items, and is satisfying to complete, the Free Crochet Bear Keychain Pattern is an excellent and inviting choice.
Crochet Teddy Bear Amigurumi Pattern
Before You Start
- Make sure you are comfortable with making a magic ring, single crochet (sc), increases, decreases, slip stitch (sl st), half double crochet (hdc), and basic sewing of amigurumi.
- Gather all materials and keep a stitch marker handy for tracking your rounds.
- You can use any color yarn you like—solid or multicolored. Light colors help see stitches more clearly.
- Adjust the facial details or accessories to make the bear unique.
- Practice tension for neat, uniform stitches.
Pattern Notes
- Work in rounds; do not turn at the end.
- Join each round with a slip stitch; always begin with a chain at the start of each new round.
- Use increases (2 sc in a stitch) and decreases (sc2tog) as specified for shaping.
- Stuff pieces as you go for a firm, huggable shape.
- Bubble stitch is formed by working multiple unfinished half double crochets in the same stitch, then pulling through all loops at once.
How I Made The Crochet Pattern
- Made the bear's head and body in a single piece, working from a flat circle to a closed ball.
- Used bubble stitches to create hands and feet in the body section.
- Crocheted simple ears directly onto the head.
- Made a small tie or bow for a cute finishing touch.
- Stuffed as I went to help with shaping and finished with a simple hanging option if desired.
Skill Level
Easy (Beginner Friendly)
Finished Size
Height: Approx. 7–10 cm (3–4 inches)
Width: Will vary based on yarn and tension.
Materials
- DK/Worsted acrylic yarn (any color of your choice)
- Matching 2.5–3.5 mm crochet hook
- Black embroidery thread or 6 mm safety eyes (optional for face)
- Small amount of contrast color yarn for tie
- Polyester fiberfill stuffing
- Tapestry needle for sewing and weaving in ends
- Scissors
- Stitch marker (optional)
Measurements / Sizing
- Head/body: ~3–4 cm diameter (after stuffing)
- Arms and legs: protrude ~1 cm from sides
- Ears: small half circles, directly crocheted on
- Tie: tiny strip, width as desired
Gauge
Gauge is not crucial; for reference
8 sc x 8 rows ≈ 2 inches (5 cm) flat unstuffed fabric
Stitch Abbreviations
- MR - Magic Ring
- sc - Single Crochet
- inc - Increase (2 sc in one st)
- dec - Decrease (sc2tog, or invisible dec)
- hdc - Half Double Crochet
- sl st - Slip Stitch
- ch - Chain
- st(s) - Stitch(es)
Special Stitches
- Bubble Stitch (Bobble): Yarn over, insert hook, yarn over and pull up loop (3 loops on hook), yarn over, pull through first two loops (2 left); repeat 4 times (4 unfinished hdc), yarn over and pull through all 5 (or however many) loops on hook to close the bubble.
- Invisible Decrease: Insert hook into the front loops of the next two stitches, yarn over and pull through both, yarn over and complete the sc.
The Pattern!
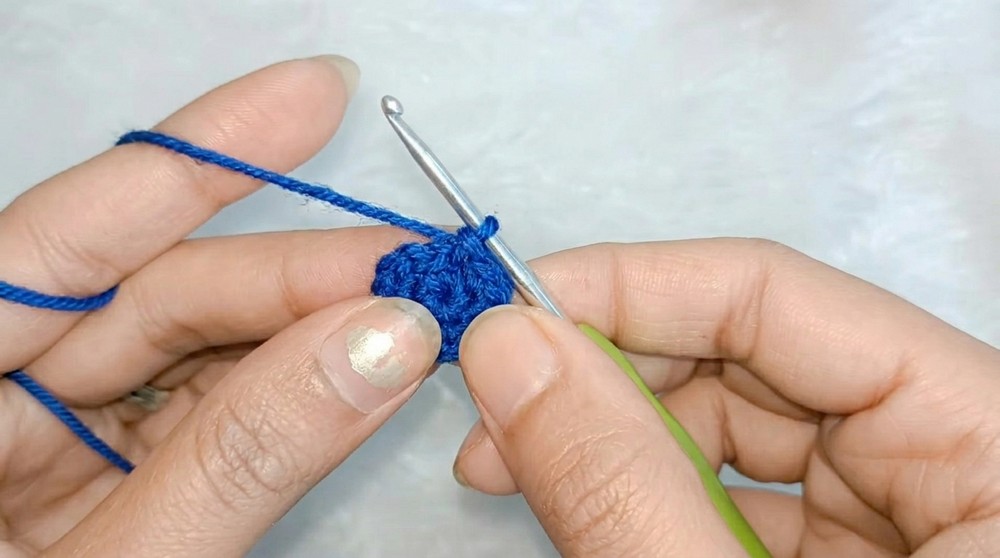
HEAD & BODY (Worked as one piece)
- Make a Magic Ring.
- Round 1: Work 5 sc in MR. (5)
- Sl st to first sc to close the round.
- Round 2: Ch 1, inc in each st around (2 sc in each) (10)
- Sl st to first sc.
- Round 3: Ch 1, (sc in next st, inc in next st) around (15)
- Sl st to first sc.
- Round 4: Ch 1, (sc in next 2 sts, inc in next st) around (20)
- Sl st to first sc.
- Rounds 5–6: Ch 1, sc in each st around (20)
- Sl st at end of each round.
Paragraph explanation:
You begin by making a tight magic ring with 5 single crochets, then quickly increase your base—first by making two stitches in each, then by working in a pattern of “single, increase”, then “two singles, increase” until you have a flat circle with 20 stitches. Next, you build up the height by crocheting 20 single crochets for two rounds. This creates the rounded head and top of your bear’s body.
- Round 7: Ch 1, (dec over two sts) around (10 decreases; 10 sts)
- Sl st to first st.
Paragraph explanation:
Round 7 shapes the bottom of the bear’s head by evenly decreasing around the circle—this starts to enclose the head, giving it a ball shape.
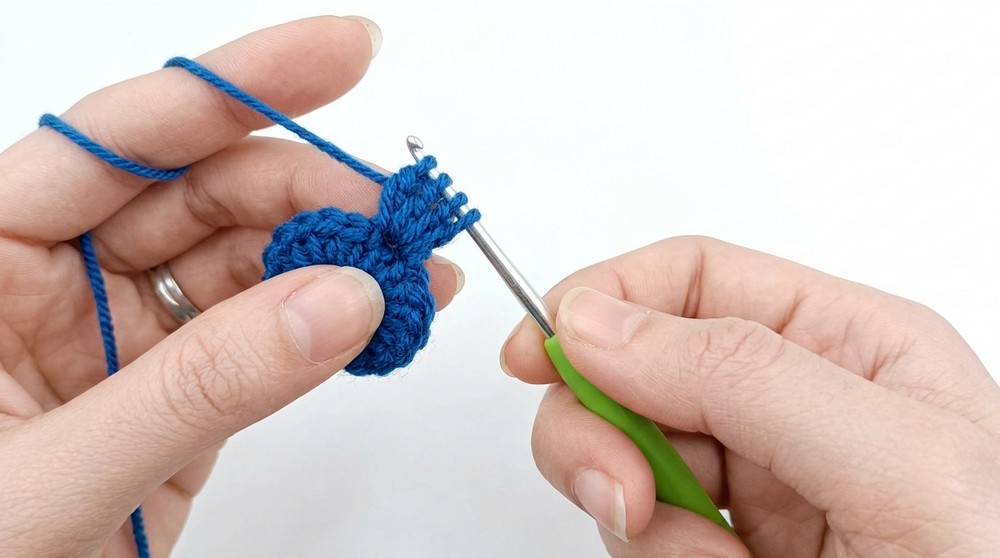
- Round 8:
- Ch 1. Working in back loops only:
- [sc in first st, inc in next st, bubble stitch in next st, inc in next, sc in next st] repeat around as established, finishing with sc and inc. (Total: 15 sts after this round; approx. 2 bubble stitches form the arms.)
Bubble Stitch Details:
- In bubble st positions: work 4 unfinished hdc into same st, then yarn over and pull through all loops.
Paragraph explanation:
In this round, you make the body and arms by crocheting in only the “back loop” of each stitch. Standard single crochets and increases between two bubble stitches create shaping and form a pair of protruding arm bubbles on each side.
- Round 9: Sc in each st around (15). No increases or decreases.
Paragraph explanation:
Round 9 closes the body and secures the shaping established in the previous round with a simple round of single crochet. Stuff the head and body gently with fiberfill at this stage!
- Round 10:
- Ch 1. [sc in next 4 sts, bubble stitch in next st, sc in next 3 sts, bubble st in next st, sc in last 6 sts] (15 sts; two more bubble stitches form the legs.)
Paragraph explanation:
Here you form the bear’s legs by working bubble stitches partway through, surrounded by plain single crochet stitches. This round gives your teddy two little feet sticking out at the base.
- Round 11:
- Ch 1. (sc in next st, dec in next two sts) repeat around (decreasing 5 sts total).
- Sl st to first st.
Paragraph explanation:
Now, decrease the open body base, closing up the bear's bottom, but not before making sure you’ve added enough stuffing. This ensures your teddy keeps its plump shape.
- Fasten off, leaving a long yarn tail. Use a needle to weave through the front loops of final stitches and pull tight to close.
Paragraph explanation:
Finish by closing the base with gathering stitches; this draws up any gap and hides the stuffing. Secure and cut the yarn.
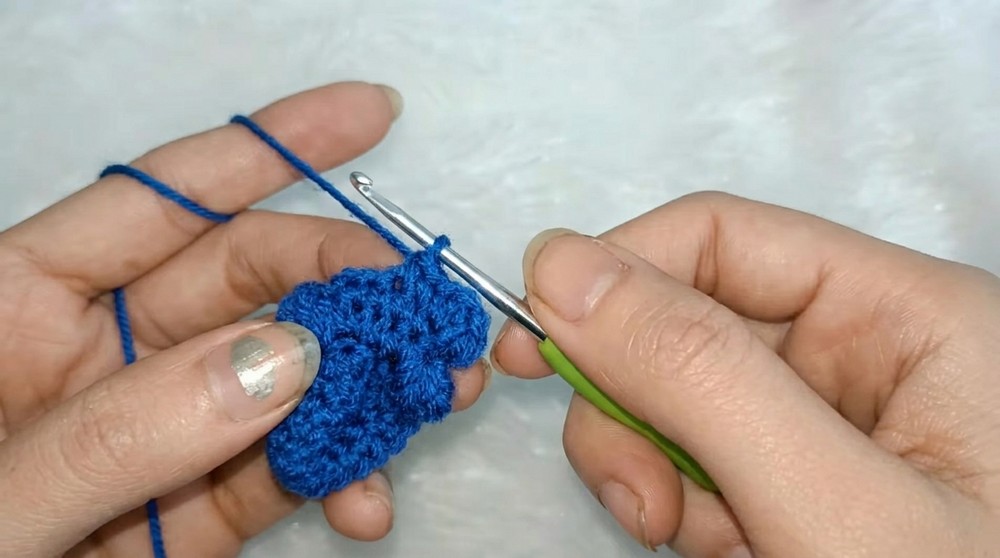
EARS (Make 2, directly on head)
- Attach yarn to desired ear position on side/top of head.
- Work (sc, hdc) in the same st (or adjacent st).
- Fasten off, leaving a tail; sew/weave ends into head.
- Repeat symmetrically for the other ear.
Paragraph explanation:
Give your teddy bear cuteness by crocheting simple little half-rounded ears! Place them evenly and adjust position as you like. Sew the yarn ends through the head to secure.
TIE/BOW (Optional)
- Ch 12–15, turn.
- Sl st in each ch back for 1 row, fasten off.
- Tie around neck or stitch securely below the face.
Paragraph explanation:
Add extra personality—a simple tie or bow made of a small chain strip! For a traditional look, use a contrasting color.
Assembly & Finishing
- Stuff the bear firmly but not overstuffed.
- Use a tapestry needle to close gaps and hide all yarn ends.
- Embroider a small brown or black nose and mouth, and sew on safety eyes or embroider eyes as desired.
- Secure both ears well (re-sew if needed).
- Sew or tie on a small bow or tie.
- (Optional) Add a keychain or hanging loop at the top of the head.
Solution of Problem
Problem:
Stuffing shows or openings remain at base or bubble stitches pop out.
Solution:
Stuff gradually and make sure to pull the base closed tightly. Use a blunt needle to manipulate stuffing as needed and close any gaps with gentle sewing.
What You Can Make Using These Stitches
- Mini teddy bear keychains and bag charms
- Small soft toys for children
- Festive ornaments (with hanging loop)
- Gifts and party giveaways
- Desk or car decorations
For Non-Pattern Readers
This pattern makes a cute little teddy bear all in one piece. You start at the top with a magic ring, then keep increasing to form a flat circle. You work straight to make a chubby ball for the head and body, then switch to back loop and specialty stitches to build the arms and legs. Bubble stitches help sculpt the arms and feet right into the body! Finally, you make and attach two round ears straight on the sides, and add a simple chain tie. Embroider or add eyes and nose if you’d like. Attach a string or keychain and your adorable teddy friend is ready.