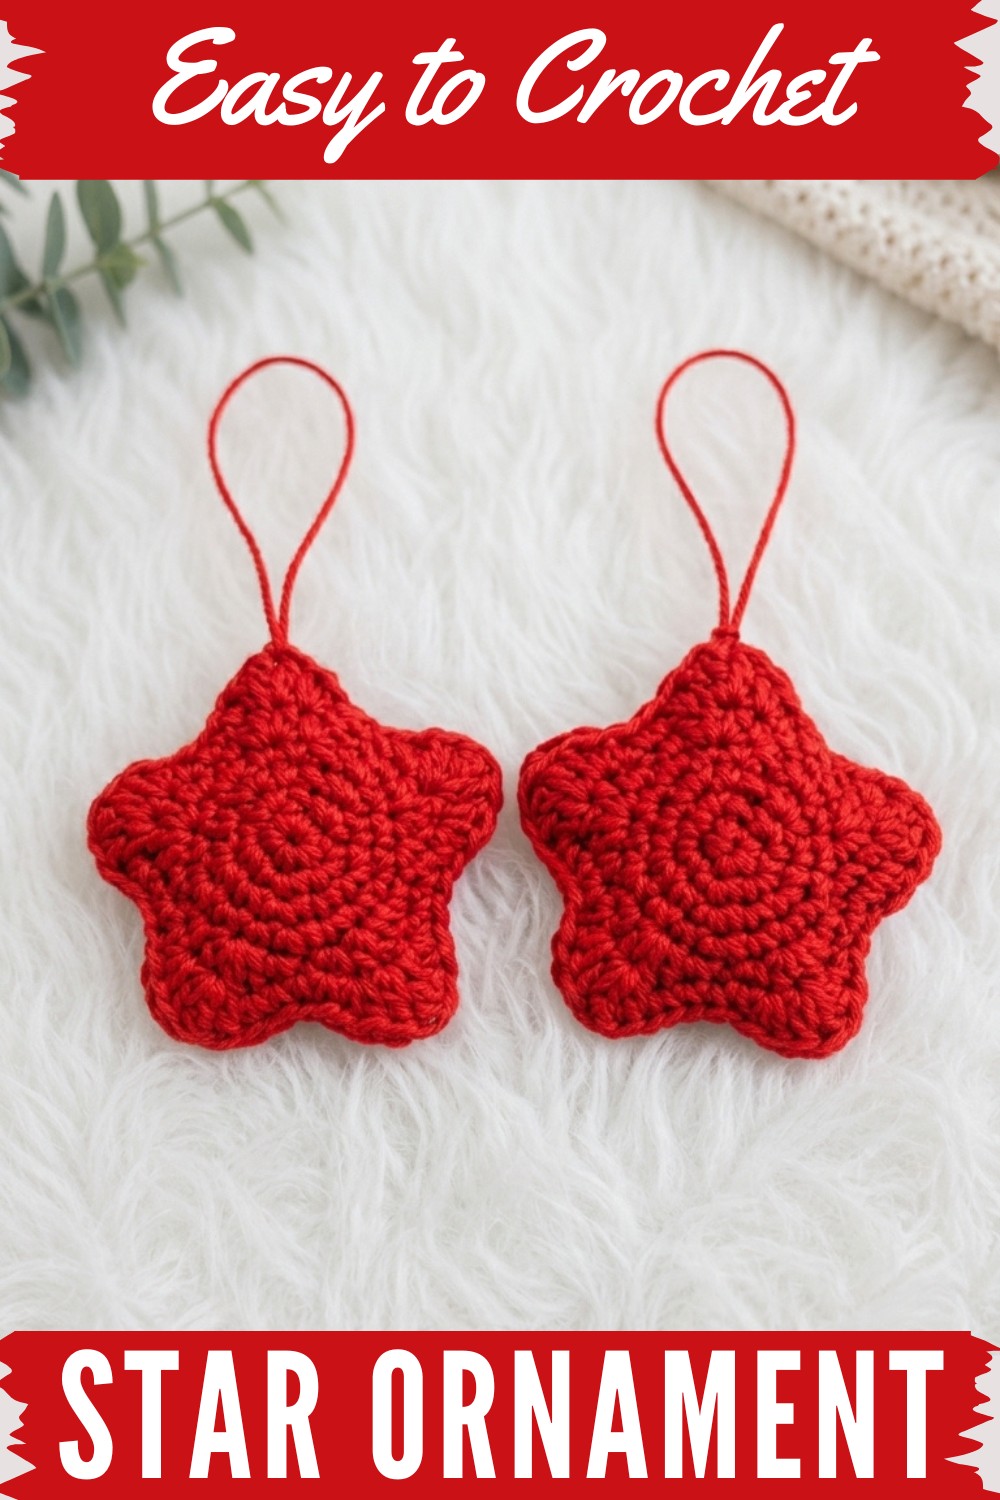
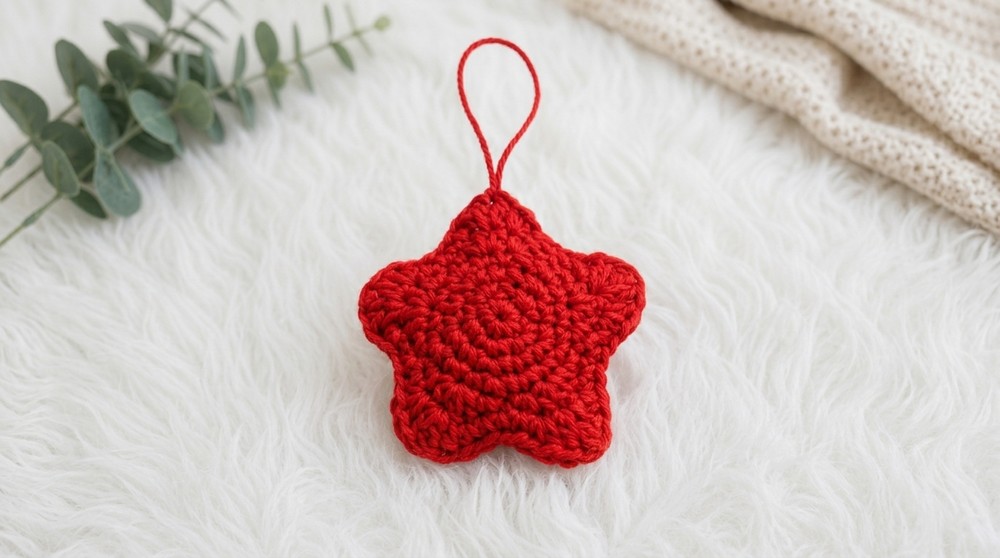
Add a festive flair to your holiday decor with this Free Crochet Star Ornament Pattern, perfect for creating cute tree decorations, gifts, or hanging accents.
A festive and versatile crochet project, this amigurumi-style star brings handmade charm to any setting. With the help of the Free Crochet Star Ornament Pattern, crafters can create a soft, three-dimensional star that shines as a holiday tree ornament, bag accessory, or thoughtful homemade gift. The finished star catches the eye with its five evenly shaped points, smooth edges, and gentle texture that's perfect for adding cozy detail to any decoration.
Uniqueness lies in the star’s well-defined structure, which is achieved through a smart combination of basic and slightly advanced stitches. The pattern alternates single crochet, half double crochet, double crochet, and even triple crochet to give each star point a crisp and dynamic shape. Increases and clusters are used to expand the circle into a true five-pointed star. Simple color choices or playful yarn can make your ornament match the season or your personal style.
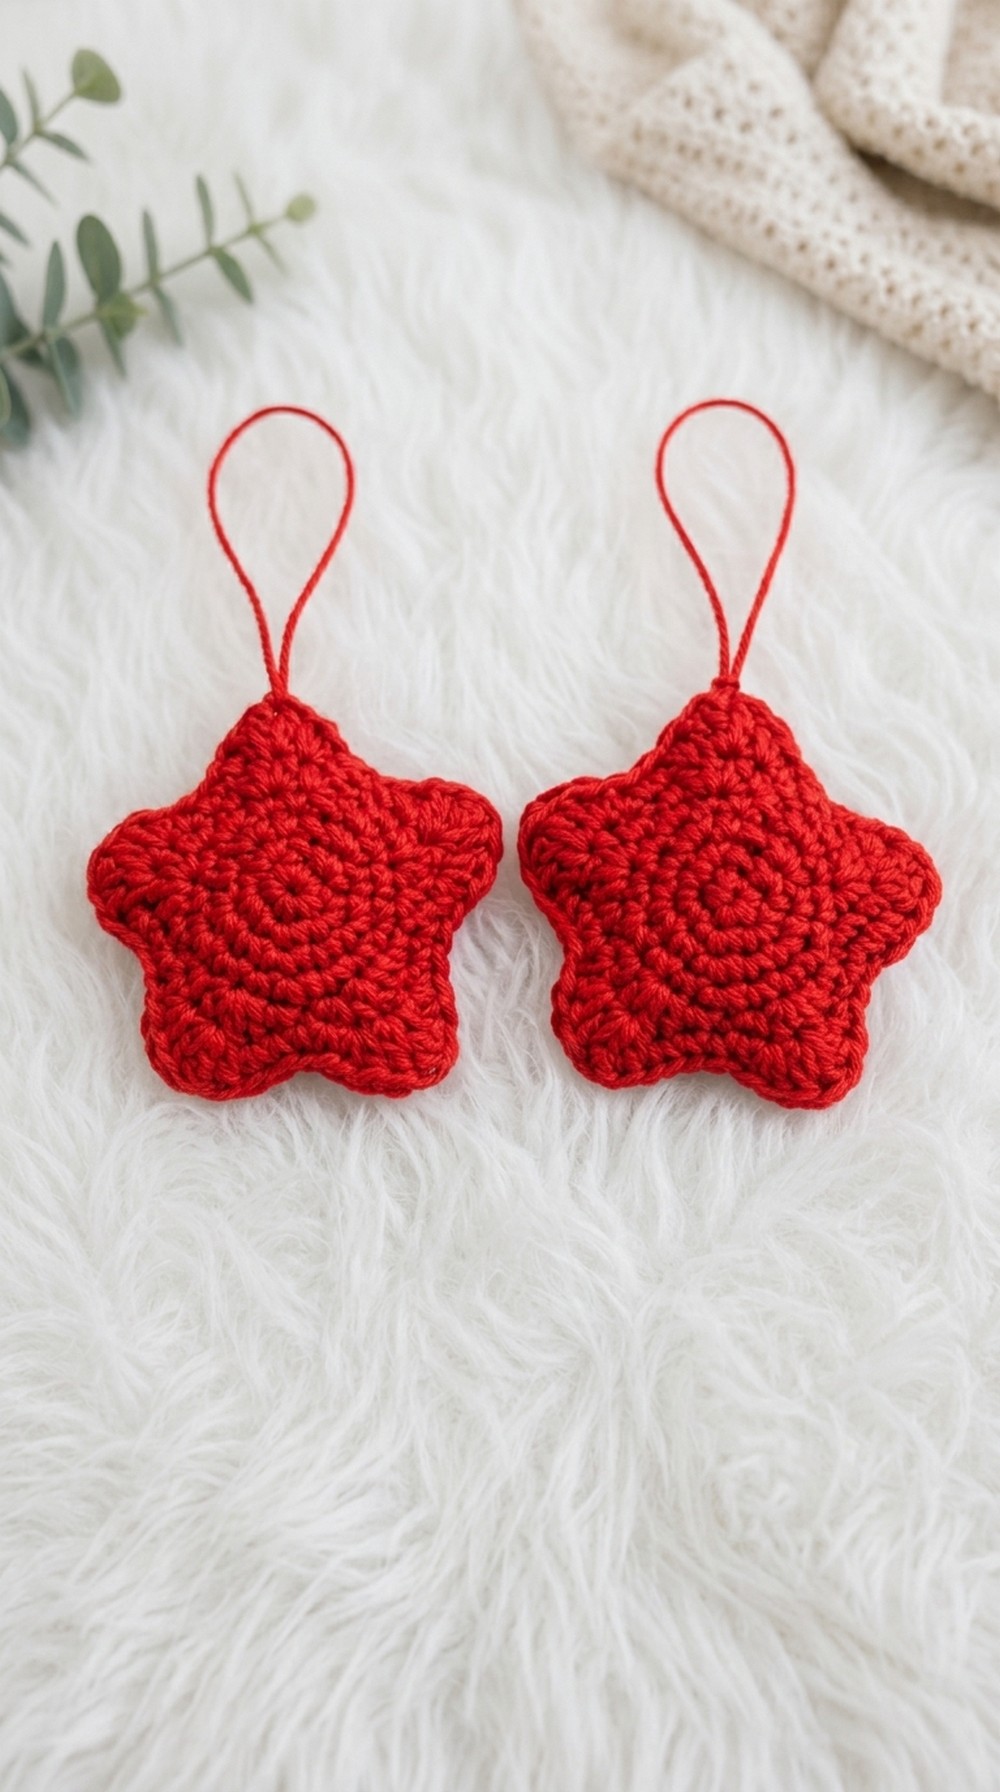
Free Crochet Star Ornament Pattern for Christmas
The construction involves making two identical flat star pieces, then sewing them together after lightly stuffing with fiber filling for a puffy, plush look. This assembly technique is straightforward, making the project highly accessible for beginners while still offering enjoyment for experienced makers. Techniques demonstrated in the pattern include working in the round with a magic ring, changing stitch heights, making clusters, and basic hand-sewing of crocheted pieces.
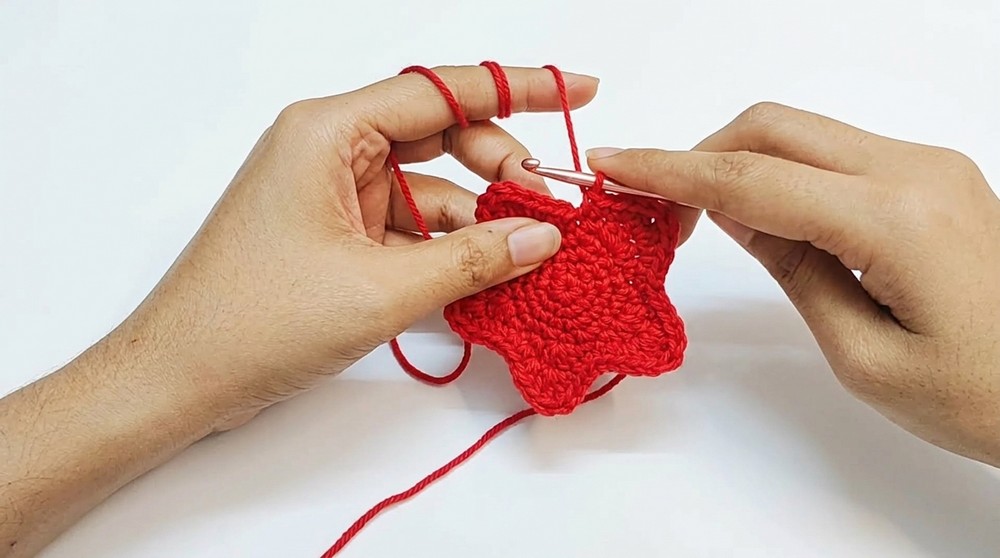
How I made the Crochet Pattern
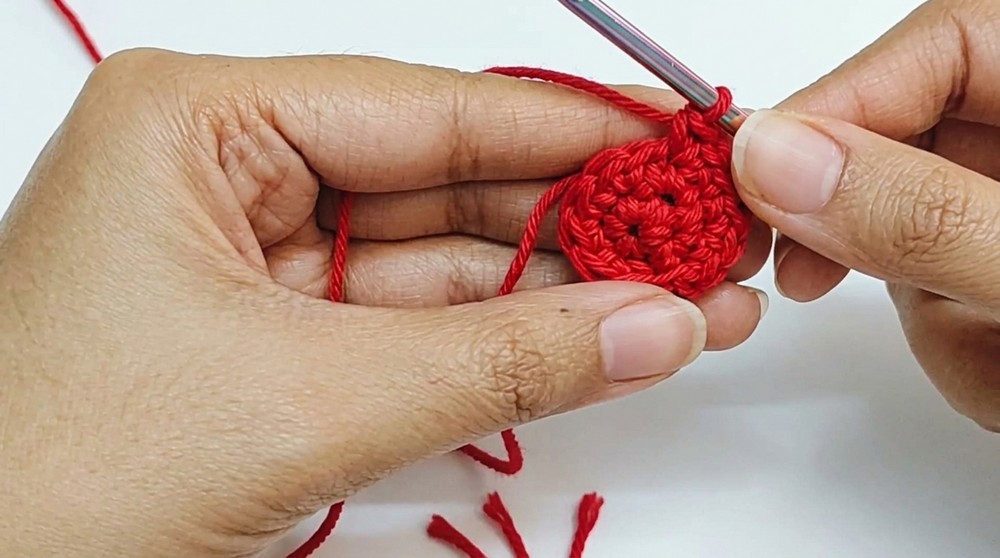
- Created a base circle using single crochet in a magical ring.
- Used classic increase rounds to form a flat base.
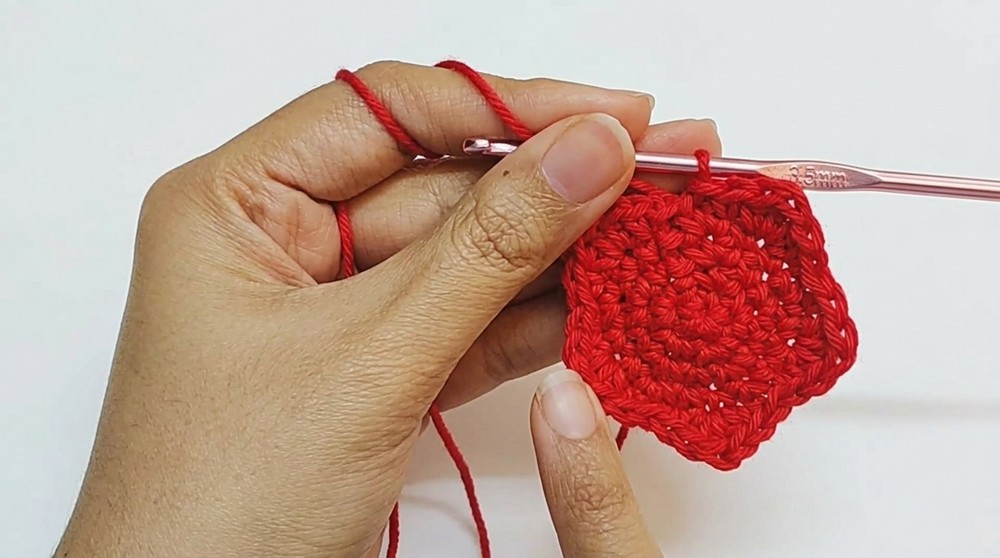
- Built star points with a combination of stitches to create sharp tips.
- Finished with instructions for sewing, stuffing, and adding a hanging string.
- Kept everything beginner-friendly while maintaining visual appeal.
Perfect as a Christmas ornament, small handmade gift, or fun bag charm, the star’s soft and cheerful style is sure to delight adults and children alike. Crocheters can practice reading crochet rounds, shaping with increases, and joining pieces securely. Anyone wanting to expand their crochet skills with a quick, delightful project will find the Free Crochet Star Ornament Pattern an inviting choice for both practice and creative expression. Give it a try and bring a touch of warmth and sparkle to your next holiday season or everyday celebration.
Crochet Stuffed Star Pattern
Before You Start
- Familiarize yourself with crochet basics: magic ring, single crochet, double crochet, half double crochet, triple crochet, increases, and slip stitch.
- Gather all required materials and tools before beginning.
- Crocheting in the round is essential for this project.
- Mark the start of each round with a stitch marker for easier navigation.
- Adjust yarn colors as desired for festive or personalized stars.
Pattern Notes
- All rounds are joined with a slip stitch and begin with a chain.
- Increase means to crochet two stitches in the same space.
- Only basic stitches and simple increases/combination clusters are required.
- The star is made from two identical panels, sewn together and lightly stuffed.
- Adjust the number of rounds or cluster height for a bigger or smaller star.
Skill Level
Beginner to Advanced Beginner.
The pattern uses fundamental stitches and clear step-by-step instructions.
Finished Size
Each star is approximately 3–4 inches (8–10 cm) across.
Final size will depend on your yarn, tension, and hook size.
Materials
- Worsted weight or DK weight yarn in color(s) of your choice
- 3.0 mm to 4.0 mm crochet hook (adjust for tension; use a smaller hook for tighter stitches)
- Yarn/tapestry needle for sewing
- Scissors
- Stitch marker (optional, but recommended)
- Polyfill/fiberfill stuffing
- Scrap yarn or embroidery floss for hanging loop
Measurements / Sizing
- Finished star width: ~8–10 cm
- Thickness: ~2–2.5 cm when stuffed
Gauge (and Stitch Pattern)
Gauge is not critical for this project.
As a reference: 8 sc x 8 rows ≈ 2 inches (5 cm).
Stitch Abbreviations
- MR = Magic Ring
- sc = Single Crochet
- hdc = Half Double Crochet
- dc = Double Crochet
- tr = Triple Crochet
- sl st = Slip Stitch
- inc = Increase (two stitches in same st)
- ch = Chain
- st(s) = Stitch(es)
Special Stitches
Magic Ring (MR):
Form a small loop, hold in place, and crochet required stitches into the center. Pull yarn end to close.
Increase (inc):
Work two single crochets into the same stitch.
Triple Crochet (tr):
Yarn over twice, insert hook into stitch, pull up a loop, (yarn over, pull through two loops) three times.
The Pattern!
First Star Panel
1. MR, 5 sc in ring. Tighten loop. (5 sts)
2. Sl st into first sc to join, ch 1.
3. Round 2:
2 sc in each st around (5 inc in total). (10 sts)
4. Sl st to first sc, ch 1.
5. Round 3:
(Sc in next st, 2 sc in next st) around. (15 sts)
6. Sl st to first sc, ch 1.
7. Round 4:
(Sc in next st, sc in next st, 2 sc in next st) around. (20 sts)
8. Sl st to first sc, ch 1.
9. Round 5 (First star points): Repeat 5 times—
a. Sc in next st
b. In following st, [hdc, dc, hdc] all in same st
c. Sc in next st
d. Sl st in next st
(This forms one star point. Repeat this sequence four more times; you will have five star points total by the end.)
10. Sl st to first sc, ch 1.
11. Round 6 (Longer points): Repeat 5 times—
a. Sc in next st
b. In following st, sc and hdc in same st
c. In next st, dc, tr, dc all in same st
d. In next st, hdc and sc in same st
e. Sc in next st
f. Sc in next st
(Repeat the above sequence four more times for a five-pointed star.
12. Finish with sl st in the first st, ch 1, and fasten off leaving a tail for sewing.
Explanation for Non-pattern Readers:
Start by crocheting a small circle with five single crochets using a magic ring. Then gradually increase the stitch count to make the circle bigger. For the star points, create clusters of stitches of varying height (single, half double, double, triple crochet) to make sharp, pointy tips. You will use two of these panels—continue to the next panel before assembling.
Second Star Panel
- Repeat steps 1–12 exactly as above to make a second panel.
- Fasten off your second panel, leaving a longer tail for sewing.
Assembly & Finishing
- Place both star panels together, right sides facing out.
- Use a yarn needle and the long tail to sew the edges together, working through both layers for a seamless look.
- Start at a star tip and whipstitch around the points.
- Before closing the last point, fill the star with fiberfill to desired squishiness.
- Sew shut and weave in ends.
- Add a hanging string by threading yarn or embroidery floss through one point and tying a knot. Trim excess.
Problem & Solution
Problem:
Stuffing shows through gaps or star loses shape while sewing.
Solution:
Be careful not to overstuff; add stuffing gently as you sew. If gaps appear, use a slightly smaller hook size to make tighter stitches or double up your yarn. While sewing, use small, even stitches to keep the edges neat and star-shaped.
What You Can Make Using These Stitches
- Holiday ornaments and Christmas tree decorations
- Star-shaped keychains or bag charms
- Bunting/garland for parties and nurseries
- Plush toys and mobiles for children
- Embellishments for gift wrapping
For Non-Pattern Readers
To make this squishy star, you first crochet a small flat round, then expand it by adding more stitches until it is a medium-sized circle. Next, you shape the points by making clusters of stitches, with taller stitches in the middle so each tip comes to a sharp point. Make a second identical shape, then sew both pieces together. Before you sew the last section, fill your star with fiber stuffing. Sew it shut and attach a piece of yarn or thread to hang it as a decoration. You can make stars in any color and size.