
Treat yourself to a charming Crochet Heart Keyring that makes your keys or bags look adorable while sharing love and warmth through its handmade touch.
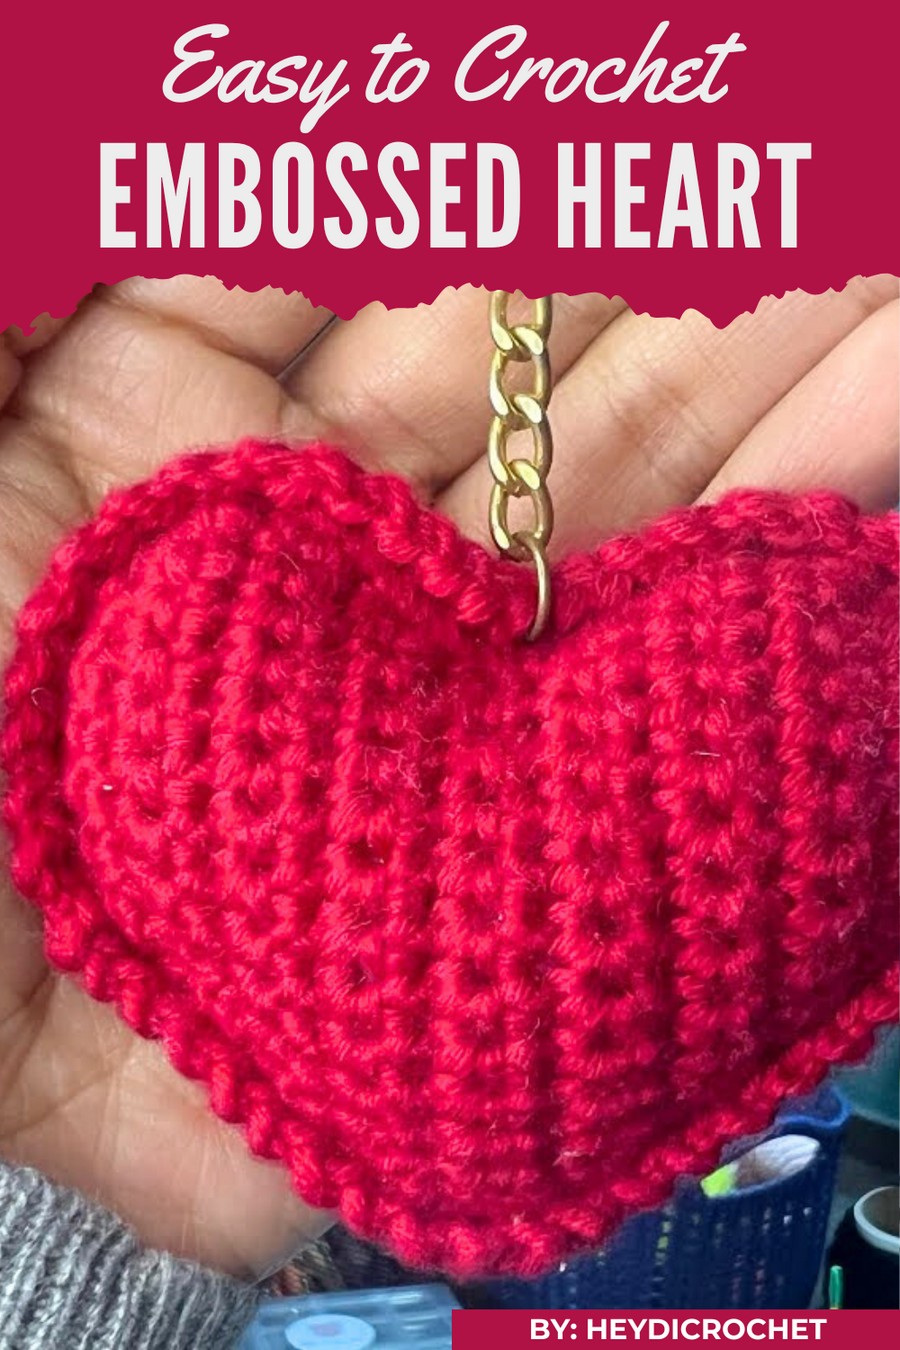
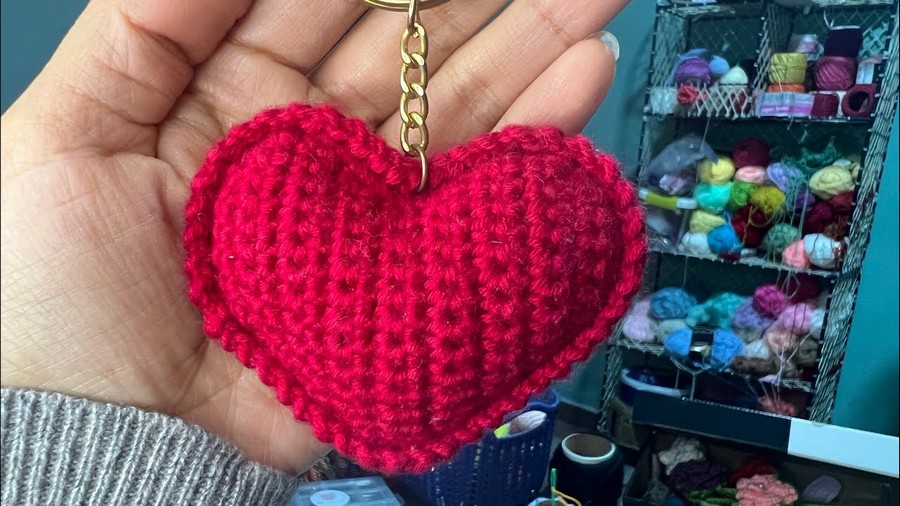
Who says keyrings have to be boring? A crochet heart keyring transforms an everyday item into a colorful, stylish, and heartfelt accessory that radiates love and charm. Perfect for hanging on your keys, bag, or even using as a decorative touch, it’s both functional and delightful.
How to Crochet Heart Keyring Pattern That’s Adorable
Its soft, handmade texture and customizable colors make it a true standout, whether you’re gifting it to someone special or keeping it for yourself. With its elegant heart shape and personal touch, this little creation adds creativity, warmth, and character to your everyday essentials—it’s simply too adorable to ignore!
Materials Needed
- Yarn: 2mm yarn (cotton or acrylic; medium weight recommended)
- Hook: 2.5mm crochet hook
- Stuffing: Siliconized cotton or polyester fiberfill
- Keychain Pendant (Optional): Keyring or keychain clasp
- Other Tools:
- Scissors
- Tapestry needle
Key Abbreviations
- ch – Chain
- sc – Single Crochet
- inc – Increase (2 sc in the same st)
- st (or sts) – Stitch(es)
- sl st – Slip Stitch
Special Notes
- Crochet in continuous rounds unless stated otherwise (use a stitch marker, if needed, to track your rounds).
- Adjust the hook size or yarn thickness to alter the size of the heart.
- Stuff the heart firmly before fully closing for a plump finish.
- This pattern creates two identical heart pieces that are sewn together.
Pattern Instructions
Heart Piece (Make Two)
- Round 1: Start by making a magic ring. Work 6 sc into the ring. (6 sts)
- Round 2: Inc in each st around – 2 sc in each st. (12 sts)
- Round 3: (1 sc, inc) around. (18 sts)
- Round 4: (2 sc, inc) around. (24 sts)
- Round 5: (3 sc, inc) around. (30 sts)
- Round 6: (4 sc, inc) around. (36 sts)
- Round 7: (5 sc, inc) around. (42 sts)
- Round 8–10: Sc evenly around (no increases). (42 sts per round)
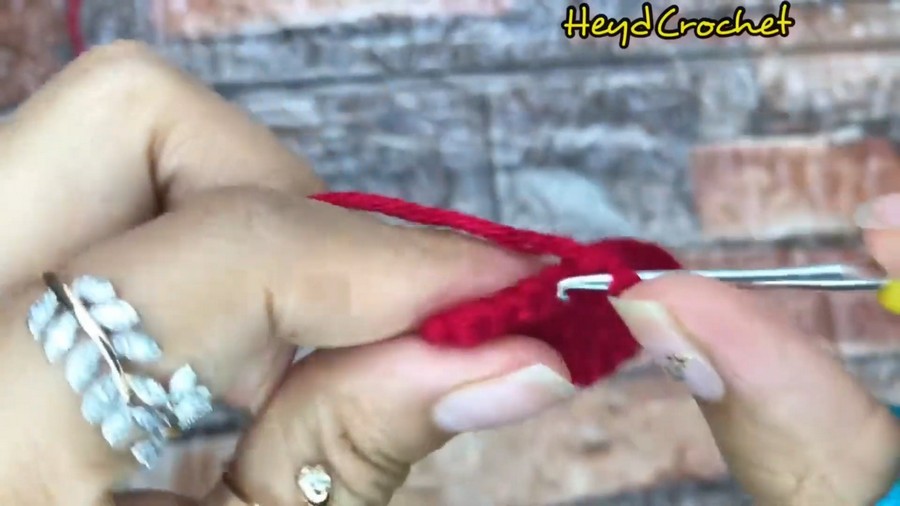
Forming the Heart “Lobes”:
(This creates the top rounded sections of the heart.)
- Round 11 (First Lobe):
- Work 21 sc across the next 21 sts.
- Skip the remaining 21 sts for now (these will form the second lobe later).
- Turn your work.
- Rounds 12–14 (continuing with 1st lobe):
- Sc evenly for 3 rounds over these 21 sts. (21 sts per round)
- Round 15 (Start Decreasing) for 1st Lobe:
- (5 sc, dec) around. (18 sts)
- Round 16:
- (4 sc, dec) around. (15 sts)
- Round 17:
- Sc evenly. (15 sts)
- Round 18:
- (3 sc, dec) around. (12 sts)
- Round 19:
- (2 sc, dec) around. (9 sts)
- Round 20:
- (1 sc, dec) around. (6 sts)
Fasten off and leave a tail for sewing.
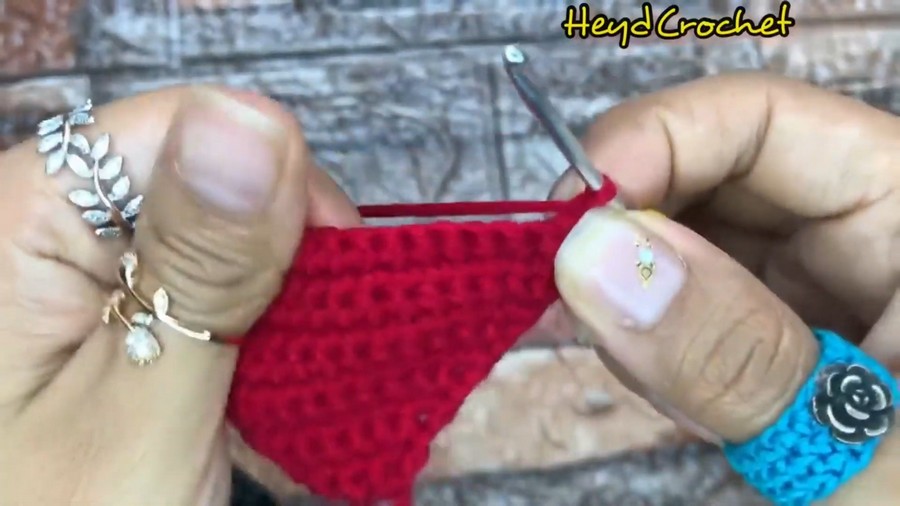
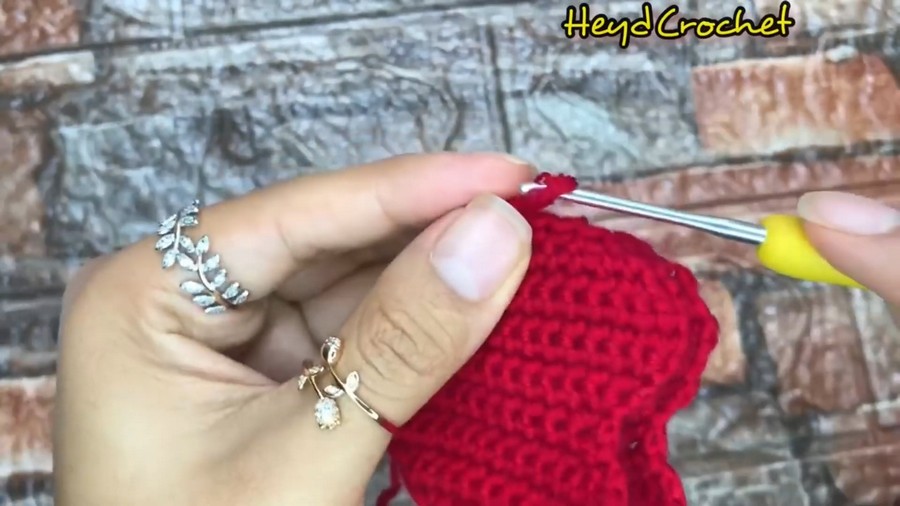
Second Lobe:
Repeat Rounds 11–20 for the second set of 21 skipped stitches.
Assembling the Heart
- Join the Two Heart Pieces:
- Take your two heart pieces and align them with the wrong sides facing inward.
- Insert your hook through the edge stitches of both pieces and join them using sl st or sc all around, leaving an opening for stuffing.
- Stuffing:
- While leaving a small gap, insert the siliconized cotton or fiberfill and stuff the heart firmly.
- Close the Opening:
- After stuffing, finish the remaining edge with sc or sl st and fasten off securely.
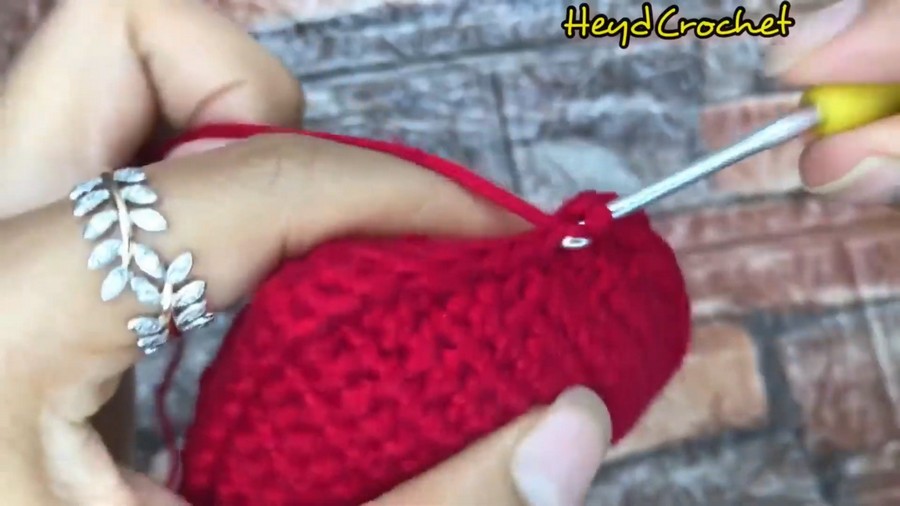
Adding the Relief Detail
- To create the textured ridge around the heart, begin with a slipknot on your hook.
- Attach the yarn to any stitch along the edges of the heart.
- Work a sequence of (sl st, ch 1) into each stitch around the heart’s edge. This will form a raised, decorative border.
Optional Keychain Loop
- On the top center of the heart (between the two rounded lobes), work 6 ch to form a small loop.
- Fasten off, secure the loop, and attach your keychain ring or pendant through it.
Conclusion
Congratulations! Your crochet puffy heart is complete. This charming, customizable project is perfect for keychains, gifts, or even larger items like pillows. Experiment with different yarn colors and sizes to create a variety of hearts.
Pattern Correction
- Always ensure the two heart pieces are identical in size before joining.
- Adjust the amount of stuffing to avoid distorting the shape of the heart.
Tips:
- Use stitch markers to mark the beginning of each round.
- Block the heart lightly with steam before joining for crisp edges if needed.



