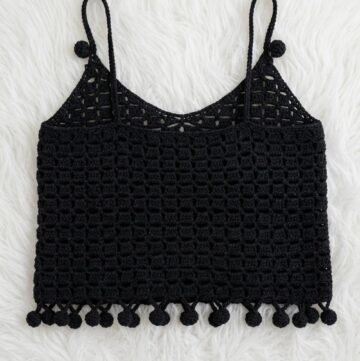
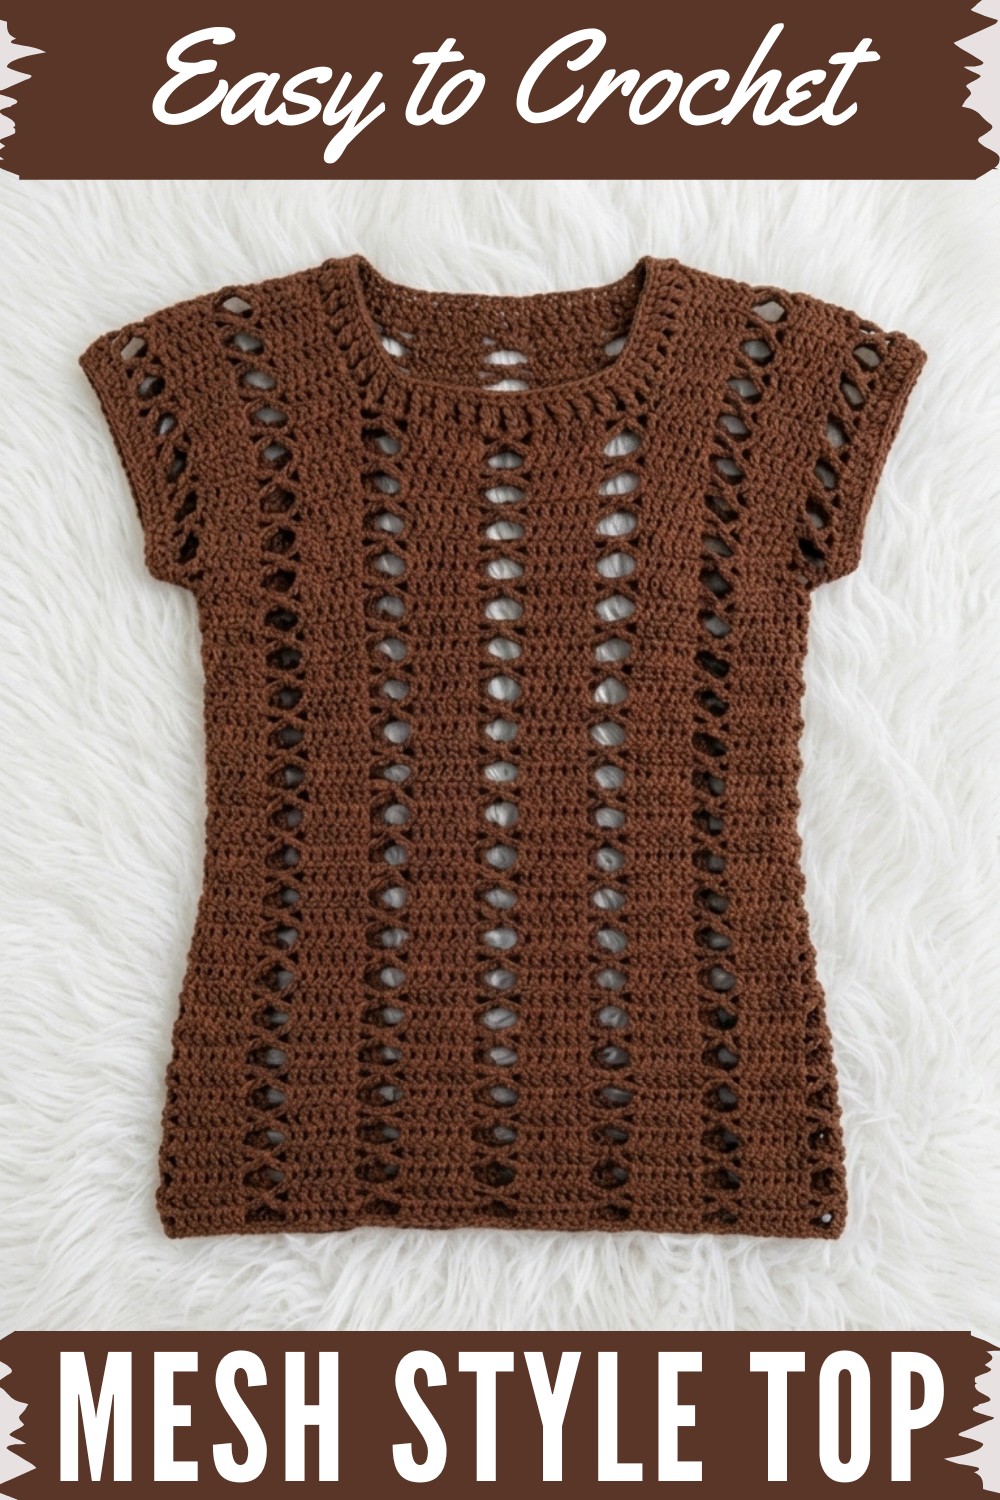
Create a stylish crochet mesh style top with this easy-to-follow pattern, perfect for lightweight and trendy top for any occasion.
Not every crochet project is practical for warm weather, but a mesh top certainly breaks that rule in the best way. With a free crochet mesh top pattern, you gain a piece that’s both stylish and light—perfect for breezy summer days or layering all year round.
What stands out most is the beauty of the open, airy stitch. Mesh patterns create a delicate see-through effect that lets your chosen color pop, whether you prefer a bold shade or something more subtle. The texture feels soft and slightly stretchy, making the top comfortable to wear while also holding its shape nicely.
Make Your Own Crochet Mesh Top Pattern
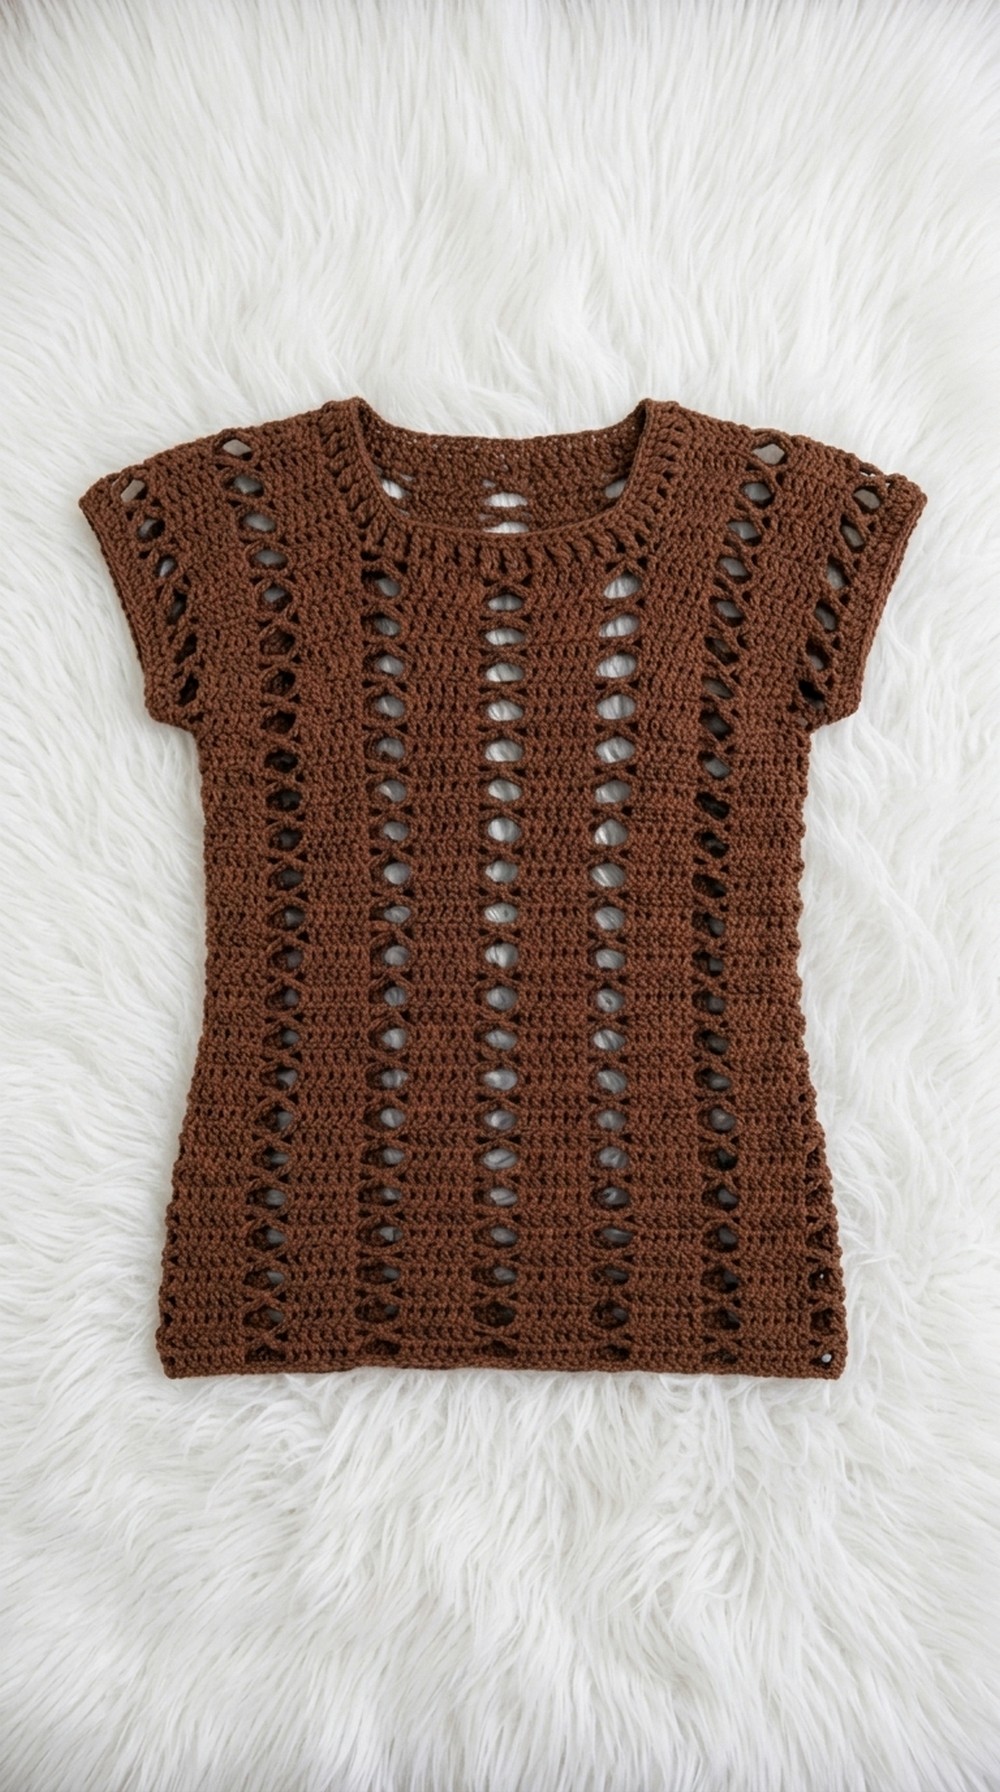
Design-wise, these tops usually feature relaxed lines and easy shapes. I love the way the loose fit drapes gently over the body, offering a flattering look that works with all body types. Some patterns let you experiment with sleeve lengths or necklines, giving you plenty of room to add your own personal touch.
Essential Pattern Details
- Constructed in two rectangular panels, which are then seamed.
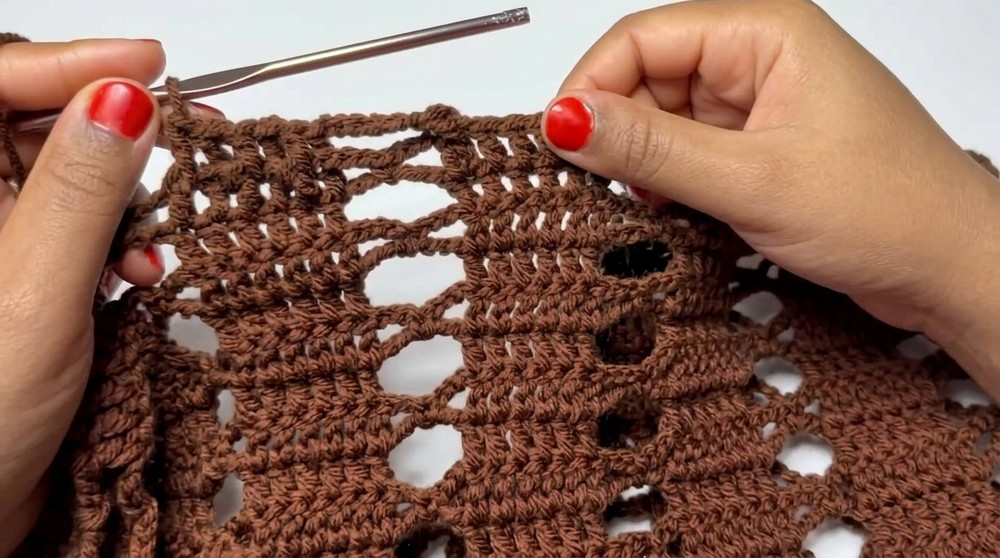
- Mesh pattern combines solid double crochet blocks and chain spaces for a modern, airy look.
- The neckline and armholes are shaped during assembly rather than initial rows.
- Side splits are optional; this tutorial includes a 7” side opening for styling and comfort.
- The design is highly customizable for different sizes and desired coverage.
- All stitches are written in US terms.
- Alternating rows maintain structural integrity and consistent mesh repeats.
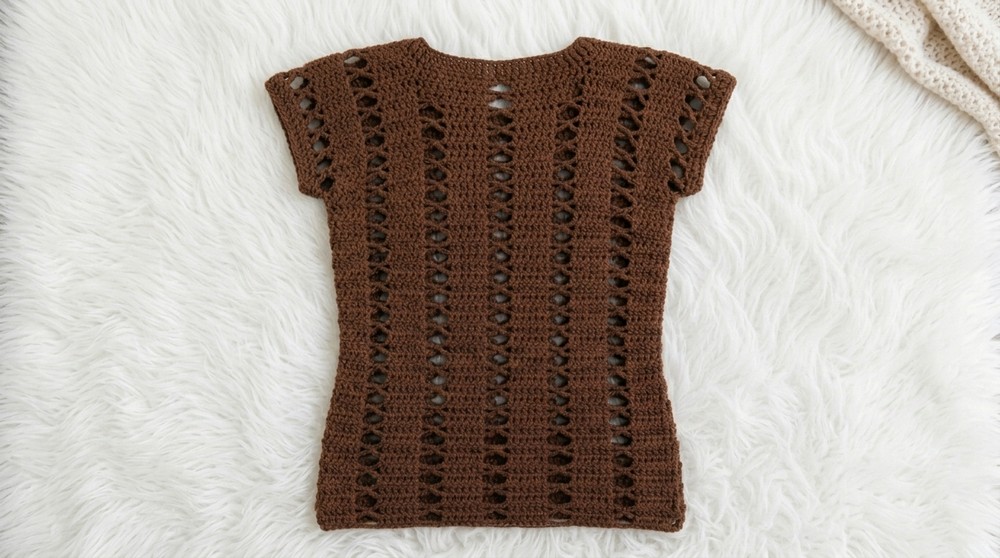
The main structure is two rectangles. Mesh stripes add flexibility and style, and shaping is created by assembling and edging the garment. You can make this top longer, shorter, or change the width to match your needs.
When it comes to uses, crochet mesh tops are incredibly versatile. Throw one over a colorful tank, a swimsuit, or even a dress to add an extra layer of style without feeling too warm. They quickly become favorites for beach trips, casual outings, or lounging at home.
Creative Applications for These Stitches
- Lightweight summer tanks or tunics
- Beach cover-ups or lacy ponchos
- Openwork market bags or totes
- Blankets using mesh motif
- Modern cardigans or shrugs
- Scarves, wraps, and shawls
And finally, the overall appearance really catches the eye. The playful mesh design is modern and fun, while the hand-crocheted details add that unmistakable, homemade charm. Every time I wear one—or gift one—a wave of compliments always follows! Mesh crochet tops are wonderfully simple projects that end up being some of the prettiest items in any handmade wardrobe.
Preparation Checklist
- Measure your shoulder-to-shoulder width (e.g., 18”), as this determines your foundation chain.
- The chain should be a multiple of 11, plus 2 stitches for the turning chain.
- Select lightweight yarn and an appropriate crochet hook (see Materials).
- Have stitch markers ready to mark shoulders, sides, and necklines.
- Plan for two identical panels: a back and a front.
- Read through the pattern before starting for clarity.
- Double-check gauge with a small swatch if you want an accurate fit.
Mesh Modern Top Crochet Pattern
Design and Construction Overview
- Measured the desired width for the shoulders (18”) and created foundation chain accordingly (77+2 = 79).
- Used mesh pattern alternating solid and openwork sections.
- Made both panels to desired length (50 rows, 24”).
- Marked and worked shoulder shaping by leaving space for the neck.
- Joined side seams with a 7" split at the hem.
- Finished with decorative post stitch and single crochet edging.
Skill Level
Adventurous Beginner to Intermediate
Finished Measurements
- Shoulder-to-shoulder width: 18” (adjustable)
- Total top length: 24” (from shoulder to hem)
- Finished bust: stretches to fit up to 44”
- Side slit: about 7” (customizable for style)
Tools & Materials Needed
- Worsted weight yarn (#4) – approx. 300g
- 4.5 mm crochet hook
- Darning needle for sewing and weaving in ends
- Scissors
- Measuring tape
- Stitch markers
Sizing Guidelines
- Draw two rectangles representing front and back panels.
- Mark a 6” shoulder width on each edge and a 6.5” center neck opening.
- Place indicators 7” up from the hem for side splits.
Gauge and Repeating Stitch Motif
- Gauge: 13 stitches x 8 rows = 4" square in pattern
- Main stitch pattern: 6-dc group with ch-3, sc, ch-3 mesh
- Check gauge for custom fit
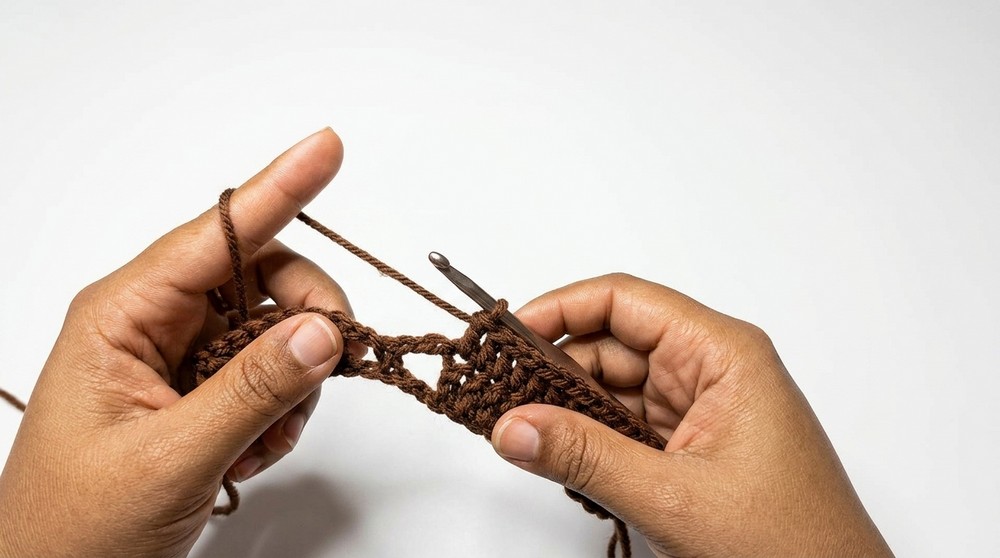
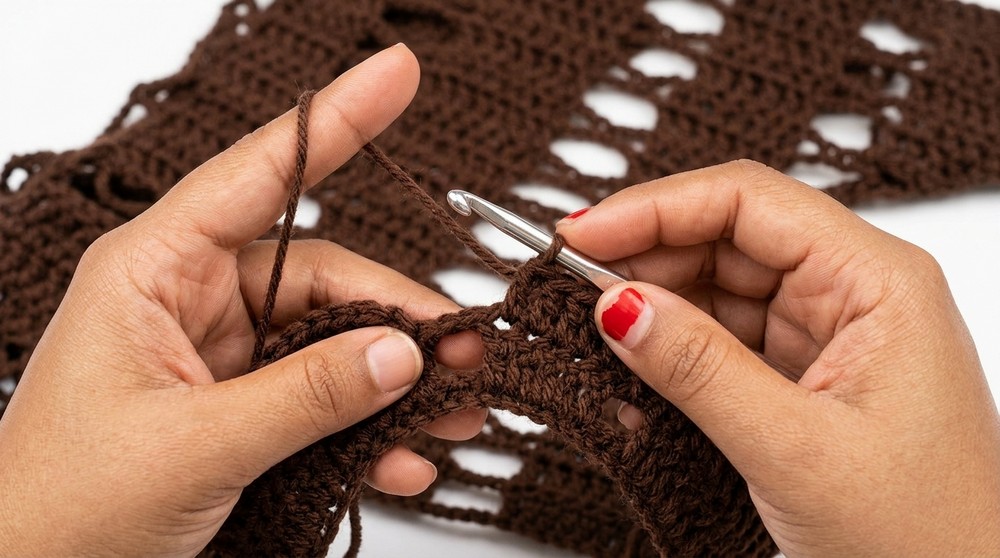
Crochet a small square in the displayed pattern. Measure; adjust your hook size if needed for your fit. This pattern uses basic mesh and block motifs.
Abbreviations Key
- ch – chain
- sc – single crochet
- dc – double crochet
- sl st – slip stitch
- fpdc – front post double crochet
- bpdc – back post double crochet
- sk – skip
- st(s) – stitch(es)
Unique Techniques Used
- Front and back post double crochets for ribbed edging
- Working into back bumps of the starting chain
- Side and sleeve opening shaping formed during seaming, not initial fabric construction
The Pattern
Back Panel
- Chain 79 (multiple of 11 for width, plus 2 for turning).
- Turn, sk 3, dc 1 in 4th ch, dc 1 in each of next 2 ch (dc 3).
- Ch 3, sk 2, sc 1 in next ch, ch 3, sk 2, dc 1 in next 6 ch.
- Repeat (ch 3, sk 2, sc 1, ch 3, sk 2, dc 1 in next 6), finishing with dc 1 in last 3 ch. Turn.
This first row forms the structure, alternating solid blocks with mesh sections. You move from solid to mesh, repeating the sequence to the end.
- Repeat Rows as follows:
- Row 2: Ch 2 (does not count as st), dc 1 in same st, dc 1 in next 2, ch 6, dc 1 in each of next 6 dc. Repeat across, ending with dc 1 in last 3 sts.
- Row 3: Ch 2, dc 1 in same st, dc 1 in next 2, ch 3, sc 1 in ch-6 space, ch 3, dc 1 in next 6 dc. Repeat, end with dc 1 in last 3 sts.
You establish the alternating pattern that gives this top its look and flexibility. Continue these rows, checking your length as you progress.
- Work for 50 rows (or until the panel is 24” long).
Front Panel
- Repeat back panel through 50 rows.
- On final rows, mark both outer edges for shoulders by counting 6” inward from each side. Place markers. Center space (about 6.5”) will be left open for the neck.
- Work 10 rows over each shoulder only.
After the body is complete, shape the shoulder/neck opening by working short rows. Keep the mesh pattern intact along each shoulder.
Neck Shaping & Joining
- Chain 27 (or your calculated width for center neckline opening), starting at one shoulder. Sl st to opposite shoulder.
- Continue mesh pattern across chain as if it is a regular row.
The neck is formed by joining the two shoulders with a chain. Integrate the chain seamlessly into your mesh on the next row for a polished look.
Side Seaming & Armhole Opening
- Lay panels together, right sides facing.
- Leave 7” (or your desired armhole depth) from shoulder marker; sew or slip stitch remaining sides, leaving bottom 7” of sides open for slits.
- Repeat on both sides.
Sewing the panels leaves open sides for armholes and hip splits, making the top easy to wear and breezy.
Edge & Neckline Finishing
- Attach yarn at the neckline/back with a slip knot.
- Ch 1, dc 1 in starting space, continue (ch 3, sc 1 in mesh space, ch 3, dc 1 in dc group) around.
- When reaching panel ends, work 2 dc in each side-row for a neat edge.
- Final round: alternate fpdc and bpdc along neckline and armholes for professional ribbed look.
- Optionally, finish with a round of sc (working 4 sc into every ch-6 space) for smoothness.
These finishing rounds add strength to openings and keep edges beautiful and durable.
Troubleshooting Guide
Problem: Foundation chain doesn’t match your measurement.
Solution: Redo, ensuring the chain is a multiple of 11 + 2 and matches your width without stretching.
Problem: Panels don’t align when sewing.
Solution: Use stitch markers to align rows precisely before joining and count rows on each side.
Problem: Neck opening feels too loose/tight.
Solution: Adjust number of chains joined and test neckline before edging.
Problem: Side seam split is uneven.
Solution: Pin both sides and measure before sewing; use stitch markers for even splits.
Most issues are solved by careful measuring, counting, and using stitch markers liberally. Always realign before sewing and don't hesitate to unravel a part for perfection.
Assembly and Final Touches
- Sew side seams carefully using darning needle or slip stitch.
- Weave in all yarn ends using the darning needle.
- Gently block your top for neatness and fit.
- Add optional edging for neckline, armholes, and hem.
- Try on the garment and adjust split/fit as needed.