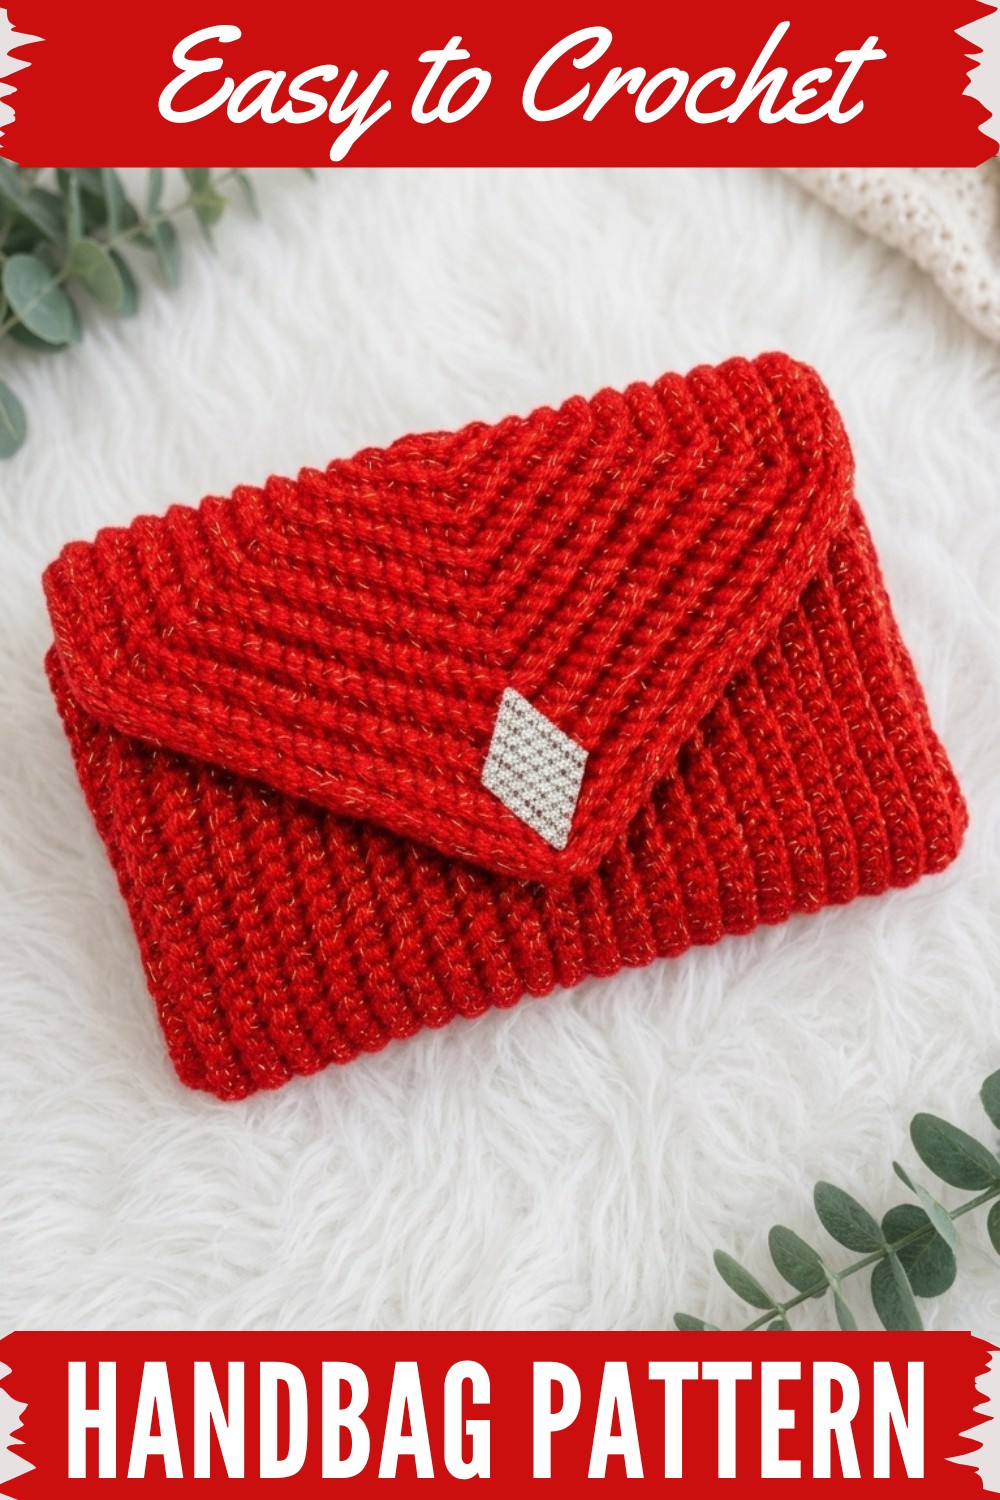
Find a Free Crochet Handbag Pattern with easy-to-follow steps for beginners, offering a chance to produce a sturdy, chic accessory complete with lining and handle options.
A rainy day, a cup of tea, and one skein of yarn are all it takes to turn a quiet moment into a handmade accessory you’ll actually want to use every day. This project creates a neat, modern handbag with a simple, boxy shape and a smooth, even texture that looks surprisingly professional. The stitches form a dense fabric, so the bag holds its shape, doesn’t sag easily, and feels sturdy enough for your wallet, phone, makeup, and a few extras. Add metal handles, a zipper or button, and maybe a subtle color contrast, and it shifts from casual daytime bag to a chic piece you’ll be proud to show off.
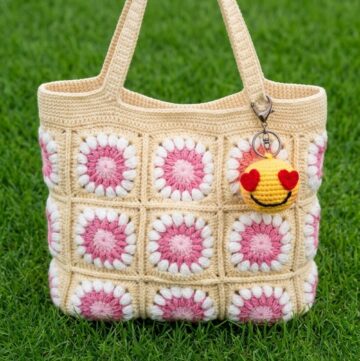
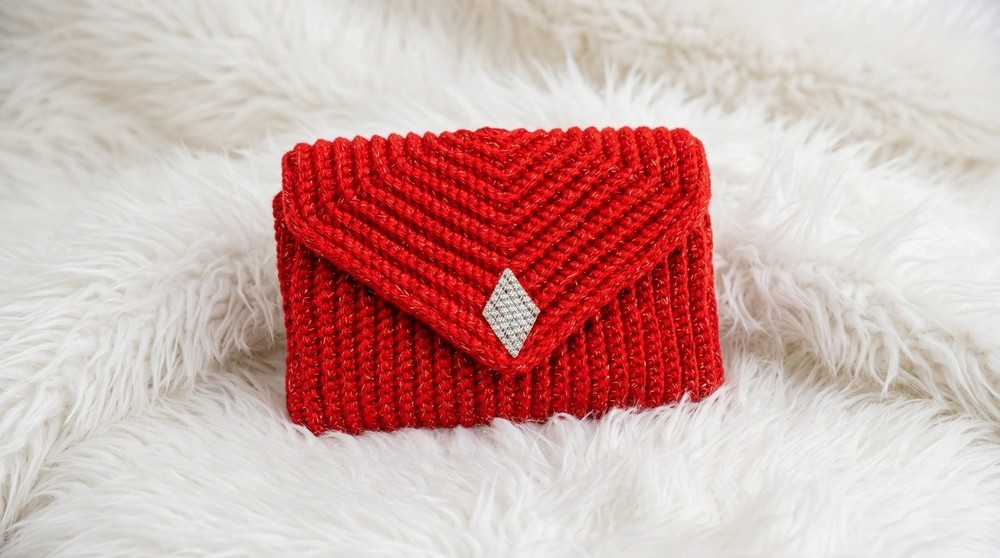
Trendy Crochet Handbag Pattern for Girls – Easy & Stylish Design
What makes this crochet handbag pattern especially beginner-friendly is how it breaks everything down into clear, repeatable steps. You’ll start with a basic rectangle for the base, then build the body in rows or rounds using simple stitches like single crochet and half double crochet. You’ll learn how to create firm sides, keep your edges straight, and control tension so your bag looks even on all sides.
The pattern also guides you through joining panels, hiding yarn tails cleanly, and optionally adding a fabric lining for extra strength. By the end, you won’t just have a bag—you’ll understand how a flat piece of crochet transforms into a functional, stylish accessory.
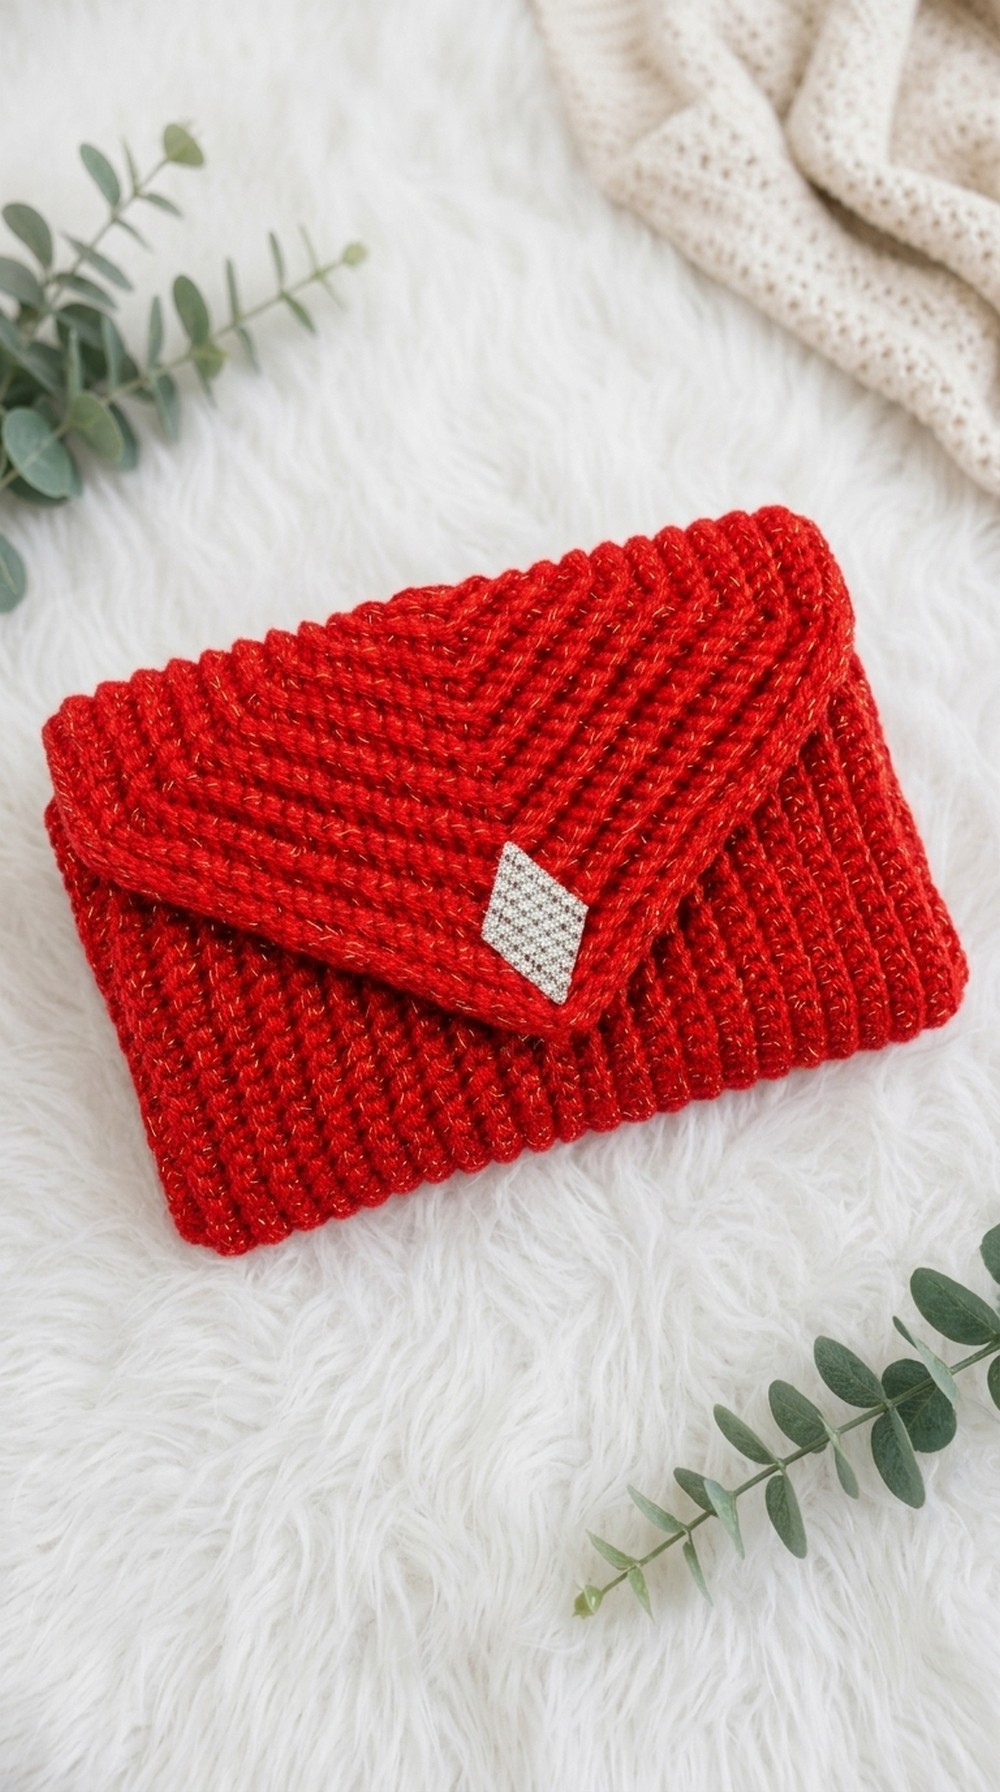
Easy Crochet Rectangular Bag Pattern
Skill Level
Beginner Friendly
This pattern is easy to follow and suitable for beginners.
Materials
- Yarn: Thick yarn (e.g. chunky weight, 300g recommended).
- Alternative: If you do not have thick yarn, use double-knitting (DK) yarn held double.
- Optional: Sparkle yarn for visual interest
- Hook: 5 mm crochet hook (or 5.5 mm if following yarn label)
- Notions:
- Stitch markers (for marking corners and sides)
- Yarn needle (for sewing parts together, weaving in ends)
- Small hook (e.g. 2.5 mm) for working into fabric or liner, if using
- Bag handle (crocheted or purchased), or chain for handle
- Magnetic snaps, buttons, or other closure
- Fabric for lining (optional), ribbon for decoration (optional)
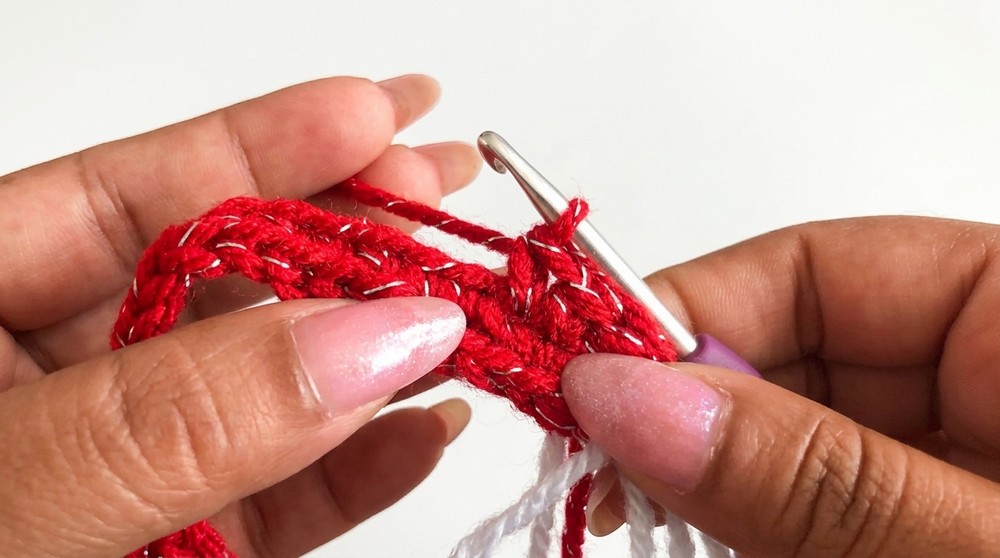
Special Techniques
- Single Crochet (sc)
- Back Loop Only Single Crochet (sc BLO)
- Working into corners with increased stitches
- Attaching pieces with whipstitch or slip stitch
- Crocheting around fabric/liner
- Using stitch markers to mark corners for increases
Instructions
PART 1: MAIN RECTANGLE (BAG BASE & BODY)
Step 1: Foundation Chain
- Make a slip knot
- Chain 70 (this is the width of your bag)
- Turn, skip the first chain and work into the second chain.
Step 2: First Row
- Single crochet into each chain across (total 70 sc)
- At the end, use a stitch marker to mark this corner.
Step 3: Working Around
- In the last chain, work 3 sc (for turning the corner)
- Rotate work and crochet along the opposite side of the foundation chain:
- Work 1 sc into each chain across (again, 70 sc)
- In the end chain, work 3 sc (for the second corner)
- Join with a slip stitch if working in the round, or continue back and forth for rows
You should now have a rectangle base with marked corners, to facilitate increases at the corners.
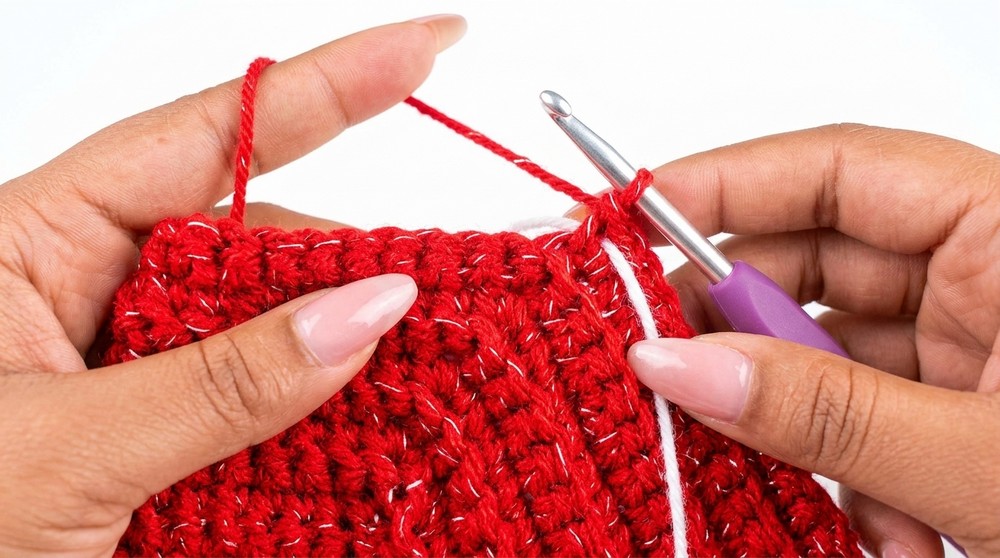
Step 4: Side Building Rows
- Begin each row with chain 1, turn work.
- Single crochet in back loop only (sc BLO) across to the corner marker.
- At the corner, work 2 sc into the marked stitch, replace the marker between them.
- Continue working, increasing at each corner marker (three corners total).
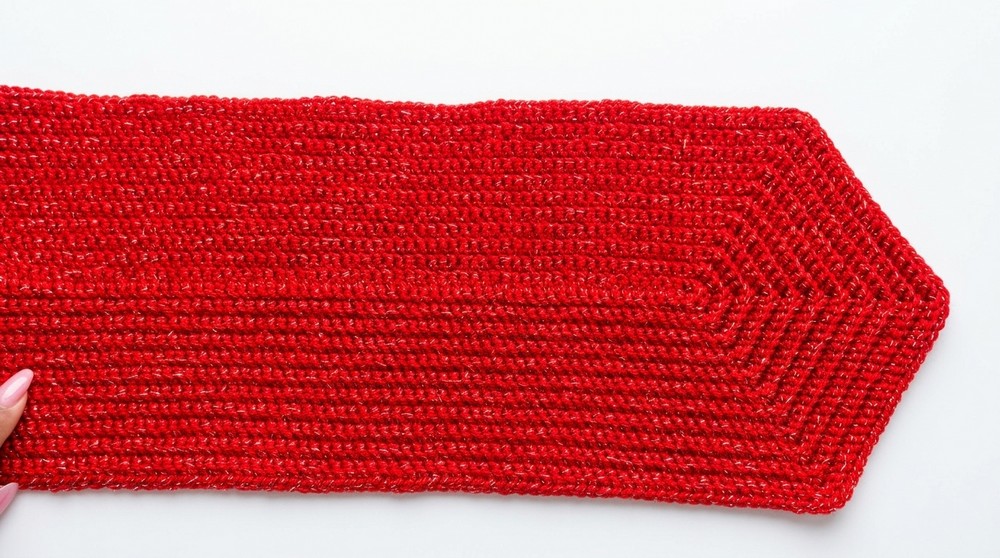
- Repeat this pattern, always working in the back loop, for a total of 22 rows, so that the bag is approximately 26 cm in height.
If following video, after every row, check that corners receive increases so body grows into a large rectangle. The pattern is symmetrical: you should have increased sides and defined corners.
PART 2: SIDE PANELS
Step 1: Foundation Chain
- Make a slip knot, chain 24.
- Turn, skip the first chain, sc in each chain across (24 sc).
Step 2: Side Rows
- Begin each row with chain 1, turn work.
- Single crochet in every stitch across (24 sc).
- Continue for a total of 12 rows for each side panel.
Step 3: Make 2 Panels
- Repeat above steps to make a second identical panel.
PART 3: LINER/FABRIC (Optional)
- Cut your liner or fabric to match main rectangle and side panel sizes.
- To crochet around edges, use a small hook (e.g., 2.5 mm) to pierce fabric and work single crochet around.
- At corners: sc, ch 1, sc in same space (to round the corner).
- If not crocheting, sew the fabric liner to bag pieces using a yarn needle.
PART 4: ASSEMBLY
Step 1: Joining Parts
- Place the two side panels at each end of the main rectangle.
- Use a yarn needle and yarn (or same hook with slip stitch) to sew/attach panels to main body along the sides.
Step 2: Attach Lining
- If you created a liner, sew it inside before final finishing.
- Join crochet edges to liner using whip stitch or slip stitch.
Step 3: Finishing Edge
- Use a 5 mm hook (or small hook if stitches are tight) to make single crochet evenly around all exposed seams and top edge for a neat finish.
PART 5: CLOSURE
- Add magnetic snaps, buttons, or other closures to the top edge at the center.
- Optionally, crochet a flap and attach a decorative ribbon or button as shown.
PART 6: HANDLE
Crocheted Handle
- Chain 5, turn.
- Work single crochet into second chain and across (4–5 sc per row).
- Continue for desired length (12 rows or longer for comfortable handle).
- Sew or crochet the handle to the bag using yarn needle.
- Alternatively, use a purchased bag handle or chain.
Finishing
- Weave in all yarn tails securely.
- Ensure all seams are strong.
- Attach decorative elements (ribbons, patches, motifs) as desired.
- Double-check the closure is secure and handle is attached firmly.
Final Words
Congratulations! You have completed an easy, valuable, and beautiful crochet bag. The design is adaptable to different yarn weights, color choices, and handle styles.
This project is beginner friendly and offers a practical, stylish final product. You can line the bag with fabric for extra strength or add embellishments for a personalized touch.
Tips & Suggestions
- Use stitch markers on corners for easier tracking of increases.
- Crochet loosely for easier attachment of panels or lining.
- Adjust number of chains and rows to scale bag to your preferred dimensions.
- Use a strong yarn for handle to ensure durability.
- Magnet, button, or zipper closures improve bag’s security.
- Decorate with ribbon or motifs for added beauty.
- Liner fabric increases value and strength, especially for carrying heavy items.
- Weave ends well to avoid unraveling over time.