
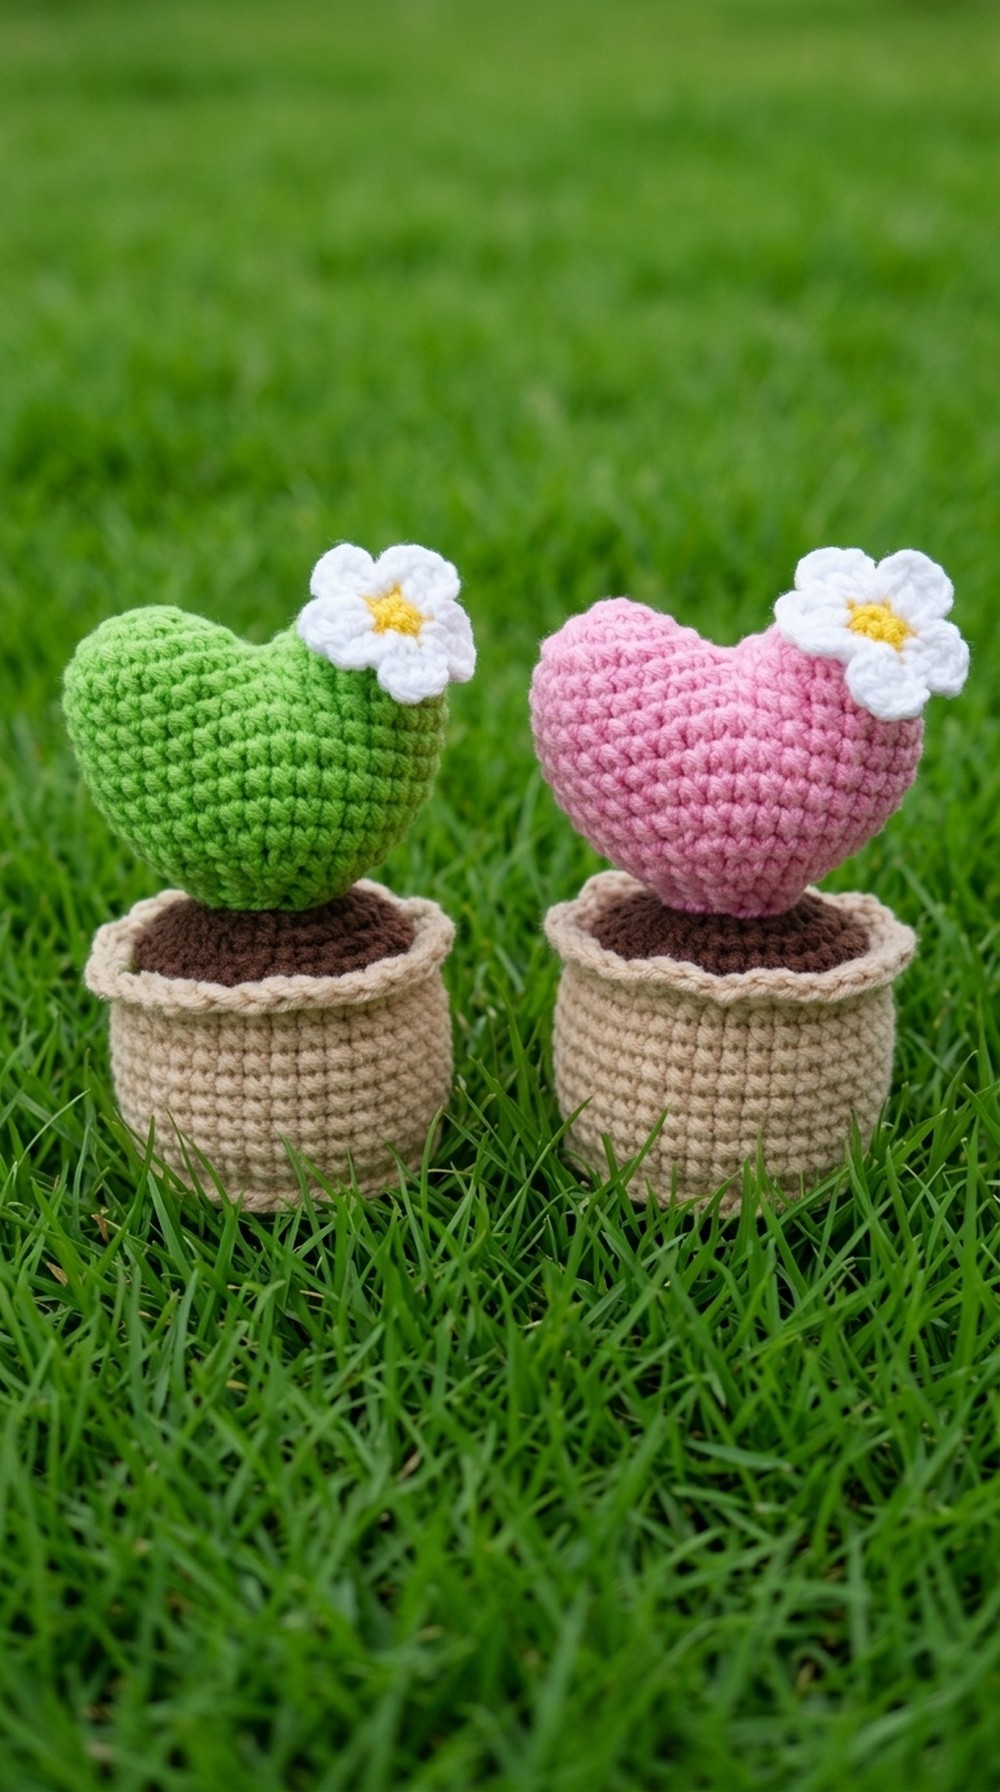
Turn yarn into a quirky Crochet Heart Cactus that never needs water, adding a touch of cuteness and charm to your room or gifting it to someone special.
Creating a unique little plant that never needs water and can light up any space with warmth and charm. That’s the fun and beauty of making a crochet Heart Cactus. This adorable craft combines creativity and love into one project. The heart cactus is small and soft, shaped like a plump heart sitting inside a tiny crochet pot, perfect for desks, shelves, or as a sweet gift for someone special.
Beautiful Crochet Heart Cactus Pattern for Home Décor
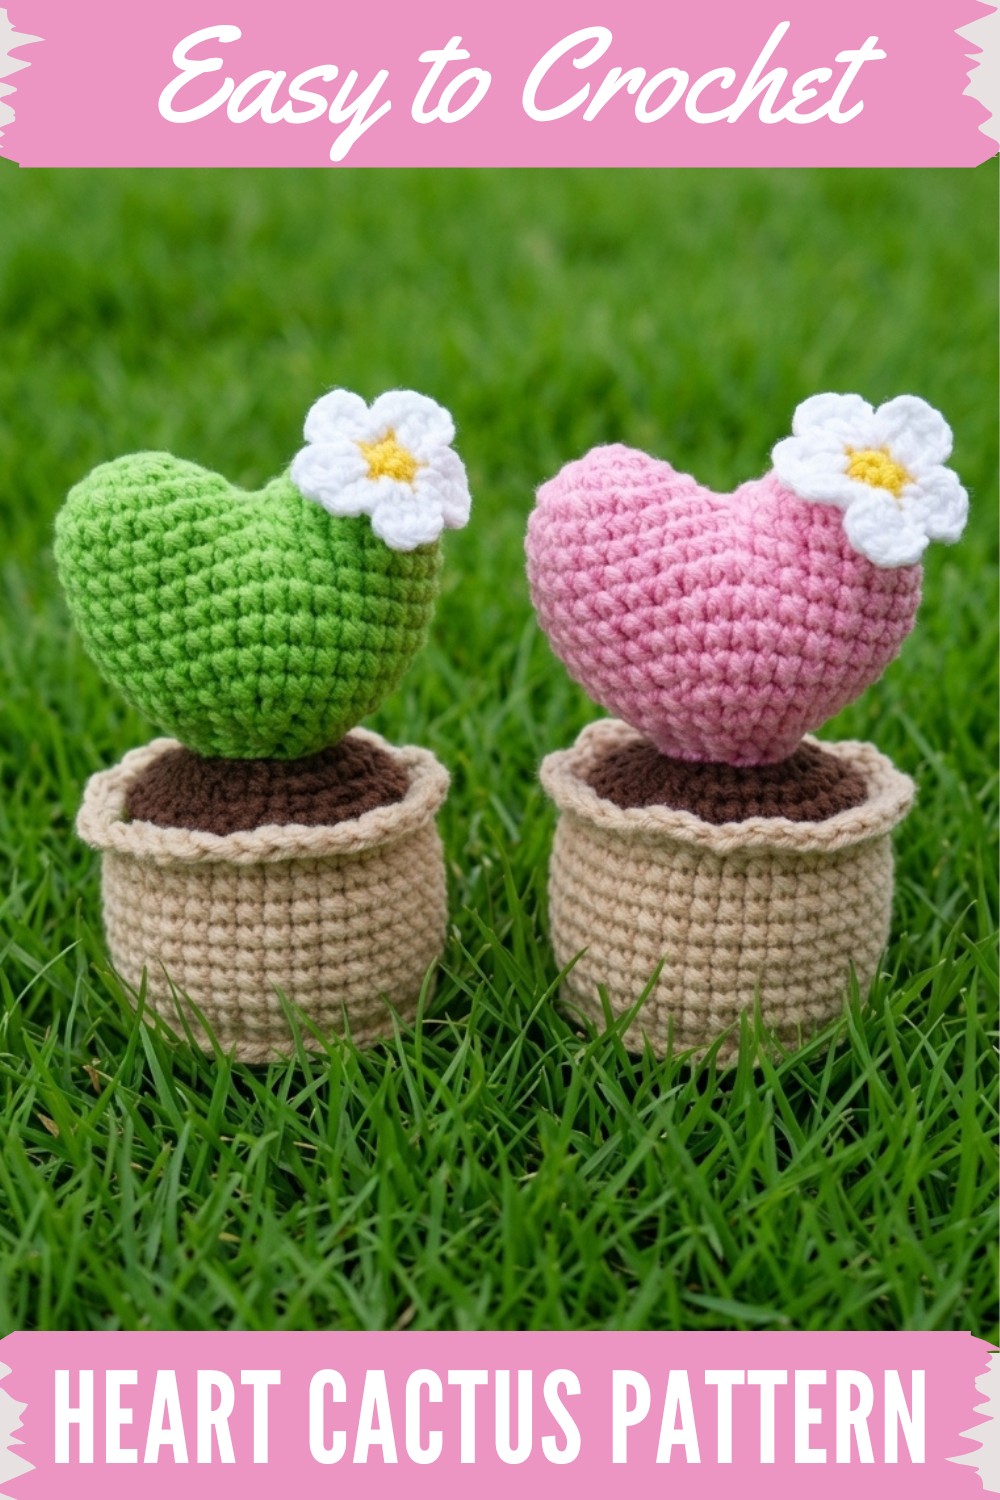
Made mostly with yarn and a crochet needle, kids and adults alike will enjoy crafting this easy yet fascinating piece. Its bright, cheerful colors bring life to any room, and the design stands out because of the heart shape, making it cute and heartfelt.
The best part? You can use it as decoration or even turn it into a keychain or gift tag. It’s not just a handmade item, it’s a piece of happiness, made from your own hands! Whether for yourself or others, the crochet Heart Cactus is both fun to make and delightful to display.
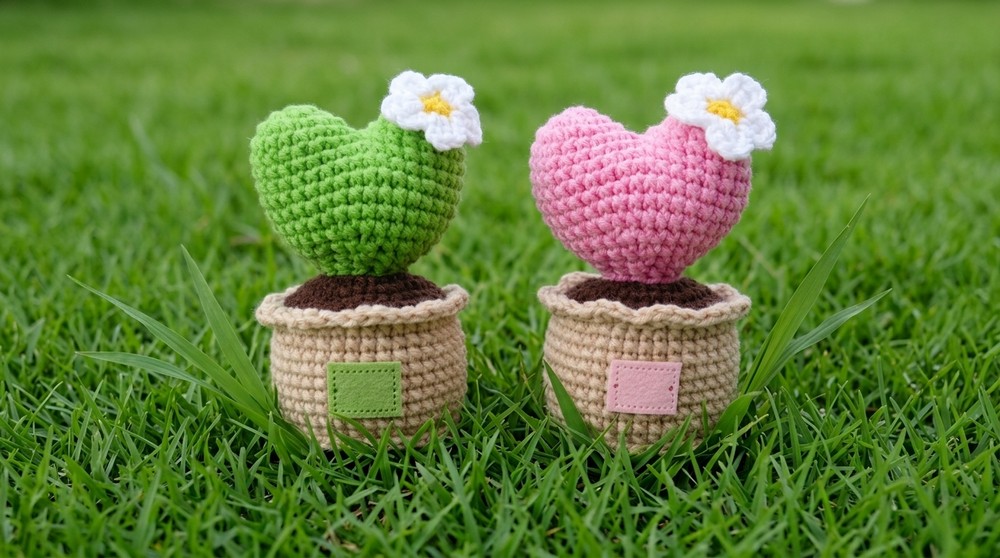
Crochet Heart Cactus – Detailed Step-by-Step Pattern
Materials
- Yarn:
- Main (cactus): Light green or color of your choice (e.g., Susan’s Family 5)
- Flower: Yellow and white (or colors of your choice)
- Pot: Brown or terracotta shade
- Soil: Dark brown
- Crochet Hook: 2.5 mm
- Fiber Fill for stuffing
- Darning/Yarn Needle
- Stitch Marker
- Scissors
- Hot Glue (optional, for assembly)
Special Techniques
- Magic Ring/Circle: Used for seamless round beginnings.
- Invisible Decrease: Single crochet decrease in front loops only for smooth shaping.
- Working in BLO (Back Loop Only) and FLO (Front Loop Only): To create ridges and texture.
- Amigurumi Assembly: Neat stuffing, sewing, attaching small parts.
Pattern Instructions
1. Heart Cactus (Make 2 Parts)
First Heart Lobe:
- Magic Ring: Create a magic ring.
- Round 1: 6 sc in magic ring. Close ring tightly. (6 sts)
- Round 2: [2 sc in each st] around (Increase in all sts). (12 sts)
- Round 3: Sc in next st, 2 sc in next st – repeat around. (18 sts)
- Round 4: Sc in each st around. (18 sts)
- Finish off. Cut yarn.
Second Heart Lobe:
Repeat Rounds 1-4 as first part, BUT do not cut yarn at end of Round 4.
2. Join for Full Heart & Shaping
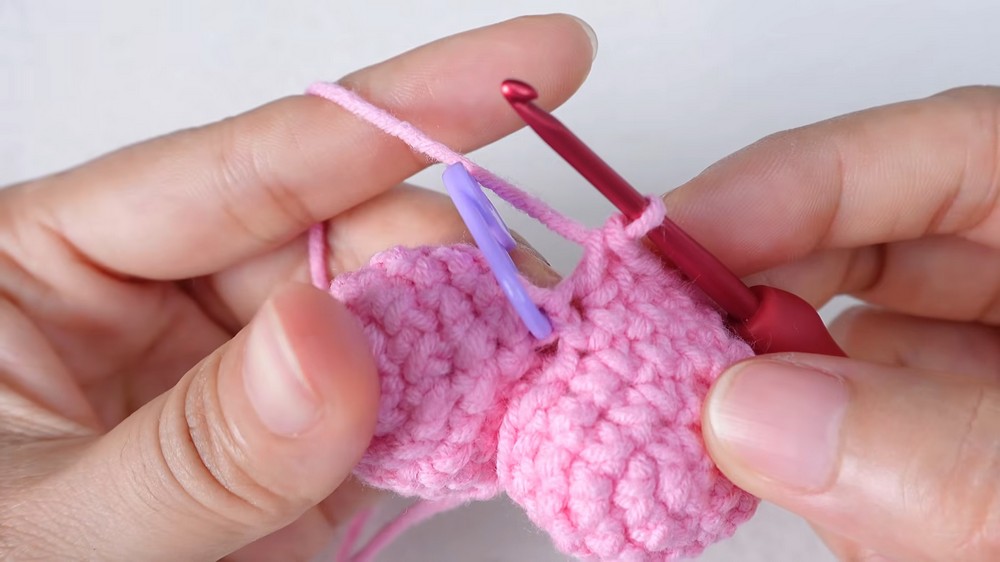
- Hold both pieces together, insert hook into first st of BOTH pieces.
- Round 5: Sc in each st around first heart lobe (18 sc), continue around second lobe (18 sc). (36 sts total)Tip: Use a stitch marker for first stitch of the joining round.
3. Continue and Shape Heart
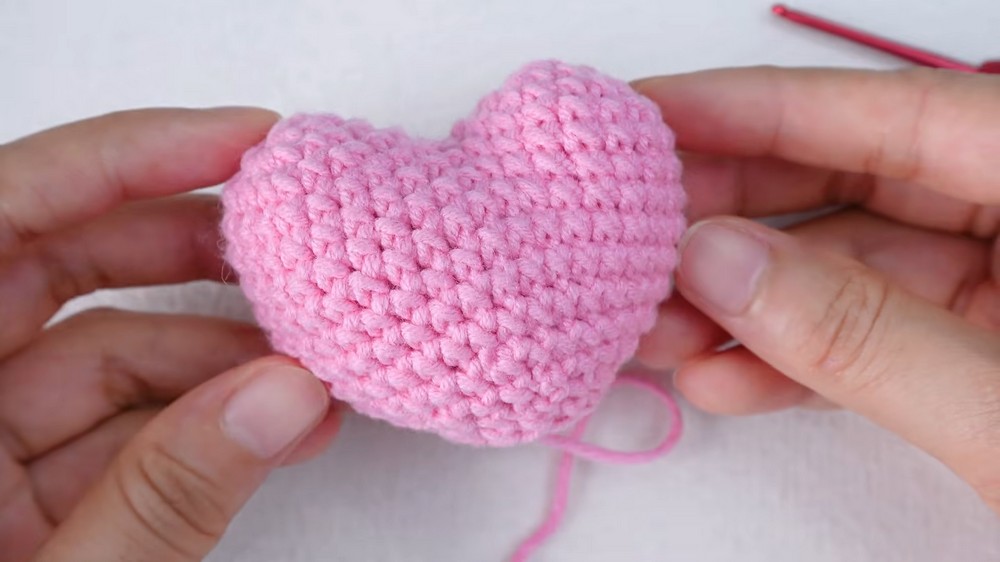
Round 6: Sc in each st. (36)
Round 7–8: Repeat Round 6 (Sc in each st). (36 each round)
Close Gap:
- Use darning needle and leftover yarn from 1st lobe to stitch the gap between lobes closed.
Begin Decreasing:
Round 9:
- Sc in next 8 sts, dec, sc in next 16 sts, dec, sc in final 8 sts. (34)
Round 10:
- Sc in next 7 sts, dec, sc in next 16 sts, dec, sc in final 7 sts. (32)
Round 11:
- Sc in next 6 sts, dec repeat 4 times (or: sc 6, dec, sc 6, dec, etc. for 28 sts)
Round 12:
- Sc in next 2 sts, dec repeat 7 times. (21)
Round 13:
- Sc in next st, dec repeat 7 times. (14)
Round 14:
- Sc in each st. (14)
4. Finishing the Heart
- Sl st to next st.
- FO (fasten off), leaving a tail.
- Stuff heart firmly with fiber fill.
- Hide yarn tail inside heart.
5. Flower
Yellow Center:
- Magic ring.
- 4 sc in ring. Tighten. (4)
- Sl st to first sc (count sl st as 1 st). Ch 1 and fasten off.
Attach White Yarn:
- Insert hook into any st.
- (Ch 3, dc in same st, ch 3, sl st in next st) repeat 4 times (total 5 petals).
- On the 5th petal, use hdc (instead of dc) in the same st to balance.
- Fasten off.
- Weave in ends.
6. Pot
Rnd 1: Magic ring, 8 sc. Sl st to first sc. (8)
Rnd 2: Ch 1, [2 sc in each st] around. (16)
Rnd 3: Ch 1, Sc in next st, 2 sc in next repeat around. (24)
Rnd 4: Ch 1, Sc in next 2 sts, 2 sc in next repeat around. (32)
Rnd 5: Ch 1, Sc in next 3 sts, 2 sc in next repeat around. (40)
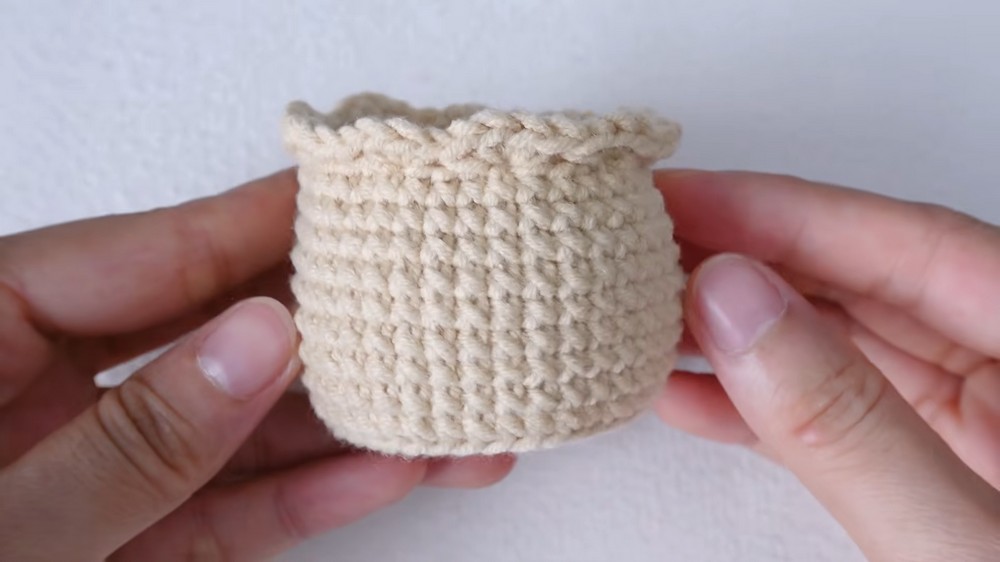
Rnd 6: Ch 1, sc in BLO in each st around. Sl st to join. (40)
Rnd 7–14: Ch 1, sc in both loops in each st around. (40 per round)
Rnd 15 (Final Pot Frill):
Ch 1. In FLO of next st: 4 sc in same st, skip 3 sts — repeat around to make 10 frills total.
After last repeat, skip remaining 3 sts and sl st to first sc. FO.
Pot Bottom Surface Finish (optional):
Work slip sts into the unused front loops from Rnd 6, all the way around for a neat edge. FO.
7. Soil
- Repeat Rounds 1–5 of Pot pattern with dark brown yarn (finish at 40 sts).
- FO, leaving a long tail (about 40 cm) for sewing.
8. Assembly
- Fill Pot: Stuff with fiberfill.
- Place Soil: Place the "soil" circle atop the pot opening.
- Sew Soil to Pot: Using darning needle, whipstitch soil to pot with the long tail.
- Attach Heart: Use hot glue or yarn tail to securely attach base of heart to soil/pot.
- Attach Flower: Sew or glue flower to one "lobe" of heart.
Final Steps and Tips
- Tidy all remaining yarn tails—hide securely inside pieces.
- Use hot glue only on completely cooled pieces and use sparingly.
Suggestions & Customization
- Color Play: Try pastel, ombre, or variegated yarns for the heart or pot.
- Size Changes: Use thicker yarn and a larger hook for a larger cactus, or finer for a mini.
- Embellishments: Embroider details, stitch “spikes” with white yarn, or add tiny pompom “buds”.
- Pot Decoration: Add stripes or faces to the pot for extra cuteness.
Final Words and Pattern Care
Congratulations—your Heart Cactus is now complete! This fun, beginner-friendly pattern makes a whimsical desk or home accent and a thoughtful handmade gift.
To maintain shape, gently hand wash and air dry if needed. Always keep away from direct sunlight to avoid fading.
Care for the shape by light re-fluffing after handling. Enjoy your crocheted creation, and may it bring color and cheer to your space.



