Access this free crochet cat beanie pattern with clear step by step guidance to stitch a soft playful hat that fits comfortably and keeps every cat fan warm
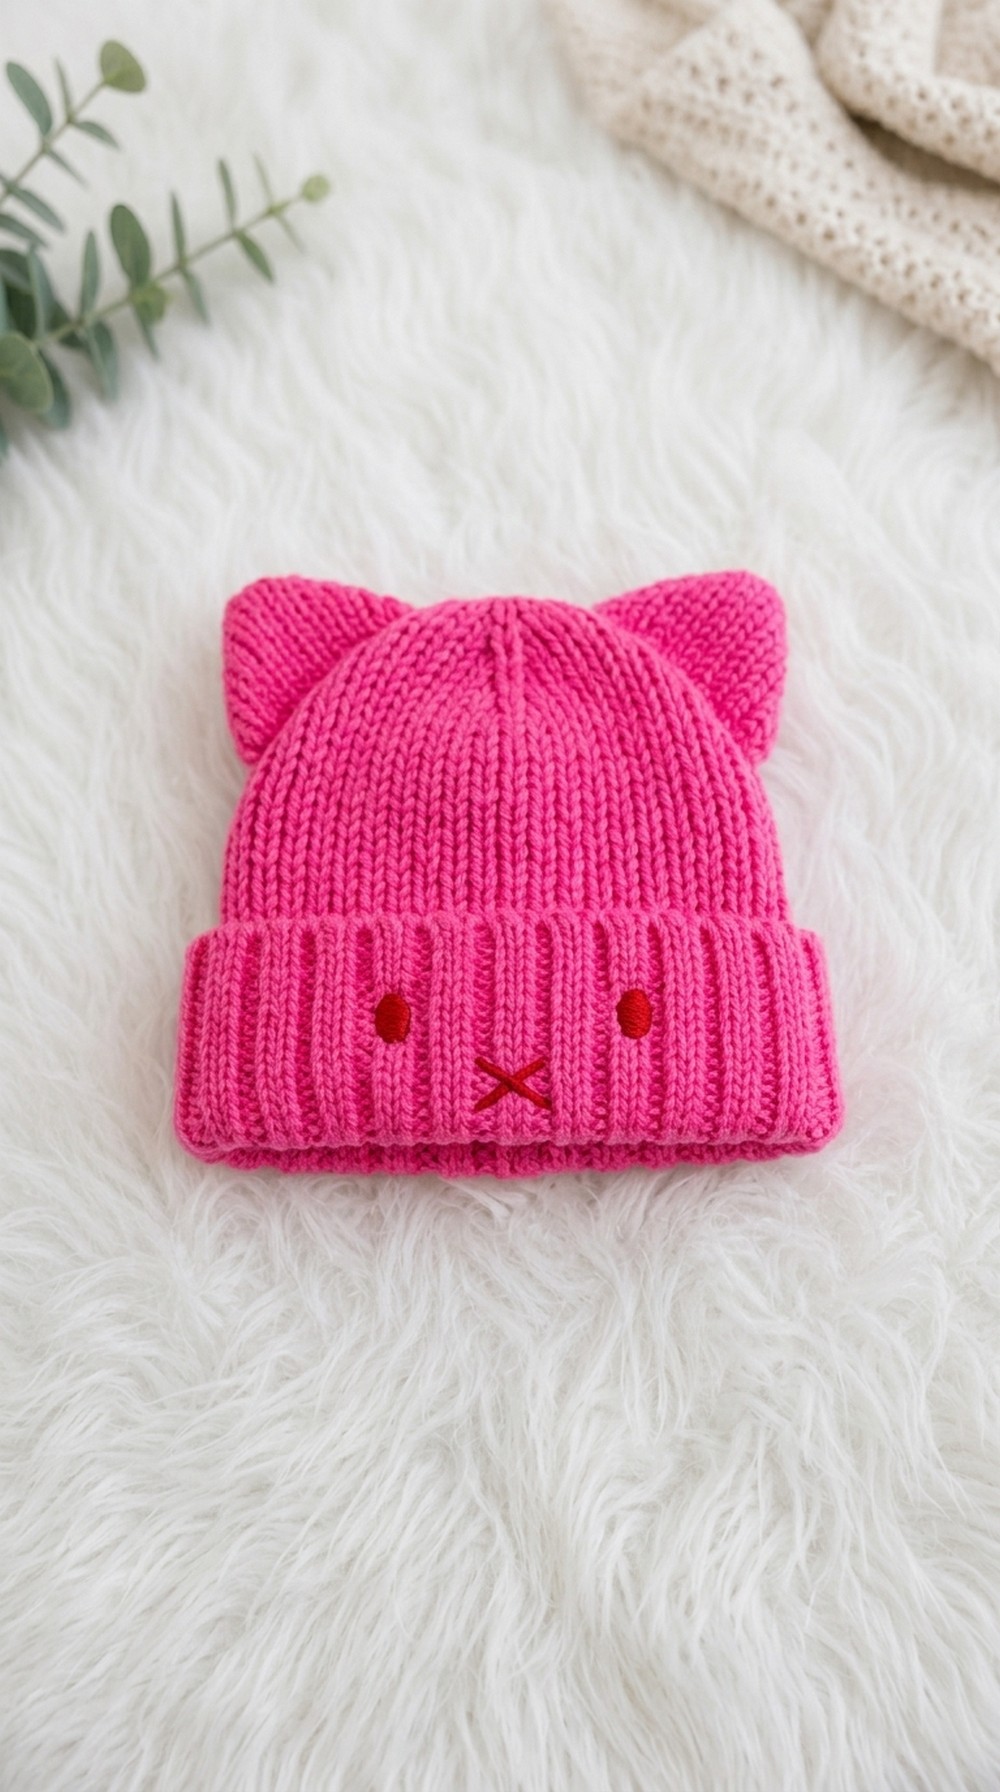
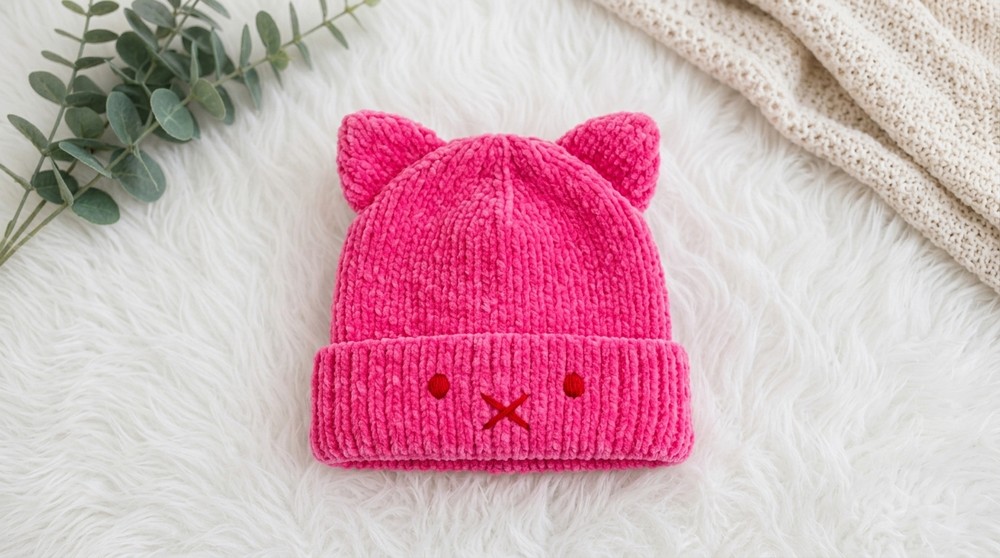
If you love cute and cozy hats, this cat beanie is just the thing. With its fun cat ears, this hat looks playful and sweet, perfect for anyone who wants to add a little charm to their outfits. The beanie has a soft and comfortable texture, so it feels gentle against your head. The stitches are neat and tight, making the hat sturdy and warm, and the simple shape fits just right for all ages.
The most attractive feature of this cat beanie is definitely the adorable ears. They stand up nicely, giving the hat that unique, cat-inspired look without being too bulky. The basic shape of the beanie keeps it easy to wear, and you can pick any color you like to make it reflect your personality or match your favorite coat.
Cute Crochet Cat Beanie Pattern for Girls

Crocheters will really enjoy making this project because it uses straightforward stitches. The steps are clear, and you get to make each piece separately, which makes it easier to follow. If you want to change it up a bit, you could make a headband with cat ears instead, or even add little whiskers and a nose for more fun. By making small changes like using different yarn colors or adding stripes, you can create many styles from this simple pattern.
This cat beanie works well for so many occasions. Wear it when going out for a walk, attending a cosplay event, or just to keep warm and look cute during winter. It’s great for both kids and adults, and you can give it as a thoughtful handmade gift to someone who loves cats. This hat is sure to make you smile every time you put it on, and it’s easy to pair with any outfit for a cozy, playful look.
Easy Crochet Hat with Simple Face Design
Welcome to Guru Sec Day’s tutorial for a quick, beginner-friendly crochet hat with playful face decorations! This knit can be completed in under an hour, requires basic stitches, and is perfect as a whimsical accessory or gift. Customize your hat with your choice of yarn color and fun facial features. Follow this structured pattern for a neat and easy result, or simply use the verbal guidance at the end of each section if you’re new to pattern reading.
Skill Level & Terminology
Skill Level:
Beginner.
You only need knowledge of chain, double crochet (dc), single crochet (sc), and basic seaming techniques.
Terminology:
Pattern uses US crochet terms throughout.
Materials & Tools
- Yarn: Olivia cotton or suitable soft yarn. Main color plus a contrasting color for design (face/extras).
- Hook: 3.0 mm crochet hook.
- Scissors
- Tapestry/yarn needle (for joining and weaving in ends)
Gauge
- Gauge is not crucial for this project. The hat is worked flat, folded, and seamed.
- 60 chains = approx. standard width for a child/adult (adjust as needed for your head measurement).
Abbreviations List
- ch = chain
- dc = double crochet
- sc = single crochet
- sl st = slip stitch
- st = stitch
Special Stitch Instructions
- Chain (ch): Yarn over, pull loop through hook to form a chain.
- Double Crochet (dc): Yarn over, insert hook into stitch, yarn over, pull up a loop (3 loops), yarn over, pull through first 2 loops, yarn over, pull through remaining 2 loops.
- Single Crochet (sc): Insert hook in stitch, yarn over, pull up loop (2 loops), yarn over, pull through both loops.
- Slip Stitch (sl st): Insert hook, yarn over, pull through both loop and stitch.
Finished Size
- Hat width: 60 chains (or as needed to wrap around your head, allowing for some stretch/fold)
- Height: Work rows of double crochet until the hat covers your preferred head height (approx. 16–18 cm for adult, adjust for child)
- Decorations: As desired
How to Start & What Stitches Are Used
You’ll start with a foundation chain, work rows of double crochet to the required size, then fold and seam the hat up the side. Optional facial features are added using single crochet and embroidery. All essential stitches are chain, double crochet, single crochet, and slip stitch.
The Pattern Itself
1. Foundation Chain
- With main yarn and 3.0 mm hook, ch 60 (or enough to fit comfortably around your head; more/less depending on size).
- To check size, fold work and test around your head. Add/subtract chains for tighter or looser fit.
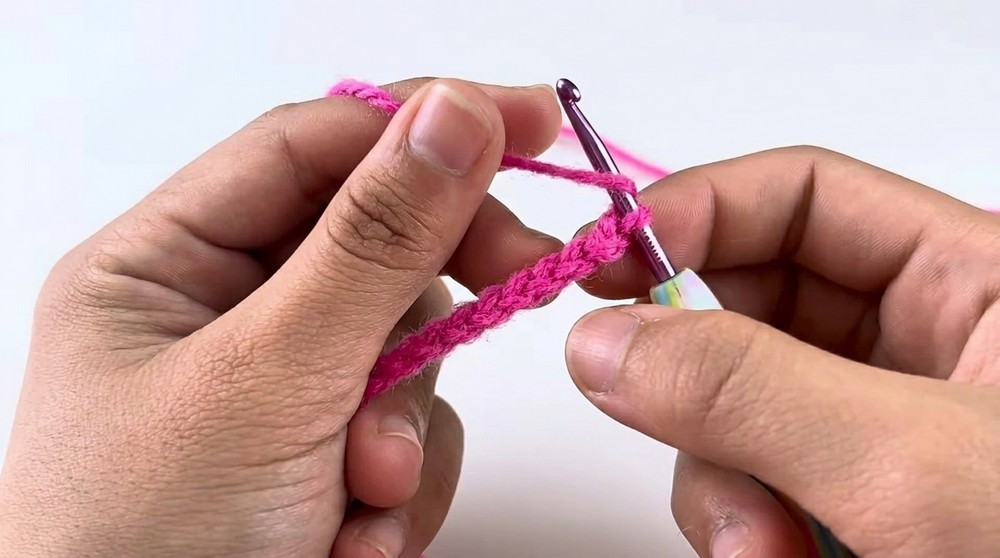
For those new to patterns: Make a chain as long as you need for your head circumference.
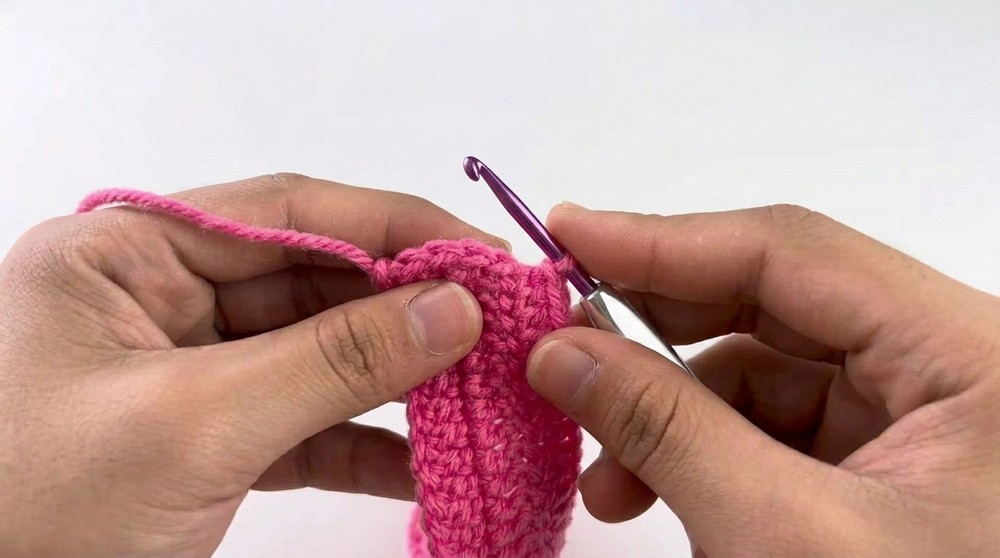
2. Hat Body (Rows of Double Crochet)
- Row 1: Turn, skip first 3 chains (counts as first dc), dc in fourth ch from hook and in each ch across.
- At row end, ch 1, turn.
- Row 2: Dc in each st across.
- Repeat this step for each row, chaining 1 at the end, turning, dc in each stitch, until the work reaches desired height (approx. 16–18 cm, or as long as you want your hat).
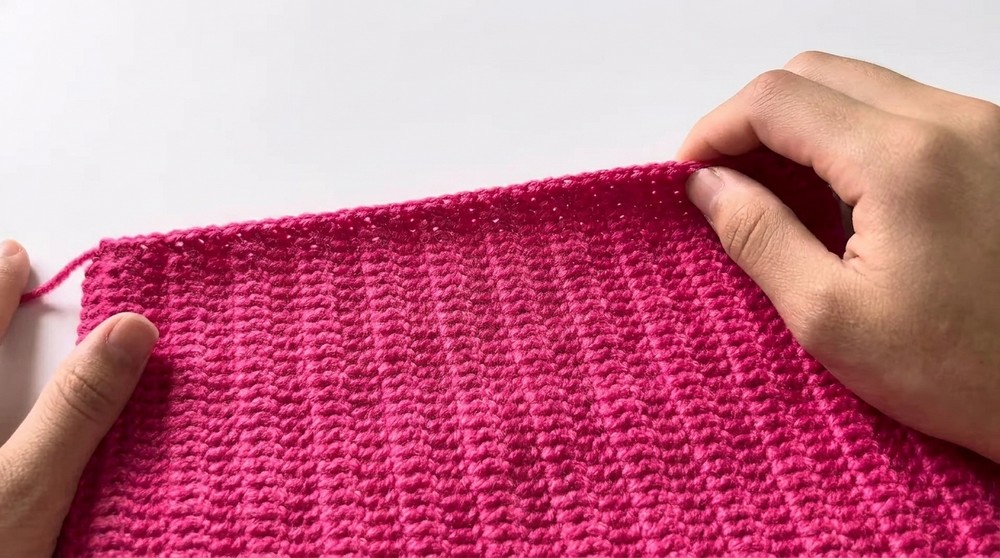
- Continue until your rectangle is tall enough to cover your head from crown to base.
If you don’t use the pattern: Crochet rows of double crochet until the fabric fits your head height.
3. Checking Fit & Adjusting
- Once you reach target length, fold work and test over your head for fit, looseness, and size.
- Make more rows for bigger hat, fewer for smaller.
4. Seam Side to Form Hat
- Fold hat rectangle in half, right sides together.
- Using yarn needle and leftover yarn, seam up the side using whip stitch or slip stitch through both edges, matching stitches.
- Fasten off and weave in all ends.
For beginners: Sew the sides together so the hat makes a tube.
5. Closing the Top (Optional for Beanie Style)
- Thread yarn along the top edge of the tube, pull tight to gather and close the crown, then secure, or simply shape by sewing flat for a folded, basic style.
- Fasten, cut, and weave in end.
6. Turning & Shaping
- Turn hat right-side-out. Fold up brim as desired for finished look.
7. Adding Decorative Face Features
Eyes:
- With contrast yarn (e.g., maroon), identify position for eyes (leave a gap of 4 stitches; use symmetry).
- Use tapestry needle to embroider simple eyes, or use chains and sc to make round shapes.
- Secure yarn tightly, cut, and weave in ends.
Mouth:
- Position for mouth. Use yarn needle and contrasting yarn to embroider or sc/chain a simple mouth shape.
- Secure and weave in ends.
- Repeat as desired for bigger/smaller features or additional decorations.
If you’re not reading patterns: Use a needle and yarn to create eyes and a mouth on your hat. Place them anywhere you want.
8. Final Assembly & Finishing
- Hide all yarn ends using needle.
- Trim excess yarn for a neat finish.
- Adjust and shape hat as preferred.
For beginners: Tuck in all yarn tails, cut off excess, and shape hat.
Conclusion
Congratulations! Your playful crochet hat is finished and ready to wear. This pattern teaches foundation chain, double crochet rows, simple seaming, and basic embroidery. You can adapt with colors, add pom-poms, or personalize face features for different looks. If you want a thicker brim, simply add more rows before joining. Make for friends, family, or yourself — it’s a fun, quick project.