
Enjoy the fun of cozy crochet beanie pattern with playful colors and soft styles that bring comfort and flair to your wardrobe every single day.
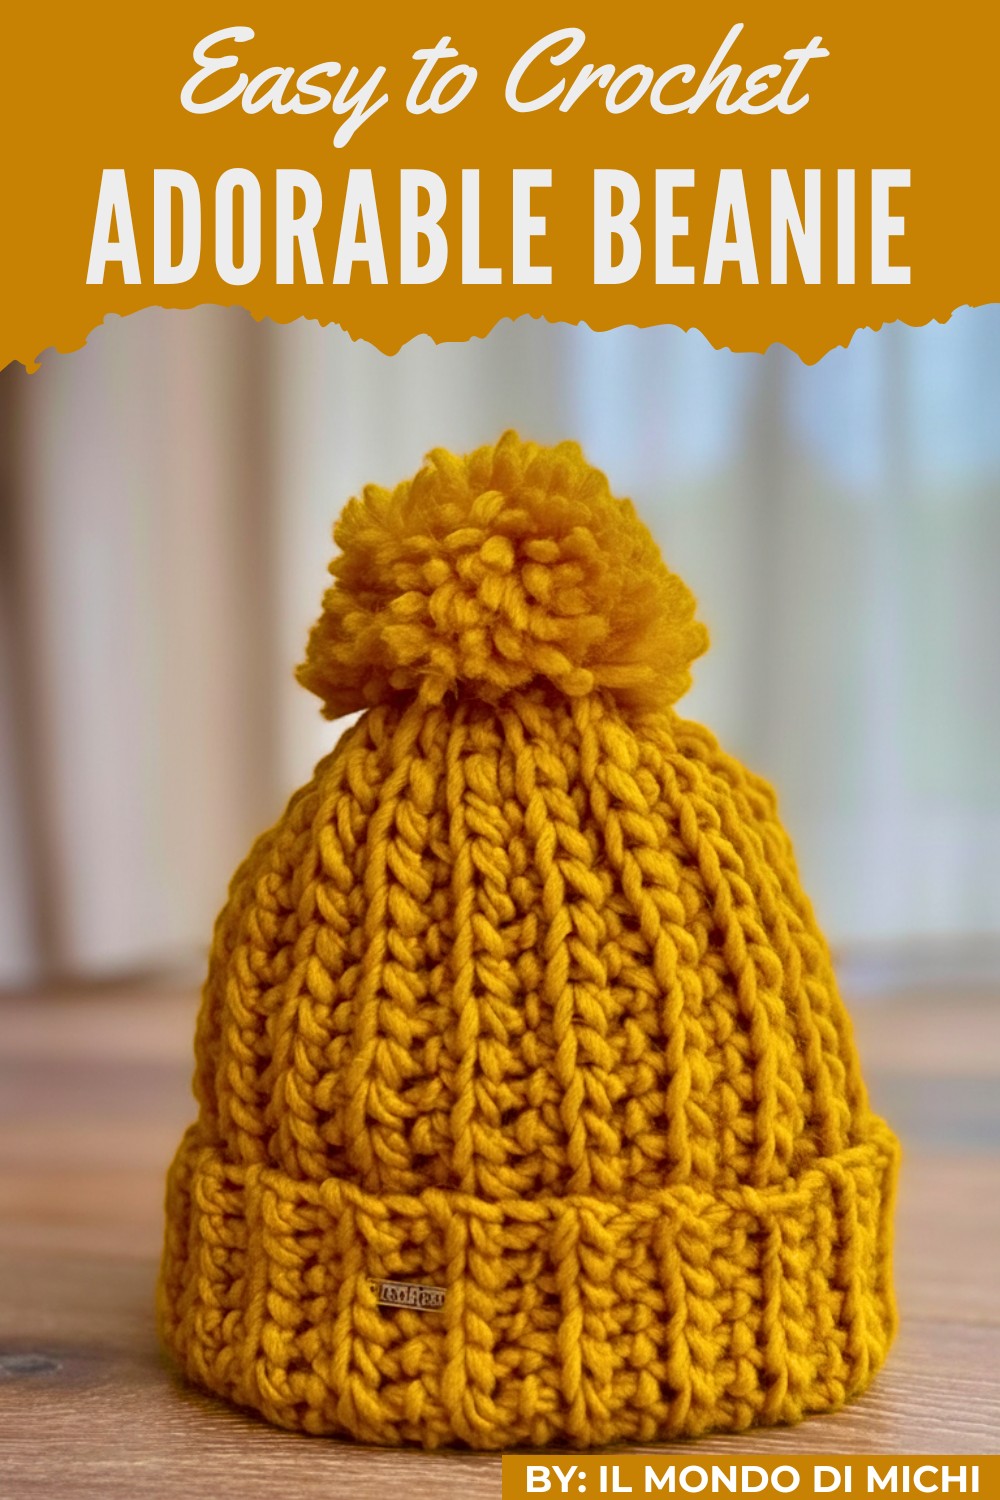
A cozy and stylish beanie adds a touch of warmth and personality to any outfit, making it a must-have accessory for colder days. Crochet beanie patterns are a fun and creative way to design soft, snug hats that suit all ages and preferences.
Easy Crochet Beanie Pattern Anyone Can Love
The beauty of this handmade beanie lies in their versatility, it can be crocheted in endless colors, textures, and designs, from plain and simple to bold and statement-making. With their unique stitches and soft appearance, crochet beanies become not just functional but also a fashionable piece.
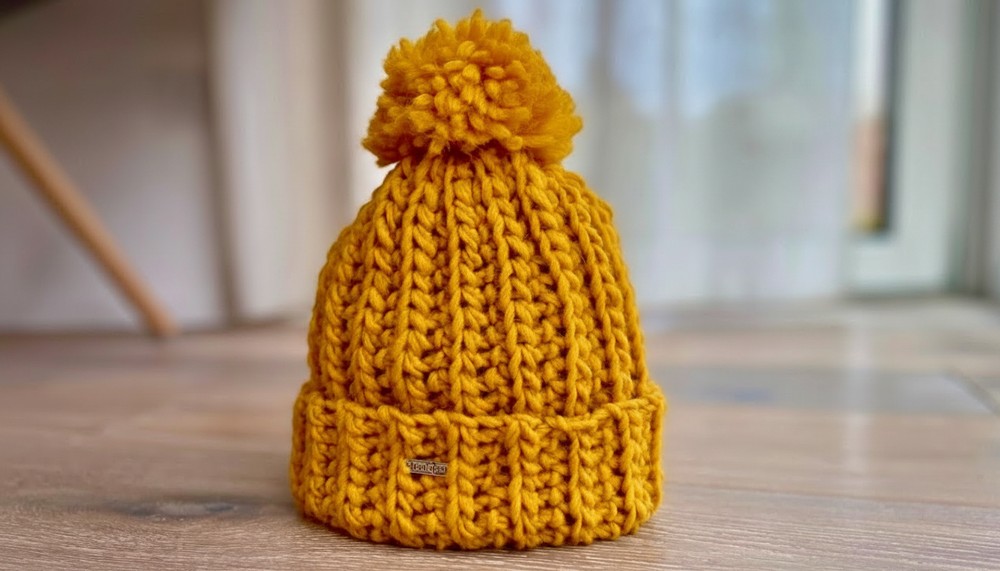
One of the standout features is the ability to customize beanies to fit perfectly or reflect your personal style. Apart from beanies, you can also crochet headbands, ear warmers, scarves, slouchy hats, or even pom-pom hats using similar techniques. Whether for gifting or personal use, the charm and uniqueness of these crochet pieces make them special in every way.
Materials and Tools
- Yarn:
- ~70–75 g of super bulky yarn (category 5-6), soft and warm.
- Recommended yarn: Choose a thick, soft yarn with good elasticity for the proper structure.
- Crochet Hook:
- 6.0 mm (US J-10) crochet hook, suitable for bulky or super bulky yarn.
- Accessories:
- Tapestry needle for weaving in ends and assembling the hat.
- Pompom: Pre-made faux fur pompom or handmade yarn pompom (optional).
Skill Level
Intermediate.
Key Skills Required:
- Working in back loops only.
- Slip stitches, single crochet, and variations of half-double crochet.
- Basic understanding of seaming and finishing in crochet.
Stitch Key (US Terminology)
- CH: Chain
- SL ST: Slip Stitch
- SC: Single Crochet
- HDCv: Modified Half Double Crochet Variation (explained in Pattern Notes)
Special Notes
- Modified HDC Variation (HDCv): Before closing the loop on the hook, one additional step is made: the hook is inserted into the stitch, the yarn is drawn through, and only then is the loop closed. This adds texture.
- Back Loop Stitching: Working into the back loops only of each row creates a subtle ribbed effect, adding stretch and flexibility.
- Adjustments in Size:
- Adjust the foundation chain length to increase or decrease the hat’s height.
- Adjust the number of rows to make the hat wider for different head circumferences.
Pattern Instructions: Women’s Crochet Hat
Step 1: Foundation Row
- Create a slip knot and place it on the crochet hook.
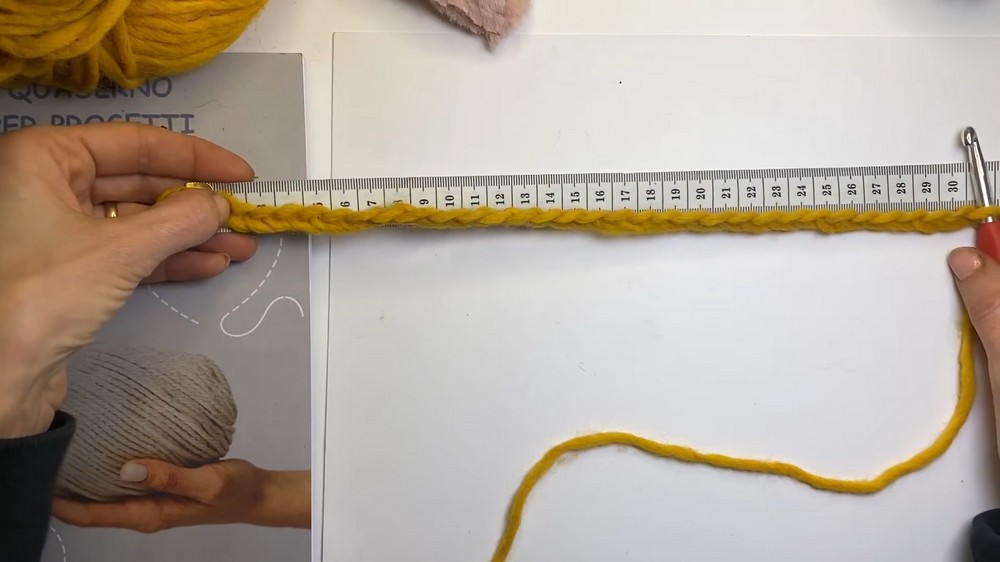
- Work a foundation chain (CH) approximately 28–30 cm (11–12 inches) in length (for a standard women’s size).
- If making for men or larger sizing, extend the foundation chain to 32 cm (12.5 inches).
- Ensure the foundation chain is soft and slightly loose.
Step 2: Row 1
- Skip the first chain and insert the hook into the second chain from the hook, working into the back loops only.
- Work the modified HDCv in each foundation chain across as follows:
- Yarn over, insert the hook into the back loop, yarn over again, draw the loop through (3 loops on hook), yarn over, and pull through all loops on the hook.
- Continue to the end of the row using HDCv.
Step 3: Row 2 (Establishing Shape and Texture)
- At the end of the row, turn your work.
- CH 1 (counts as the turning chain).
- Work as follows:
- In the first three stitches:
- Sl st into the back loop of each stitch (to form the tighter brim).
- For the remaining stitches to the end of the row:
- Work HDCv into the back loops only.
- In the first three stitches:
- Turn your work.
Step 4: Subsequent Rows
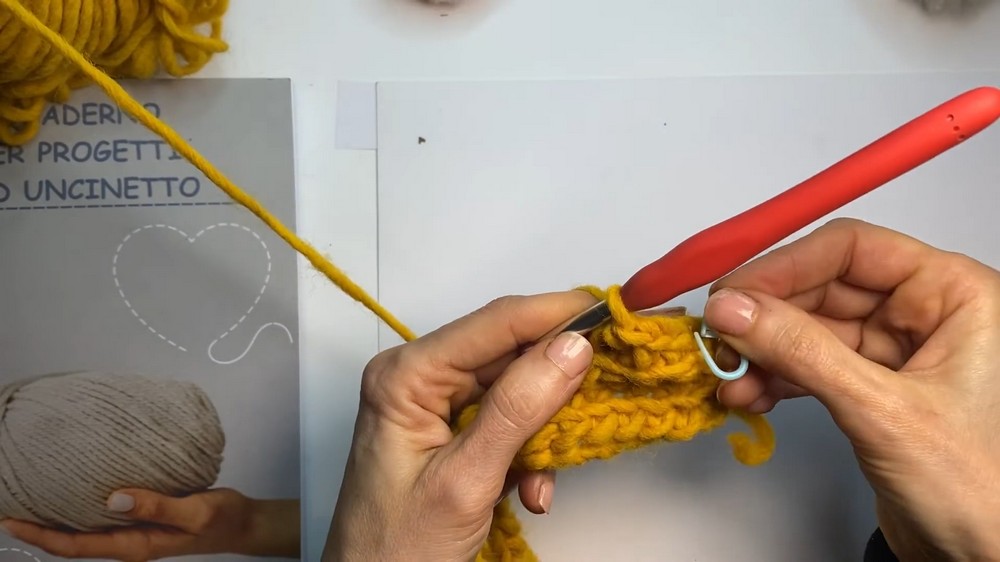
- Repeat Row 2 for each row, alternating between slip stitches in the first three stitches and HDCv for the remaining stitches.
- Always work into the back loop of each stitch for texture and stretch.
- Continue until the width of your fabric measures 42 cm (16.5 inches) or is sufficient to wrap comfortably around your head.
Step 5: Seaming the Hat
Option 1: Tapestry Needle Seam
- Fasten off, leaving a long tail of approximately 1 meter (40 inches) for sewing.
- Fold the rectangle in half with the textured side facing outward.
- Use a tapestry needle to whip stitch the two vertical sides together to form a tube.
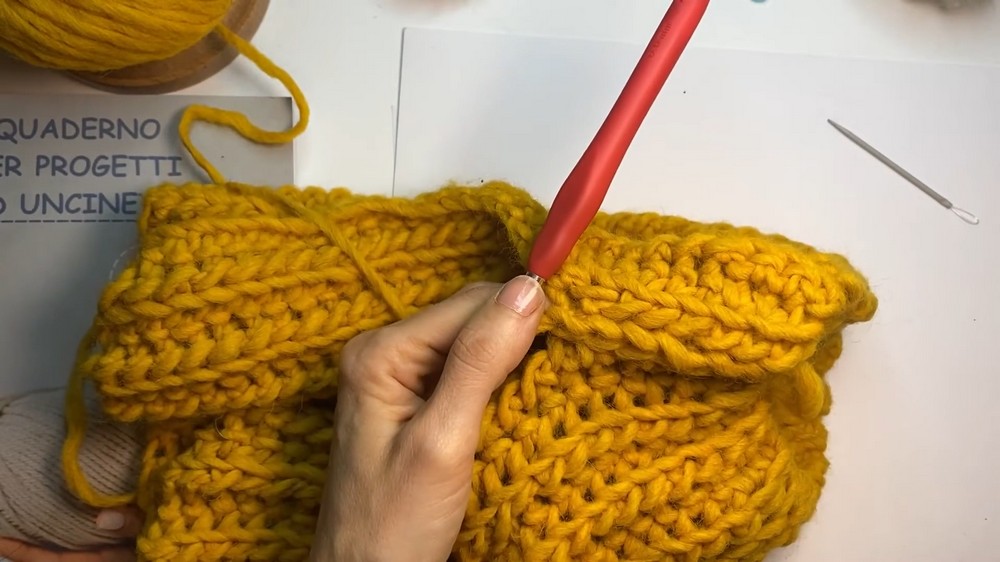
Option 2: Crochet Seam
- Do not fasten off the yarn. Align the two edges and use your hook to work SL STs through the corresponding stitches of both sides.
- Pull gently to avoid tightening the seam.
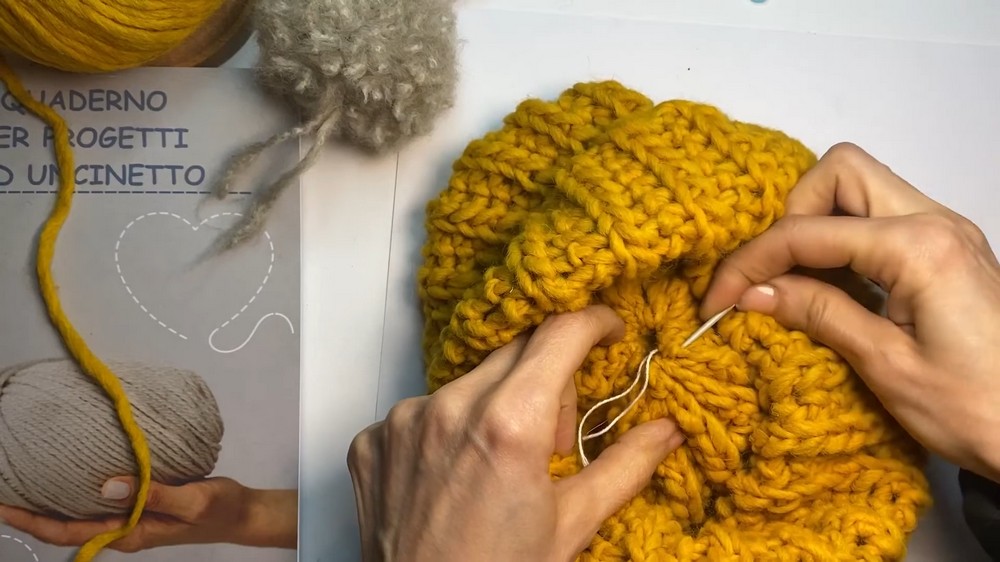
Step 6: Closing the Top
- Using a tapestry needle and the same yarn, sew around the top edge of the hat’s open end (the side opposite the brim).
- Use a basting stitch (a simple running stitch) to weave the yarn through the top edges.
- Once you’ve gone around the full circumference, gently pull the yarn to close the top.
- Secure with a few additional stitches to ensure the top is fully closed.
Step 7: Adding the Pompom (Optional)
- Choose a pre-made faux fur pompom or a handmade yarn pompom:
- Faux fur pompoms often come with elastic loops or strings for easy attachment.
- Handmade pompoms can be tied securely with their yarn tails.
- Attach the pompom:
- Thread the pompom strings through the top center of the hat or sew directly in place.
- Knot the strings securely on the inside of the hat and weave in the tails for a neat finish.
Tips for Success
- Tension Control: As this yarn is bulky, ensure consistent tension when working HDCv to maintain even texture. Avoid pulling slip stitches too tightly to preserve elasticity.
- Yarn Choice: Use chunky or super bulky yarn with good stitch definition for the best results. Avoid firm or stiff yarns that could affect the drape.
- Practice Modified HDCv: If unfamiliar with the technique, practice on a small swatch to master the flow of the extra step for better consistency.
Customization and Variations
- Size Adjustments:
- For smaller sizes, reduce the foundation chain length to about 25 cm and decrease the number of rows.
- For larger sizes, increase both foundation chain length and row count proportionally.
- Color Play:
- Use multiple yarn colors for stripes or a gradient effect. A variegated yarn can also enhance the overall look effortlessly.
- Embellishments:
- Add buttons, appliqués, or braids to personalize the hat.
- Use different types or colors of pompoms for a fun touch.
Final Look and Conclusion
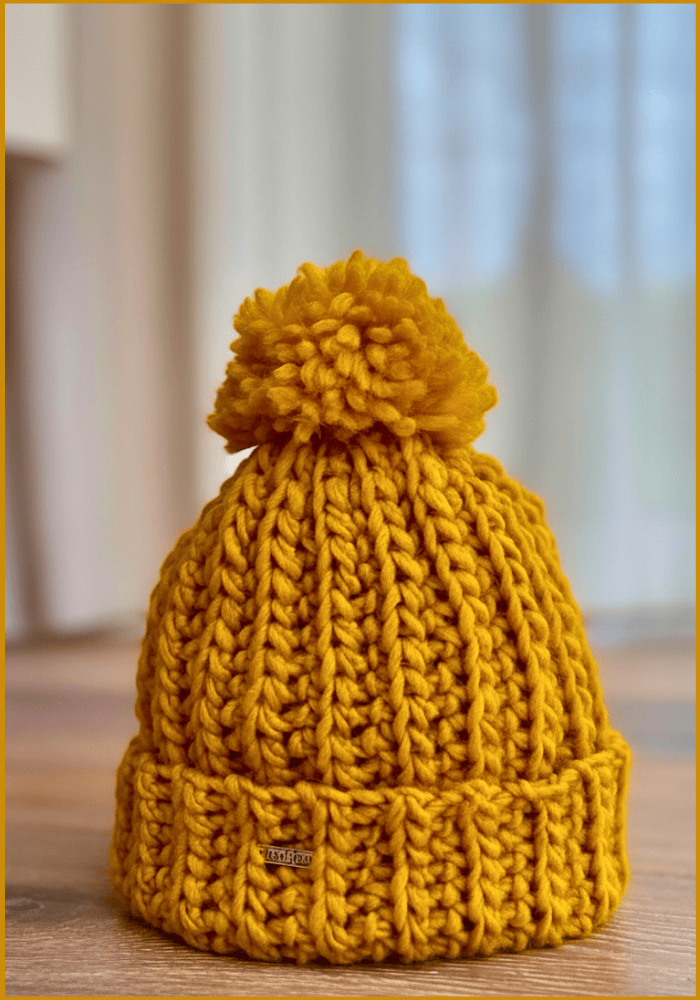
This women’s crochet hat is an effortlessly stylish project that combines functionality and fashion. The ribbed effect created by working into the back loops provides elasticity, while the modified HDCv adds unique texture. Once completed, the hat has a snug fit with stretch for comfort, and the optional pompom adds a playful charm.



