
Make Crochet Happy Face Keychain Pattern to brighten your keys and bags with a cheerful accessory that adds fun charm and joy.
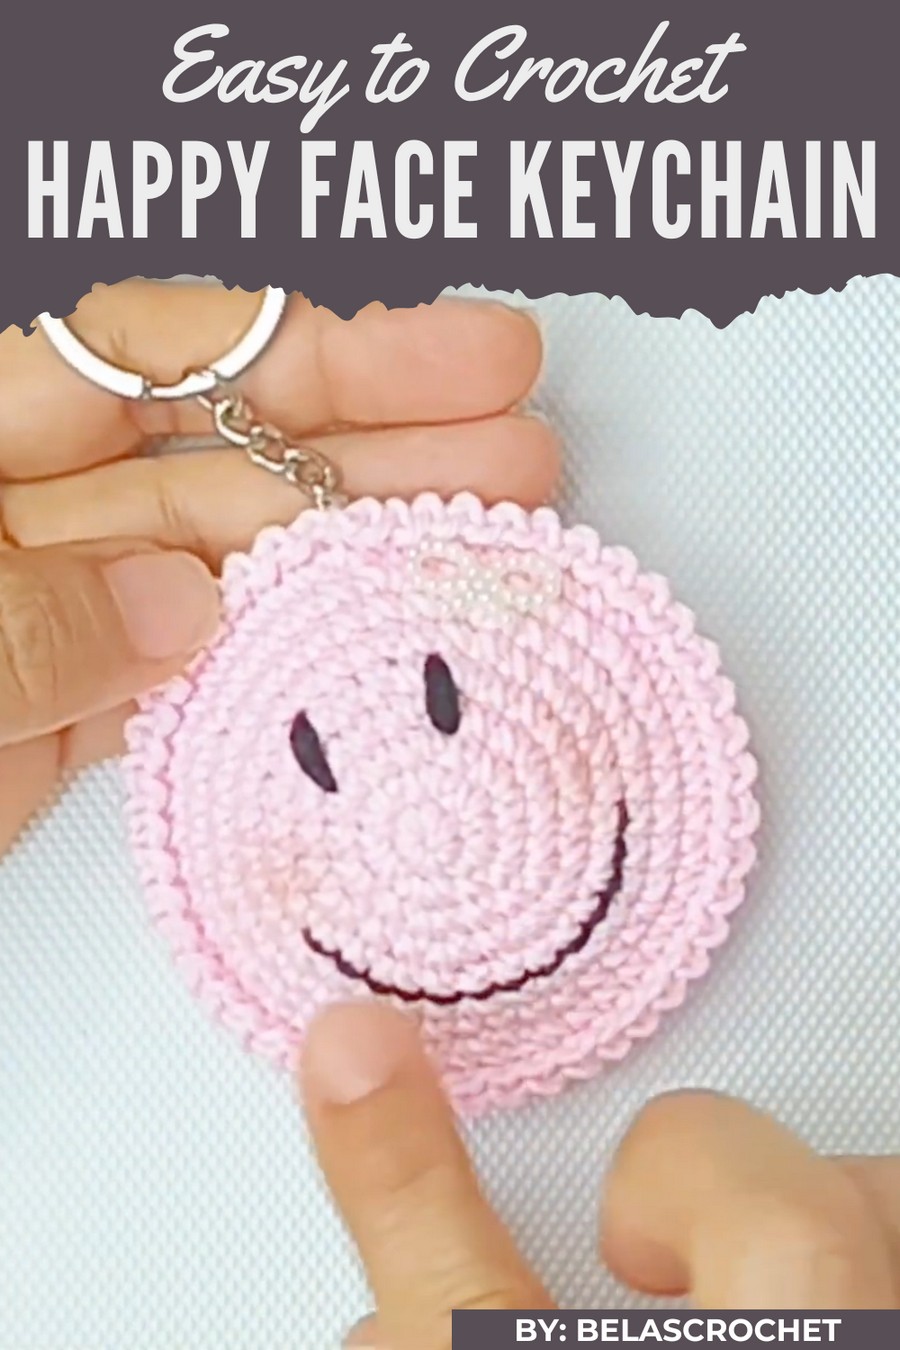
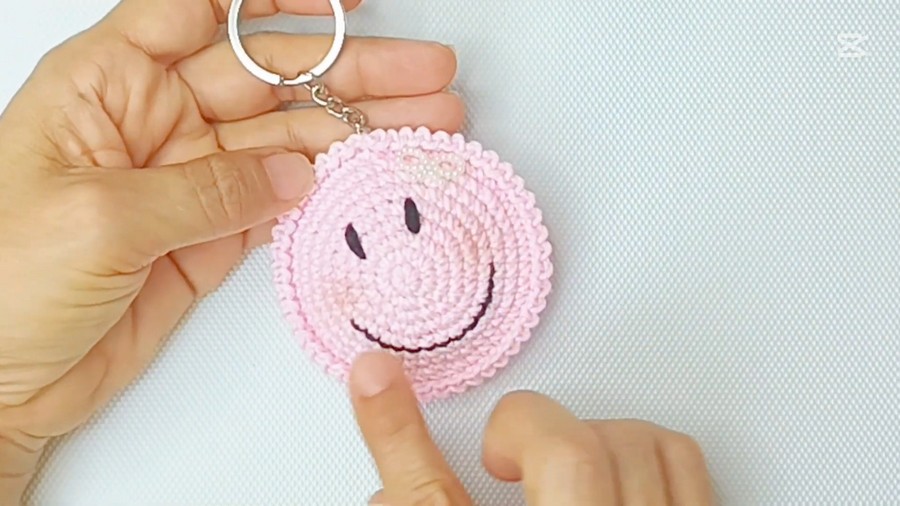
Some keychains are plain and boring, but this little creation is full of cheer and charm that makes everyone smile. The Crochet Happy Face Keychain pattern shows a small, round charm with bright yellow yarn, neat stitches, and a simple smiling face that looks friendly and playful.
Mini Croche Happy Face Keychain Pattern That’s Too Cute
You can hang it on keys, bags, backpacks, or even use it as a cute gift that spreads happiness to anyone. Its most special features are its soft texture, cheerful design, and compact size, which make it unique, durable, and easy to carry everywhere while adding a joyful, handmade touch to daily life.
Materials List
Required Materials
- Yarn:
- A worsted-weight yarn is recommended.
- Yellow yarn: For the main body.
- Black yarn or thread: For eyes, smile embroidery.
- A worsted-weight yarn is recommended.
- Crochet Hook:
- 2.5mm crochet hook.
- Other Supplies:
- Synthetic cotton filling: To stuff the piece.
- Tapestry needle: For sewing and embroidery.
- Stitch markers: To mark the rounds.
- Scissors: For trimming yarn.
- Cold silicone glue: Optional for attaching decorations like bows.
- Blush or makeup: Optional for adding a rosy tint to the cheeks.
- Keychain ring: For attaching to the final piece.
Skill Level
Beginner-Intermediate
This pattern uses simple amigurumi techniques and is perfect for those familiar with basic crochet stitches. Embroidery and finishing techniques add polish to the creation.
Key Abbreviations (US Crochet Terminology)
| Abbreviation | Meaning |
|---|---|
| ch | Chain |
| sc | Single Crochet |
| inc | Increase (two sc into one st) |
| sl st | Slip Stitch |
| st(s) | Stitch(es) |
Pattern Notes
- Continuous Rounds: This pattern works in continuous rounds (spirals). Use a stitch marker to track the start of each round.
- Adjustable Size: To make a larger or smaller keychain, simply add additional rounds of increases or decrease the number of increase rounds.
- Customization: Add bows, blush, or other accessories to personalize your happy face keychain.
Step-by-Step Pattern
Body of the Keychain
Round 1:
- Using yellow yarn, create a magic ring, and crochet 6 sc into the ring. Tighten the ring. (6 sts)
Round 2:
- Work inc in each st around. (12 sts)
Round 3:
- Work 1 sc, inc around. (18 sts)
Round 4:
- Work 2 sc, inc around. (24 sts)
Round 5:
- Work 3 sc, inc around. (30 sts)
Round 6:
- Work 4 sc, inc around. (36 sts)
Round 7:
- Work 5 sc, inc around. (42 sts)
Round 8:
- Work 6 sc, inc around. (48 sts)
For a Larger Size:
- Add additional rounds by incrementing the number of single crochets between increases (e.g., 7 sc, inc for the next round).
Second Panel (Back Face)
- Repeat Rounds 1-8 identically for the second panel. Do not cut the yarn after completing the last round, as this will be used to crochet the panels together.
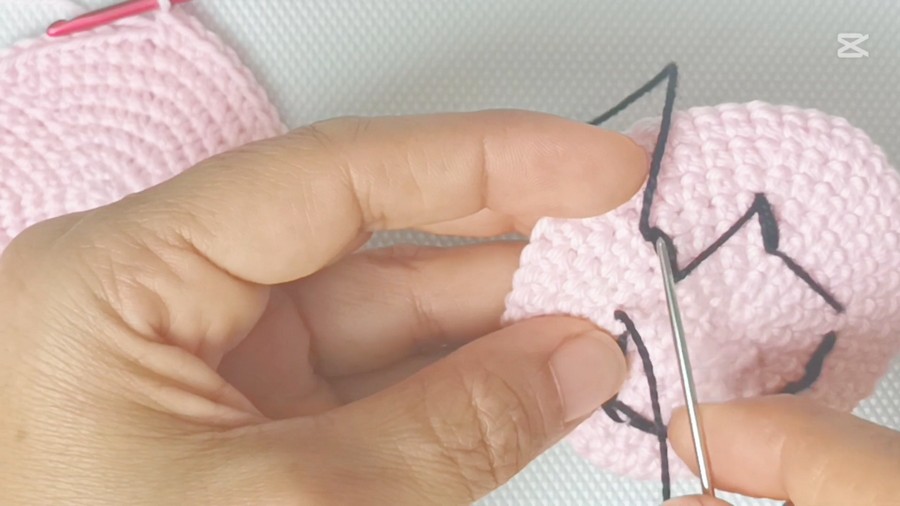
Embroider the Happy Face (Front Panel Only)
Eyes:
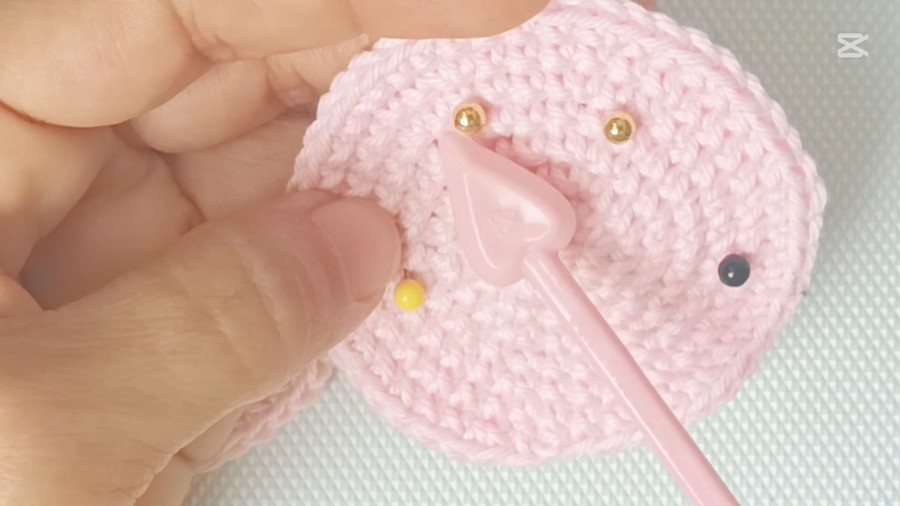
- Use black yarn or thread to embroider the eyes.
- Count 3 rounds down from the top center and place a pin as a guide for the first eye.
- Place the second pin 4 stitches apart horizontally for symmetry.
- Each eye will be embroidered using straight satin stitches. Make 4 passes around each point for a thicker outline.
Smile:
- Count approximately 6 rounds down from the eyes to position the smile.
- Using backstitches, create a curved smile that spans roughly 6 stitches horizontally, ensuring it is centered below the eyes.
Assembling the Keychain Body
- Align the Panels:
- Place the front and back panels together (right sides facing outward). Position the embroidered face correctly at the center.
- Attach Panels:
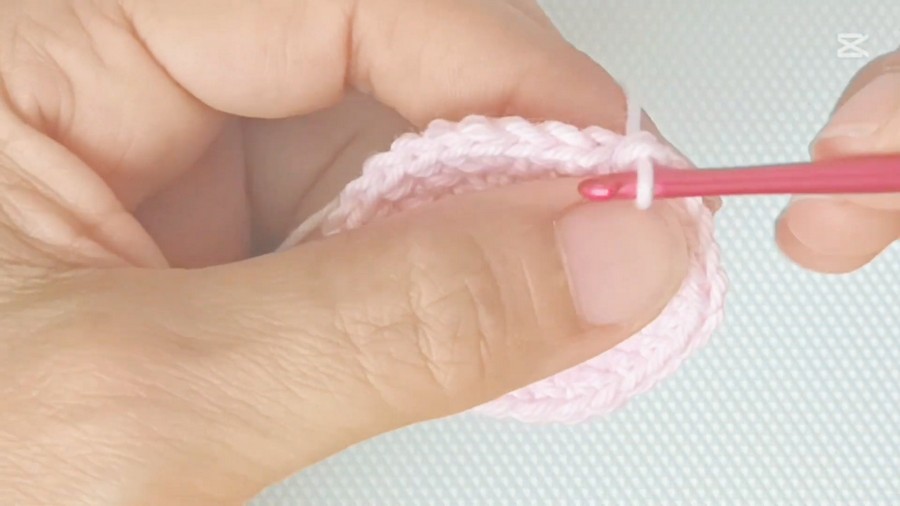
- Begin crocheting around the edge using single crochet, ensuring you take both loops of the front and back panel.
- Work consistently around, leaving a small gap to insert stuffing.
- Stuff the Piece:
- Add synthetic cotton filling to give the keychain volume. Be careful not to overfill, as this may distort the circular shape.
- Closing the Edge:
- Continue crocheting the rest of the edge to close the stuffing gap.
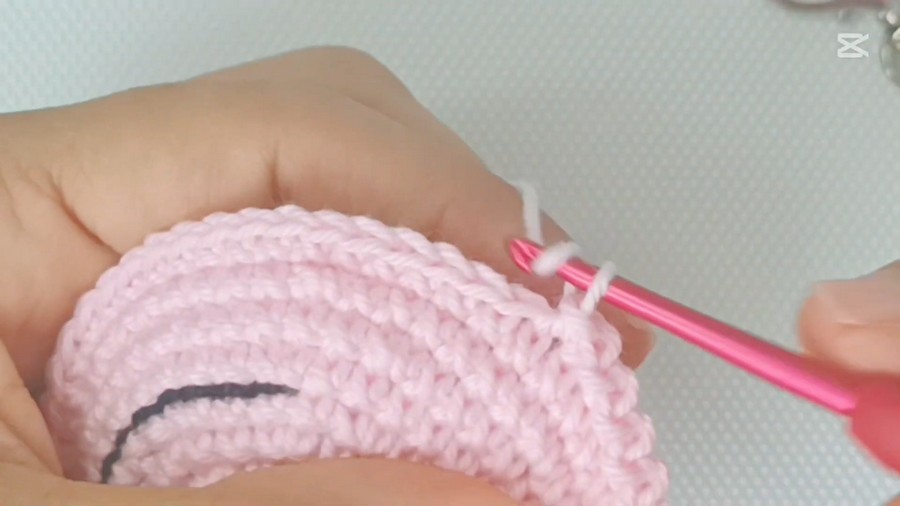
Optional Zigzag Border
- For detailed edging, crochet a zigzag border after closing the round.
- Pattern: [Chain 1, sl st into next st] repeat around.
- This will create a delicate zigzag that enhances the happy face’s aesthetic.
Attaching the Keychain Ring
- Thread a Long Yarn Tail through the Top:
- Using the yarn tail, sew or secure the keychain ring to the top of the keychain’s edge.
- Make 3-4 strong passes with the thread to ensure it is securely fastened.
- Finishing Touches:
- Weave in any remaining ends and cut excess thread.
Optional Final Touches
- Blush:
- Add soft blush to the cheeks using either makeup or colored pencils. Gently apply to make the face even more cheerful.
- Bow or Decoration:
- Attach a small bow or accessory using cold silicone glue for an extra playful detail.
Conclusion
Your adorable happy face keychain is complete! With its stitched smile and rosy cheeks, this keychain is the perfect blend of charm and simplicity. Whether as a thoughtful gift or a pop of joy for your own keys, this project is sure to bring smiles wherever it goes!
Pattern Corrections
- Consistent Stitch Count: If your rounds aren’t lying flat, double-check your increases and stitch counts to ensure accuracy.
- Symmetry in Embroidery: Use guide pins to ensure the eyes and smile are symmetrical.
Tips
- Track Your Rounds: Always use a stitch marker to avoid losing your starting point in continuous rounds.
- Adjust Stuffing: Stuff gradually while closing the edge to ensure an even and smooth shape.
- Experiment with Colors: Use different colors for the face or accessories to make each keychain unique.



