
Small stitches come together to create a useful Crochet Key Holder Pattern, turning an everyday object into a charming touch that keeps things organized and adds handmade warmth to your space.
Keys always seem to go missing just when you need them most, right? With a crochet key holder, you can keep them safe and stylish all at once. This adorable little project is perfect for adding a fun, handmade touch to everyday life. It has a soft, squeezable texture, a cute rounded shape, and a lot of potential for personalization—think bright colors, tiny details, or even a fun face.
Personalized Crochet Key Holder Pattern to Keep Things Tidy
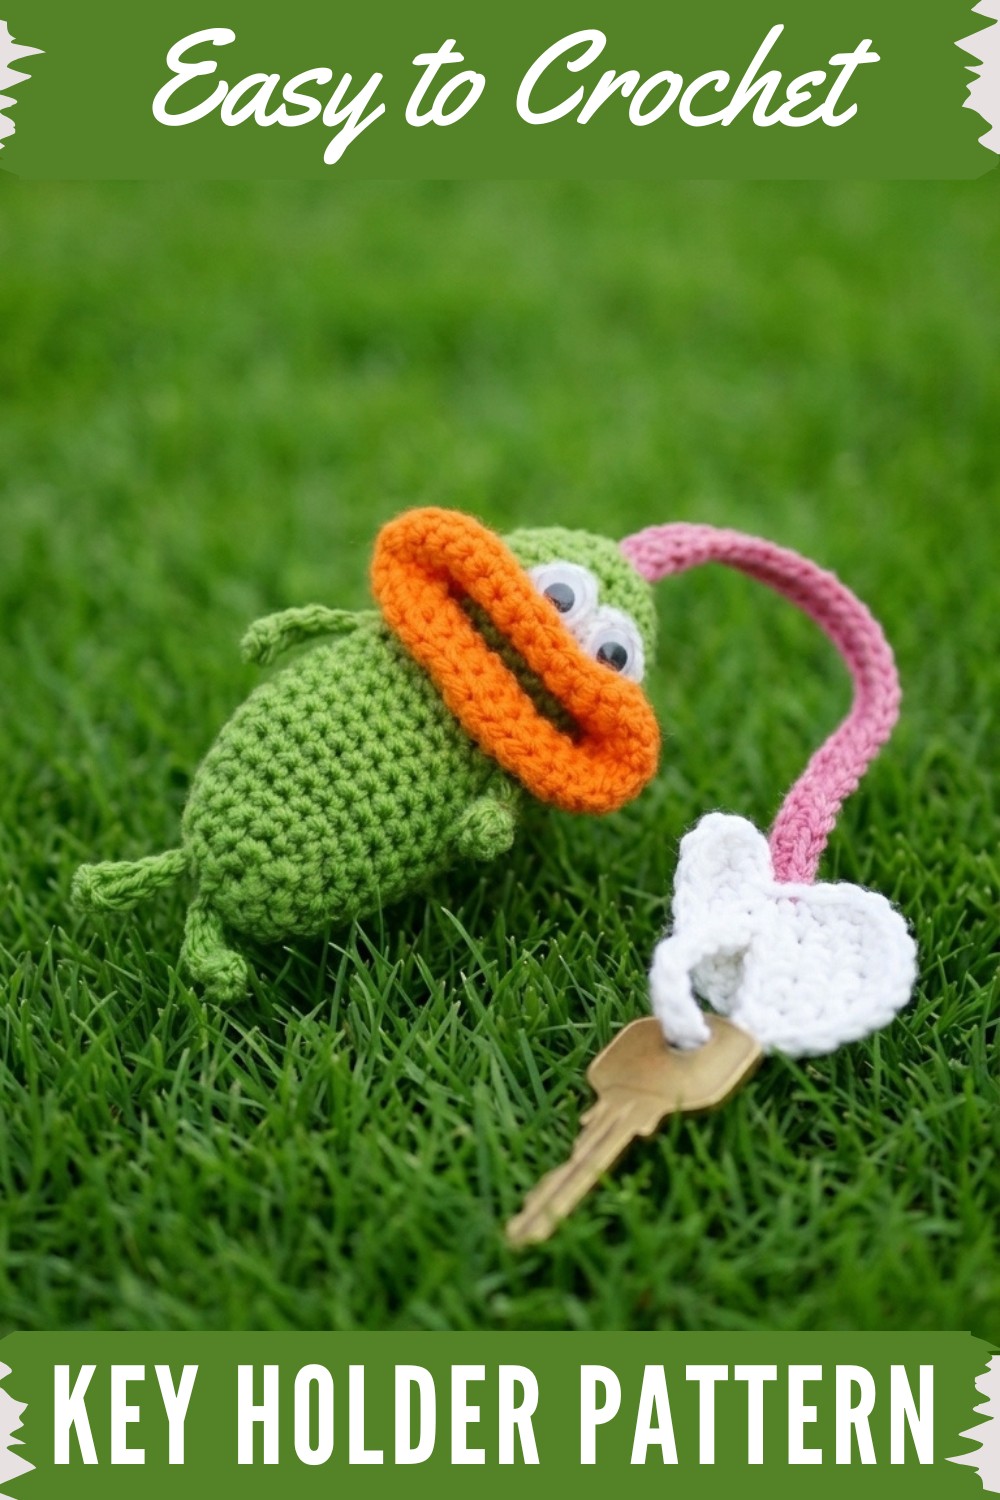
What’s great is how flexible this project is. You can make it small and compact or a little bigger if you like extra space for keychains or accessories. It’s simple to put together with basic stitches worked in the round, and it’s a quick project that suits crocheters of all skill levels.
This little holder is not just practical but also makes a thoughtful gift. Birthdays, holidays, or even a new home—any occasion is made better with something handmade and personal. And the best part? You can play with all kinds of designs, colors, and add ons to make each one unique. Whether you make it for yourself or someone special, it’s a fun way to keep those keys in one place. Give it a try—you’ll love how functional and cute they turn out.
Keychain Holder Crochet Pattern (Step by Step)
Materials Required:
- Yarn: Medium weight cotton or acrylic yarn in three colors:
- Main body: Green (or your preferred color)
- Accent: Yellow, Orange, or White
- Crochet Hook: 3.5 mm (E/4 USA)
- Stitch Marker
- Scissors
- Yarn Needle
- Optional: Keyring
Gauge:
10 sts x 10 rows = 4 inches in single crochet. Adjust your hook size as necessary to achieve proper gauge.
Finished Size:
- Approximately 4 inches tall and 2.5 inches wide, depending on the yarn and hook size used.
Stitches Used:
- Ch (Chain): Yarn over and pull through the loop.
- Sc (Single Crochet): Insert hook, yarn over, pull through loop, yarn over, pull through two loops.
- Sl St (Slip Stitch): Insert hook, yarn over, pull through loop and the stitch.
- Hdc (Half Double Crochet): Yarn over, insert hook, yarn over, pull through loop, yarn over, pull through all three loops.
Pattern Instructions:
Base of the Keychain Holder
- Foundation Chain:
- Use green yarn. Create a slip knot and chain 8.
- First Round:
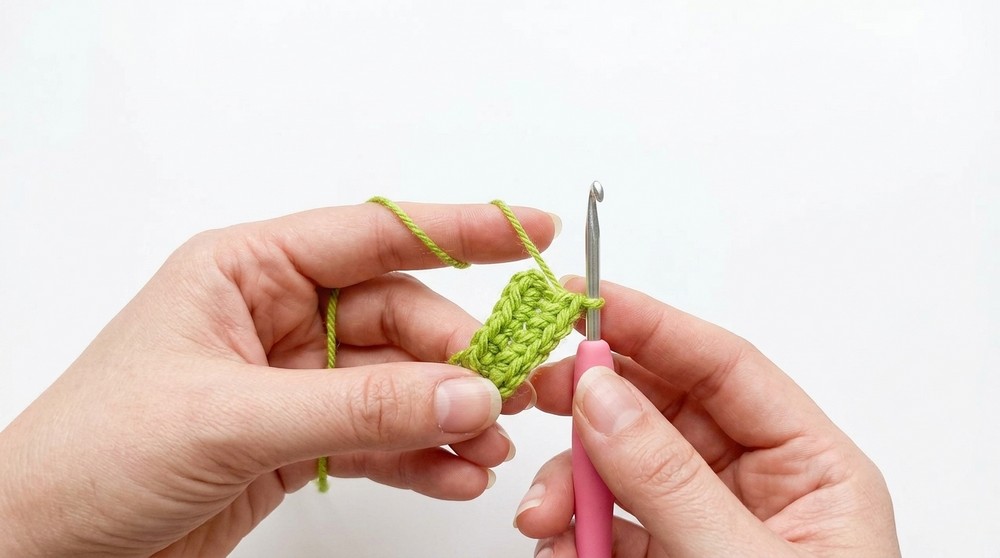
- Skip the first chain from the hook. Single crochet (Sc) into the 2nd chain from the hook and continue across for 6 stitches.
- In the last chain, work 3 Sc (this creates a curve for the bottom). Rotate to the underside of the chain.
- Work 5 Sc back along the chain. In the last stitch, work 3 Sc (another curve).
- Place a stitch marker to mark the beginning of the next round. You will now have 16 stitches in the round.
- Second Round:
- Crochet 1 Sc in each of the next 6 stitches.
- Increase: Work 2 Sc in the next stitch (do twice for the two curved edges).
- Crochet 1 Sc in each of the next 6 stitches.
- Increase: Work 2 Sc in the next stitch (do twice for the two corners).
- Total 20 stitches in the round.
- Third to Eighteenth Rounds:
- Work 1 Sc in each stitch around. (20 sts per round)
- Ensure to count stitches and move your stitch marker up at the beginning of each round. At this point, the pattern will begin forming a cylinder shape.
Creating the Keyhole:
- Keyhole Foundation:
- After completing 18 rounds, count your stitches to divide into 2 equal sides (10 stitches on each side).
- At the start of the 19th round, crochet 10 chains. Skip the next 10 stitches and connect back with a Slip Stitch (Sl St).
- Keyhole Round (20th Round):
- Crochet 1 Sc into each chain from the previous round to form the keyhole loop. Continue crocheting 1 Sc into each stitch of the remaining base (total 20 stitches).
- Reinforcement Rounds (21st to 23rd Rounds):
- For the next three rounds, work 1 Sc in each stitch around (20 sts per round).
Decreasing the Top
- First Decrease Round:
- Work in the pattern: 3 Sc, Decrease (Sc2tog) around (reducing by 4 stitches).
- At the end of this round, you’ll have 16 stitches.
- Second Decrease Round:
- Work in the pattern: 2 Sc, Decrease (Sc2tog) around.
- End with 12 stitches.
- Final Decrease Round:
- Work 1 Sc, Decrease (Sc2tog) around.
- End with 8 stitches.
- Closing the Top:
- Work decreases in every stitch until the hole is small enough to completely close, leaving just a small opening for threading the final string.
- Tie off the yarn, cut, and weave in the ends with a yarn needle.
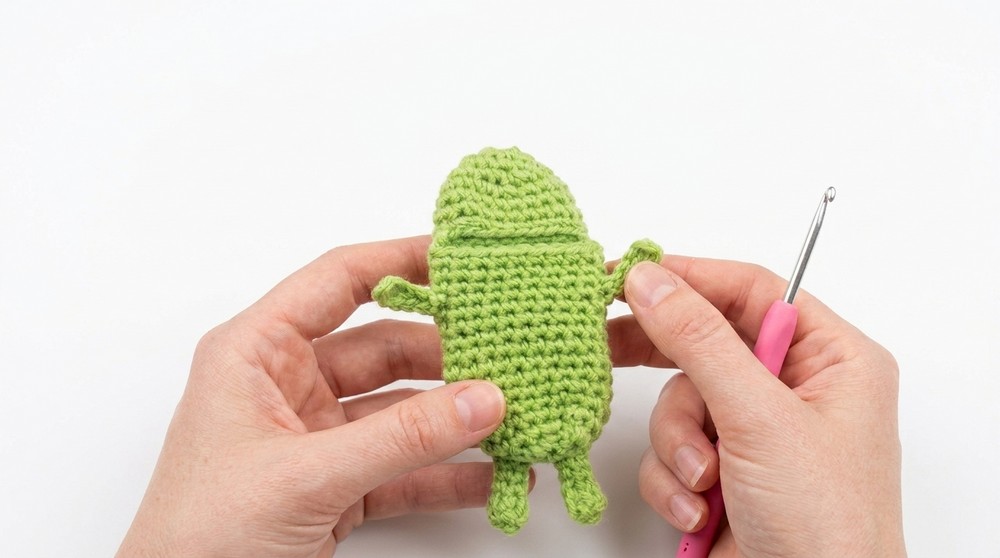
Adding Arms and Legs
- Arms and Legs (Make 4):
- Chain 6.
- Skip the first chain, work:
- 1 Hdc into next stitch.
- 1 Sc into the next stitch.
- Sl St into the next 3 stitches.
- Cut yarn, pull through, and fasten off.
- Attaching Arms and Legs:
- Use your yarn needle or crochet hook to attach the arms slightly below the top edge on either side.
- Attach the legs near the bottom. Ensure the ends are secured tightly and weave in the ends inside the body. Trim excess yarn.
Facial Features (Eyes and Mouth)
- Eyes (Make 2):
- Use white yarn to create a magic ring.
- Work 6 Hdc into the magic ring.
- Close the ring and secure with a Sl St.
- Use black yarn to embroider a small pupil by stitching in the center of the white circle.
- Mouth:
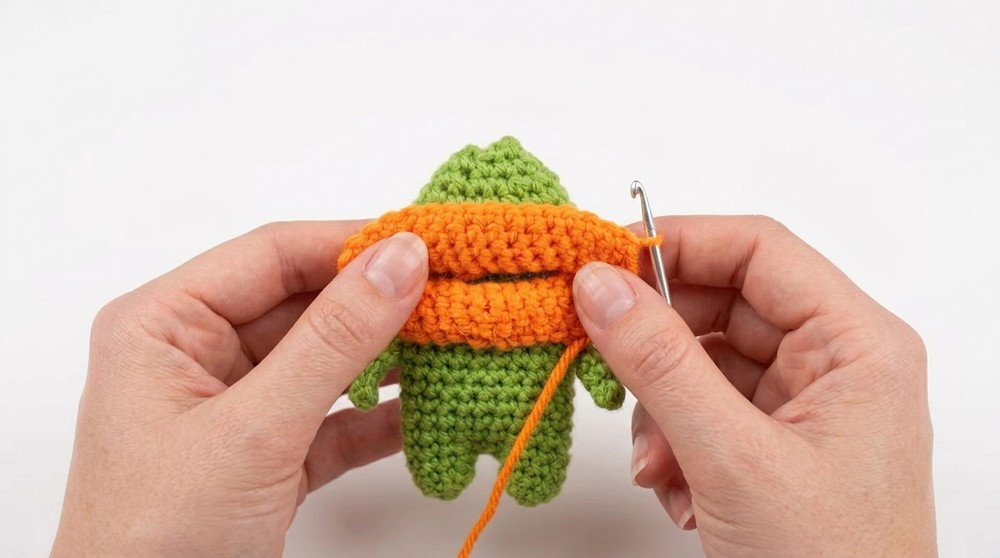
- Use orange or contrasting yarn. Starting at one side of the mouth opening, pick up 20 stitches around the edge.
- Work Sc into each stitch. Continue around for a clean edge.
- Use black yarn and a needle to embroider a simple smile.
Creating the String Holder
- Foundation String:
- Use a contrasting yarn color. Begin with a magic ring and work 6 Dc into the ring.
- Tighten the ring and Sl St to close the round.
- Chain:
- Chain 50 (or your desired length).
- Join the chain into a loop using Sl St and fasten off.
- Securing the String:
- Thread it through the top hole of the keychain holder to create a secure loop for holding keys.

Tips and Customization Ideas
- Experiment with different yarn colors for a vibrant look.
- Attach small accessories like bows, beads, or buttons to personalize it further.
- Adjust the size by modifying the starting chain length or the number of rounds.
Important Remarks and Final Look
- Ensure all loose threads are woven in properly to maintain a neat finish.
- Check the stability of the string—reinforce the knot if needed.
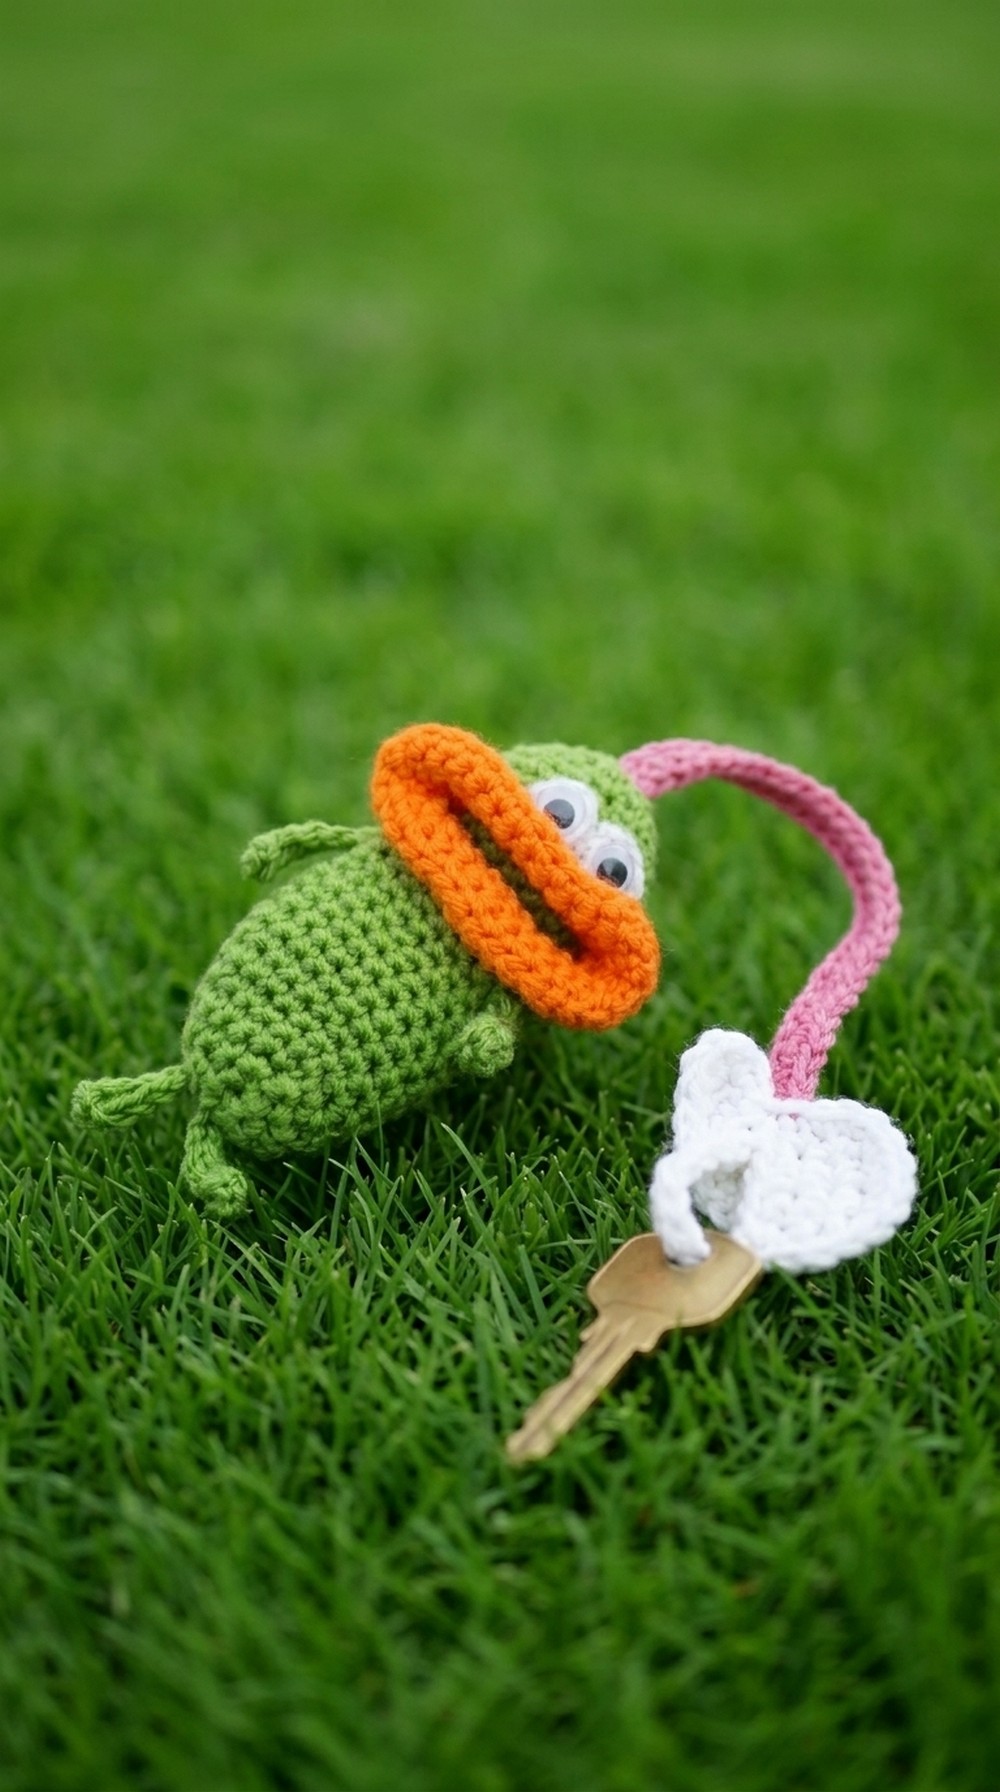
- The final keychain holder will have a cylindrical body, two small arms, two tiny legs, and a wide, happy mouth, perfect for keeping your keys safe and stylish.



