
Organize your table in style with soft and cozy crochet cutlery holder that keep utensils neatly arranged while delighting guests with their charming appearance.
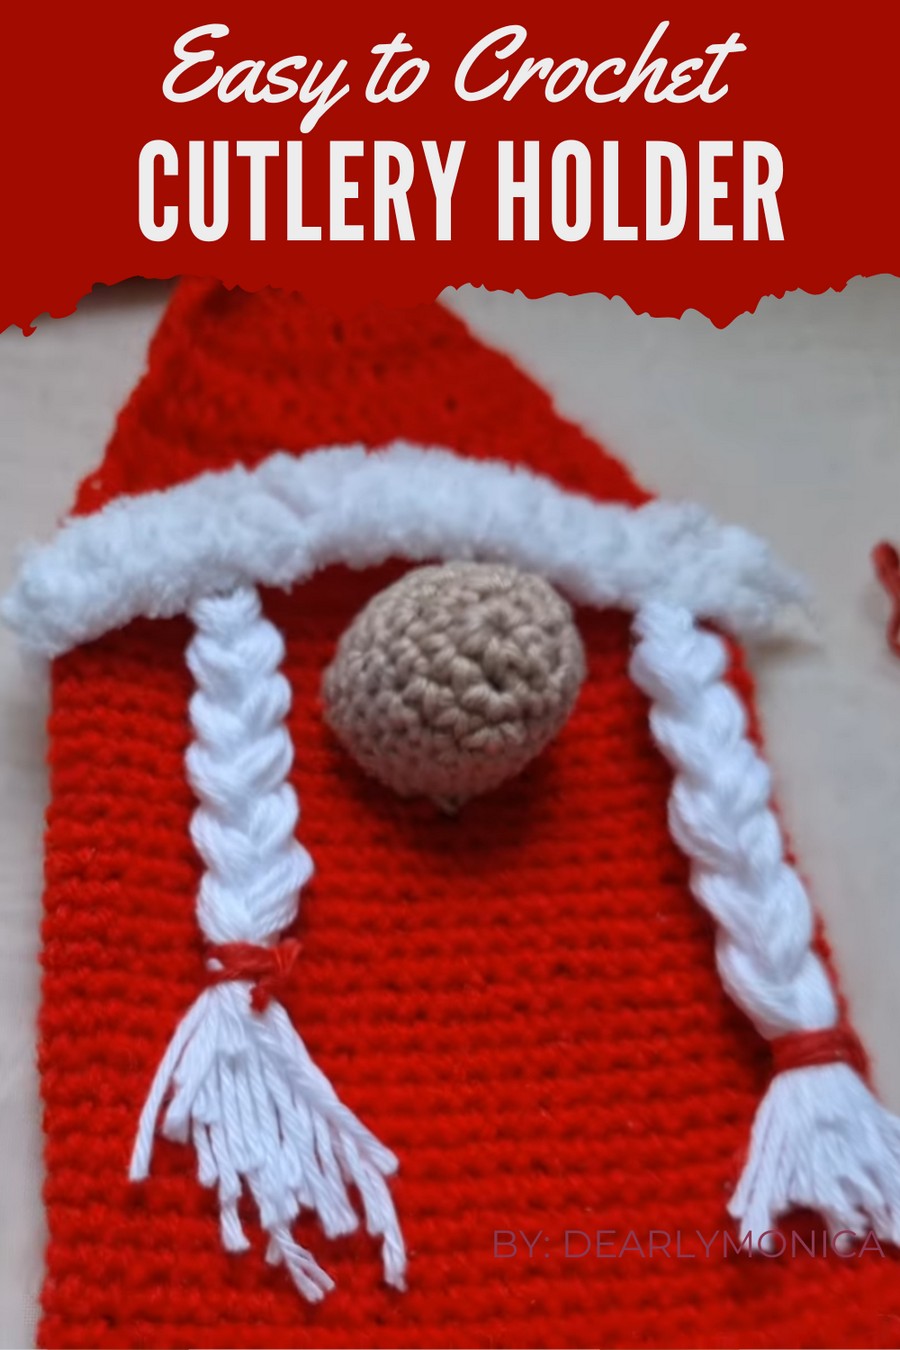
Add a touch of charm and elegance to your dining table with a simple and beautiful handmade holder that’s perfect for organizing forks, spoons, or knives. These holders offer both functionality and style, making every meal feel extra special. From family dinners to festive gatherings or cozy picnics, they fit perfectly into any occasion, keeping your cutlery tidy and accessible.
Stylish Crochet crochet cutlery holder for Organizing Utensils
Available in different designs and colors, they can be customized to match your table decor. Their soft yet durable material adds a cozy, welcoming vibe to your presentation, while also serving as a practical and reusable accessory for any kitchen setup.
Materials Needed
- Yarn:
- Red Yarn: Recommended yarn is amigurumi yarn or similar weight (You can also use worsted weight yarn like Baroque No. 4 or Charme yarn).
- White Yarn: Tender yarn is ideal for the trimming or braid; use regular white yarn if unavailable.
- Beige Yarn: For the small 'nose' detail.
- Hook Size:
- Suggested hook size: 3.5 mm or size suitable for your chosen yarn.
- Optional Items:
- Tapestry needle for sewing.
- Polyester stuffing for the hat and ball details.
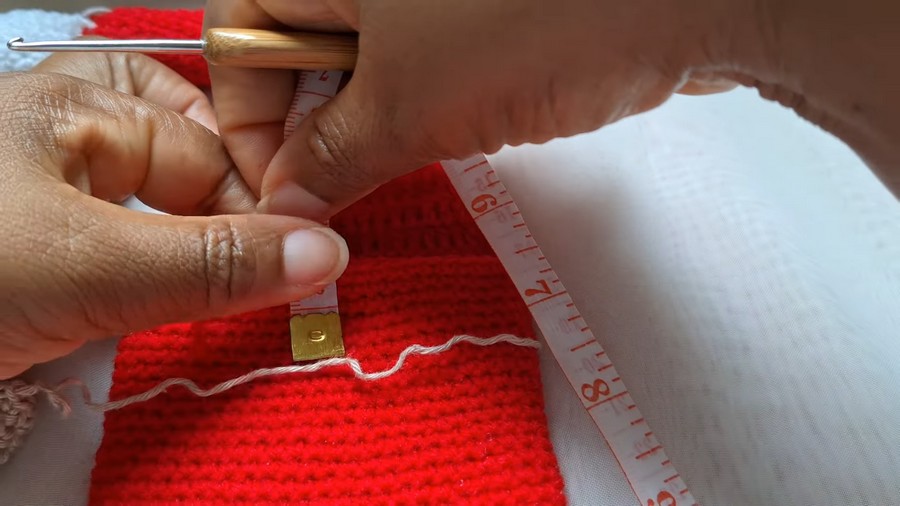
- Measuring tape for accuracy.
Skill Level
Intermediate to Advanced
Key Abbreviations
- ch: Chain
- sc: Single Crochet
- hdc: Half Double Crochet
- dc: Double Crochet
- sl st: Slip Stitch
- st(s): Stitch(es)
- inc: Increase (two stitches made in the same base stitch)
- dec: Decrease (reducing one stitch)
Special Notes
- The cutlery holder is worked in rounds for the base and body.
- Gauge and sizing may slightly vary depending on yarn and personal tension but can be adjusted with measurements.
- Use a row marker to track the start and end of rows.
- To customize the height/length of the holder, adjust the number of rows worked.
Pattern Instructions
Base and Body
Step 1: Chain Foundation
- Foundation Chain: Chain 10 cm worth of stitches (approx. 28-31 chains, depending on yarn thickness).
- Stretch the measuring tape while chaining for accuracy. Add 2 extra chains at the end.
Step 2: Work the First Row
- Single Crochet Row:
- Count back to the fourth chain from the hook.
- Begin working 1 single crochet (sc) into each chain until the end of the row.
Step 3: Turn and Continue
- Work 2 sc into the last chain stitch of the row.
- Turn: Turn your work sideways and work along the opposite side of the foundation chain.
- Work 1 sc into each stitch along the opposite side until reaching the start.
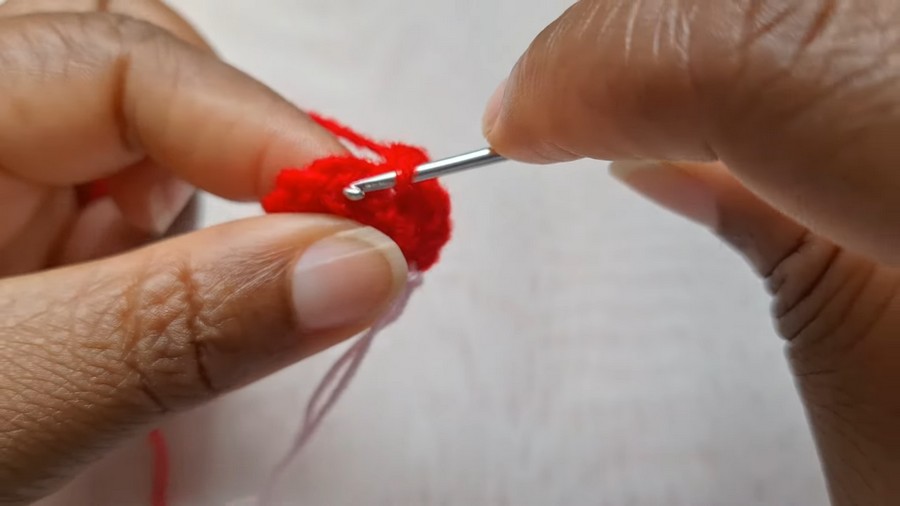
Step 4: Marker and Circular Work
- Place a stitch marker to indicate the start of the row for tracking.
- Continue working in a circular fashion without increasing or decreasing. Work 1 sc into each sc from the previous round.
- Repeat this process, continually crocheting in rounds until the height reaches 12-13 cm.
Hat Section (Head of the Holder)
Step 1: Reconnect Yarn
- Cut the working yarn from the holder and reconnect the same or contrasting yarn on the side edge of the cutlery holder.
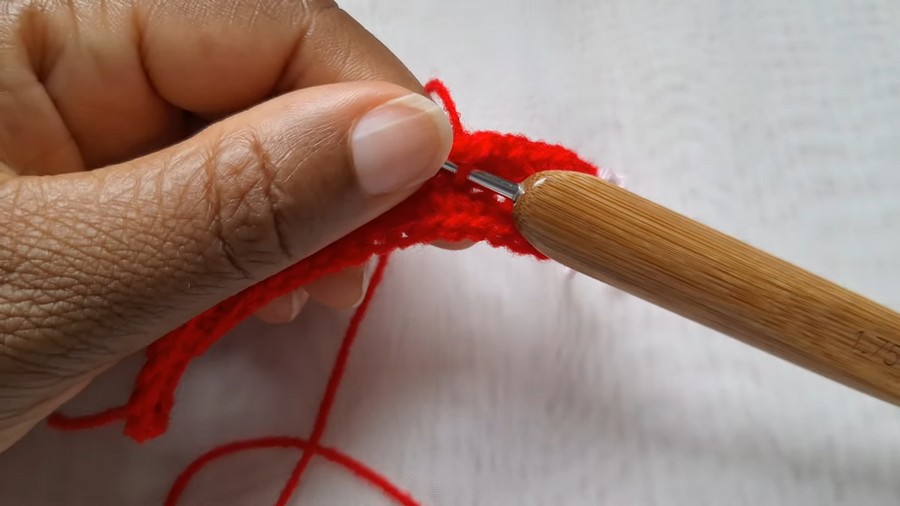
Step 2: Begin Double Crochet
- Base Row: Work dc stitches across the top edge for 1 row. Chain 3 at the start of the row to mimic the height of a dc stitch.
- Continue Rows: Work dc stitches across each row for 3-4 rows.
Step 3: Introduce Decreases
- At the start and end of each row:
- Skip the first and last stitch to begin a decrease row.
- Continue decreasing until 6 dc stitches remain.
Step 4: Finish Off and Sew
- Cut yarn leaving a long tail for sewing.
- Use a tapestry needle to sew the top of the hat closed into a rounded shape.
Decoration: Ball for the Hat
Step 1: Magic Ring
- Base Row: Begin with a magic ring and work 6 sc into the ring.
- Row 2: Work 2 sc into each sc for a total of 12 sc.
Step 2: Increase and Lengthen
- For Row 3: Work 1 sc in next 3 sts, 2 sc in next st and repeat. This row ends with 15 sc.
- Continue work for 4 rows with 1 sc per stitch (no increases).
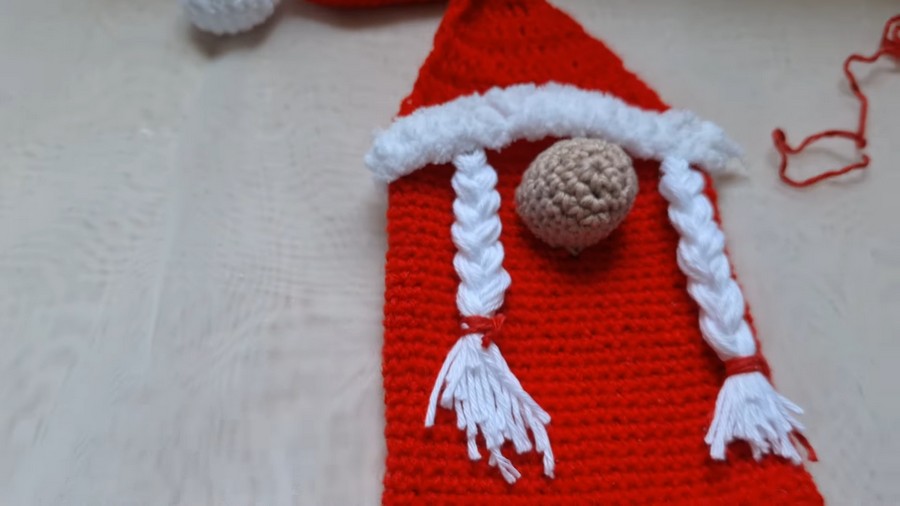
Step 3: Stuff and Close
- Add a bit of polyester stuffing into the ball and close it securely.
- Attach the ball to the end of the hat using a tapestry needle and sew neatly.
Optional: Braided Trim or Beard
Beard Option:
- Cut several strands of white yarn approximately 10-12 cm long.
- Fold each strand in half and attach to the edge of the nose section.
- Place yarn loops in rows for fullness and trim until rounded.
Braid Option:
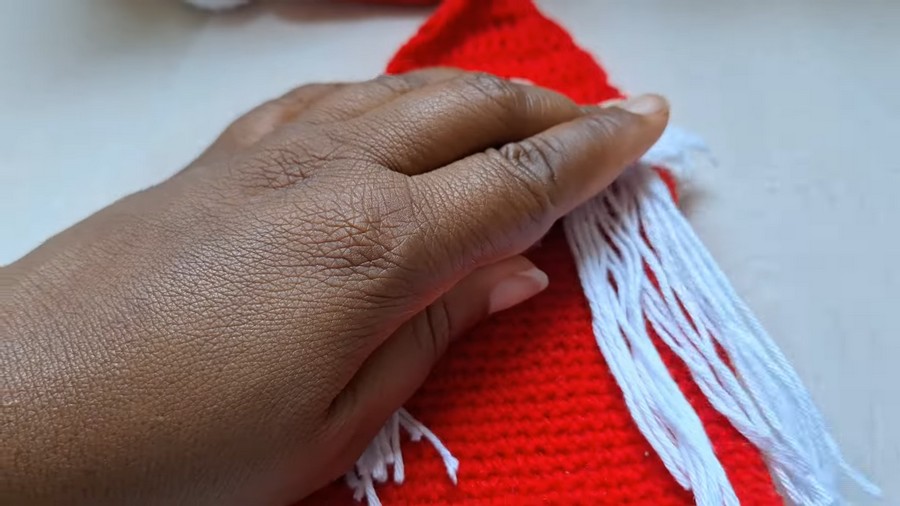
- Cut white yarn strands twice the desired length (e.g., 24-30 cm).
- Gather the strands into three equal sections and braid tightly.
- Secure the ends with a small bow or knot and sew the braid around the cutlery holder’s edge using a tapestry needle.
Conclusion
You’ve just created a unique and festive cutlery holder that’s perfect for holiday sales or gifting! This design is versatile and can be easily customized with different colors, embellishments, or sizes.
Pattern Corrections
If the height or width of the holder feels off, adjust by adding or reducing rounds of single crochet. Always measure the height with your cutlery to ensure a secure fit.
Tips for Success
- Use a stitch marker for circular rows to track the start efficiently.
- To ensure clean edges, focus on maintaining even tension throughout your work.
- For fullness, add extra polyester stuffing to balls or hat sections.
- Offer variations of this holder to clients—such as with different accessories or trims—to increase appeal in your catalog.



