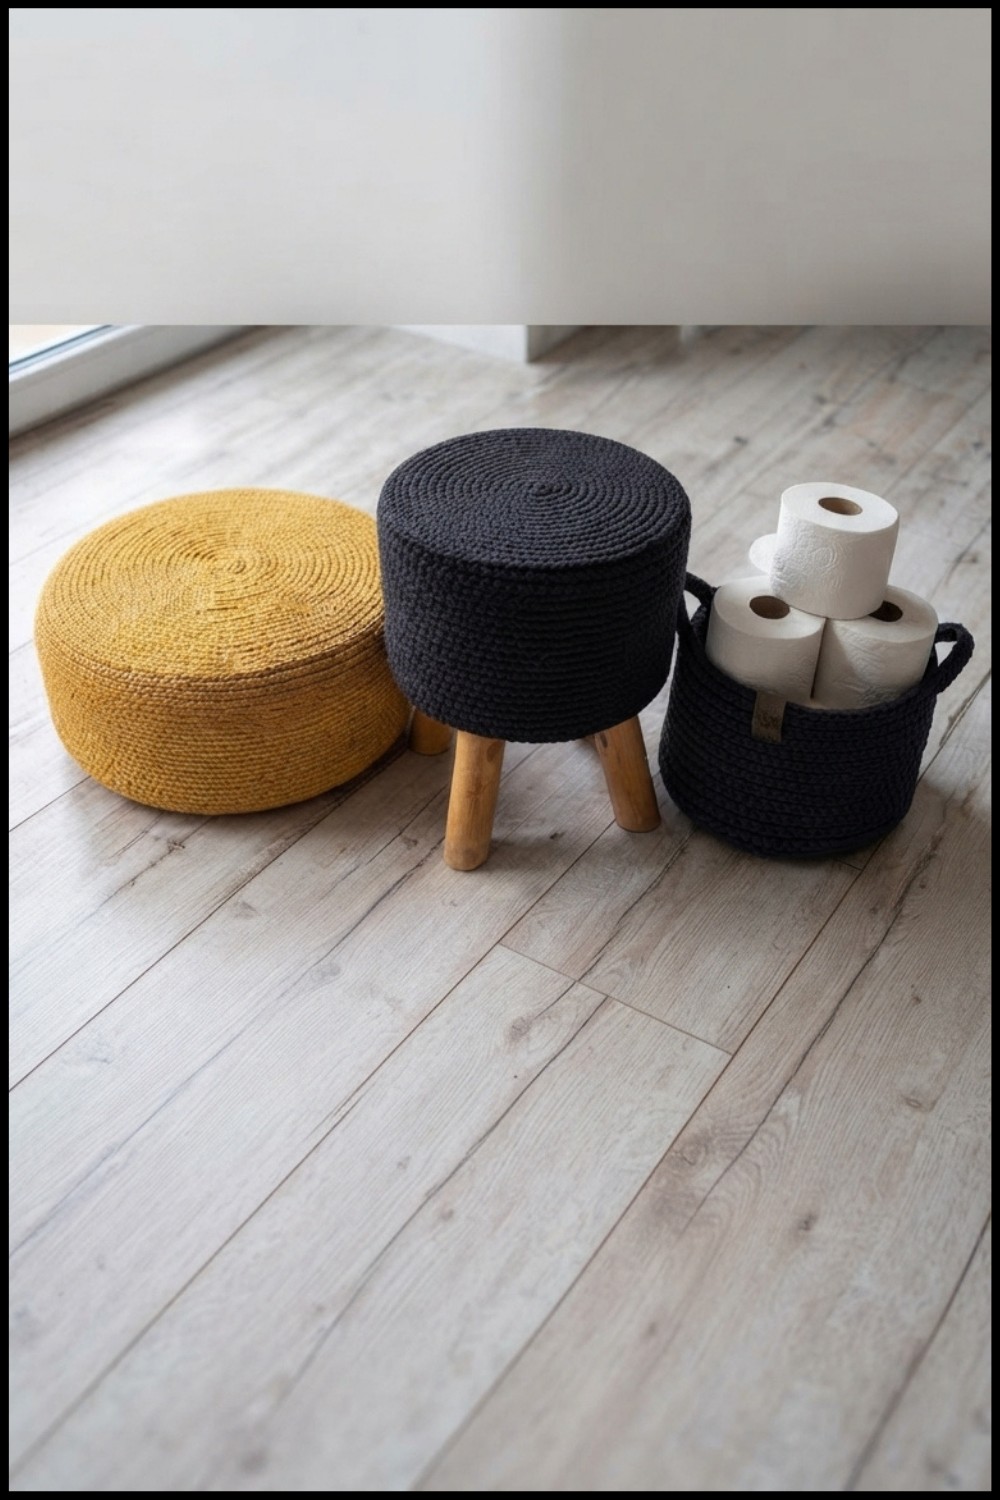
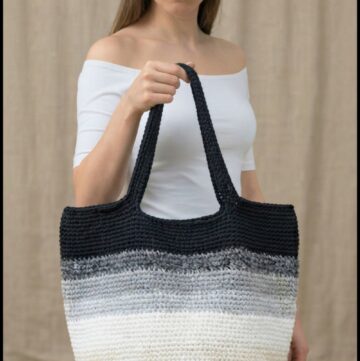
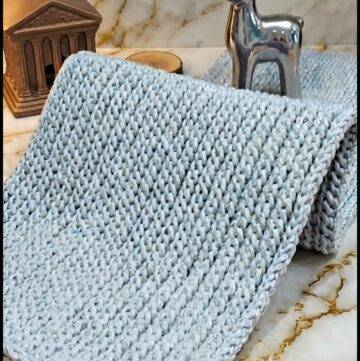
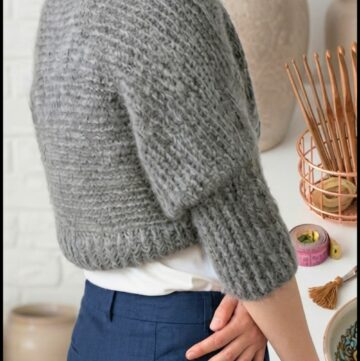
Renew worn stools effortlessly using this free crochet basket stool cover pattern that's created for softness and a fresh decorative touch.
Looking for a fun and easy way to freshen up your home? Yarn crochets are always a good choice! The Free Crochet Basket Stool Cover Pattern is a great project that helps you turn a plain stool into something cozy and stylish. This cover fits snugly over your basket stool, adding color and warmth to any room.
This crochet stool cover looks inviting and soft. It has a round shape that fits perfectly on top of the stool, with tight stitches that make it strong but also comfortable to sit on. The texture feels nice and smooth, giving your stool a fresh new look. The design’s simple but lovely style adds a handmade touch to your space. You can choose any color to match your room—bright or soft—and the cover will stand out as a cute and practical decoration.
Crochet Basket Stool Cover Free Pattern for Stylish Seating
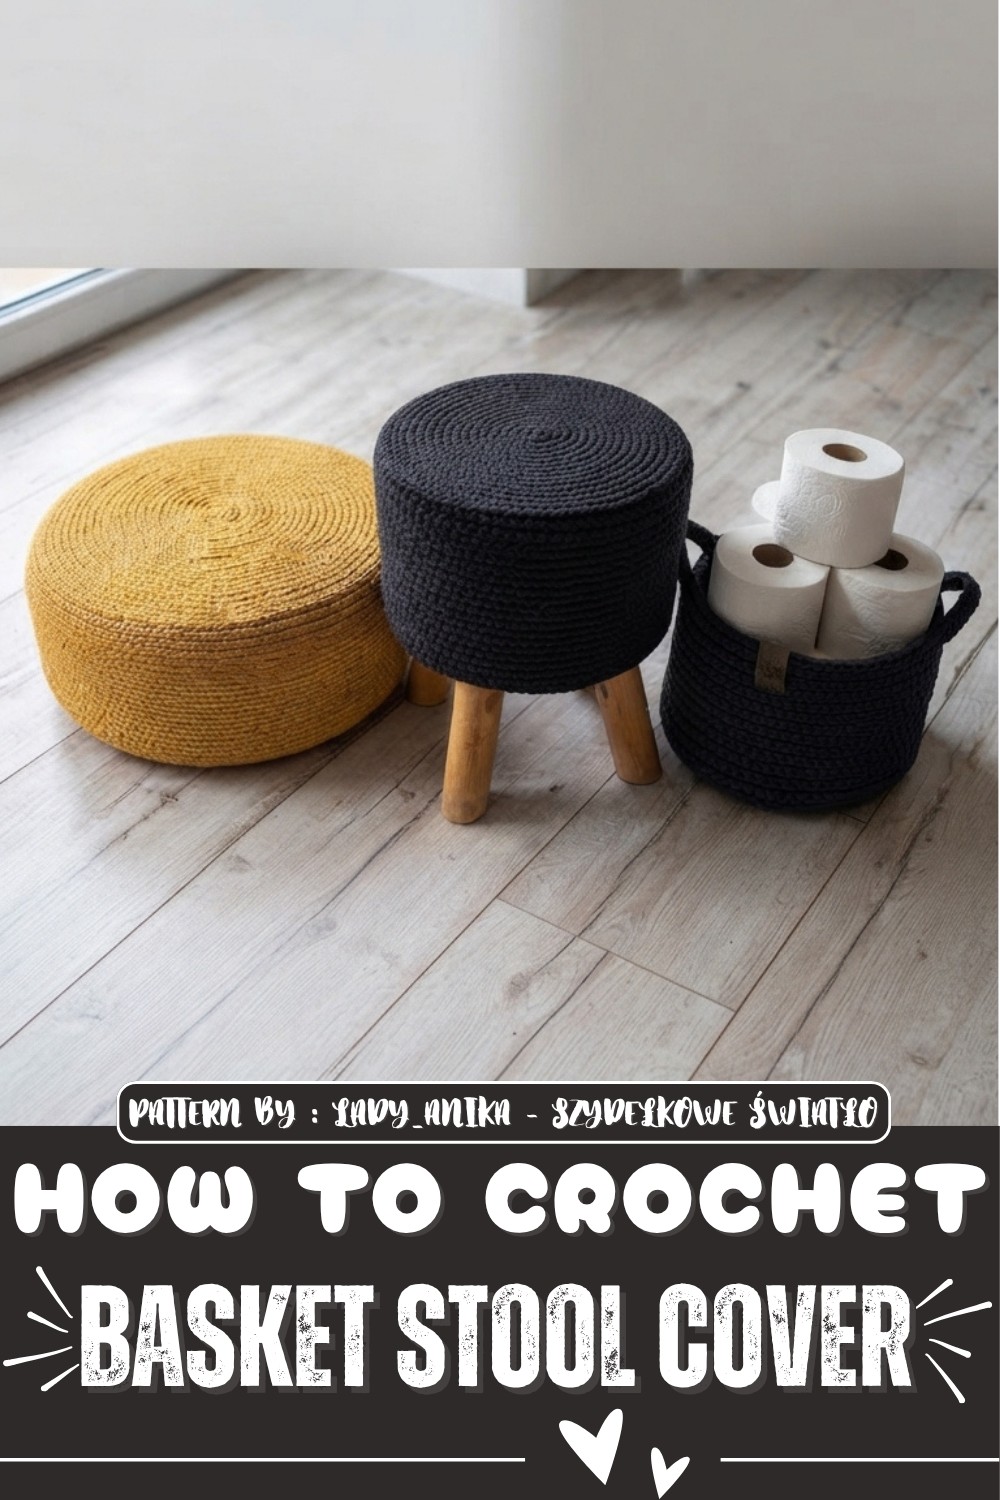
This project is made by a handmade designer who loves making easy patterns for everyone. Also, if you want extra help, the YouTube channel Lady_Anika - Szydełkowe Światło shows a step-by-step video walkthrough. It’s perfect for beginners or anyone who enjoys watching how it’s done.
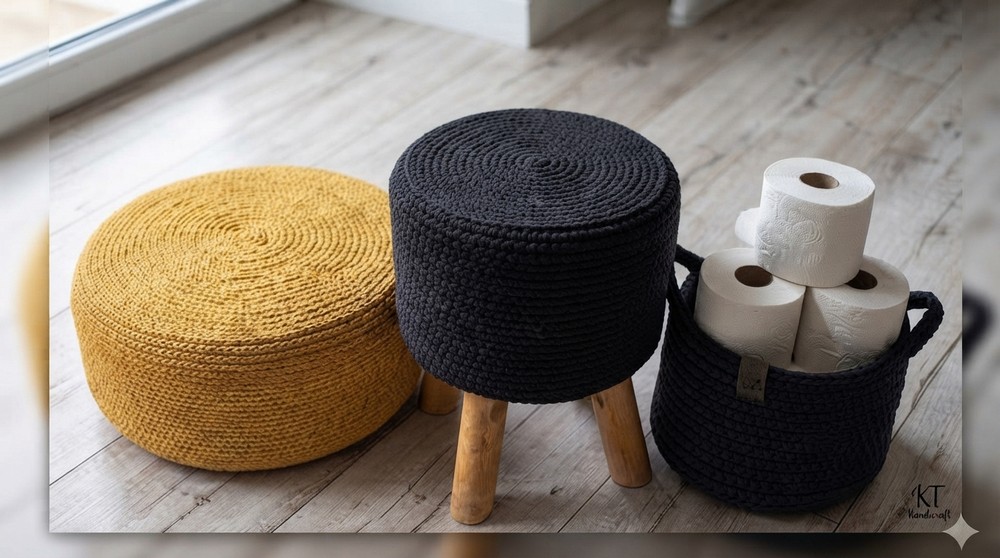
The Free Crochet Basket Stool Cover Pattern makes a wonderful gift and a smart decoration choice. It’s great for brightening up your home or giving to friends who like hand-made things. Plus, putting a cozy cover on a stool adds comfort, making your home feel warm and loved. This simple crochet project is not only beautiful but also useful, making it a perfect addition to your crochet collection or gift basket!
Crochet Pouffe and Container Pattern
Welcome! My name is Ania, and today I’m sharing a versatile crochet pattern used for renovating pouffes, making stool covers, and creating sturdy containers. This pattern is satisfying because it hides imperfections well, looks great, and is fun to crochet. I’ll guide you through a method suitable for creating different shapes and sizes. Whether you want a pouffe, a storage container, or a flowerpot cover, this pattern can be adapted for your project.
Quick Overview of Pattern
- The pattern begins with a strong, stable base made by crocheting around a magic ring with carefully worked stitches into back loops.
- The stitch count increases systematically to expand the circle evenly.
- After the base, the pattern moves to working upright sides by changing stitch techniques for easier crochet and durability.
- Handles and finishes are optional, depending on the intended use.
- The pattern is modular, allowing calculations for custom diameters and heights.
Notes
- The base is crocheted in the back loops only to create a firm yet beautiful “chain snail” effect.
- Be mindful of stitch markers to keep track of rounds due to working in loops under stitches instead of standard ones.
- Increases are made regularly every six stitches to maintain a circular shape and avoid polygons as you scale up.
- The stitches can be tight on fingers; a good grip on your hook helps.
- Stitches should not be overly tight to maintain some flexibility but firm enough for a stable shape.
- Adjust the diameter based on your project needs (pouf, container, stool cover).
- Use measuring tape to check diameter as you go.
- This pattern is suitable for various cord thicknesses but works best with 3mm to 5mm polyester cords, which are durable and easy to clean.
Skill Level
Intermediate crochet skill is recommended. Understanding single crochet (#sc#), increases, working in back loops only, and circular crochet is essential. Experience with stitch markers and changing stitch patterns is helpful.
Materials
- Approximately 5 skeins of 200m polyester cord (3mm recommended) or 5mm flat string for a thicker look.
- 3.5 mm crochet hook or size suitable to your cord thickness and crochet tension.
- Stitch markers or safety pins.
- Scissors.
- Measuring tape.
Measurements / Sizing
- Customizable diameter for base depending on the project.
- Typical diameter for a container or pouf base ranges from 16 cm upward.
- Height adjustable — fold-in walls for containers or build upright sides for stools/pouffes.
- Handles can be added optionally.
Gauge & Stitch Pattern
- Gauge depends largely on cord thickness and hook size.
- The stitch pattern primarily uses single crochet stitches worked in the back loops only on the base.
- Increases are evenly spaced for a smooth circular shape.
Stitch Abbreviations
- ch = chain
- sc = single crochet
- inc = increase (usually two single crochets into one stitch)
- sl st = slip stitch
- bl = back loop
Special Techniques
- Magic Ring: Start with an adjustable ring for the base.
- Back Loop Only Single Crochet: Insert your hook into the back loop below the regular loops to create a distinctive layered effect and sturdy base.
- Regular Increases: Regular increases every 6 stitches to maintain a neat circle shape.
- Using Stitch Markers: To mark first and last stitches of rounds since working in back loops can be confusing.
- Working Even Rounds Separately: Dealing carefully with even and odd rounds to avoid unwanted shapes.
- Changing Stitch Patterns for Sides: Modifying the method after base to make crocheting easier on hands, important for larger pouffes.
The Crochet Pattern!
Round 1 – Foundation Circle
- Begin with a magic ring, neatly tightened.
- Chain 1, then work 6 single crochet (sc) stitches into the ring.
- Use stitch marker to mark your first stitch.
- Join with a slip stitch (sl st) to the first stitch, pulling the ring snug.
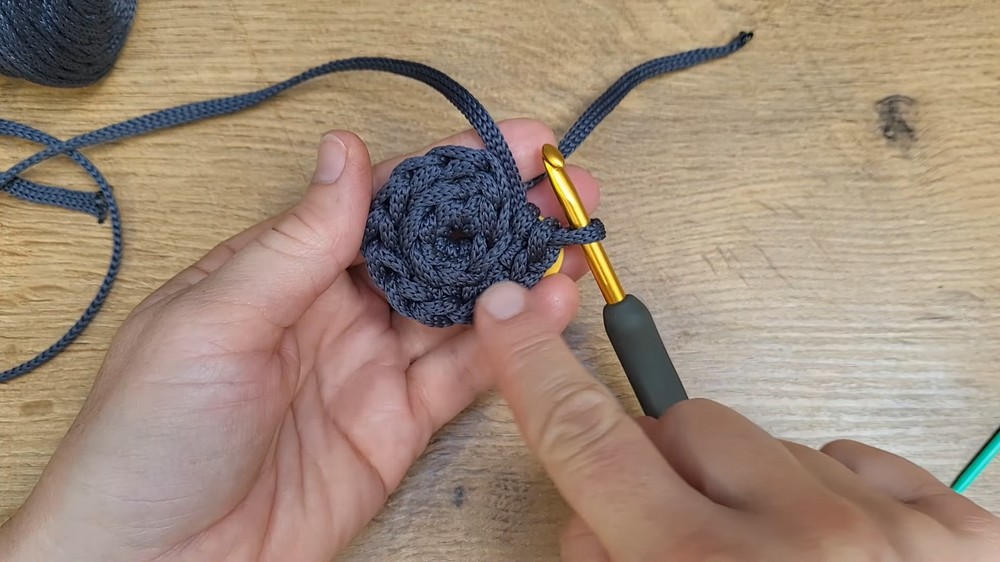
Round 2 – Back Loop Increases (Double Every Stitch)
- In this round, work only into the back loops of the stitches to produce a strong base.
- Make 2 single crochet (sc) stitches in each of the 6 back loops (doubling): total 12 stitches.
- Place a stitch marker at the last stitch to know where the round ends.
Round 3 – Increase Pattern (One sc, One Inc)
- One single crochet in first back loop, then increase (inc) by working 2 single crochet in next back loop.
- Repeat the sequence (1 sc, 1 inc) around.
- You should have 18 stitches at the end of this round.
Round 4 – Next Increase (1 sc, 1 sc, 1 inc)
- Work 1 single crochet in each of the first 2 back loops, then an increase (inc) in the next.
- Repeat this pattern around.
- Total stitches: 24.
Round 5 – Even Increase Distribution (1 sc, 1 sc, 1 sc, 1 inc)
- Work 3 single crochet, then 1 increase.
- Repeat this pattern for the whole round.
- Total stitches: 30.
Rounds 6 to 10 – Steadily Increasing Base
- Continue increasing by adding one more single crochet before each increase every round:
- Round 6: 4 sc, 1 inc (total 36 stitches)
- Round 7: 5 sc, 1 inc (total 42 stitches)
- Round 8: 6 sc, 1 inc (total 48 stitches)
- Round 9: 7 sc, 1 inc (total 54 stitches)
- Round 10: 8 sc, 1 inc (total 60 stitches)
- Always work in back loops only, mark end of rounds.
Adjusting Diameter
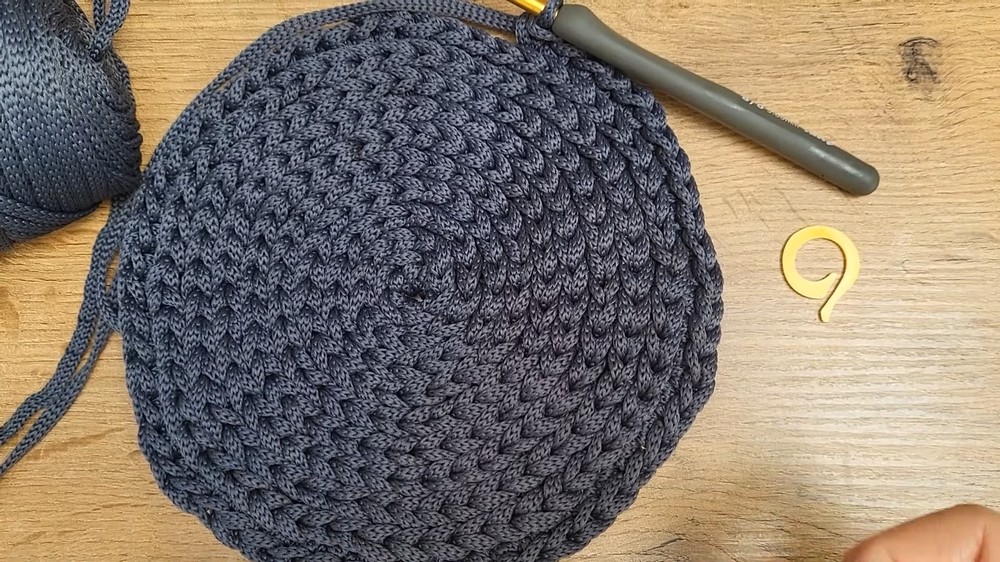
- Keep measuring your work as you crochet to assure that your diameter matches your intended base size.
- Remember to make the base slightly smaller than the object it will cover, as the sides will elevate and expand.
- Stop increasing when base diameter fits your project goal (for example, toilet paper roll holder, pouf base, stool cover).
Round 11 & Beyond – Changing Pattern for Sides
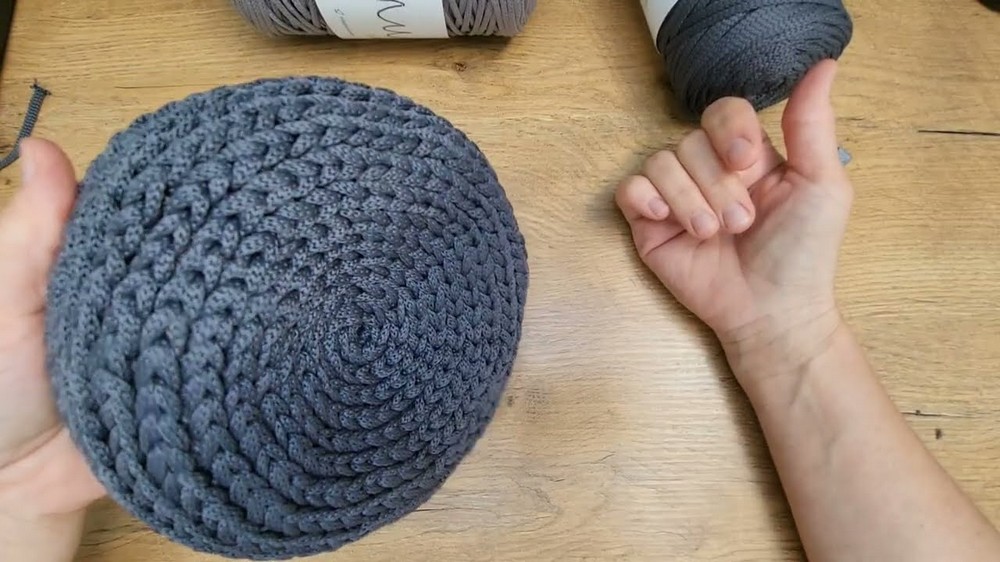
- After achieving the desired base diameter, stop increasing and switch to working in a new stitch pattern for the sides.
- Insert hook into the next loop (not back loop only) to make side stitches easier to work on and more comfortable.
- Work single crochet around without increasing for the height of your sides.
Optional: Adding Handles
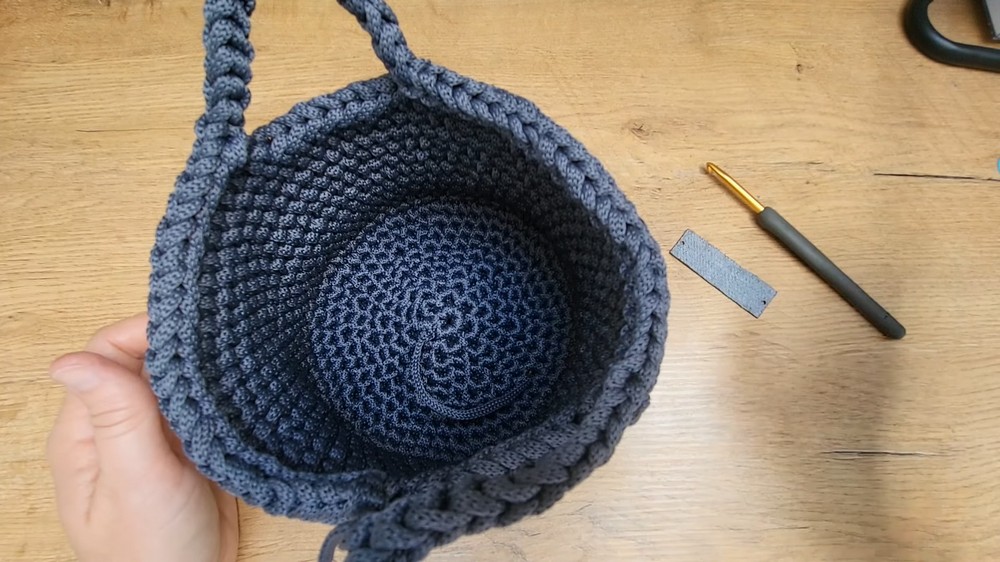
- To add handles to containers, divide stitches evenly.
- Chain desired length for handle in an appropriate space.
- Skip stitches on base row equal to handle size.
- Join with a slip stitch.
- Continue single crochet around, creating the shape of handles.
Final Rounds – Finishing Edge
- Once height is reached, finish the edge with a neat row of single crochet or slip stitches, working into back loops or front loops to stabilize the edge.
- Weave in all yarn ends and melt or secure cord ends to prevent fraying.
Assembly & Finished Size
- For pouffes and stools, join bottom and side pieces with slip stitches worked into back loops for minimal visible seam.
- For containers, sides and bottom usually joined continuously during crocheting.
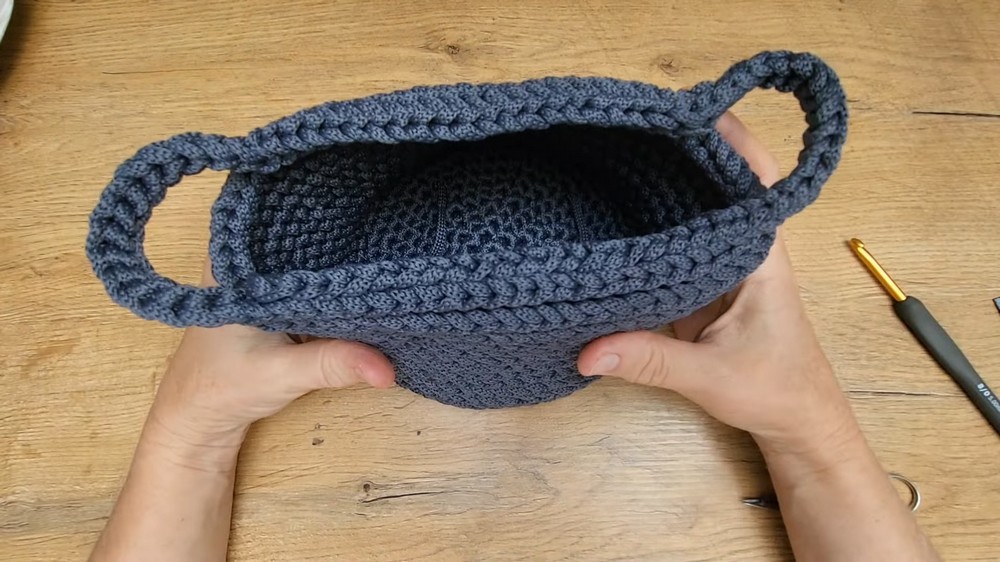
- Finished size varies depending on the number of rounds and cord thickness, but typical diameters range from 16 cm upwards for small containers, up to 40+ cm for pouffes.
- Heights adjusted as per project needs, generally between 15 and 40 cm.
Conclusion
This flexible crochet pattern offers a sturdy and visually pleasing way to create pouffes, stool covers, containers, and more. By carefully working in back loops to build a strong base and then switching to a more user-friendly side stitch pattern, you achieve both professional structure and crocheting comfort. Modify cord thickness, base diameter, and side height to suit your individual project.