Add charm to your wardrobe with this Free Crochet Short Bolero Sweater Pattern that is easy to follow and great for making a stylish layer for any outfit.
For those who love wearing short dresses, having a delicate cover-up to keep warm while staying stylish is a real treasure. Inspired by the supportive community of Lady_Anika - Szydełkowe Światło, this charming bolero sweater pattern combines warmth with elegance. Crocheted using a blend of soft alpaca and silk yarn with a touch of shiny lurex thread, it offers a subtle sparkle perfect for festive occasions. The pattern includes helpful tips on yarn selection and size adjustments, making it accessible for many.
Stylish Free Crochet Short Bolero Sweater Pattern to Try
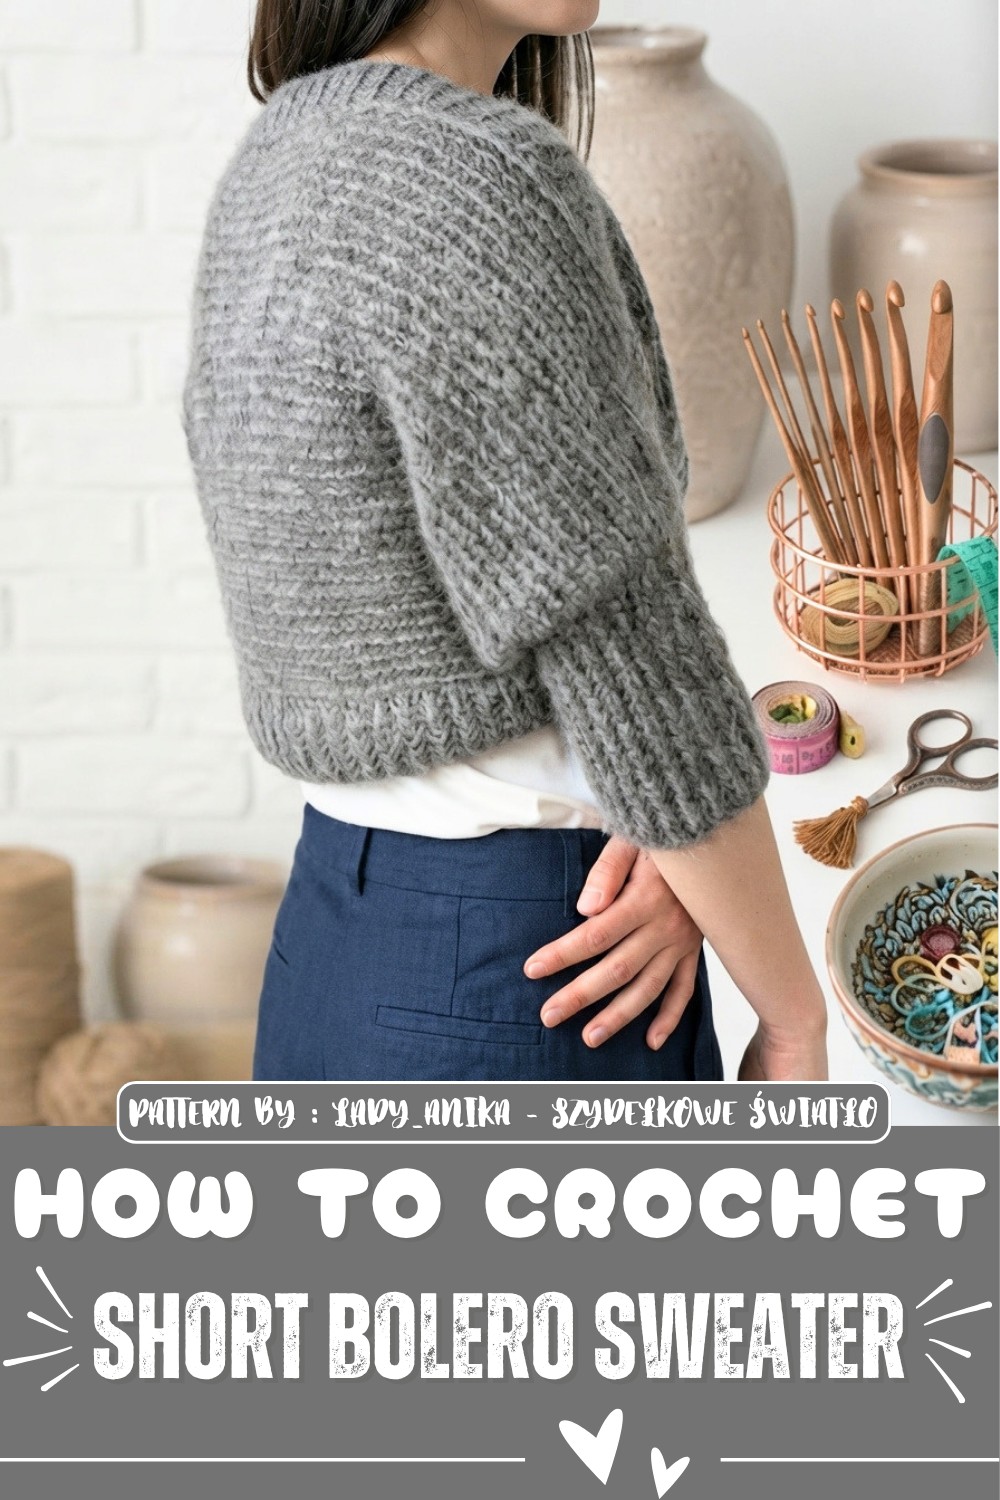
The bolero’s beauty comes from its simple, smart design, a rectangular shape that fits snugly over the shoulders and upper arms, providing just the right amount of coverage without adding bulk. The working style uses a loose but stable stitch pattern with front loop stitches, which reduces stretching and keeps the garment’s shape firm. Neatly ribbed cuffs on the sleeves add comfort and a polished finish.
One of the most attractive features is the gentle shimmer from the metallic thread woven in, giving the bolero sweater a festive glow ideal for holidays or special events. The pattern’s flexibility allows customization of length and size, making it practical for various body types and preferences. Combining elegance, comfort, and versatility, this bolero sweater is a wonderful addition to anyone’s wardrobe looking for a quick yet beautiful handmade accessory.
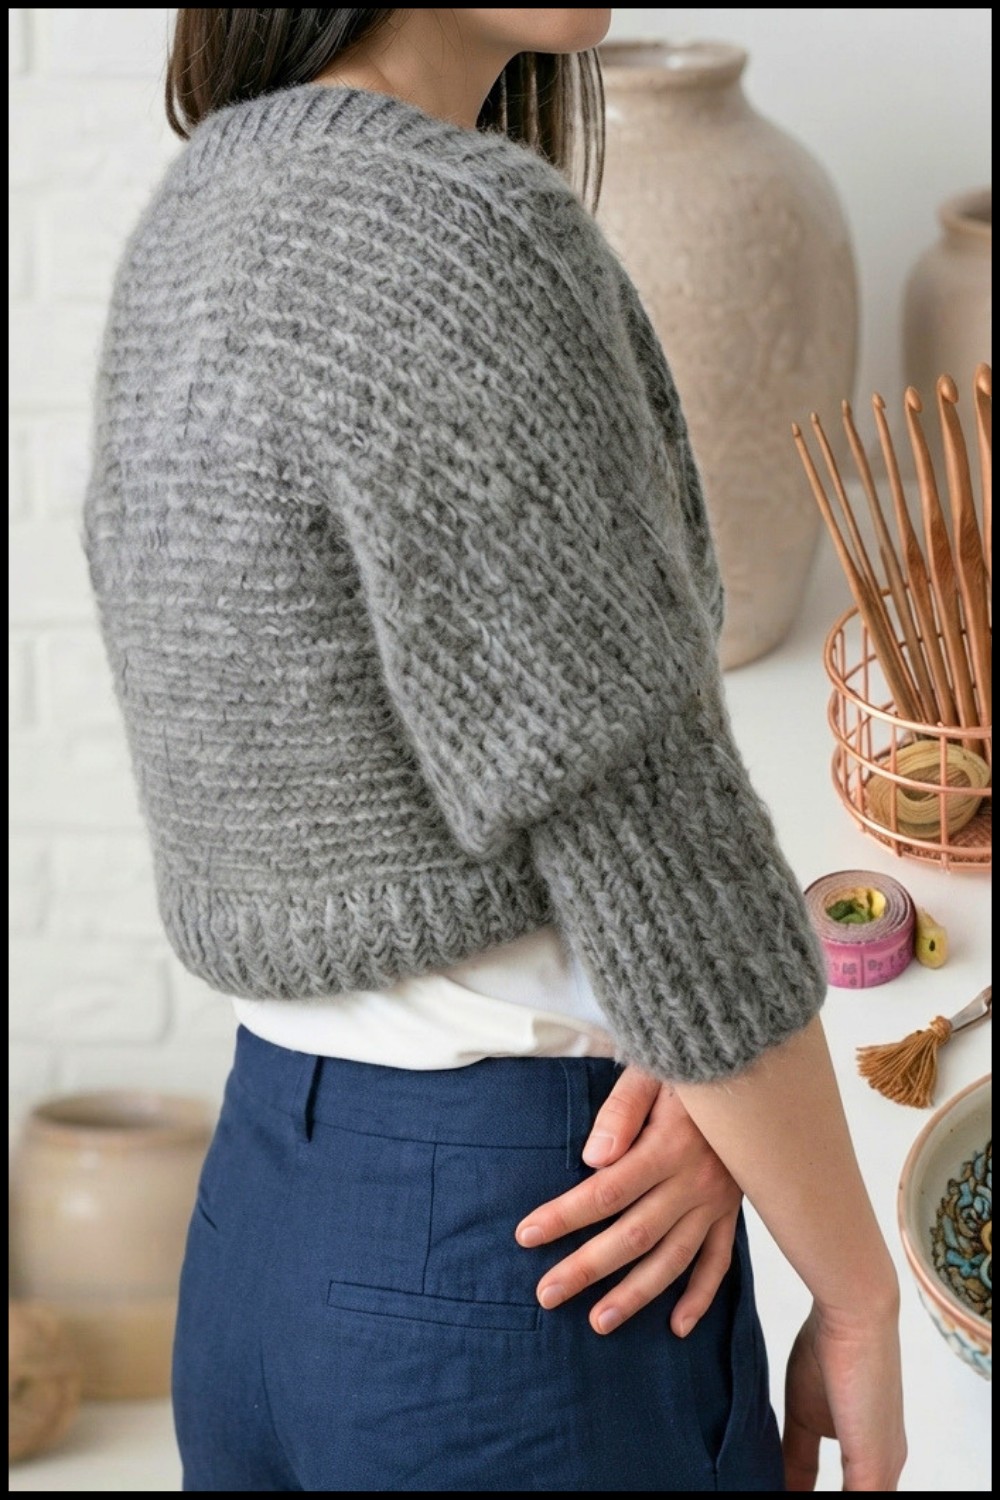
Glitter Bolero Pattern
A chic, sparkling bolero with a modern ribbed texture, seamless sleeve cuffs and finished edges. Constructed in a simple rectangular panel and assembled with minimal shaping, this design combines soft brushed alpaca with lurex thread for a subtle shimmer. Strategic use of post stitches and slip stitch edging produces a garment that is both refined and easy to wear, offering comfort, stretch, and a distinctly handmade look.
Skill Level
Intermediate: The pattern employs straightforward techniques—half double crochet, ribbing with front/post stitches, seaming, and slip stitch finishing—but requires attention to stitch placement and evenness for professional results. Experience with working in rows and rounds is beneficial.
Materials
- Yarn:
Drops Brushed Alpaca Silk (Color 3), approx. 5 skeins (800 m each) - Accent yarn:
Dark silver lurex thread for blending, worked alongside main yarn for glitter effect - Hooks:
5 mm (main body), 4 mm (cuffs start), 4.5 mm (ribbing), 3.5 mm (slip stitch edge) - Tools:
Stitch markers for edge management - Other:
Scissors, yarn needle
Special Stitches
- Half Double Crochet (HDC): Yarn over, insert hook, yarn over, pull up a loop, yarn over, pull through all three loops.
- Front Loop Only (FLO): Work stitch into the front loop; used on all rows after the foundation for vertical ribbing.
- Back Loop Only (BLO): Work stitch into the back loop; recommended on foundation row for edge neatness.
- Front Post HDC (FpHDC): Yarn over, insert hook around the front of the post (vertical part) of target stitch, yarn over and complete HDC.
- Back Post HDC (BpHDC): Yarn over, insert hook around the back of the post, yarn over and complete HDC.
- Slip Stitch (SL ST): Insert hook, yarn over, pull through both loops; used for finishing edge.
Stitch Abbreviations
- CH: Chain
- HDC: Half Double Crochet
- FLO: Front Loop Only
- BLO: Back Loop Only
- FpHDC: Front Post Half Double Crochet
- BpHDC: Back Post Half Double Crochet
- SL ST: Slip Stitch
- st(s): Stitch(es)
- rnd: Round
Useful Tips
- Always maintain an extra chain for each turning row to avoid tightening edges.
- Test your gauge. Make a single swatch of 10 rows and measure to confirm the finished width; adjust the starting chain to fit your “elbow to elbow” length.
- Use stitch markers at each row’s end to prevent accidental trapezoid shaping—keep your rectangle consistently square.
- Keep lurex thread held together with main yarn throughout for a uniform glitter effect.
- When picking up stitches around sleeves, distribute stitches evenly for comfortable fit; aim for a “parous” (even, divisible by 2) number for ribbing symmetry.
- Tighten slip stitch finishing rounds with a smaller hook for crisp, professional edges.

Pattern Instructions
Main Body (Rectangular Panel)
- Using 5 mm hook and both yarns held together, start with a slip knot.
- Chain to desired length (approx. 130 chains for standard women’s size; adjust to fit from elbow to elbow across your back).
- Make a sample swatch (10 rows) to adjust chain count as necessary for accurate sizing.
- Row 1:
- Work HDC in the back loop of each chain across (for neat foundation edge).
- CH 1, turn.
- Row 2 and onwards:
- Work HDC in front loop only (FLO) of every stitch across. This creates vertical ribbing and stabilizes the fabric.
- CH 1, turn at every row’s end.
- Repeat until the panel measures the distance from shoulder/neckline to desired depth (usually arm-to-arm plus sleeve depth).
- Place stitch markers at each row’s end to maintain a straight, rectangular shape.
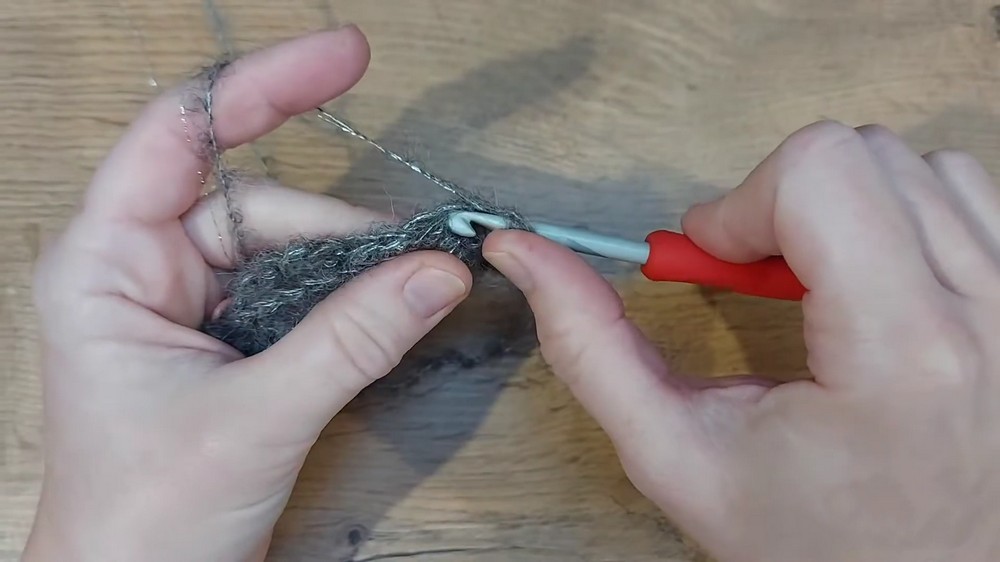
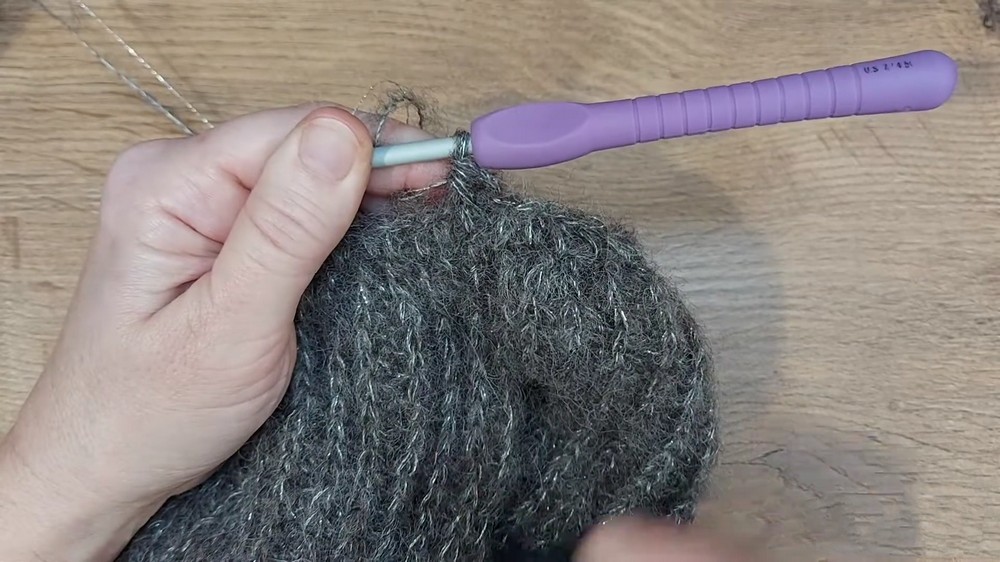
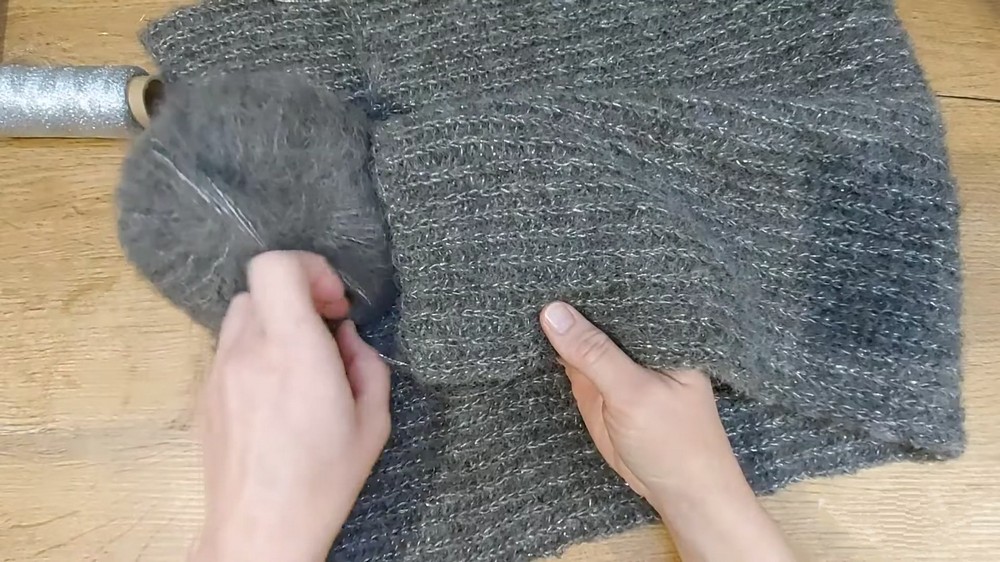
Creating Sleeve Cuffs
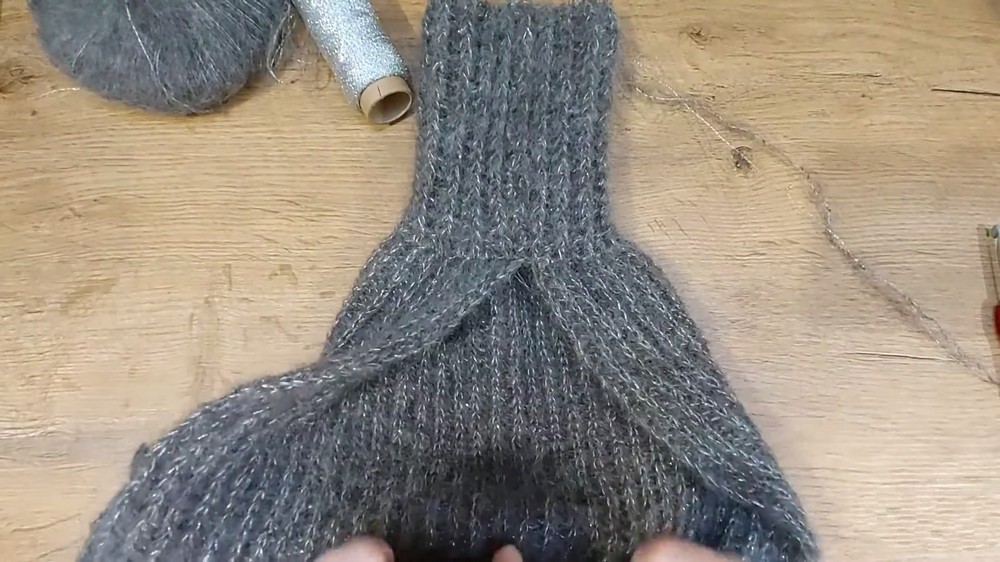
- When the main rectangle is complete, fold the panel and seam (join) the short edges to create a tube section for sleeves.
- Using a 4 mm hook, pick up stitches evenly around each tube opening by working a chain stitch sequence.
- Work one round of HDC, aiming for an even (parous) number of stitches.
- Switch to a 4.5 mm hook.
- Begin ribbing:
- Rnd 1: Alternate FpHDC and BpHDC around the circumference.
- Repeat the ribbing sequence for 18 rounds, maintaining stitch count and alternating post stitches for a cuffed effect.
- Fasten off and repeat for the second sleeve.
Neckline/Body Finishing
- Join yarn at the center top of the main opening (neckline).
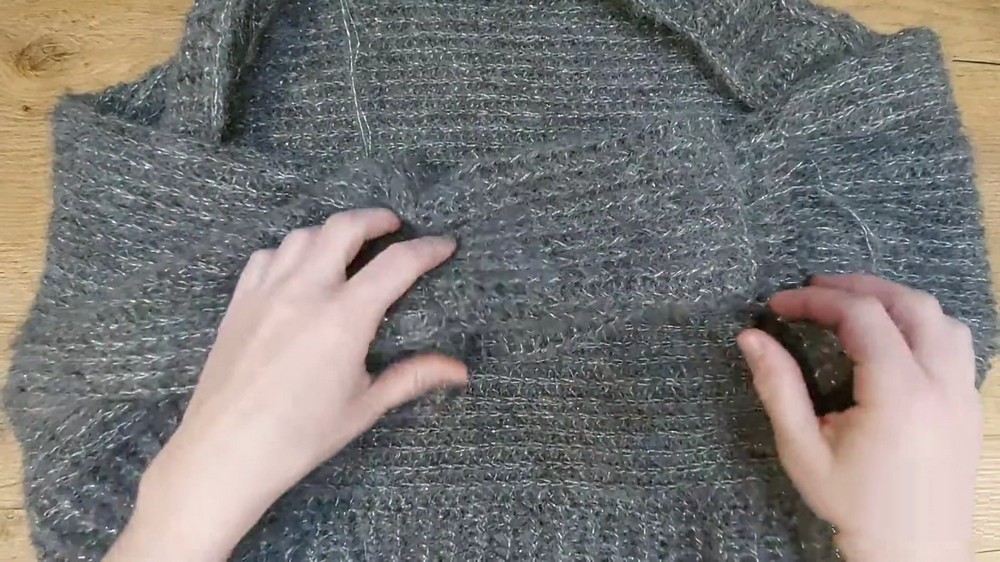
- Using 5 mm hook, work one round of HDC evenly around the perimeter (including the neckline and body hem, picking up stitches as needed).
- Next round: Switch to alternating FpHDC and BpHDC ribbing with a 4.5 mm hook, mirroring sleeve cuffs for consistency and stretch.
- For the final edge, use a 3.5 mm hook and work one round of slip stitches (SL ST) to subtly tighten and smooth the edge.
- Fasten off and weave in all ends neatly.
Assembly and Sizing
- The bolero shape is created by folding the rectangle, seaming sleeve tubes, and adding ribbed cuffs and finishing around body and neckline.
- Each sleeve measures deep enough for elbow coverage; the main panel width should span elbow to elbow comfortably.
- Finished size is adjustable via starting chain and row count—measure as you go.
- Ribbed cuffs and neckline contribute to a stretch fit, helping the piece contour to your body.
- The combination of brushed alpaca and lurex produces a shimmering, lightweight garment that is both warm and eye-catching.
Ending Words
The Glitter Bolero pattern delivers a timeless silhouette with dimensional ribbing, subtle sparkle and an inviting softness, suitable for layering over evening wear or casual outfits alike. Adaptable for different sizes, the design ensures a snug but flexible fit, and is easily modified for sleeve length or bolero depth. Post stitch ribbing and a slip stitch finish create refined, professional edges, while use of markers and careful gauge swatching key to uniform results. This project offers both indulgence in beautiful fibers and satisfaction in wearable sophistication.