Stay warm and stylish with an easy to make crochet sweater designed with ribbing, cozy yarn, and a relaxed fit for all day comfort.
Every crocheter knows the joy of turning a bundle of yarn into something truly special, and a crochet sweater is one of those projects that feels extra meaningful. This particular sweater stands out with its cropped fit, ribbed cuffs, and softly textured double crochet body. The slightly oversized sleeves taper gracefully at the wrists, adding a touch of coziness while keeping the overall look effortlessly chic. Its versatile design suits almost everyone—whether you're after a snug, form fitting garment or a relaxed, roomy sweater. With easy customization options, you can adjust the length, widen the sleeves, or even experiment with colors and stripes to suit your personal style.
Cheerful Free Crochet Sweater Pattern for Girls
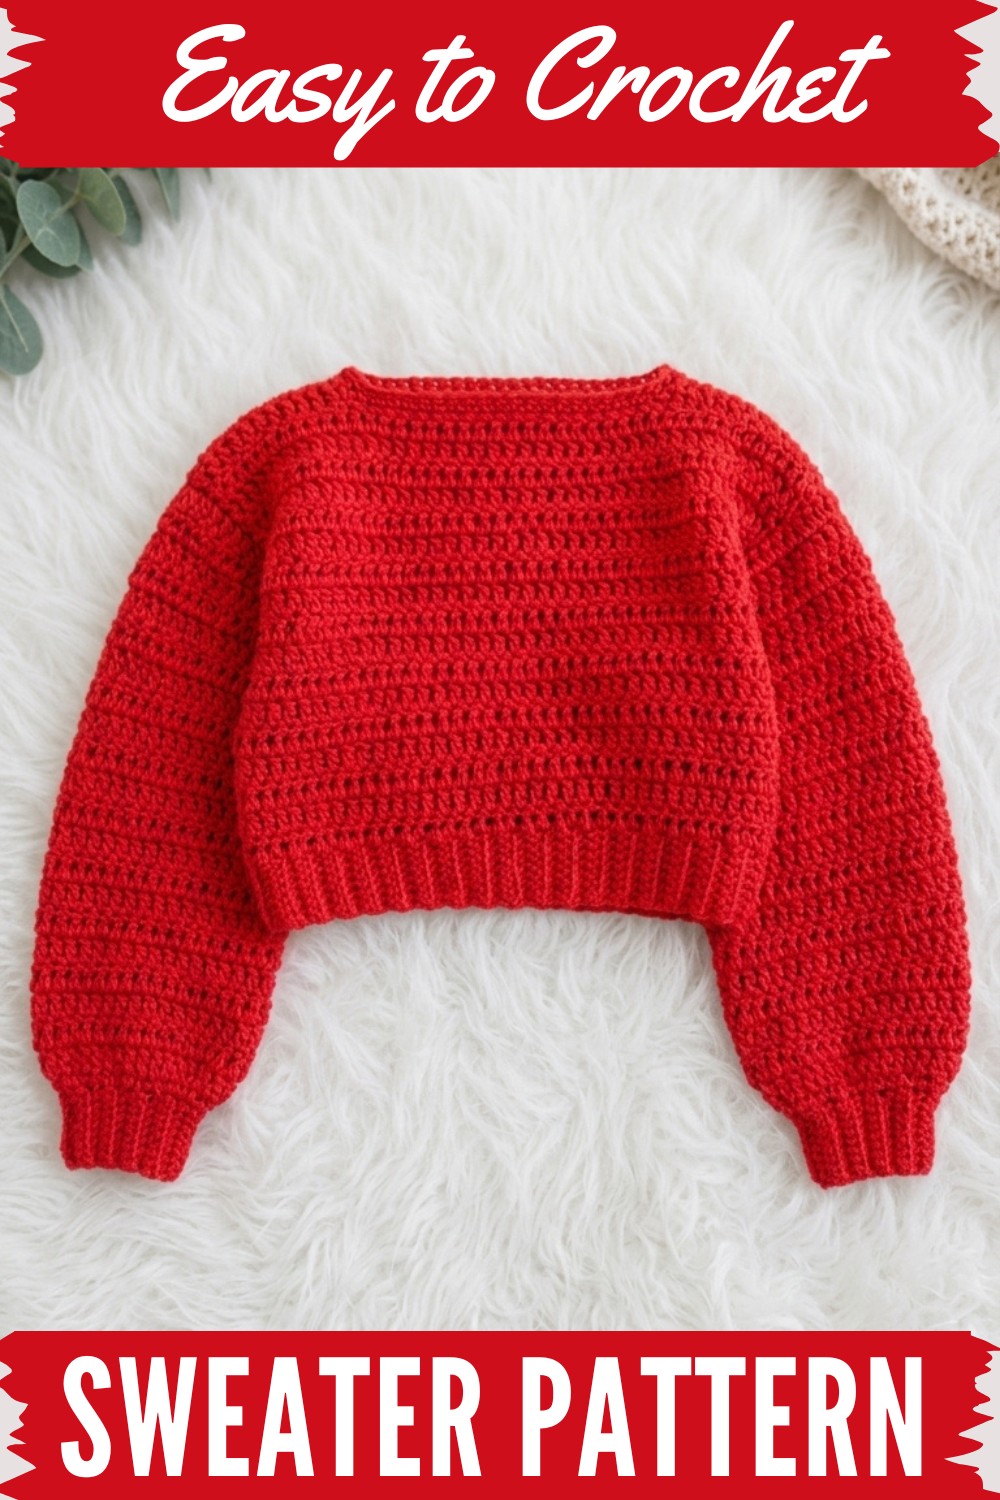
It’s a project that’s friendly to both beginners and intermediate crocheters, allowing for creativity without overwhelming complexity. The inspiration behind this sweater came during those cold nights when you want something warm but not bulky—a piece that wraps you in comfort yet looks polished enough to wear outside. Chunky yarn works beautifully here, bringing both warmth and structure while adding a plush texture that makes the ribbing stand out brilliantly.
The construction is refreshingly simple: basic stitches like front loop single crochet for the ribbing, double crochet for the main panels, and a few thoughtful increases and decreases for shaping. These elements come together to create a sweater that’s equal parts stylish and practical. Whether worn casually with jeans or styled over a dress, this sweater is more than just clothing—it’s a cozy piece of art, stitched with love.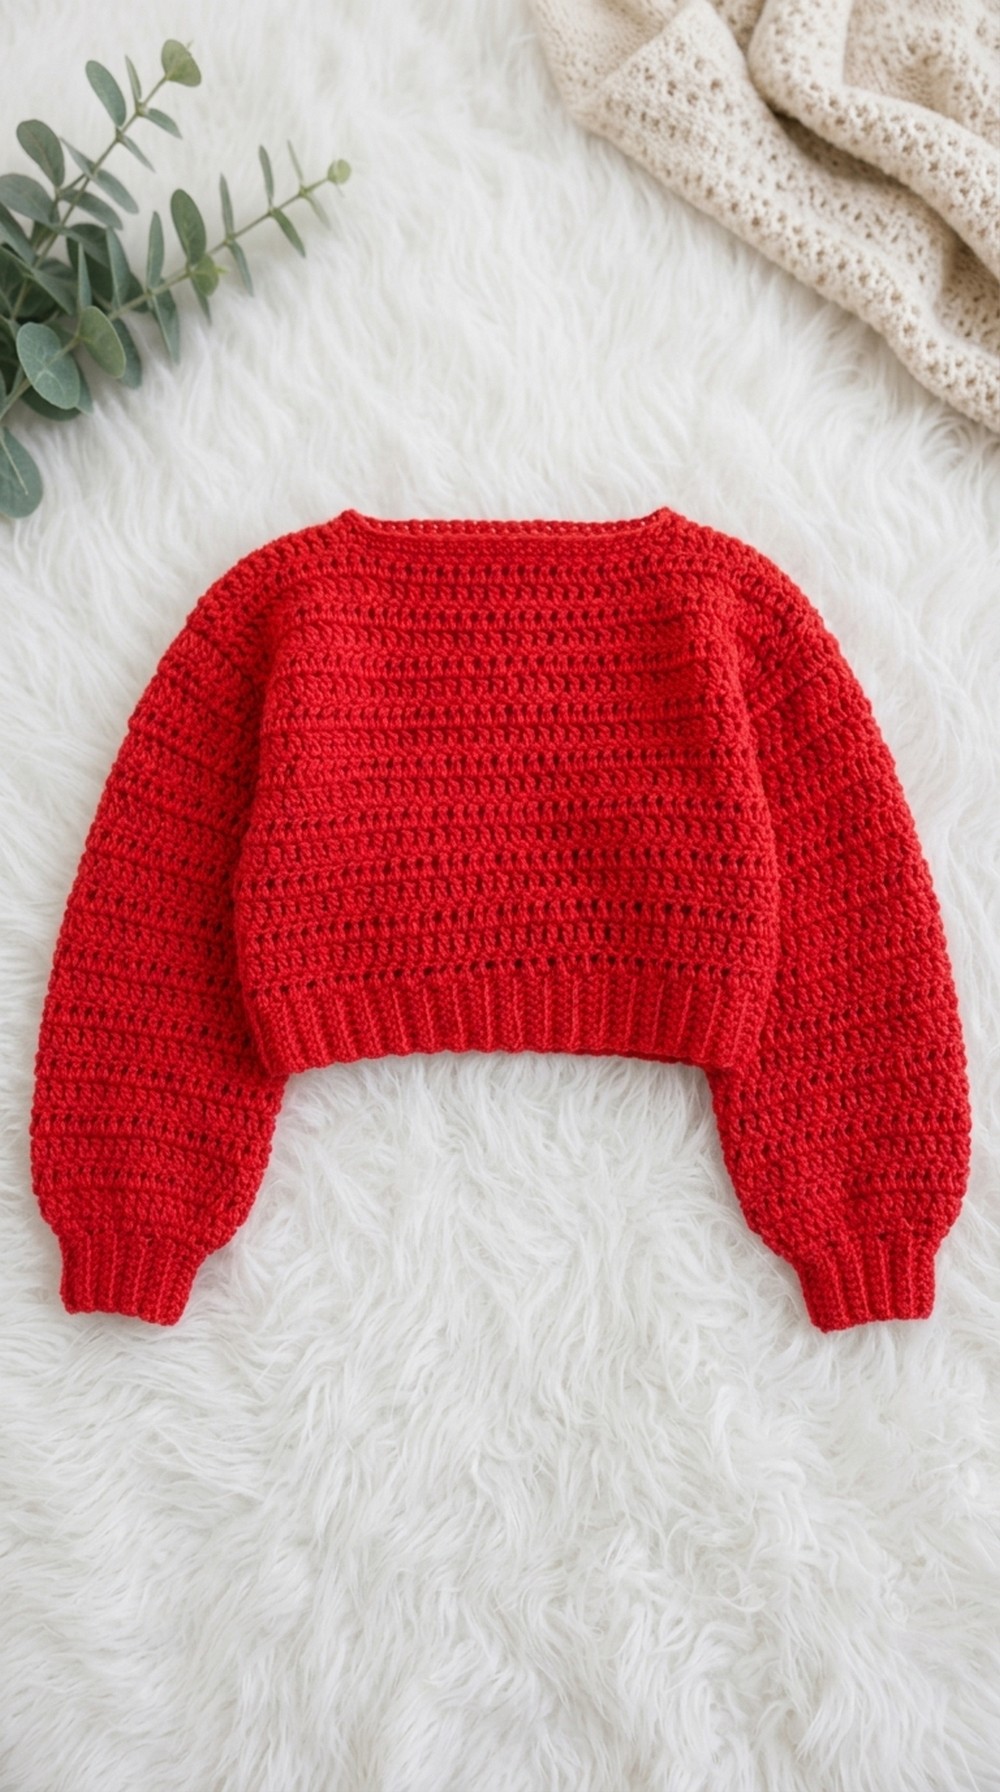
Stunning Crochet Sweater Pattern
Designed for UK Size 8, this pattern is highly customizable—feel free to adjust measurements for different sizes. All you need is chunky acrylic yarn and a 6mm crochet hook.
Quick Overview of the Pattern
- Construction: The sweater is worked in four sections—two sleeves and two body panels—then assembled with slip stitches. The neckline is added for a clean, polished finish.
- Key Techniques: Front loop single crochet, double crochet, decreasing, and seam slip stitching.
Materials
- Yarn: Chunky acrylic yarn (Signet brand recommended), approximately:
- 4–5 balls for UK Size 8.
- 5–6 balls or more for larger sizes or longer lengths.
- Yarn Color: Bright Red
- Hook: 6mm crochet hook.
- Additional Tools:
- Measuring tape
- Scissors
- Tapestry needle
- Stitch markers (optional)
Skill Level
Beginner Friendly
Techniques Used
- Ch: Chain Stitch
- Sc: Single Crochet
- FLO Sc: Front Loop Only Single Crochet
- Dc: Double Crochet
- Sl st: Slip Stitch
- Dec: Decrease
Stitch Abbreviations
| Abbreviation | Stitch Name |
|---|---|
| Ch | Chain |
| Sc | Single Crochet |
| FLO Sc | Front Loop Only Single Crochet |
| Dc | Double Crochet |
| Sl st | Slip Stitch |
| Dec | Decrease |
Gauge
Approximately 10–12 Dc stitches in 4 inches. Adjust hook or tension as needed.
Construction (Step by Step)
1. Sleeves (Make 2)
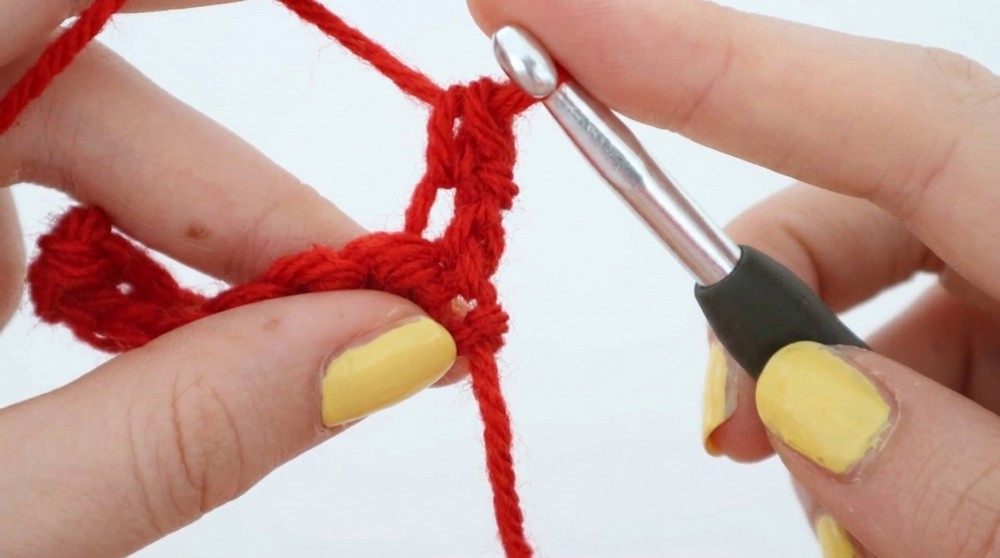
Ribbing
- Slip Knot: Make a slip knot on your hook.
- Foundation Chain: Chain 9 (or enough to measure ~2 inches).
- Row 1:
- Single crochet (Sc) in the second chain from the hook and into each chain across.
- Ch 1, turn work.
- Row 2 and Onwards:
- Work FLO Sc into each stitch across.
- Ch 1, turn work.
- Continue repeating Row 2 until the ribbing measures 10 inches (or your wrist circumference).
Body of the Sleeve
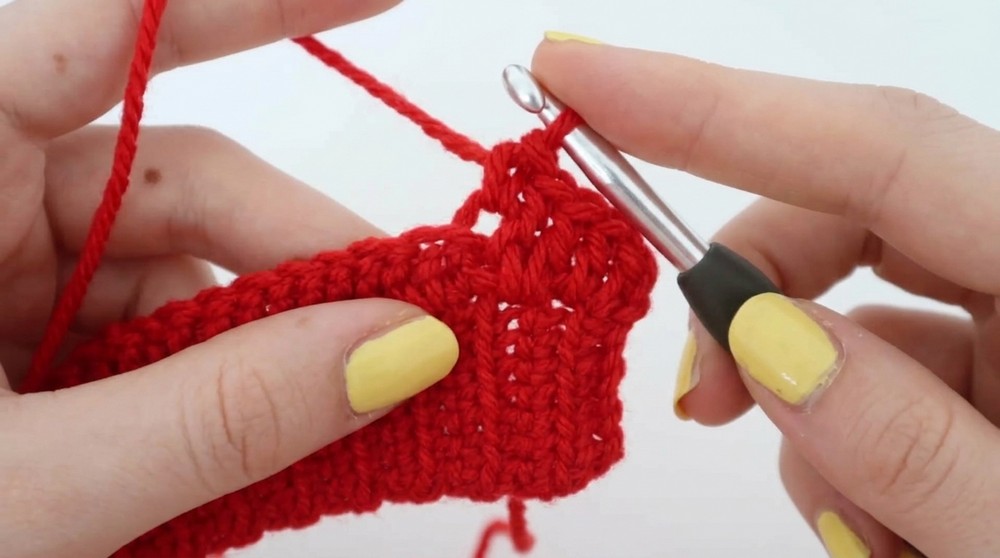
- Foundation Row for Body:
- When the ribbing is complete, Ch 3 (counts as the first Dc of the next row).
- Work 1 Dc into each edge stitch of the ribbing rows.
- For UK Size 8, you should get 44 Dc.
- Ch 1, turn work.
Increasing the Sleeve
- Increase Row 1:
- Work 1 Dc into the first stitch and 2 Dc in the last stitch of the row.
- Dc normally into all other stitches.
- Ch 1, turn.
- Continue increasing as described above for both the first and last stitches of each row until the sleeve width reaches the measurement around your upper arm (~14.5 inches for UK Size 8).
Sleeve Length
- Straight Rows:
- Once the sleeve width is reached, stop increasing and work straight Dc rows.
- Continue until the sleeve length (including the ribbing) matches 17 inches.
- Create a second identical sleeve using the same steps.
2. Main Body Panels (Front & Back)
Ribbing
- Slip Knot: Create a slip knot on your crochet hook.
- Foundation Chain: Chain 9 (or 2 inches).
- Row 1:
- Work Sc into each chain across.
- Ch 1, turn work.
- Row 2:
- Work FLO Sc into each stitch across.
- Ch 1, turn the work.
- Continue repeating Row 2 until the ribbing measures your waist/hip circumference (example: 16 inches).
Body Panel Rows
- Foundation Row for Body:
- Ch 3, and work Dc into each ribbing row edge evenly.
- For the example size, aim for approximately 50 Dc stitches. Adjust according to your measurements.
- Ch 1, turn work.
- Dc Rows:
- Continue working straight Dc rows, with no increases or decreases, until the panel measures your desired length before the neckline (~12 inches total height, including 2 inches of ribbing).
- Repeat these steps to make the second body panel.
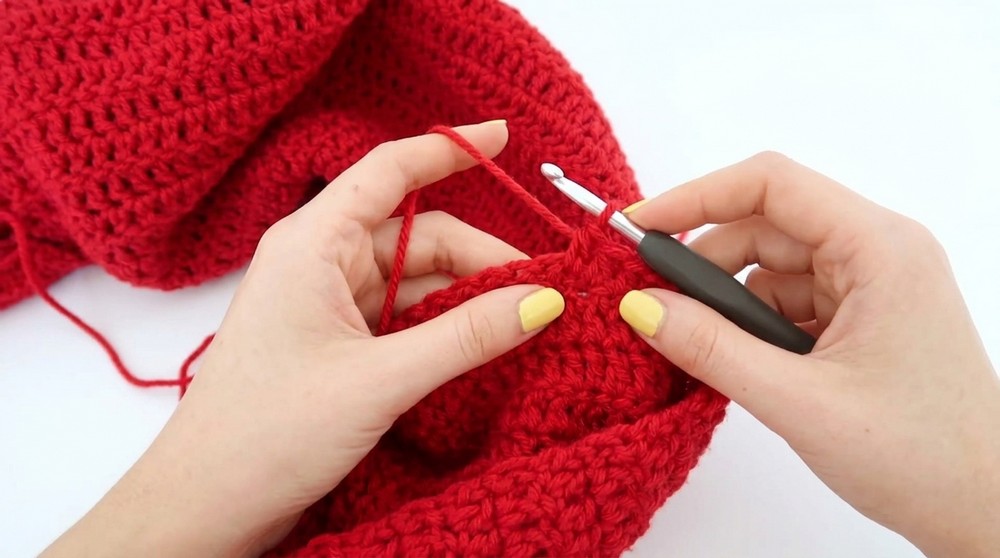
3. Neckline & Shoulders
Neckline Shaping
- Find the Center Point: Fold the panel in half lengthwise and mark the center point using a stitch marker.
- Measure and Mark Neckline: Measure 3.5 inches outwards from the center point on each side and place stitch markers (total neckline width ~7 inches).
- Decrease for Neckline:
- Work Dc rows across the width of the panel.
- Stop 2 stitches before the stitch marker position and work a Dec as follows:
- Yarn over and insert the hook through the stitch.
- Pull up a loop, yarn over, pull through 2 loops.
- Insert hook into the next stitch, pull up a loop, yarn over, pull through 2 loops.
- Yarn over and pull through all 3 remaining loops.
- Ch 1, turn work.
Shoulder Construction
- On either side of the neckline, skip 1 stitch at the neck edge on each new row and continue with Dc.
- Continue until each shoulder is 4 inches wide and 2.5 inches high (for UK Size 8).
Repeat steps for the other side and on the second body panel.
4. Assembly
Side Seams of Body
- Place the front and back body panels inside out with edges aligned.
- Starting at the bottom edge, work a Sl st seam side-to-side to join the panels.
- Stop the seam just before the armhole opening.
Attach Sleeves
- Align the top of the sleeve with the armhole opening. Use stitch markers if needed.
- Slip stitch around the armhole to attach the sleeve to the body.
- Once the top of the sleeve is secure, fold the sleeve in half lengthwise and Sl st along its length to close it.
Repeat for the second sleeve.
5. Final Details: The Neckline
- Attach Yarn: Join yarn to the neckline at the back using a slip knot.
- Round 1:
- Work Sc into every stitch around the neckline.
- Join with Sl st, then Ch 1, and turn work.
- Round 2:
- Work another round of Sc into every stitch around the neckline.
- Fasten off and weave in ends using a tapestry needle.
Assembly & Finished Size
- Once all panels and sleeves are fully assembled, turn the sweater right side out to hide the seams.
- Ensure all loose ends are woven in, and block the sweater lightly for a polished finish.
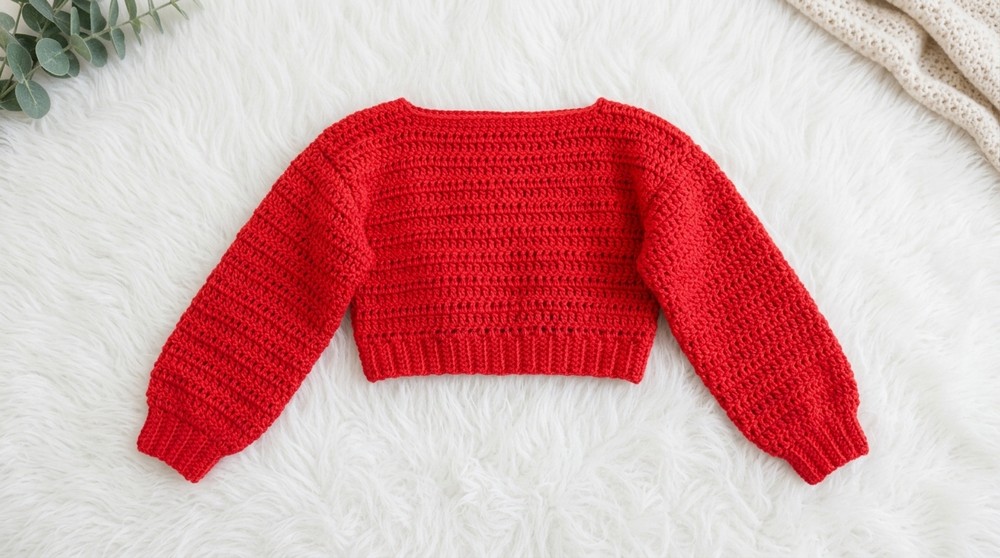
- Finished Size: This pattern creates a cropped sweater approximately 16 inches wide and 14.5 inches long for UK Size 8, inclusive of the neckline and ribbing.
Conclusion
Congratulations, You’ve now completed a stylish and cozy Chunky Cropped Sweater. This versatile design is great for layering, lounging, or wearing on cooler days. If desired, experiment with different colors or alter the lengths for a more personalized fit.