Bring some paper-crafted charm home with 3D Paper Art Totoro, a playful project packed with creative details, easy styling, and display inspiration.
Bring a little forest magic to your craft table with a paper creation that feels both playful and eye-catching. Making this project is a fun way to turn simple paper into a charming Totoro figure without needing expensive supplies. Its purpose is not only to create a cute decoration but also to enjoy a relaxing craft that lets your creativity take shape, one fold and detail at a time.
3D Paper Art Totoro – Turn Simple Paper Into Magic
The creative tutorial is presented by Flying Mio, whose video shows how to create a 3D Totoro figurine using paper. For step-by-step guidance, you can follow the original tutorial LINK BELOW.
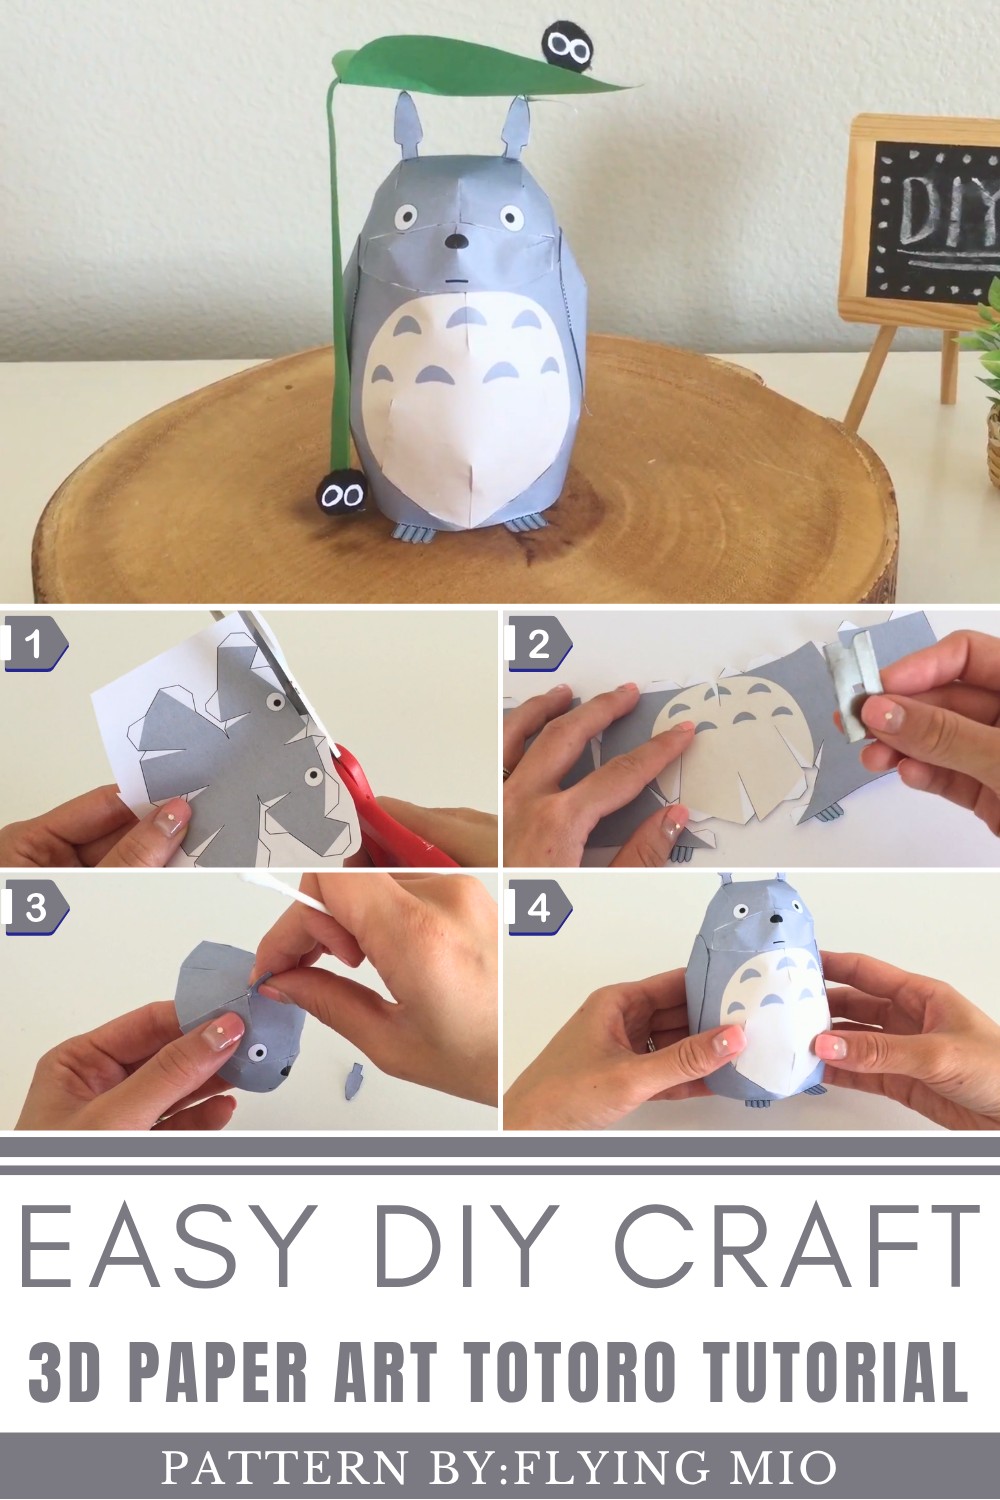
The 3D Paper Art Totoro has a lovely dimensional look that makes it stand out from ordinary paper crafts. Keep the classic gray style for a soft, natural feel, or experiment with different shades and small details to give your piece a fresh personality. A neat finish and carefully shaped parts can make the final figure look polished and ready to display.
Once finished, you can place it on a study desk, bookshelf, craft corner, or bedside table. It can also become a cute handmade gift, party decoration, or part of a themed display. Beyond decoration, paper crafting can help improve patience, focus, creativity, and attention to small details.
DIY: 3D Totoro Paper Craft
This tutorial will walk you step-by-step to assemble Totoro from paper patterns. You’ll also learn how to add seasonal accessories, like his tiny friends and a green leaf, to complete the look.
Phase 1: Materials and Preparation
Materials Needed:
- 3D Totoro paper pattern (can be downloaded online by searching “3D Totoro pattern”)
- Scissors or craft knife
- Elmer’s glue or similar liquid glue
- Q-tips (for applying glue)
- Green construction paper (optional for accessories)
- Black construction paper (optional for soot sprites)
- White paper (optional for eyes)
Phase 2: Prepare the Totoro Pattern
Step-by-Step Instructions:
- Acquire a Pattern:
- Search online for "3D Totoro paper pattern" and download it. You may find official or fan-made patterns, so ensure it includes all parts of Totoro (e.g., head, body, tail, ears, face pieces).
- Cut Out the Pattern:
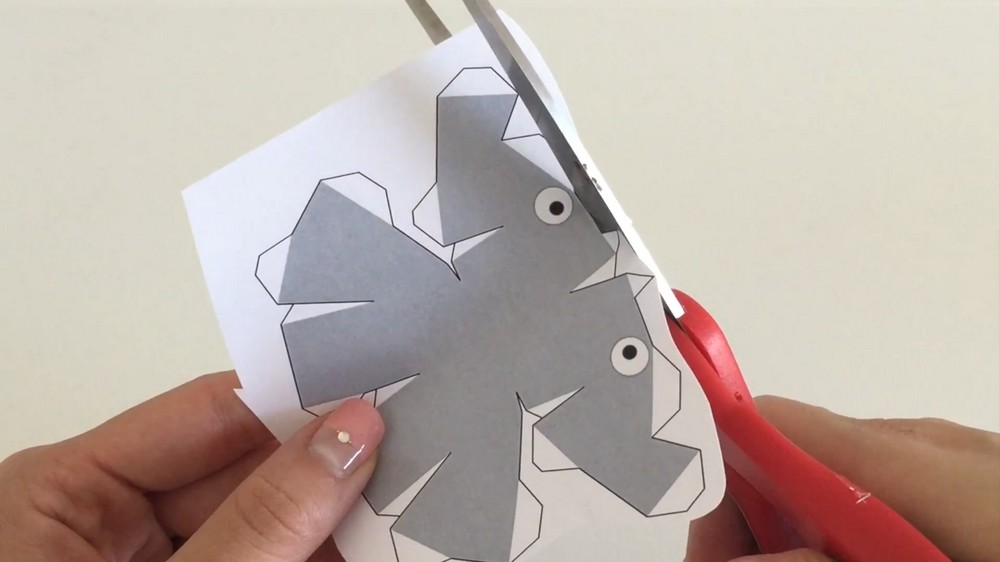
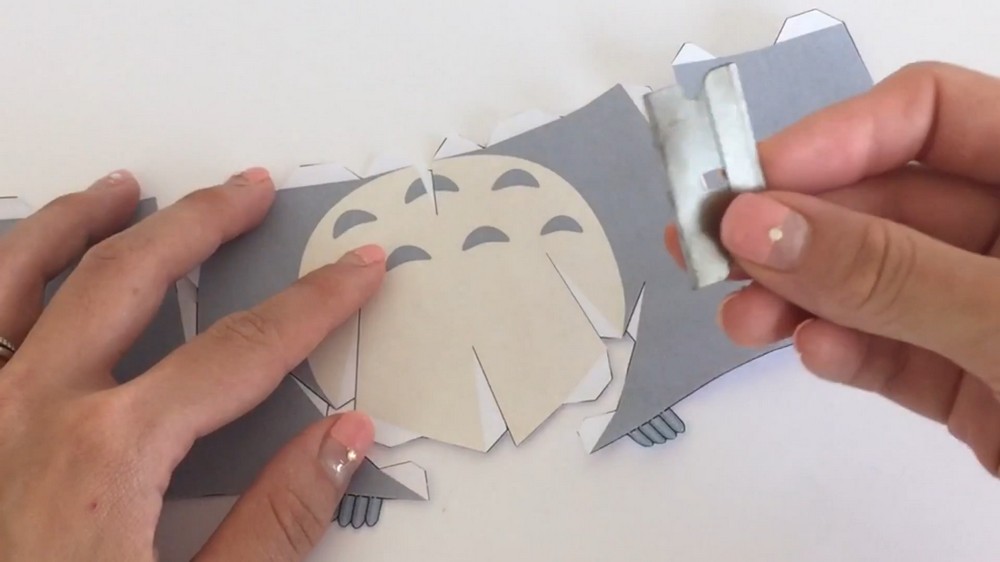
- Carefully cut out all the parts of the Totoro pattern using scissors or a craft knife.
- Pay attention to the tabs (small white flaps) on each part—do not cut them off! These tabs will help you glue the pieces together.
- Plan Each Part:
- Identify each of Totoro’s body parts: head, face, body, arms, legs, tail, etc.
- If the pattern has optional features, like a smiling face or blank face, decide which look you prefer.
Phase 3: Folding and Gluing the Paper Parts
Step-by-Step Instructions:
- Fold Along the Lines:
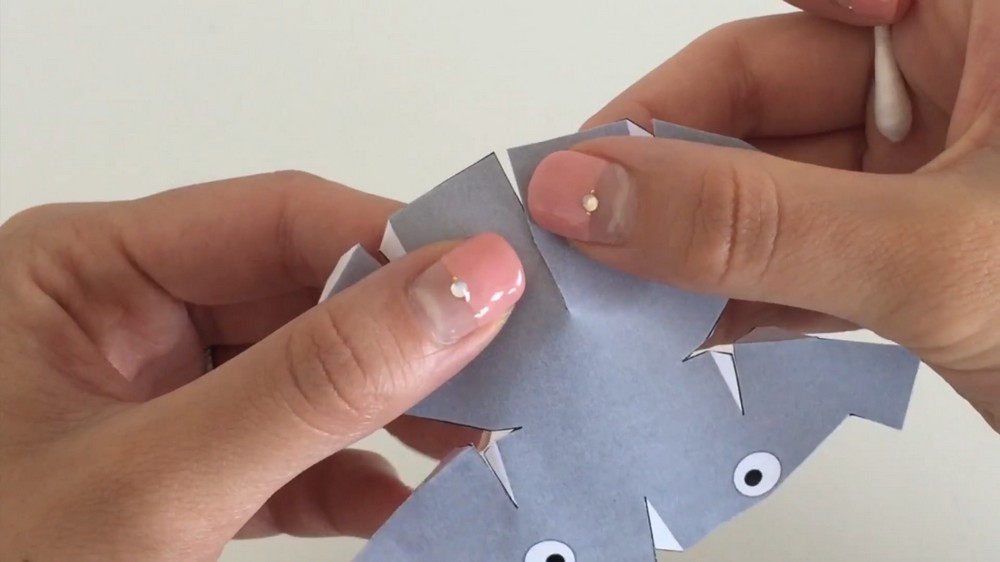
- Using your fingers or a tool (like the edge of a ruler), gently fold along the designated fold lines on each paper piece of the pattern.
- Fold all tabs inward so they will be ready for gluing.
- Create 3D Shapes:
- Check parts like Totoro’s head. If there’s a white triangular gap along the edges, curve the piece inward and glue the two sides together to give it a rounded 3D shape.
- Apply Glue Carefully:
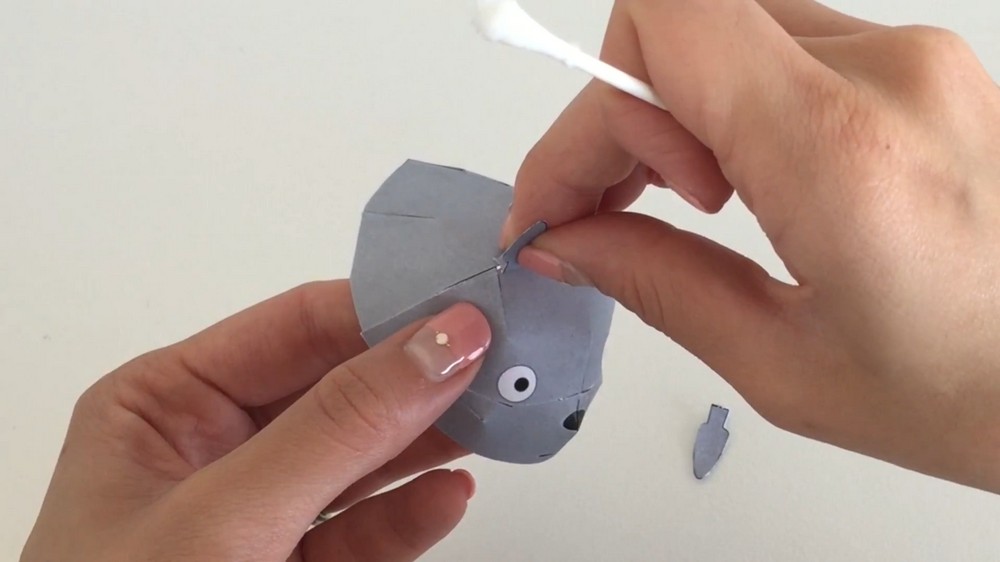
- Use a Q-tip dipped in Elmer’s glue to apply a light amount to the tabs. Avoid using too much glue, as it can soften the paper and ruin the shape. Hold each glued edge together for 10 seconds before moving to the next section.
- Assemble sections such as the body, head, and face piece separately.
- Shape Totoro’s Head:
- Begin with Totoro’s head by approximating all the tabs. Curve and fold the pieces gently to make it round. Glue the back part of the head together before the front face section.
- Build Totoro’s Body:
- Assemble the cone-shaped body piece by folding and curving it carefully with tabs glued in place.
- Make sure the bottom tabs curve outward slightly to allow Totoro to stand flat on his feet.
- Combine Head and Body:
- Attach Totoro’s head to the top of the cone-shaped body. This might take some time, as you’ll need to align the tabs carefully and hold them in place while they dry.
- Insert one hand into the hollow body if needed to press the tabs gently from the inside.
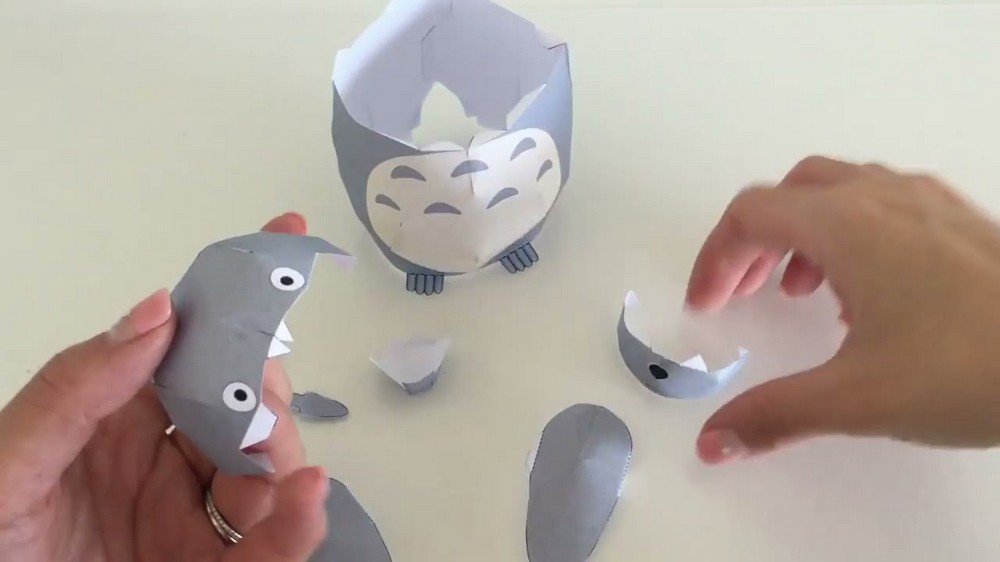
Phase 4: Add Finishing Details to Totoro
Step-by-Step Instructions:
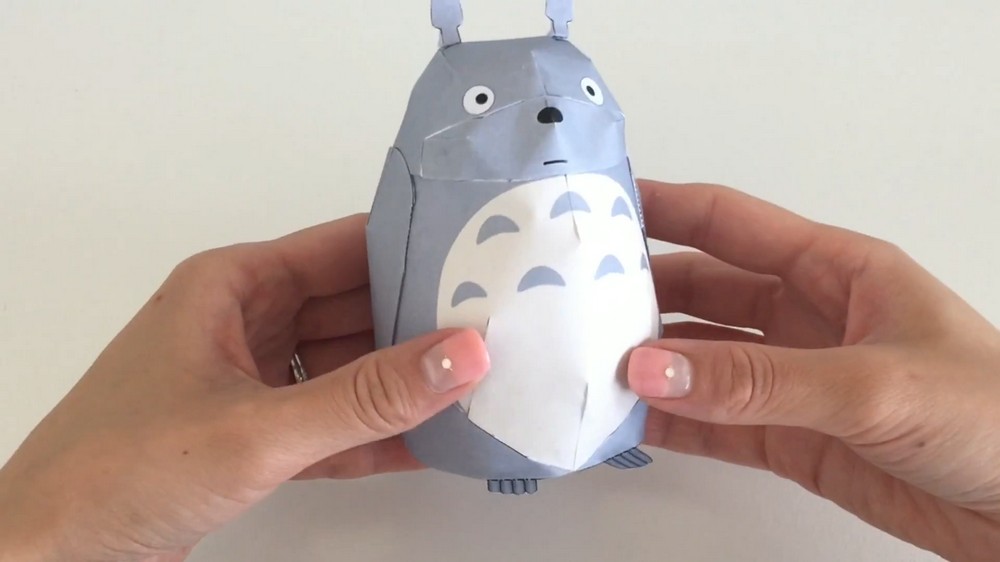
- Ears:
- Fold and glue Totoro’s ears and attach them to the top of his head for that signature look.
- Arms and Tail:
- Fold and glue Totoro’s arms onto the sides of his body. You can position them downward or outward as if he’s waving.
- Add his tail to the back of the body to complete the figure.
- Face Customization:
- If the pattern includes Totoro’s smile, decide whether to use a small, neutral mouth or glue a big happy grin over it.
Phase 5: Optional Accessories
Add personality and charm to your Totoro with accessories!
1. Giant Green Leaf:
Materials Needed:
- Green construction paper
- Scissors
Instructions:
- Cut Out a Leaf Shape:
- Freestyle a big green leaf shape (oval with a pointed end) for Totoro’s umbrella.
- Add Texture:
- Fold down the middle of the leaf to give it realistic dimension. Press gently to stiffen the fold.
- Create a Stem:
- Cut a long pointed piece of green paper and fold it lengthwise. Glue it to the back of the leaf.
- Attach to Totoro:
- Gently slide the leaf under Totoro’s arm or attach it to the top of his head.
2. Soot Sprite Friends:
Materials Needed:
- Black construction paper
- White paper
- Scissors
Instructions:
- Cut Small Black Circles:
- Use black paper to cut out small circles (around the size of a dime).
- Add Beady Eyes:
- Cut tiny white circles for the eyes and glue them onto the black soot sprites.
- Position Around Totoro:
- Place the soot sprites near Totoro’s feet or perched on his tail for a playful look.
Phase 6: Showcase Your Totoro
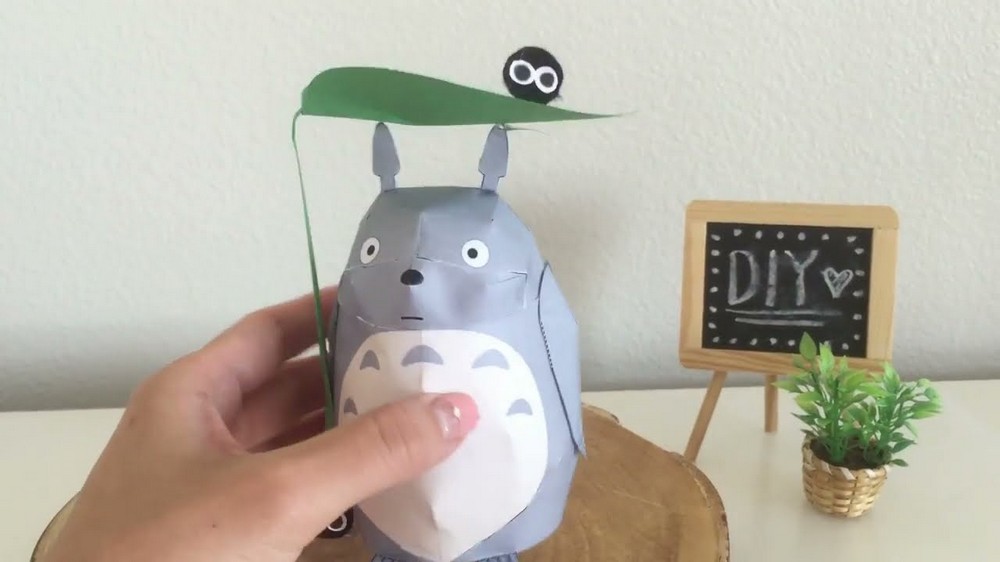
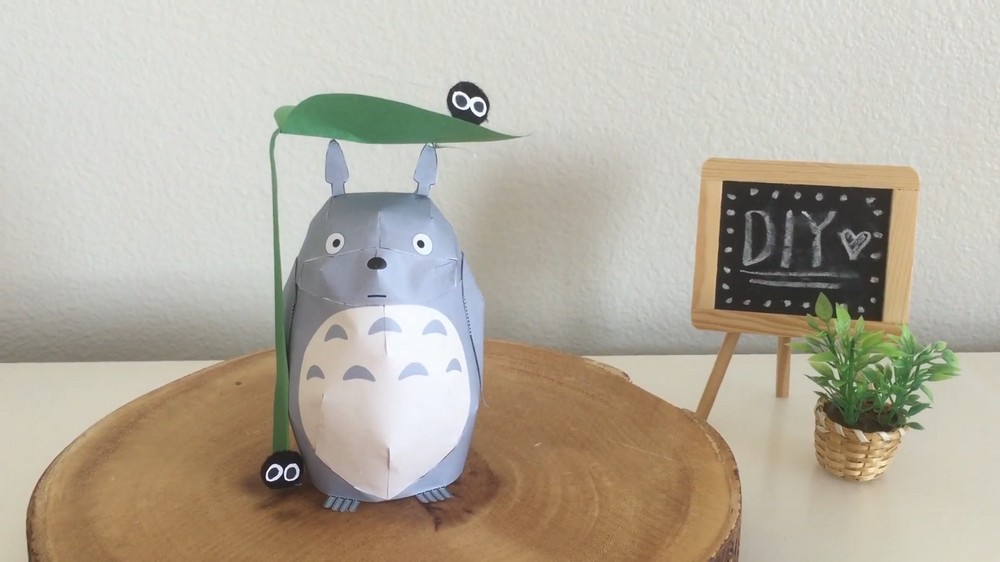
Once you’ve assembled Totoro and added accessories (if desired), stand your 3D Totoro proudly as a gift or decoration! Here's a summary of what you should have:
- Totoro: Standing with a rounded head and body.
- Accessories: Include the green leaf and soot sprite friends for extra whimsical charm!
Tips for Beginners:
- Take your time folding and gluing the tabs to ensure all pieces fit properly.
- Be gentle with the paper—it’s delicate and easy to tear!
- If something doesn’t align, use tweezers to get a precise hold while gluing.