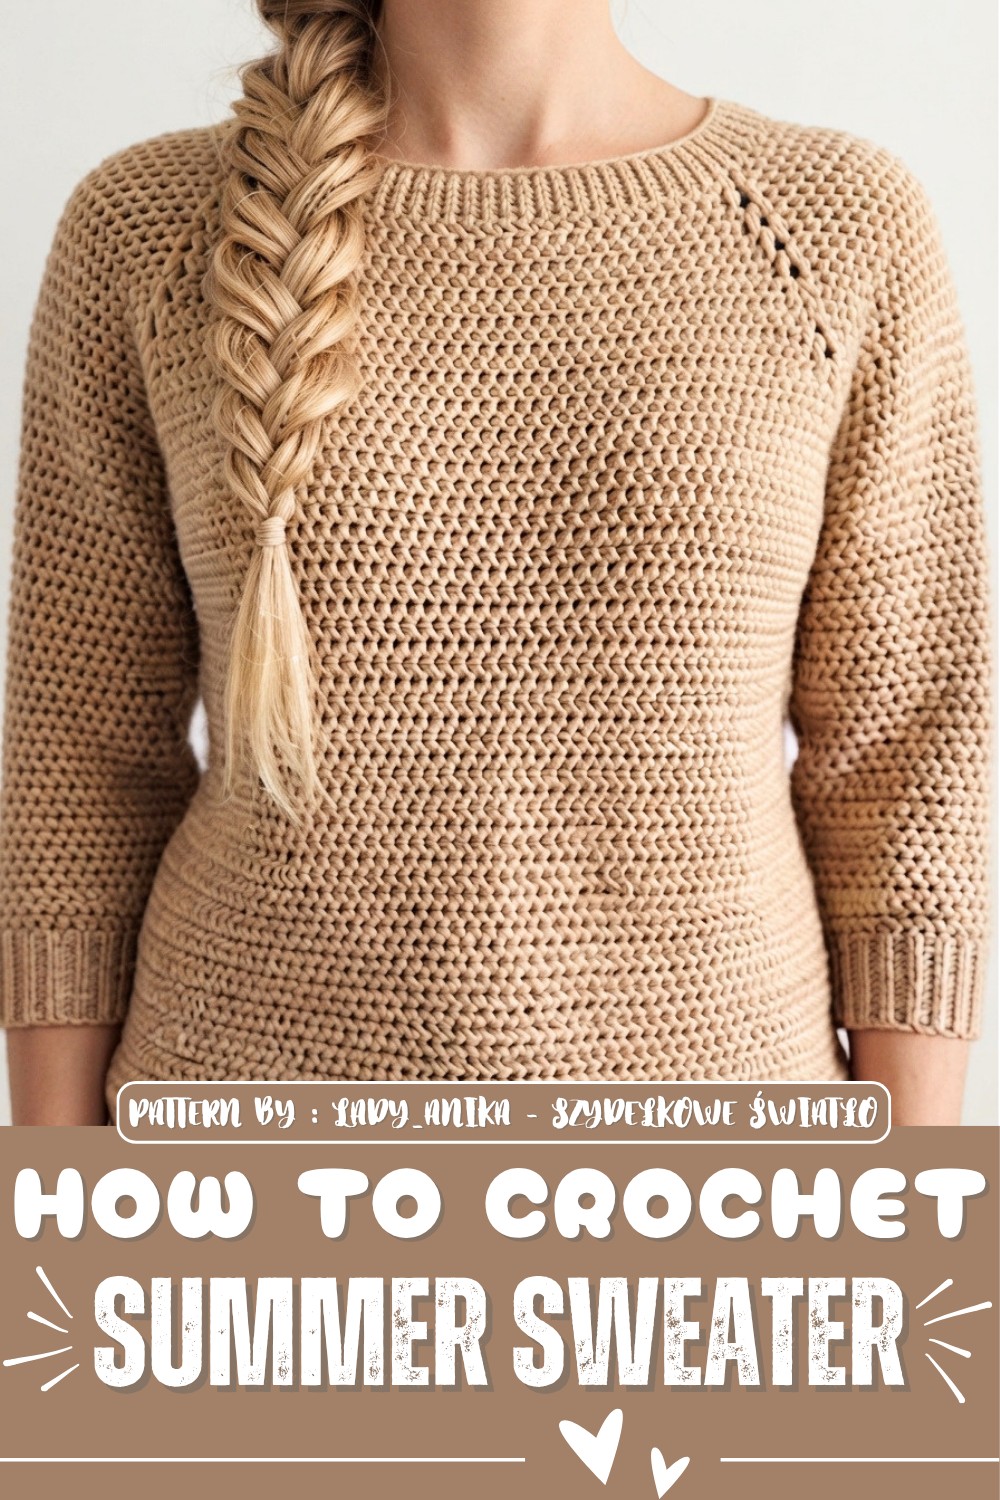
Enjoy effortless summer style with this Free Crochet Summer Sweater Pattern that's designed for breathable comfort and easy layering on warm sunny days.
Warm-weather crochet clothes are perfect for adding a handmade touch to an everyday wardrobe. The Free Crochet Summer Sweater Pattern is a light and pretty clothing project that gives you a comfortable layer for cool mornings, breezy evenings, or relaxed days outside. Its simple style makes it easy to wear with jeans, skirts, shorts, or casual pants.
The sweater has a relaxed look that feels comfortable without looking too heavy. A soft crochet texture gives the fabric a handmade feel, while the light style works well for warmer weather. The shape can look simple and neat, making it a useful piece for many outfits. Soft colors can give the sweater a calm summer look, while brighter shades can bring more fun and color to your wardrobe. Summer crochet sweaters are also popular because light, open designs can work well as an extra layer during changing weather.
How to Crochet Stylish Summer Sweater - Step-by-Step Free Pattern
Lady_Anika - Szydełkowe Światło is a YouTube channel that shares crochet clothing ideas, including sweater projects and other wearable designs. Its videos can be helpful for crocheters who enjoy watching a project take shape on screen. The channel also features sweater designs with different looks and textures, giving crochet lovers plenty of ideas for handmade clothing.
One nice part of a summer sweater is the freedom to make it feel personal. You can choose a favorite color and change the overall length or fit to suit your style. A shorter version can look fresh with high-waisted clothes, while a longer shape can work well as a simple cover layer.
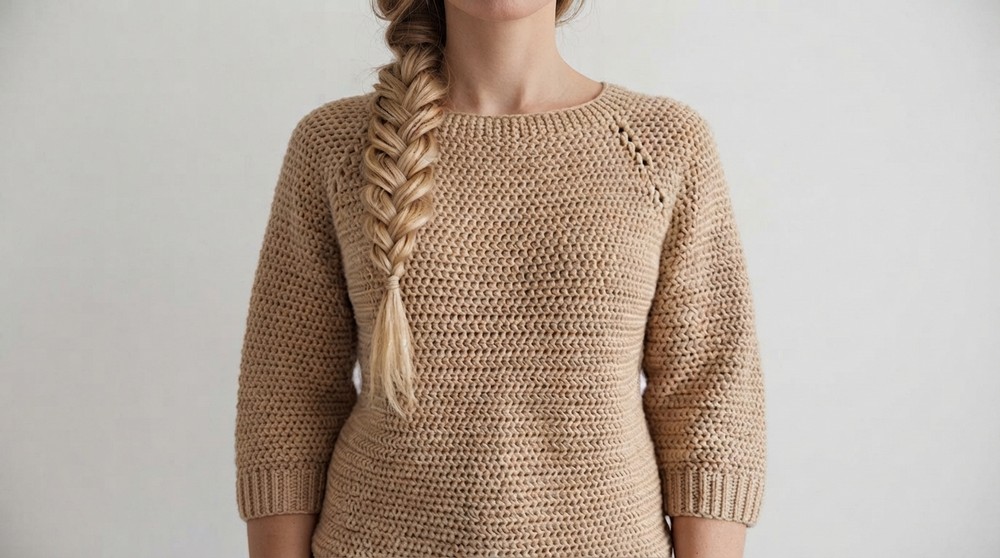
This project can be a good choice for crocheters who have some basic garment skills and want to work on wearable crochet. It can help build confidence with making larger pieces while showing how simple shapes can become useful clothing.
A finished sweater can also make a thoughtful handmade present for someone who loves crochet fashion. It brings comfort, style, and personal charm together, making it a lovely wardrobe piece to enjoy throughout the warmer months.
Top-Down Raglan Crochet Sweater Pattern by Ania
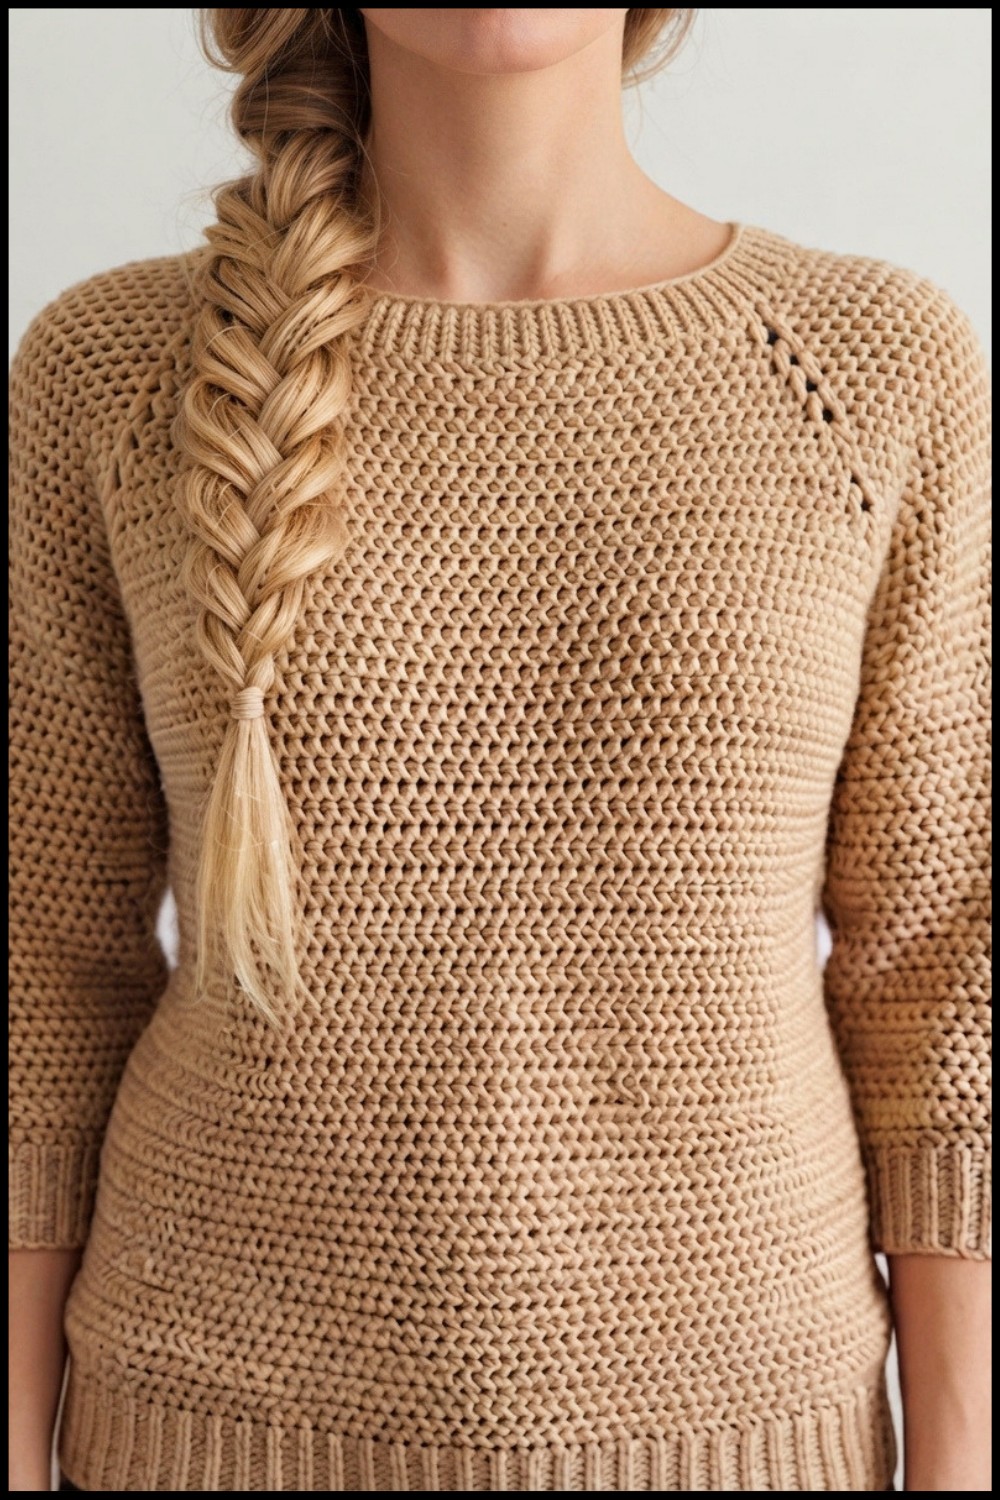
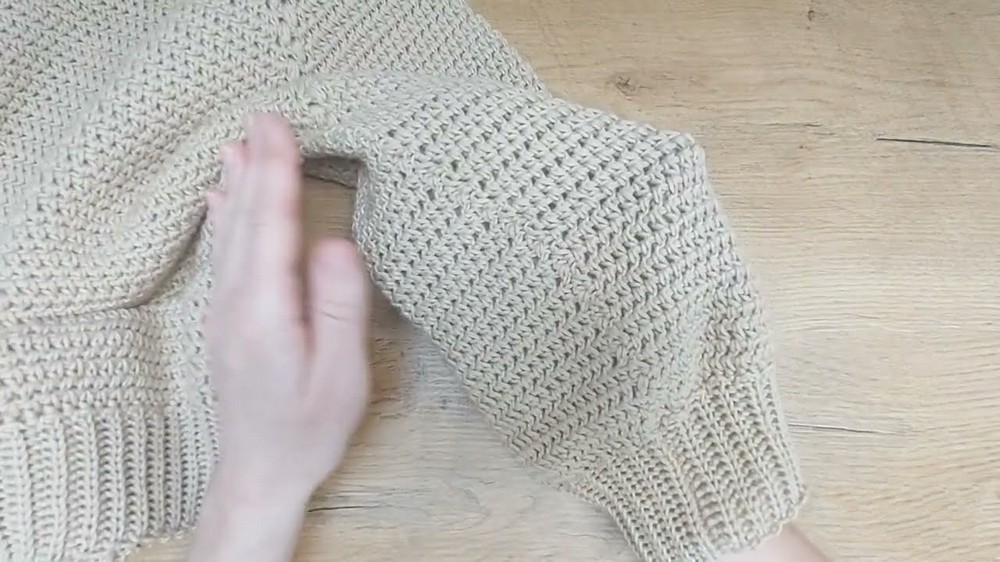
Welcome! In this detailed pattern, you will learn how to crochet a light, airy sweater using the raglan method worked from top to bottom. This seamless sweater includes raglan shaping with sleeves worked simultaneously before separating to shape the body and finish the collar and cuffs with beautiful ribbing. This pattern is designed as a replacement for an earlier cardigan project and is perfect for warm weather thanks to its loose, breathable design. Follow along carefully to create your own stylish raglan sweater!
Quick Overview of Pattern
- Sweater worked top-down seamlessly with raglan increases
- Sleeves worked together with the yoke, then separated for body shaping
- Uses a delicate bubble stitch raglan line to hide seams
- Back and forth rows with smooth joining in raglan line for minimal visible seams
- Finished with textured ribbing at neckline, cuffs, and bottom edge
- Suitable for light, summer sweaters; short or ¾ length sleeves
- Uses Alize Bella yarn or similar with 3.5 to 4 mm crochet hooks
Notes
- Pattern is worked back and forth in rows, not continuously in the round
- The seam is hidden discreetly in the raglan bubble stitches; work carefully to maintain pattern
- Mark raglan points and stitch counts often to avoid mistakes
- Adjust sleeve and body width by changing the frequency and number of increases
- Blocking is highly recommended to enhance fabric drape and stitch definition
- Sample gauge swatch essential for stitch-to-cm conversion before planning stitches
- Sweater is designed for personal fit — try on frequently and adjust if needed
Skill Level
Recommended for intermediate beginners:
- Able to work chain (ch), half double crochet (hdc), and double crochet (dc), including front and back posts
- Comfortable working back and forth rows with turning chains
- Experience with raglan shaping and evenly increasing stitches
- Able to follow stitch placement for bubbles and subtle ribbing
- Basic knowledge of seaming and finishing
Materials
- Alize Bella yarn, color 76 or similar (4 skeins, approx. 320 g total)
- Crochet hook: 3.5 mm recommended, 4 mm acceptable (adjust for gauge)
- Stitch markers (4 or more)
- Yarn needle and scissors
- Measuring tape
Measurements / Sizing
- Neckline circumference approx. 60 cm (unstretched)
- Body width under arms approx. 52 cm (flat)
- Sweater length 54 cm total, with bottom ribbing approx. 45 cm to cuff
- Sleeve length: short or ¾ length, adjustable
- Number of stitches to cast on example: 88 for neckline
Gauge and Stitch Pattern
- Sample gauge: ~88 stitches = 60 cm circumference neckline
- Pattern uses half double crochet stitches wrapped around three loops for softness and stretch
- Bubble stitch raglan line worked by chain loops and multiple wraps to hide seams
- Ribbing done with single crochet with yarn over in back loops for neat edges
- Fabric is loose and airy, great for summer wear
Stitch Abbreviations
| Abbreviation | Full Name |
|---|---|
| ch | Chain |
| sc | Single Crochet |
| hdc | Half Double Crochet |
| dc | Double Crochet |
| fpdc | Front Post Double Crochet |
| bpdc | Back Post Double Crochet |
| sl st | Slip Stitch |
Special Stitches
Wrapped Half Double Crochet — Normally, yarn over hook, insert into stitch’s back loop (usually 3 loops visible), yarn over, pull through, yarn over, pull through all loops on hook. Wrapping around three loops adds softness and stretch.
Bubble Stitch on Raglan Line — Chain loops worked multiple times into the same stitch to create a raised bubble that serves as raglan seam and visual element.
The Crochet Pattern
Step 1: Planning and Making a Sample
- Measure desired neckline circumference (~60 cm).
- Make a sample swatch in the stitch pattern to determine stitches per cm.
- Example: 88 stitches for neckline circumference of 60 cm. Always use an even number of stitches for raglan symmetry.
Step 2: Chain and Join for Neckline
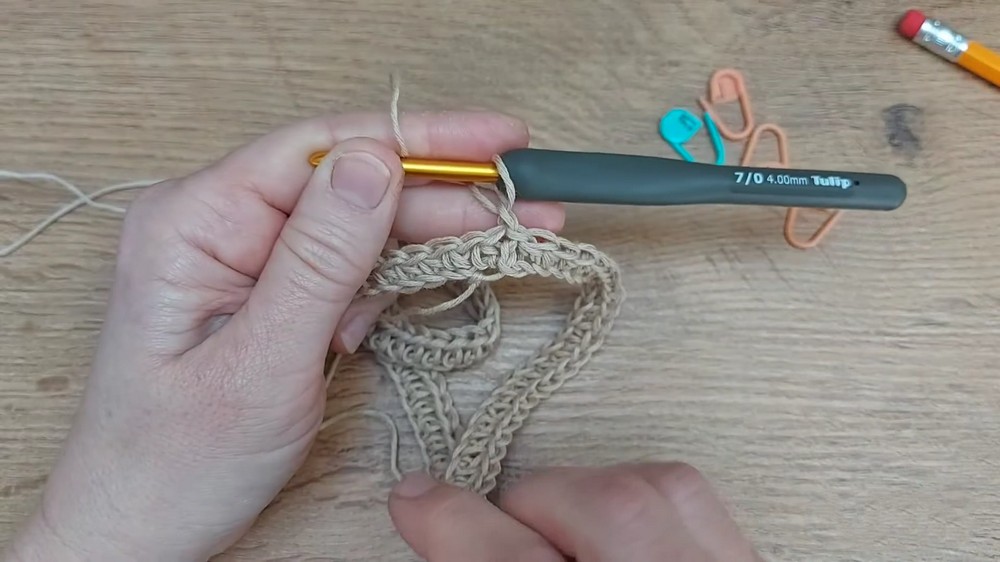
- Chain the number of stitches calculated (example: 88).
- Join gently with single crochet in the back loop of the first chain to form a ring, making sure chain is not twisted. This creates a smooth edge to work around.
Step 3: First Round — Half Double Crochets in Back Loops
- Work half double crochets (hdc) in the back loop only of each stitch around.
- Mark raglan points: subtract 4 stitches for raglan lines, split remaining stitches evenly between front/back panels and sleeves.
- Attach stitch markers at raglan positions (4 markers evenly spaced).
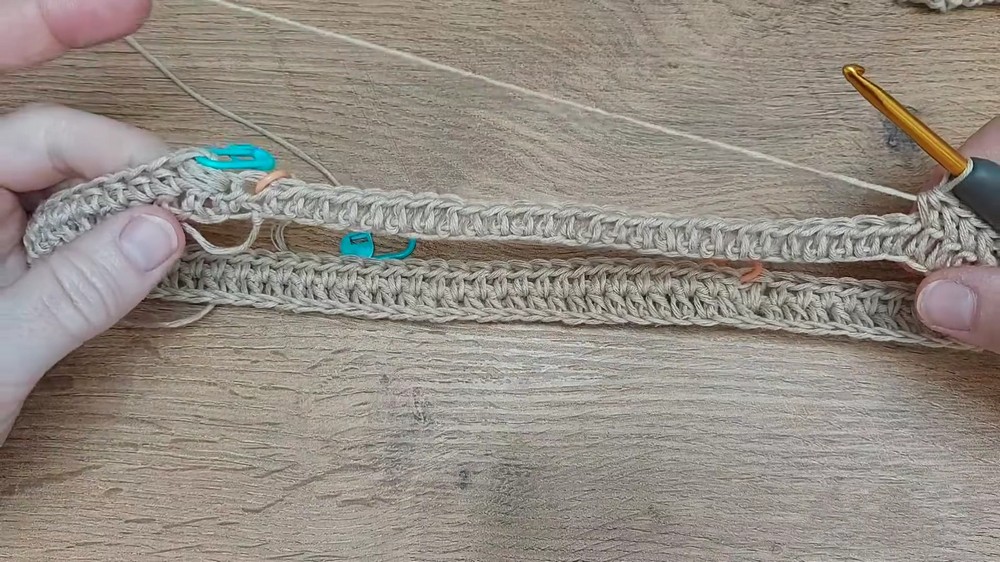
Step 4: Create the Bubble Raglan Lines
- Locate raglan stitch. Work bubble by:
- Yarn over, insert hook into raglan stitch, yarn over, pull through. Repeat yarn over–pull through several times (6 loops is common) to create a “bubble” that stands out.
- Pull yarn through all loops except last one, finish with one last stitch.
- Between bubbles, work the body and sleeves using wrapped half double crochets (hdc wrapped around 3 loops).
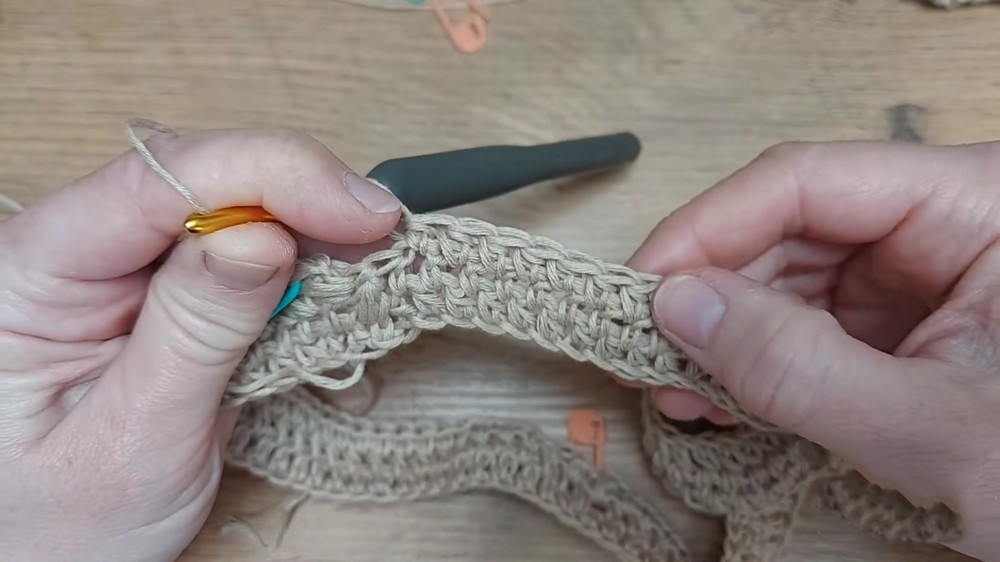
Step 5: Working Rows Back and Forth
- After each round, turn work to begin next row going back in opposite direction.
- Work bubble raglan line stitches consistently on raglan stitch rows to hide seams.
- Count stitches carefully. The raglan bubbles serve as convenient markers for stitch counting.
- Increase on both sides of raglan bubble—this shapes raglan sleeve smoothly and evenly.
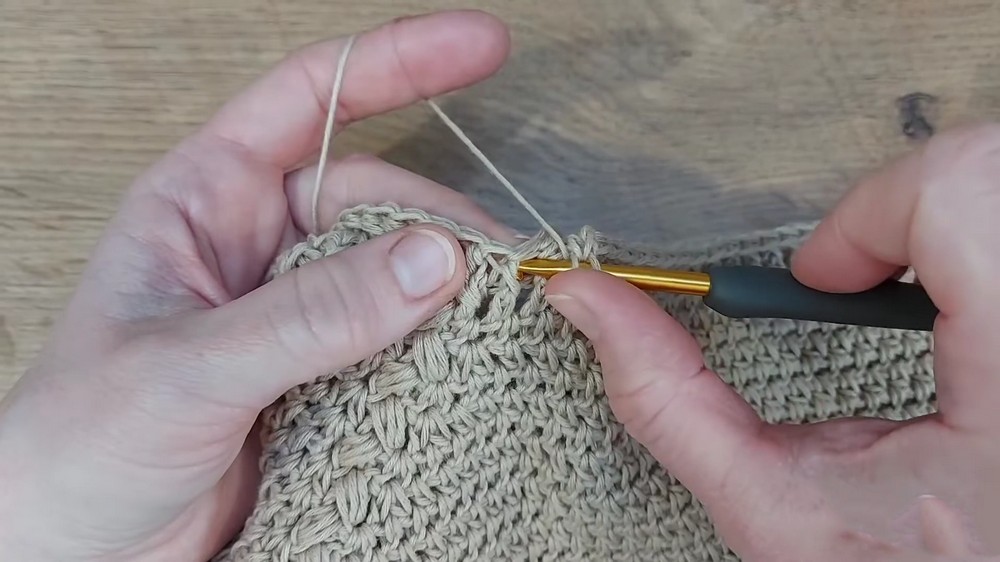
Step 6: Separating Sleeves
- Once raglan yoke reaches desired length, separate sleeves by skipping sleeve stitches, joining front and back body panels across underarm gap.
- For separation, slip stitch or join chains may be used to close gap neatly.
- Mark the separation points clearly; these will form armholes.
Step 7: Working Body and Sleeves Separately
- Body: Continue working half double crochet stitches back and forth in rows on body stitches.
- Sleeves: Join yarn at sleeve stitches; continue working back and forth half double crochets (wrapped).
- Adjust sleeve length as desired, working ribbing cuff if preferred.
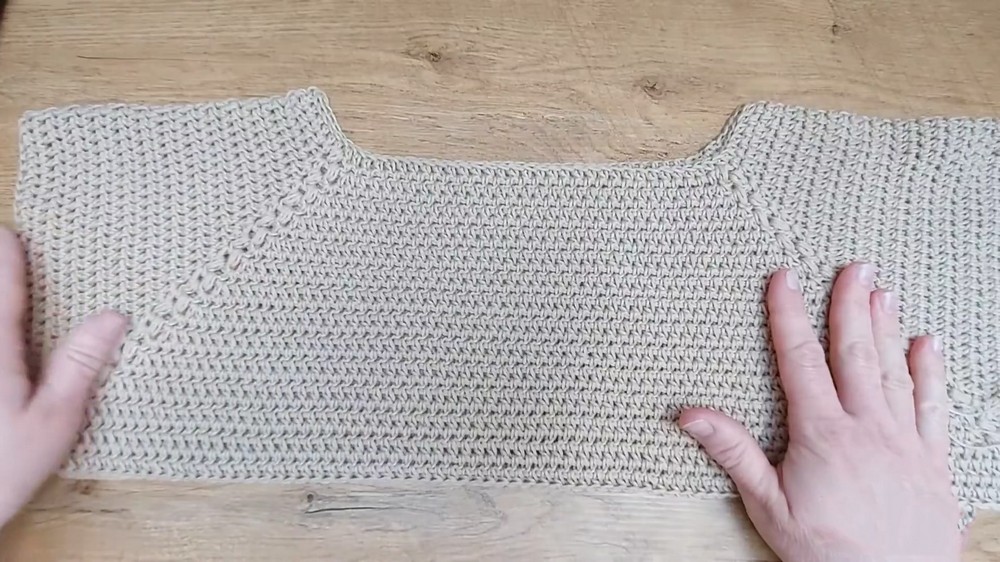
Step 8: Making the Sweater Cuffs and Bottom Ribbing
- Work ribbing in single crochets with yarn over in back loop only to maintain elasticity.
- Length of cuff or hem ribbing can be customized for fit and style.
- Ribbing is worked continuously in the round or back and forth as you prefer, keeping stitches even.
Step 9: Finishing Neckline
- For neckline finishing, work several rounds of front relief half double crochets (wound hdc) in spiral without joining.
- Mark the first stitch to keep track of rounds.
- Neckline ribbing rounds help shape collar and create a gentle curve.
- End neckline by weaving in yarn tails invisibly.
Assembly & Finished Size
- Sweater finished length: approx. 54 cm from neckline to bottom
- Neckline — approx. 60 cm circumference, stretches comfortably
- Sleeve length: approx. ¾ length or shorter as preferred
- Body width (underarm): approx. 52 cm flat, roomy fit
- Ribbing chosen for cuffs and bottom edge to maintain shape and elasticity
- Seams hidden in raglan bubble line for a professional look
Conclusion
You have now created a beautiful, lightweight raglan sweater worked seamlessly from the top down with neat bubble raglan lines and elegant ribbed edges. The back and forth technique ensures a smooth finish and minimal visible seams, while the wrapped half double crochet stitch pattern offers a soft and airy fabric perfect for warmer weather. Remember to block your sweater for a polished drape and fit.