Celebrate feminine charm through this Free Crochet Blouse Pattern created for breathable comfort and flattering shape suitable for many occasions.
Crochet has a wonderful way of turning simple yarn into beautiful, wearable art, and making your own summer blouse is no exception. On the channel Lady_Anika - Szydełkowe Światło, you’ll find a fantastic project that lets you create a stylish and delicate top that's perfect for warm weather. The free crochet blouse pattern shared there is an easy and fun way to add a handmade piece to your wardrobe or gift a thoughtful present to someone special.
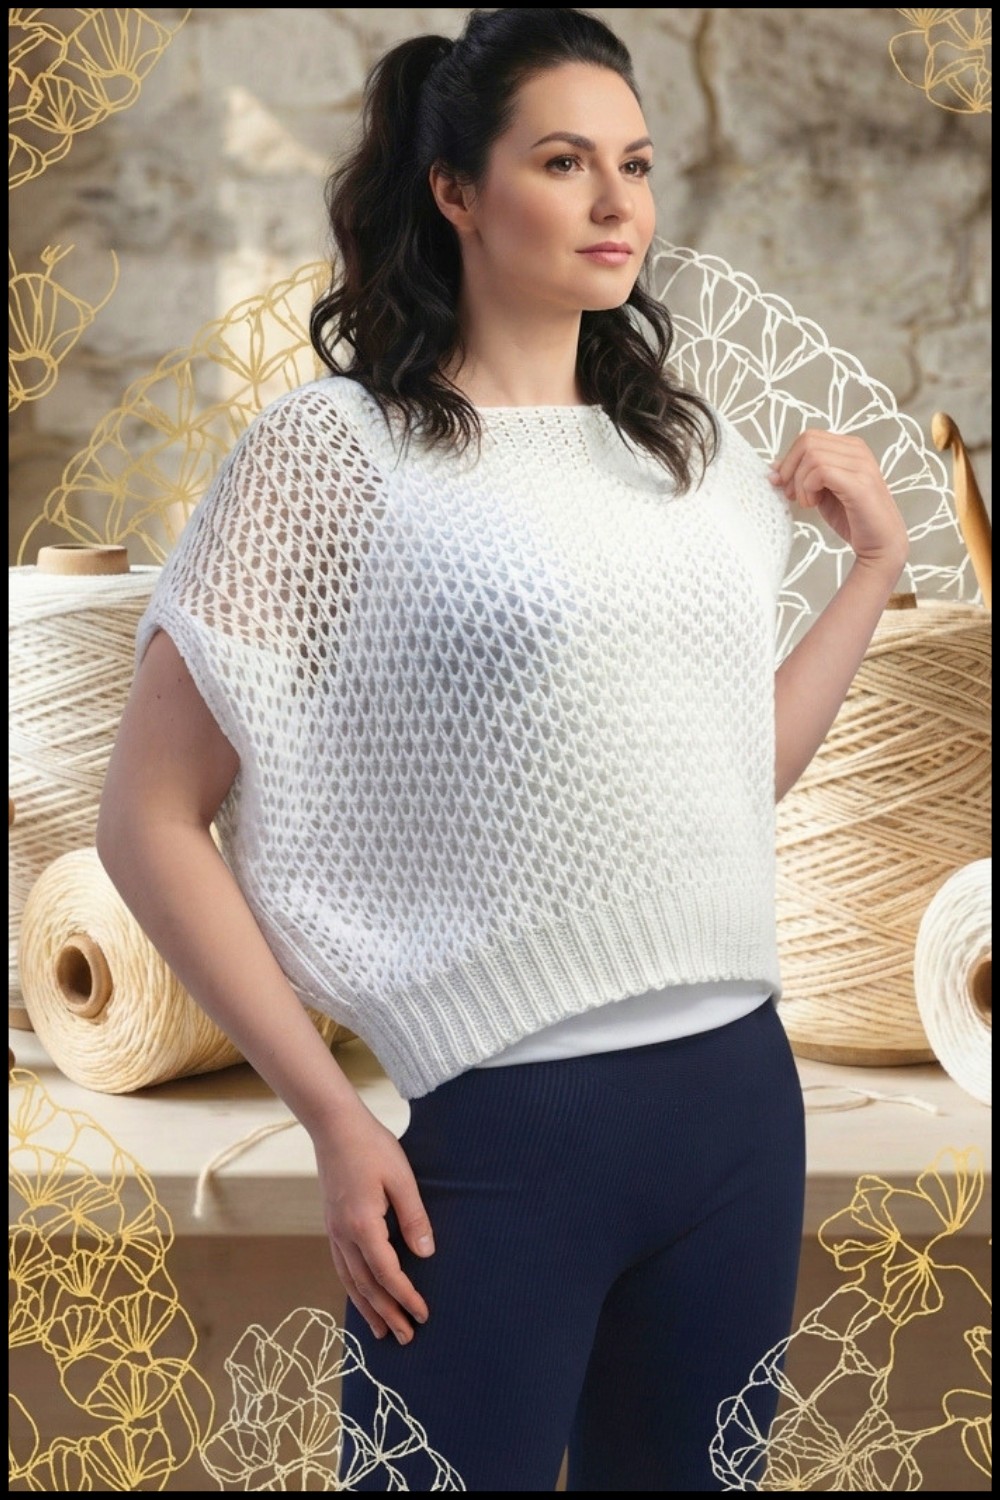
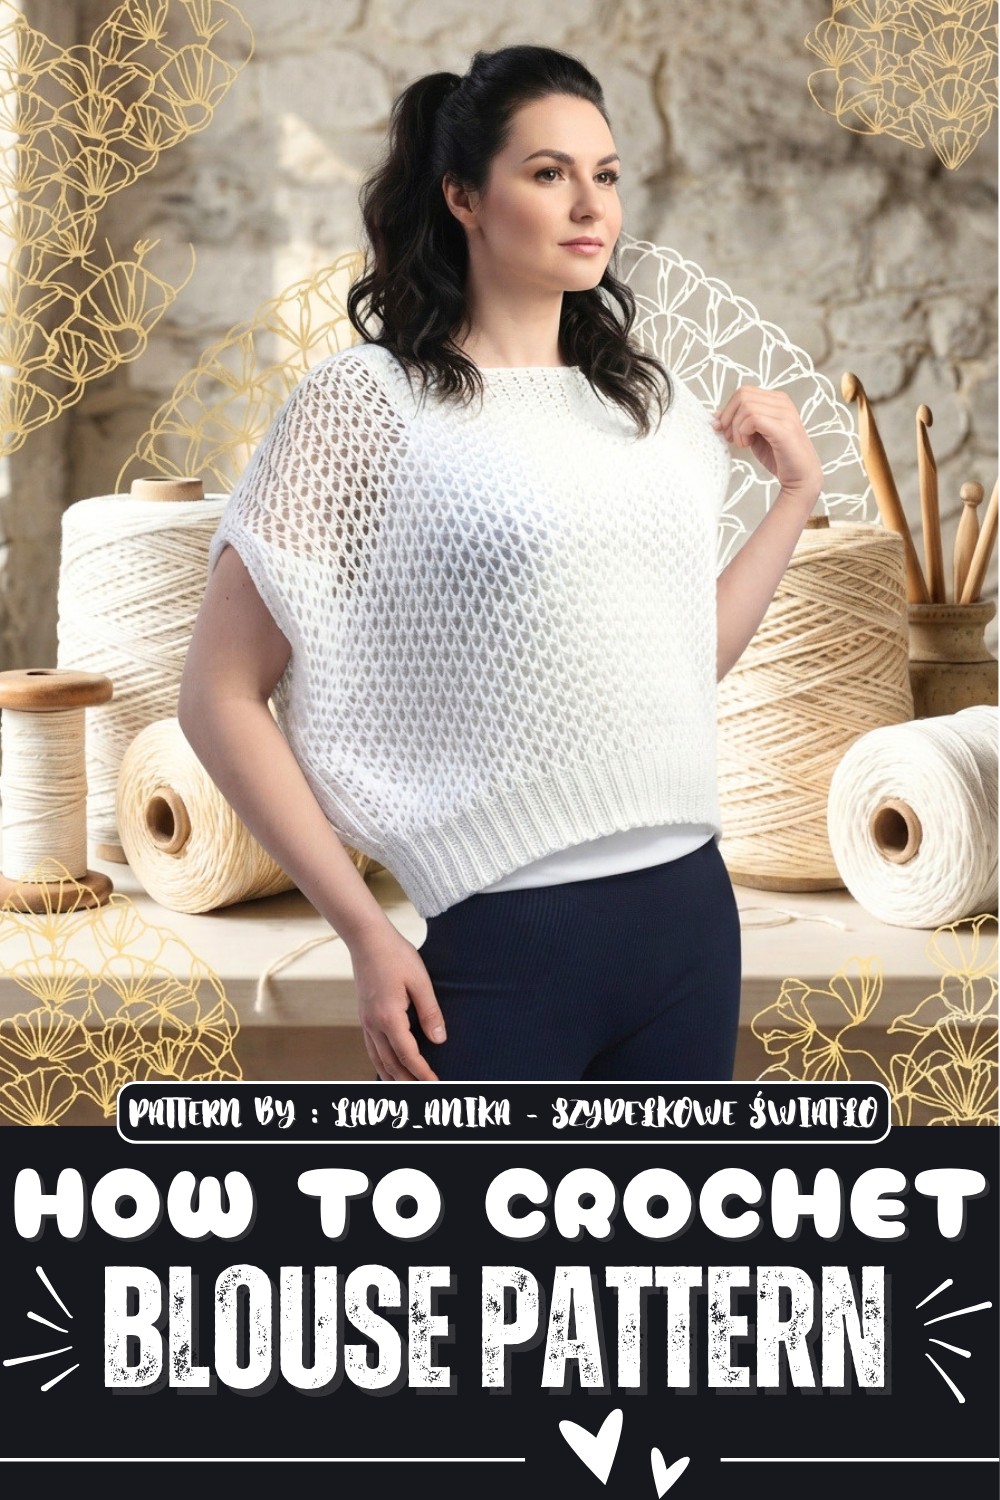
This blouse has a charming openwork design that makes it light and airy, perfect for layering over a tank top or swimsuit. Its shape is relaxed and loose, featuring a wide top and narrower bottom, which gives it a flattering flowy look. The soft texture of the crochet fabric feels gentle on the skin and allows for excellent breathability. With its simple yet elegant style, it suits casual outings, beach days, or even a cozy summer night.
Easy Crochet Blouse to Brighten Your Wardrobe
One of the great things about this project is its versatility. You can adjust the fit by changing how the panels are sewn together—either leaving open shoulders or creating wider armholes. The blouse’s minimal construction involves just two panels, making it a quick and satisfying project for crocheters who want to enjoy creating without a lot of fuss. Beyond its easy style, this blouse holds decorative appeal with its neat stitches and charming pattern, making every finished piece unique.
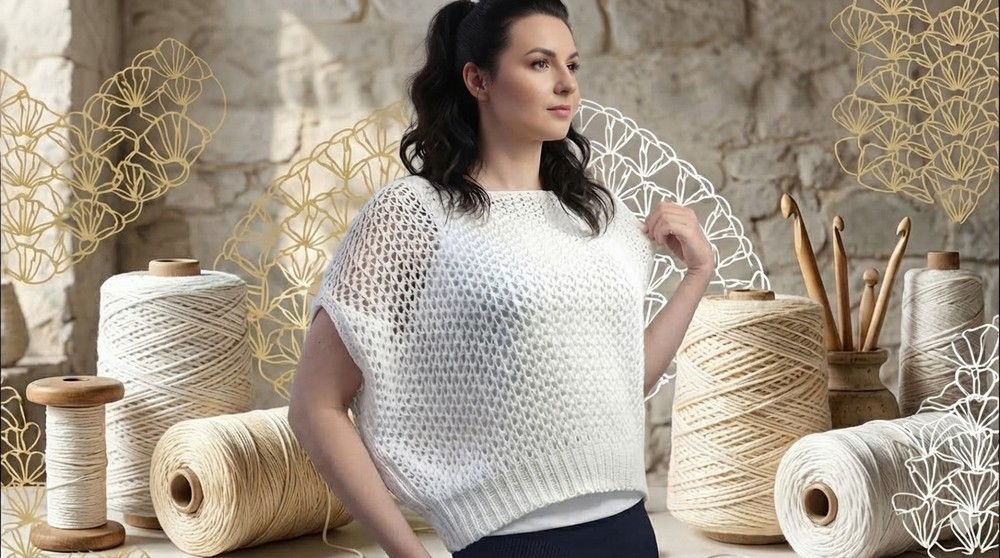
Whether for yourself or as a handmade gift, this crochet blouse is both practical and pretty. It’s a wearable piece that celebrates craftsmanship and adds a touch of handmade beauty to any summer outfit.
Openwork Summer Blouse Crochet Pattern by Ania
Welcome to this crochet tutorial where I will guide you step-by-step on how to create a light, openwork blouse perfect as a summer top, undershirt, t-shirt, or beach cover-up over a bikini. This design is very simple, made from two identical vertical panels joined at the shoulders and sides, featuring a delicate airy pattern and a narrow bottom cuff that widens toward the shoulders. The yarn I used is Drops Muskat, 100% mercerized cotton, in white, worked on a 5 mm crochet hook for a loose, breathable texture. This project is a quick and enjoyable weekend venture suitable for those wanting a versatile summer garment.
Pattern Highlights
- Simple two-panel construction: Panels worked vertically and then sewn together
- Narrow ribbed cuff at the bottom: Creates neat shaping and fit
- Wide shoulder line and boat neckline: Adjustable for style and comfort
- Airy openwork mesh pattern: Quick to work and stylish
- Uses mercerized cotton yarn (Drops Muskat) for smoothness and durability
- Loose and soft fabric: Ideal for summer heat
- Customizable sewing options: Can leave shoulders or sides open or partially joined
Notes
- Pattern is worked vertically, beginning at the bottom cuff and increasing in width toward the shoulder.
- Panels are identical and joined only after both are complete.
- The airy mesh pattern requires attention to working front loops only in certain rows for elasticity.
- Ribbing is worked in back loops only for stretch and visual contrast.
- You may adjust neckline and armhole widths by trying on or pinning panels before sewing.
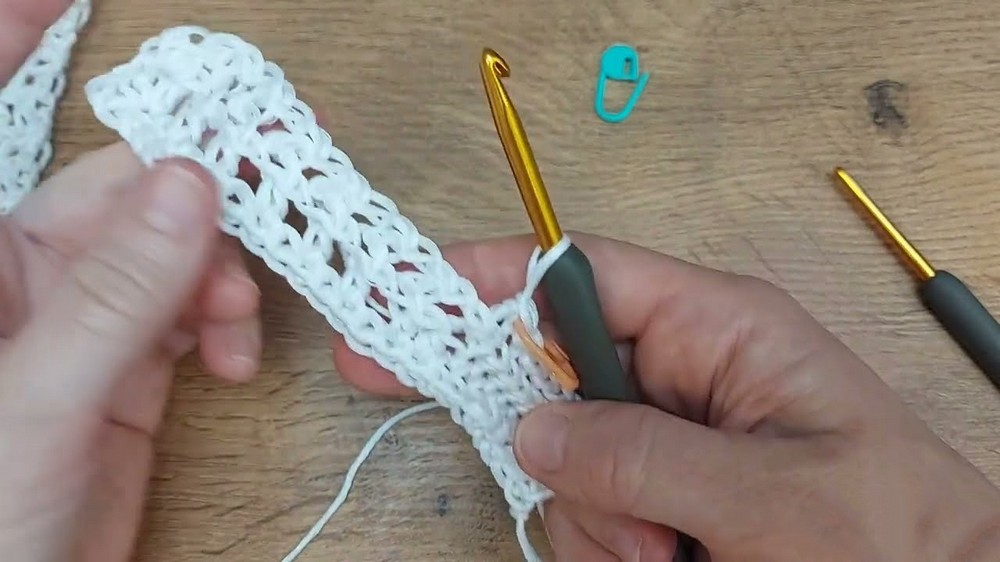
- Stitch markers are helpful to separate ribbing from the mesh pattern and to mark stitch counts.
- Washing and blocking the finished blouse improves stitch consistency and softness.
Skill Level
Ideal for intermediate beginners confident with:
- Chain (ch) and turning chains
- Single crochet (sc) and half double crochet (hdc) stitches
- Working into front and back loops separately
- Basic shaping by stitch increases or decreases
- Simple sewing and panel joining methods
Materials
- Drops Muskat mercerized cotton yarn, 100% cotton, white – about 7 skeins
- Crochet hook sizes: 5 mm for main pattern, 3–3.5 mm for ribbing and sewing
- Stitch markers
- Yarn needle for seaming and weaving ends
- Measuring tape
- Scissors
Measurements / Sizing
- Blouse height: approximately 45 cm (can be extended by adding rows)
- Bottom ribbing width: narrow, around 16 cm
- Shoulder panel width: approximately 85 cm
- Size shown corresponds roughly to S/M
- Sleeve and neckline openings adjustable to preference
Gauge and Stitch Pattern
- Sample size: 23 stitches width measured over 45 cm height.
- Ribbing section is 8 stitches wide; main mesh pattern requires an odd number of stitches (e.g., 15, 59) for symmetry.
- The fabric is worked mostly with wound half double crochets (whdc) and chain stitches to create an open mesh.
- Ribbing is single crochet worked only in the back loop (sc BLO).
- The open mesh stretches well and creates an attractive pattern of alternating vinyl loops and braids.
Stitch Abbreviations
| Abbreviation | Meaning |
|---|---|
| ch | Chain |
| sc | Single Crochet |
| hdc | Half Double Crochet |
| whdc | Wound (Twisted) Half Double Crochet (yarn wrapped) |
| sc BLO | Single Crochet in Back Loop Only |
| sl st | Slip Stitch |
Special Stitches
Wound Half Double Crochet (whdc)
- Yarn over the hook, insert hook in stitch/loop, yarn over and pull loop through, then yarn over and pull through all loops. The yarn is wrapped/twisted on the hook before stitch insertion for texture.
Ribbing with Single Crochet Back Loop Only (sc BLO)
- Insert hook only in back loop of stitch and work single crochet stitches for a stretchy ribbing edge.
Granny Square Style Join for Seaming
- Insert hook through loops of both panels on opposite sides alternately, yarn over and pull through all loops, finishing with single crochet stitch to create a flat, visually neat seam.
Step-by-Step Pattern
Step 1: Make a Sample
- Chain 23 stitches (8 for ribbing, 15 for mesh pattern) plus 1 edge stitch (not worked).
- Use 5 mm hook.
Row 1:
- Work single crochet (sc) with yarn over across entire chain row for base edge.
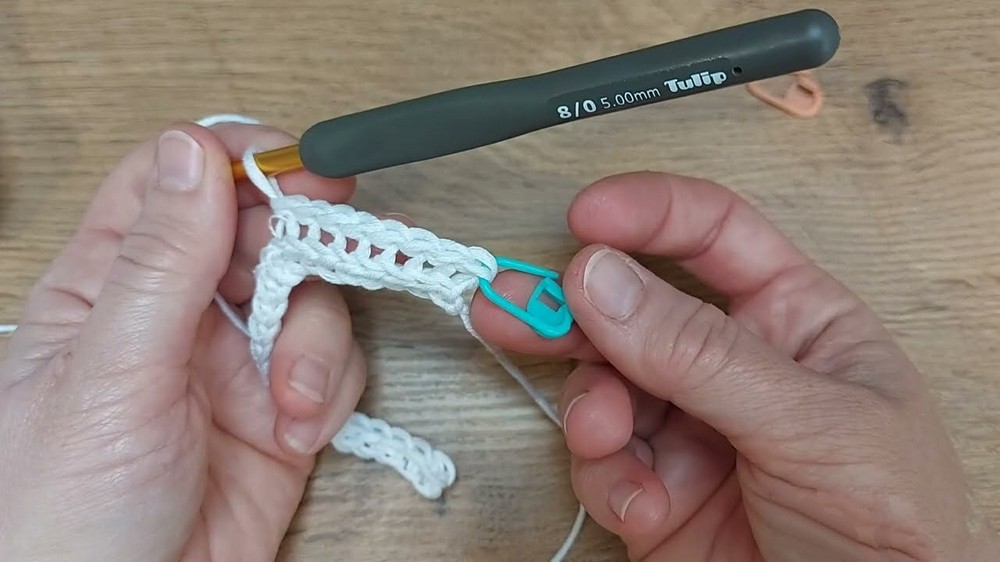
Rows 2–9 (Ribbing):
- Turn, skip 1 edge ch, work sc BLO in next 8 stitches (ribbing width).
- Mark transition between ribbing and main mesh with stitch marker.
Step 2: Mesh Pattern Rows
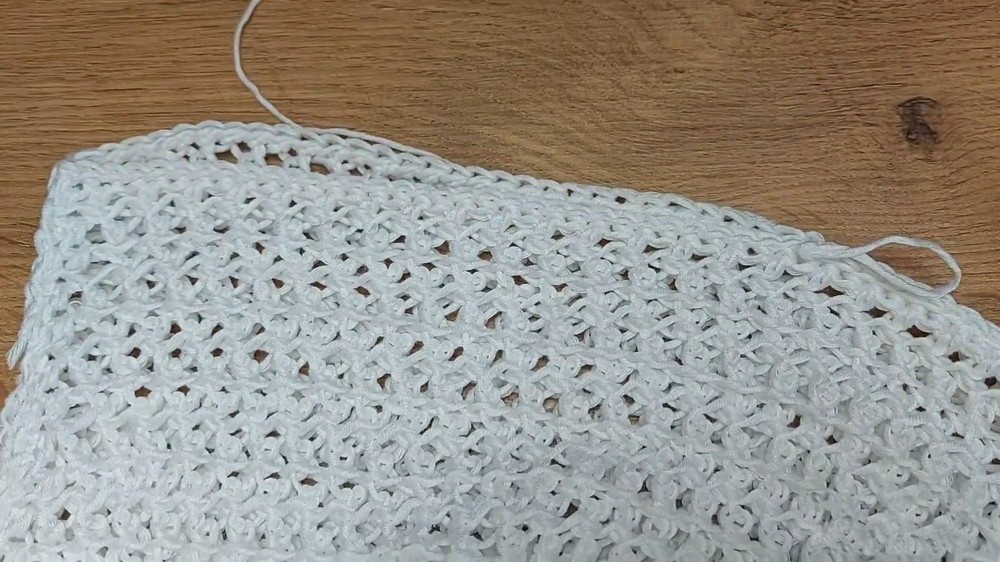
Right (Odd) Rows
- Start with 2 wound half double crochets (whdc):
- First whdc in full stitch.
- Second whdc in front loop only of next stitch.
- Repeat:
- ch 1, skip 1 stitch, whdc in front loop of next stitch
- End the row:
- ch 1, skip 1, 2 whdc (full in last two stitches)
Wrong (Even) Rows
- Start with 1 whdc fully worked.
- Repeat:
- ch 1, skip 1 stitch, whdc in front loop
- End with 1 whdc fully worked.
- Repeat these two rows for length of mesh pattern.
Step 3: Finish the Panel
- After mesh rows, work a row of single crochets with yarn over across all stitches.
- Leave a long yarn tail for sewing.
- Make a second panel the same way.
Step 4: Calculate Stitch Counts for Size
- Measure your sample: e.g., 15 mesh stitches ≈ 10 cm width.
- Decide how wide you want the blouse; cast on accordingly (e.g., 90 stitches for wider size).
Step 5: Sew Panels Together
Shoulder Seam
- Place panels right sides out, sew inner sides together with granny square style join:
- Insert hook into loops on both panels alternately from the top (leaving 34 cm open for neckline).
- Yarn over and pull through all loops, finish sc stitch.
- Repeat evenly to finish seam.
Side Seam (Armhole)
- Leave desired armhole opening space (e.g., 20 cm).
- Sew sides with same join method up to armhole edge.
- Finish with secure sc stitches and weave ends.
Assembly & Finished Size
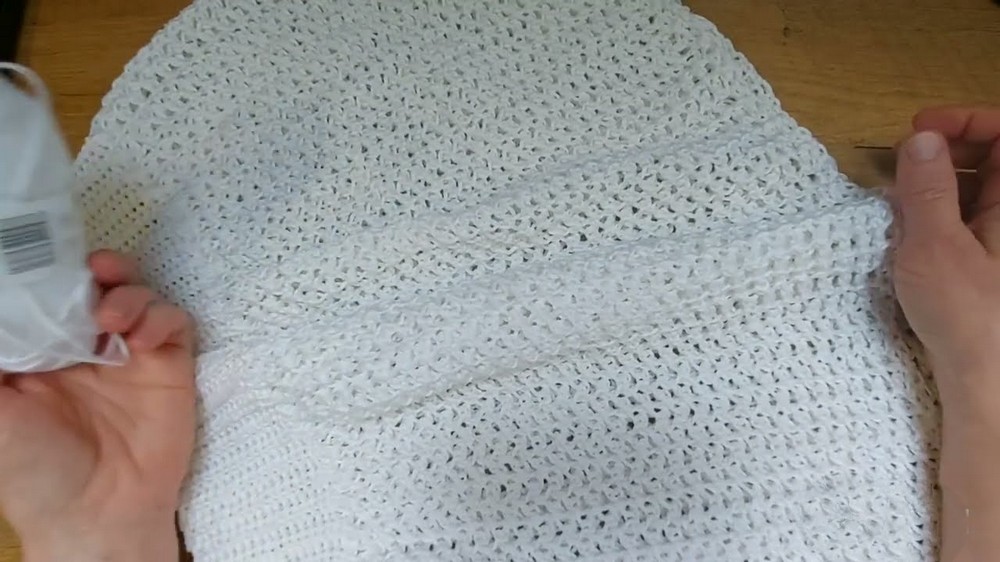
- Weave all loose ends inside the blouse for clean finish.
- Approximate finished dimensions:
- Height: 45 cm
- Bottom ribbing width: ~16 cm
- Broad shoulder width: ~85 cm
- Adjust armholes and neckline opening during sewing for personal fit.
- Blocking is optional but recommended for drape and smoothness.
Conclusion
This easy-to-follow openwork blouse is an excellent lightweight garment for warm weather, effortless to customize in size and shape. The mercerized cotton yarn ensures a comfortable, breathable, and durable fabric with beautiful stitch definition. The simple two-panel construction paired with the elegant mesh stitch pattern creates a flattering silhouette with a cool, open feel. The adaptable sewing options allow personal style preferences from exposed shoulders to looser armholes, fitting perfectly into your summer wardrobe. Enjoy creating this rewarding piece for sunny outings!