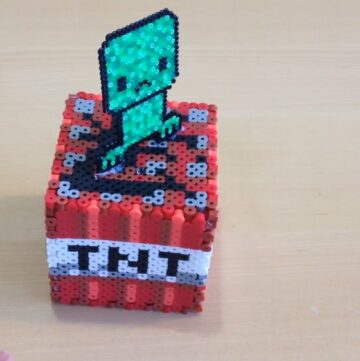
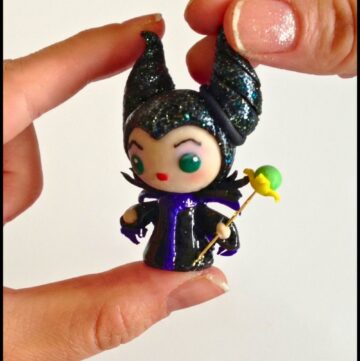
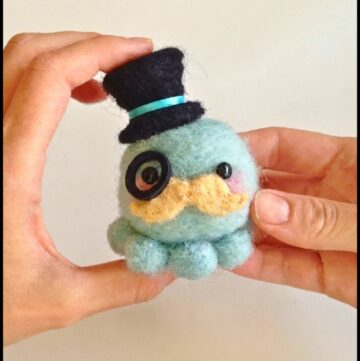
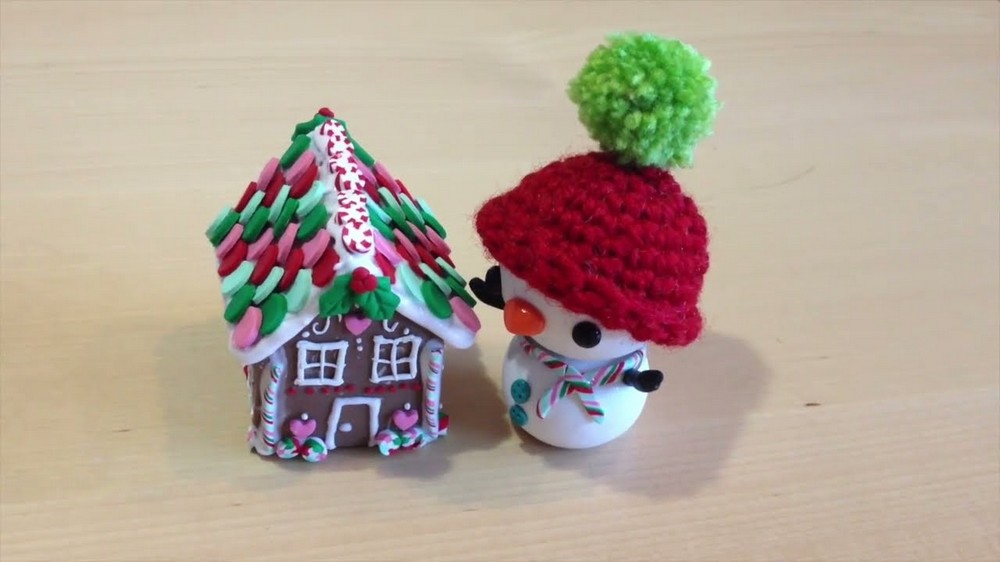
Bring festive charm to your holiday decor with a cute Mini Gingerbread House Polymer Clay project, perfect for handmade gifts and Christmas displays.
Creating tiny gingerbread houses from polymer clay is like capturing the essence of holiday joy in a bite-sized, everlasting form. These adorable crafts aren’t just fun to make—they serve a purpose beyond their charm. Whether you’re looking to add a festive touch to your home décor, craft unique ornaments, or surprise someone with a thoughtful handmade gift, these mini gingerbread houses can bring warmth and creativity to any setting.
Sweet Mini Gingerbread House Polymer Clay Craft Ideas
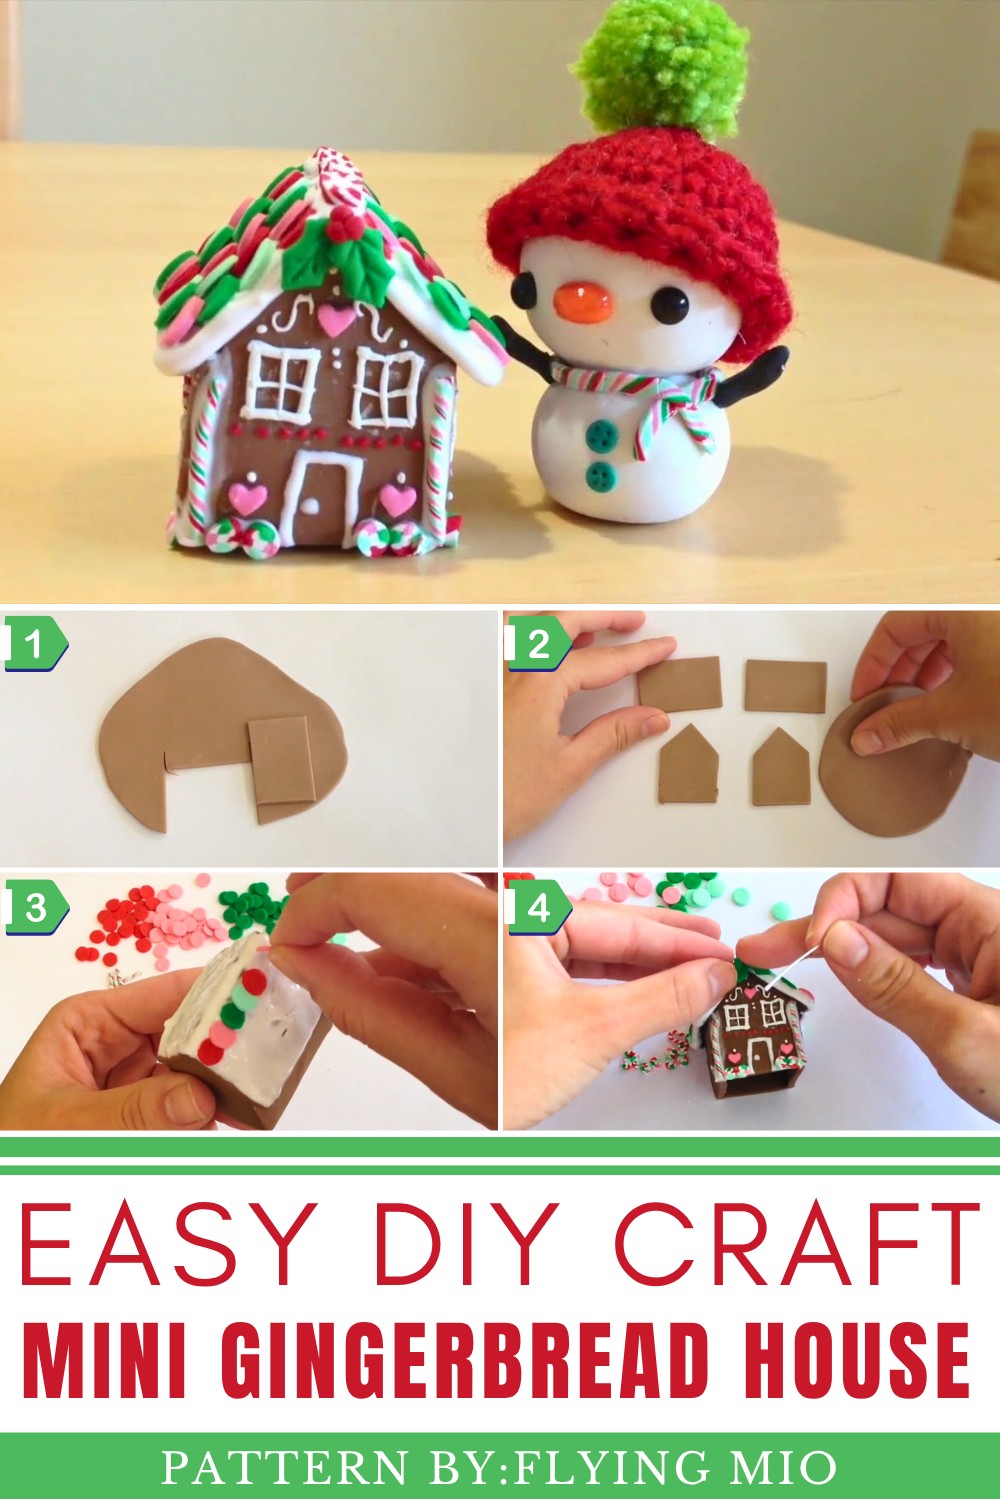
The ways to style them are as limitless as your imagination. Add tiny frosting details, colorful candy-like decorations, or even some glitter for a magical winter vibe. You can stick to classic holiday colors or experiment with bold, modern palettes to make each piece truly your own. Their versatility means they’re perfect as part of a snow globe project, a whimsical gift topper, or even a cheerful addition to your desk.
Crafting these mini masterpieces is not only satisfying but also a relaxing way to escape the daily grind. The durability of polymer clay ensures that each piece you create will stand the test of time, becoming a keepsake to enjoy for years.
If you’re ready to dive into this creative venture, look no further than Flying Mio’s YouTube tutorial (watch it here). Full credit to her for this cozy and creative idea—it’s a must-try for holiday crafters and enthusiasts alike!
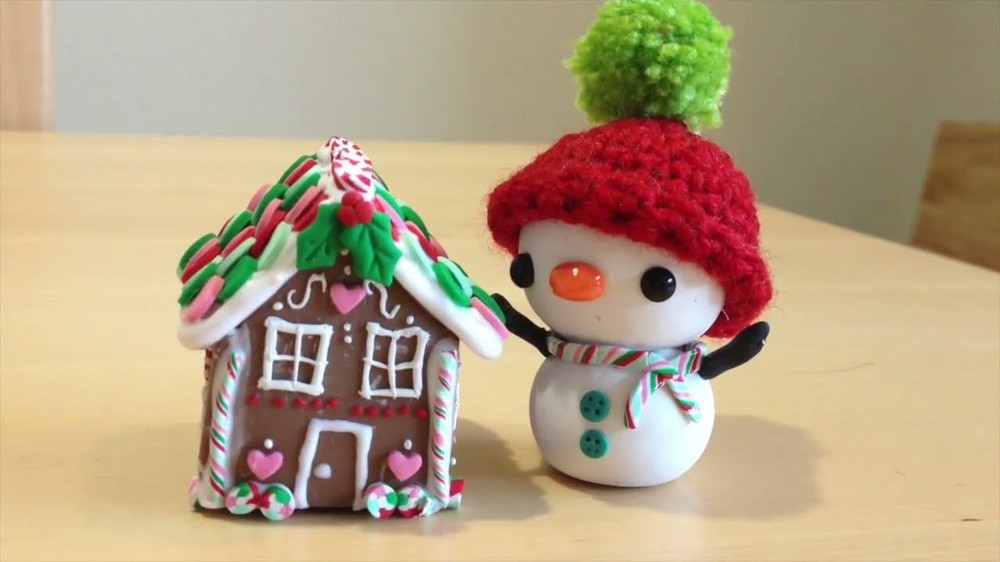
Miniature Polymer Clay Gingerbread House
Phase 1: Materials Needed
- Polymer Clay: Brown (for the gingerbread house), red, green, white (for candy canes and decorations).
- Clay Tools: Blade, circle mold (or pen cap), disposable container, and a sculpting tool for smoothing.
- Liquid Polymer Clay (optional): To mix "frosting."
- Foil Sheet: For baking the clay.
Phase 2: Building the Gingerbread Base
- Create Flat Sheets of Clay:
- Roll out your brown polymer clay into a thin sheet (~3–4 mm thick).
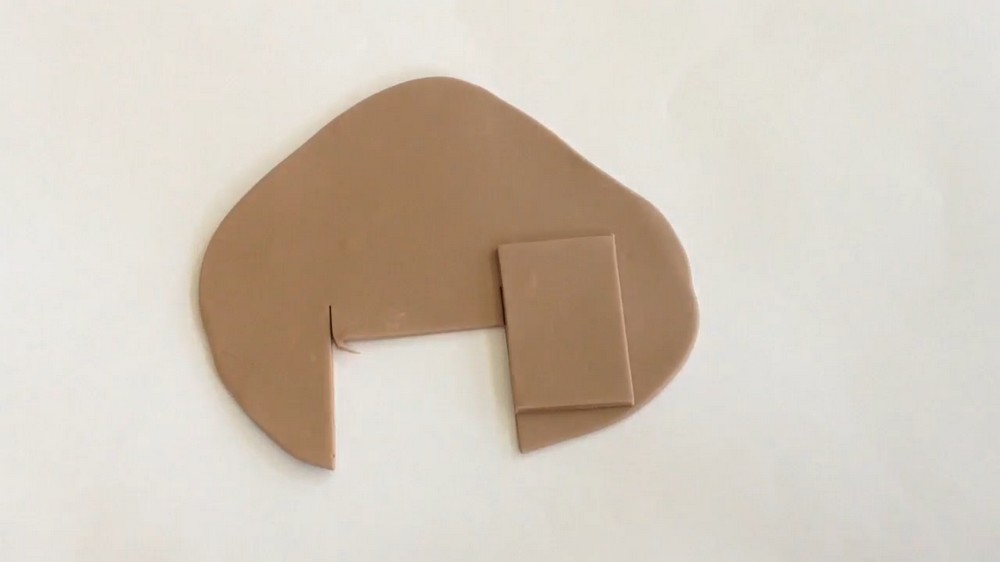
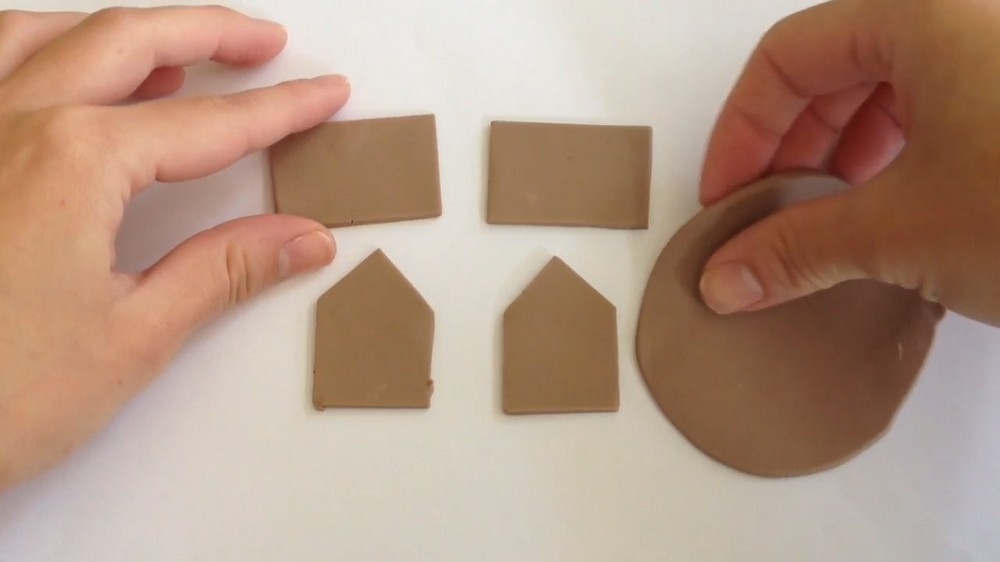
- Cut Out Shapes:
- Rectangle: Cut a rectangle for the side walls of the house. Repeat to create 2 identical pieces.
- House-Shaped Wall: Cut out 2 triangular-topped pieces (the "front" and "back" walls). Base width should match the rectangle.
- Roof Pieces: Cut 2 rectangular roof pieces using the side of the house for width and the original rectangle size for length.
- Smooth and Assemble:
- Use your clay tool or fingers to gently smooth the edges of the shapes.
- Carefully press the pieces together to form the house structure. Be gentle as it's fragile before baking.
- Smooth edges together using a clay blade for a polished look.
Phase 3: Candy Decorations
- Make Peppermint Circles:
- Roll red, green, and white clay into thin sheets (~1 mm thick).
- Use a circle mold or household items (pen cap, bottle lid) to punch out small circles.
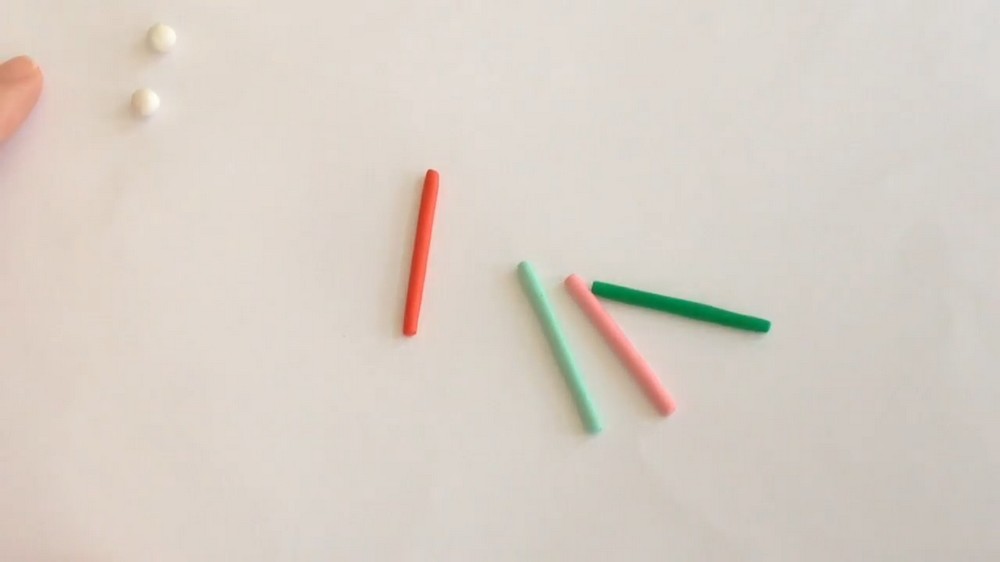
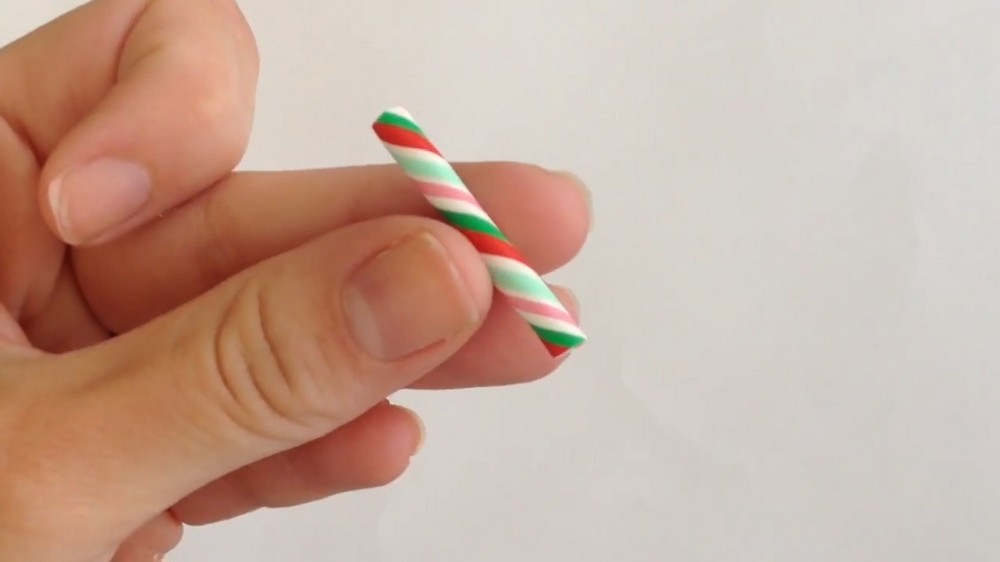
- Create Candy Canes:
- Roll colored clay into long thin strips (like snakes). Combine red and white pieces evenly to form a swirl.
- Roll with equal pressure to form a smooth, proportional candy cane shape.
- Cut to desired sizes.
Phase 4: Baking the Base and Decorations
- Pre-Bake:
- Place the gingerbread house structure and clay decorations on a foil sheet.
- Bake in the oven at 250°F (120°C) for 20 minutes or as recommended for your clay brand.
- Let them cool completely before decorating.
Phase 5: Decorating the Gingerbread House
- Make Frosting:
- Mix soft white polymer clay with liquid clay in a disposable container until it reaches a frosting-like consistency.
- Assemble the Decorations:
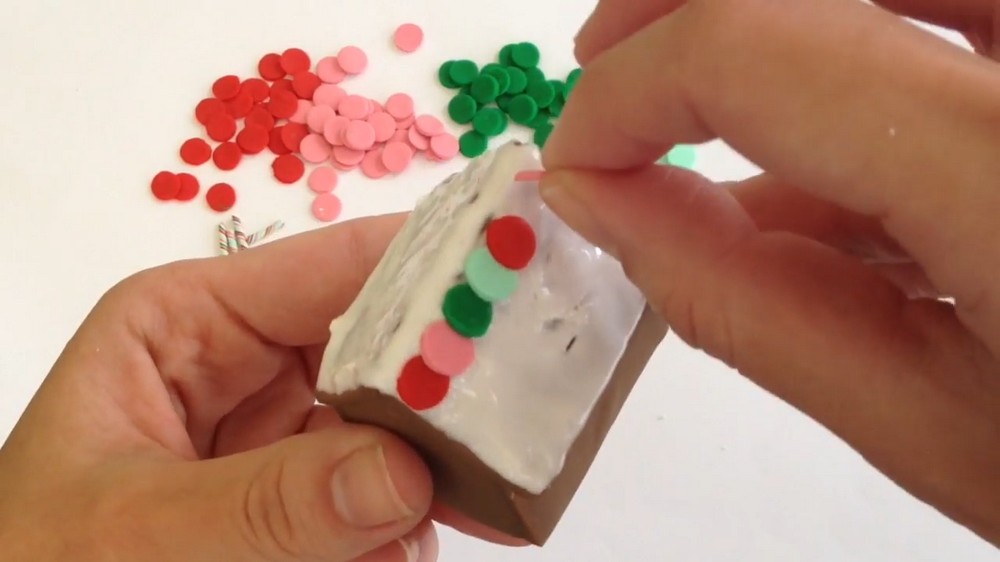
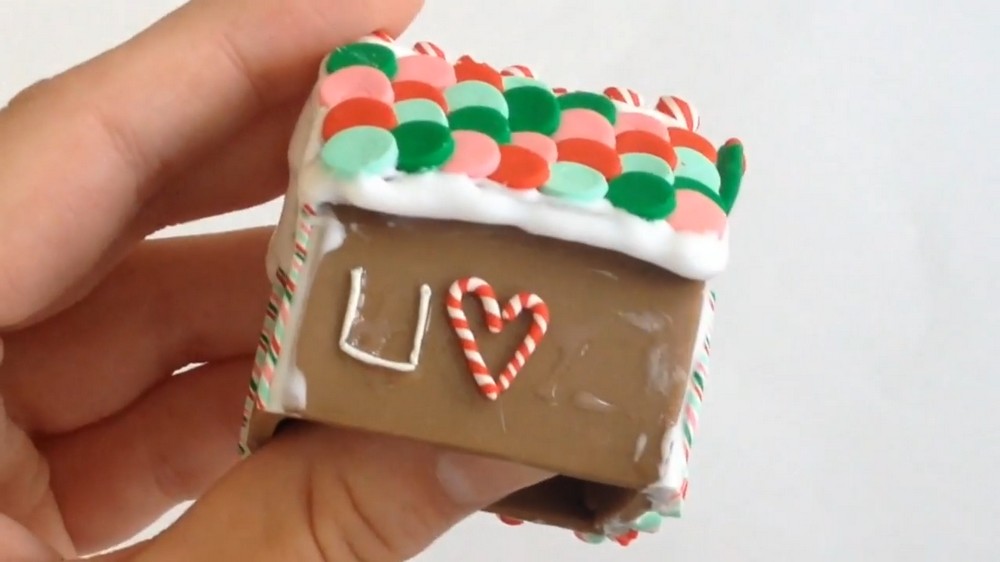
- Spread the frosting onto the rooftop and walls of the house using a sculpting tool.
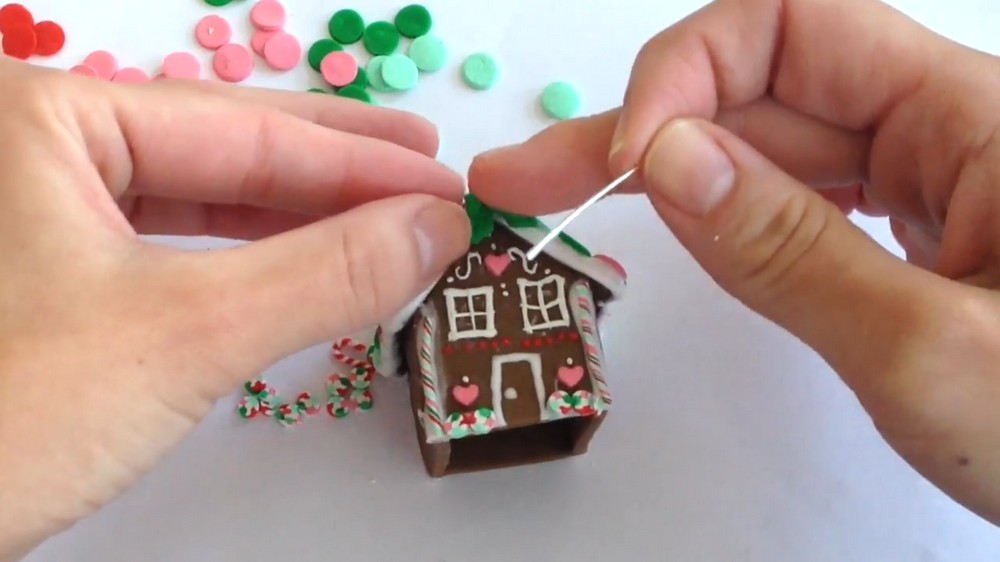
- Stick peppermint circles and candy canes onto the frosting.
- Add tiny window and door details using thin rolled strips of polymer clay. Attach using a bit of liquid clay.
- Final Bake:
- Once decorated, bake the house again in the oven at 250°F (120°C) for another 20 minutes. Let it cool before handling.
Miniature Polymer Clay Snowman
Phase 1: Materials Needed
- Polymer Clay: White (for body), black (arms and buttons), orange (carrot nose), and candy-colored pieces for scarf.
- Animal Eyes or Black Clay: For the eyes.
- Gold Pin: For stability (optional).
- Crochet Supplies + Yarn: For making the hat (you can also use felt or other fabric).
Phase 2: Building the Snowman
- Form the Body and Head:
- Roll white polymer clay into 2 round balls. Make the body slightly smaller than the head.
- Flatten the points where the pieces connect for better attachment. Insert a gold pin between them for extra stability.
- Create the Face:
- Add two small black clay pieces for eyes, or use animal eyes.
- Roll orange clay into a small carrot shape and attach it as the nose.
- Shape thin black pieces of clay into a smile or use tools to carve it directly.
- Add Accessories:
- Scarf: Roll and flatten colorful clay into a strip. Wrap it softly around the snowman's neck.
- Buttons: Add small circles of black clay to the body, and use a pin to poke 4 tiny holes in each button for a realistic effect.
Phase 3: Making the Arms
- Roll black clay into thick snakes (~4 mm thick). Insert a gold pin in the clay for added stability.
- Position the arms on either side of the snowman and adjust them as desired.
Phase 4: Baking the Snowman
- Bake the snowman at 250°F (120°C) for about 20 minutes. Let it cool completely.
Mini Crochet Hat for the Snowman (Optional)
Phase 1: Craft the Base
- Crochet a simple circular shape to fit the snowman’s head (check beginner tutorials for crochet).
- Create a rolled edge for a beanie effect.
Phase 2: Make the Pom-Pom
- Wrap green yarn around a fork or cylindrical object ~20 times.
- Tie a tight knot around the center of the bundle.
- Use scissors to cut the loops, fluff into a ball, and trim the edges for a polished look.
Phase 5: Putting It All Together
- Attach the hat to the head of the snowman using liquid clay or glue.
- Position the scarf and ensure all accessories are securely attached.
- Your adorable polymer clay gingerbread house and snowman are ready to brighten up your holiday season!
Tips & Tricks:
- Always preheat your oven before baking your clay creations.
- Don't overbake the clay; follow the instructions on the packaging.
- Use baby wipes or rubbing alcohol on a cloth to keep your clay clean while working.
- Store unused clay in airtight containers to prevent drying.
- Add gloss glaze to finished pieces for a shiny look.