Design a charming chibi version of Maleficent using clay, with tips on styling, customization, and step-by-step help to bring Disney magic to life.
If you love Disney and enjoy creative crafts, making a chibi version of Maleficent out of clay is a fun and rewarding project. It’s a perfect way to bring one of Disney’s most iconic villains to life while adding your personal touch. Whether you’re creating it as a gift, a cute decoration, or just for fun, this project is a great way to unleash your creativity.
DIY Disney Maleficent Chibi With Clay – Fun Handmade Character Art
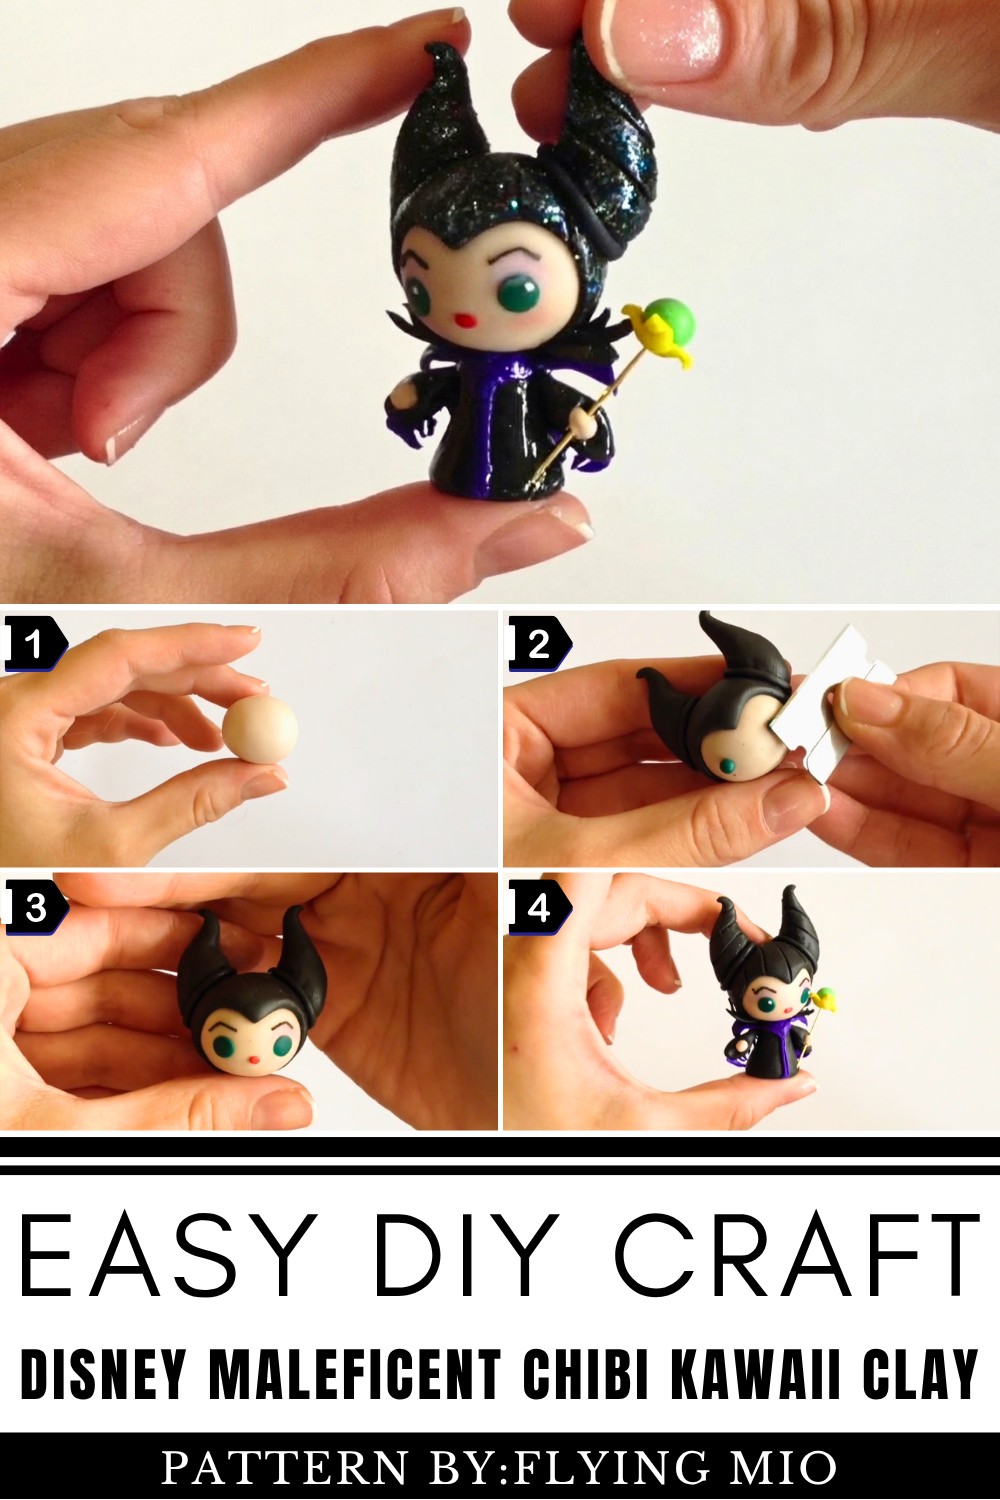
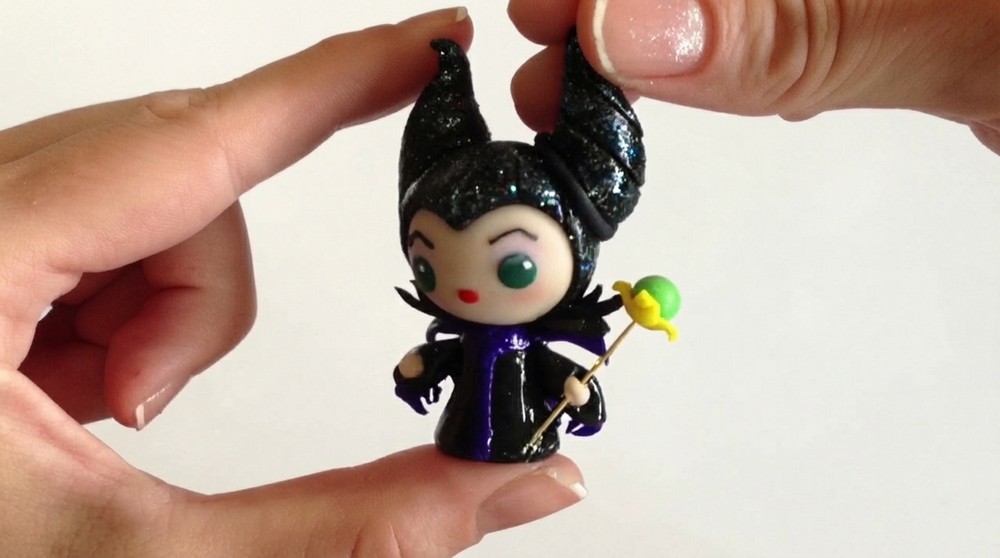
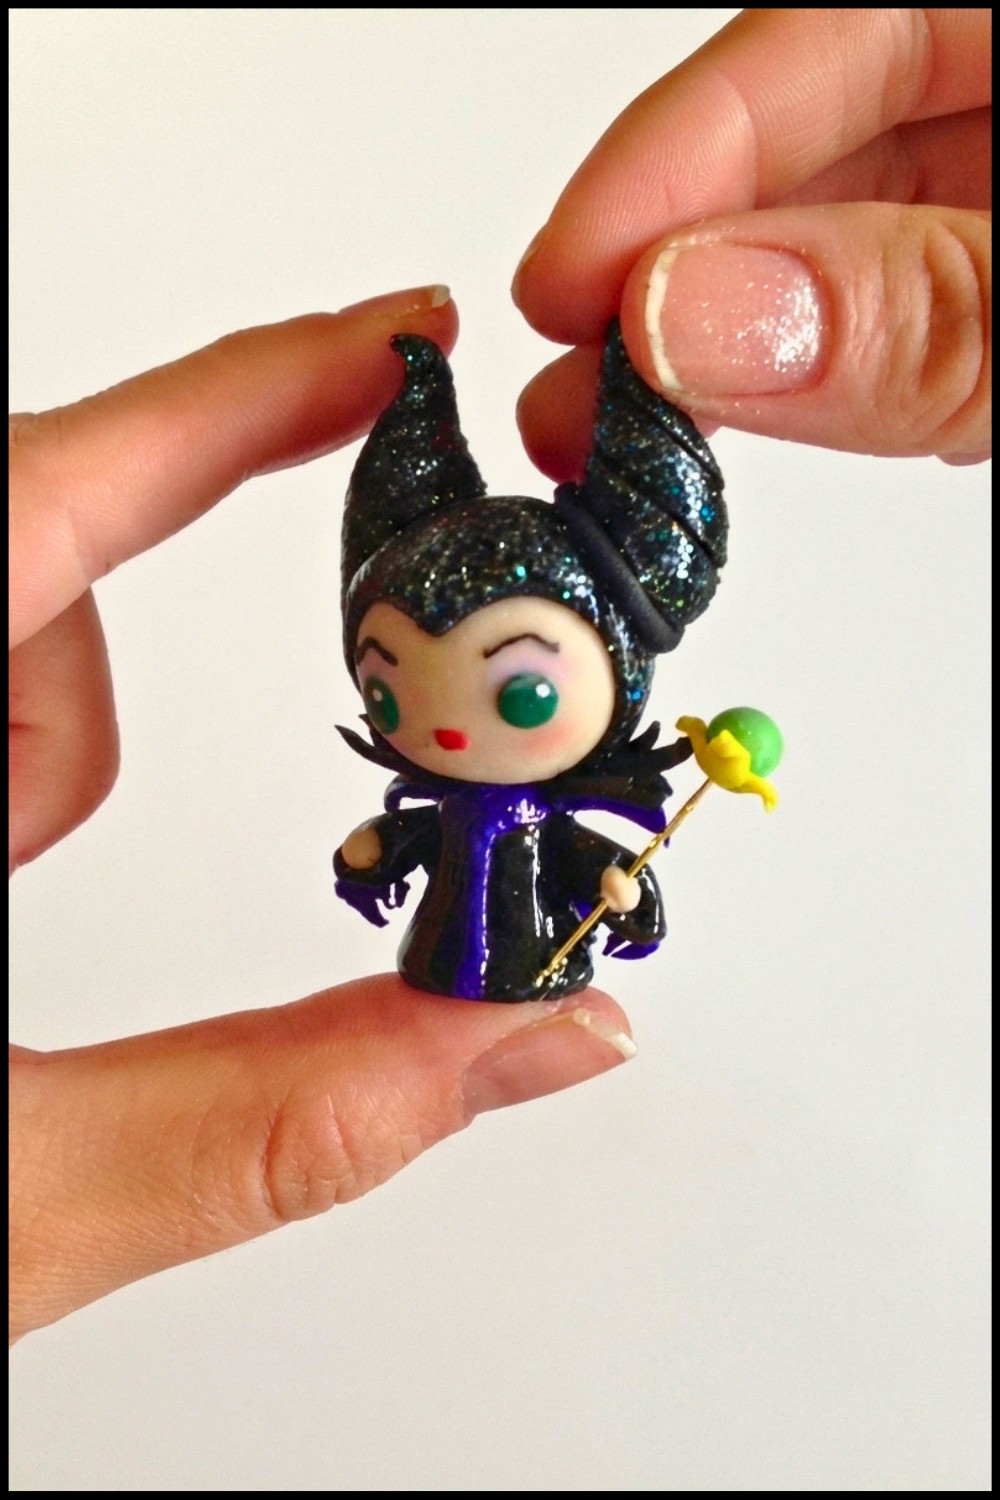
Plus, who wouldn’t want an adorably tiny version of Maleficent on display? The charm of this craft lies in the details. From her signature horns to her flowing cape, you’ll get to recreate all her iconic features in a much cuter, chibi form. You can also give her a unique look by experimenting with colors, adding a glossy finish, or sprinkling a little glitter for that magical Disney sparkle.
Good Word For Designer Work!
The best part is that it’s easy to follow, thanks to the step-by-step tutorial by the talented Flying Mio’s. She breaks down the entire process, making it simple for beginners while also giving room for creativity. Check out her video here to get started!
Making this Maleficent chibi clay isn’t just about creating something cute. It’s also a way to relax, explore art, and connect with one of Disney’s most beloved villains. Full credit to Flying Mio for this creative and magical idea.
DIY Chibi Maleficent Figurine: Step-by-Step Tutorial
Want to create a cute chibi version of Disney's Maleficent? This step-by-step tutorial will guide you through crafting her iconic look—from the horns to the staff—with polymer clay. Whether you choose the plain version or the glittered glaze option, this beginner-friendly craft is sure to be magical.
Materials You’ll Need:
- Polymer clay (flesh tone, black, purple, yellow, green)
- Pastel chalk (purple or light purple for eyeshadow)
- Gold or strong pin (to secure the head and body)
- Clay tools (or household tools like toothpicks for detailing and texture)
- Blade or craft knife (to cut precise shapes)
- Acrylic paints (green and purple chalk may also be used)
- Paintbrush
- Clear glaze or glitter nail polish (optional, for sparkle)
- Oven (to bake your polymer clay creation)
Phase 1: Making the Head and Face
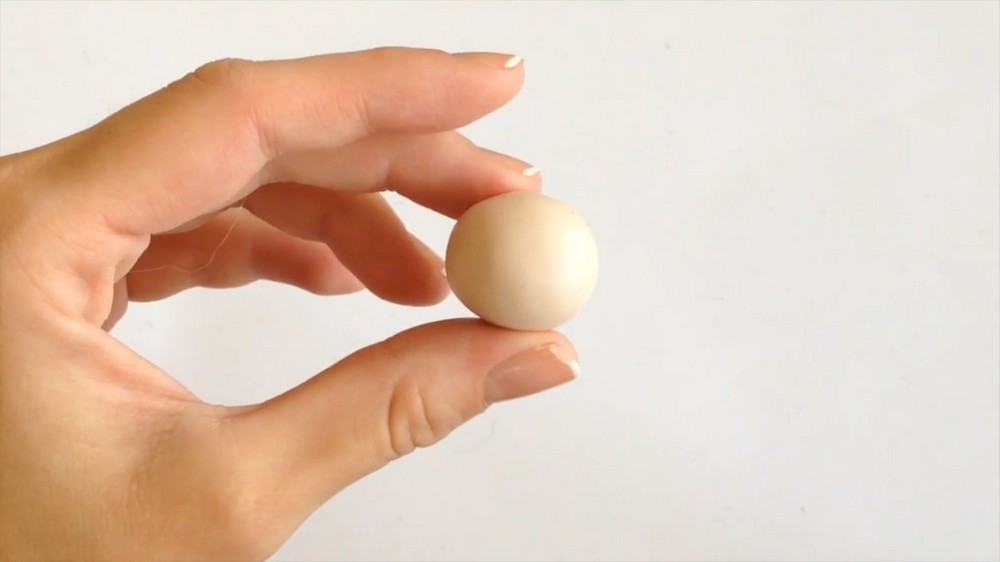
- Shape the Flesh-Colored Head:
- Take a ball of light flesh-colored clay and roll it into a sphere. This will be Maleficent’s head.
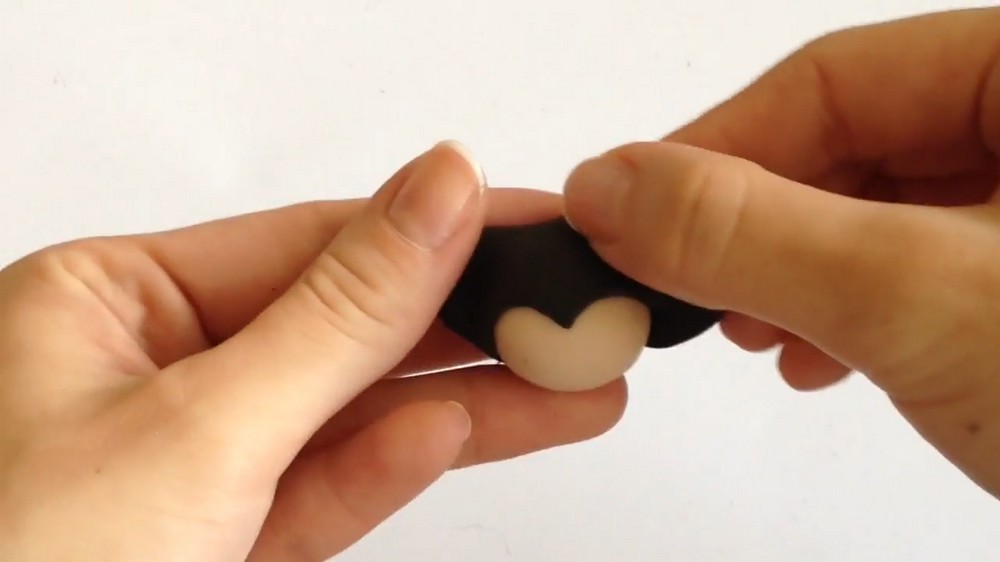
- Create the Widow’s Peak Hairline:
- Flatten a piece of black clay into a pancake shape.
- Cut out two semicircles on the top edge to form a widow’s peak (don’t make them too steep to keep it soft and balanced).
- Smooth the edges of the black clay and place it gently onto the top of the head, covering the forehead.
- Wrap the Black Clay Around:
- Wrap the black clay smoothly around the back of the head, trimming any excess.
- Use your fingers or a clay tool to smooth and blend all the edges for a seamless look.
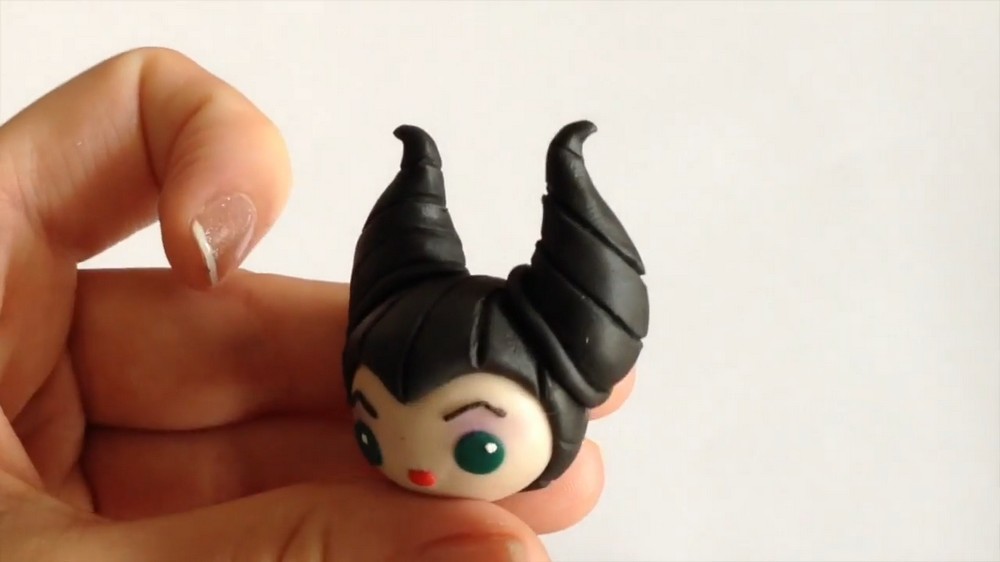
- Form the Horns:
- Roll two pieces of black clay into long cones.
- Curve each cone into an “S” shape to mimic Maleficent’s horn design (thicker base, thinner pointed ends).
- Attach the horns to the back of her head and use a clay tool to press and smooth the edges so they hold firmly.
- Add Texture to the Horns:
- Use a clay tool or toothpick to create small dents and lines along the horns, evenly spaced to mimic the texture from the movie.
Phase 2: Adding the Face Details
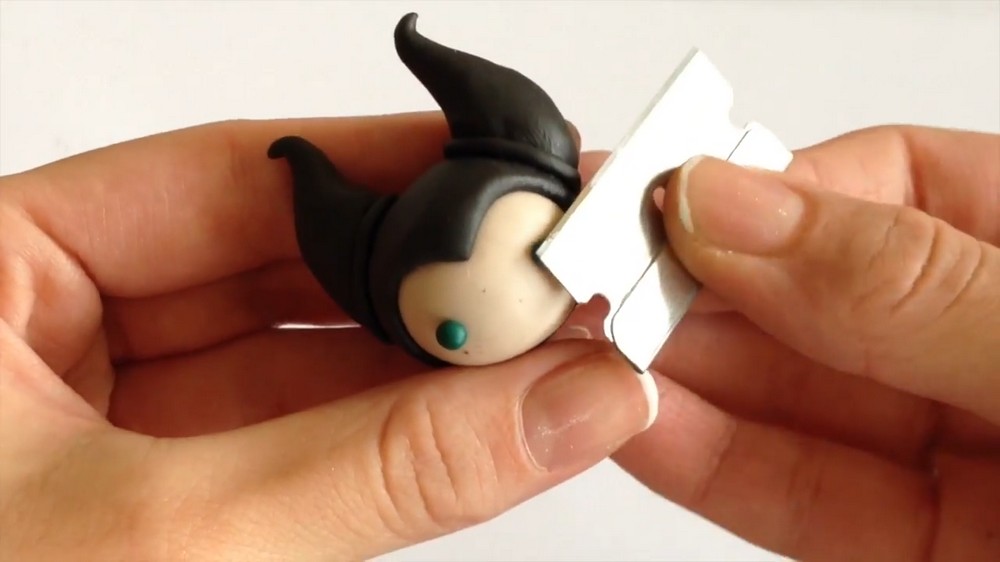
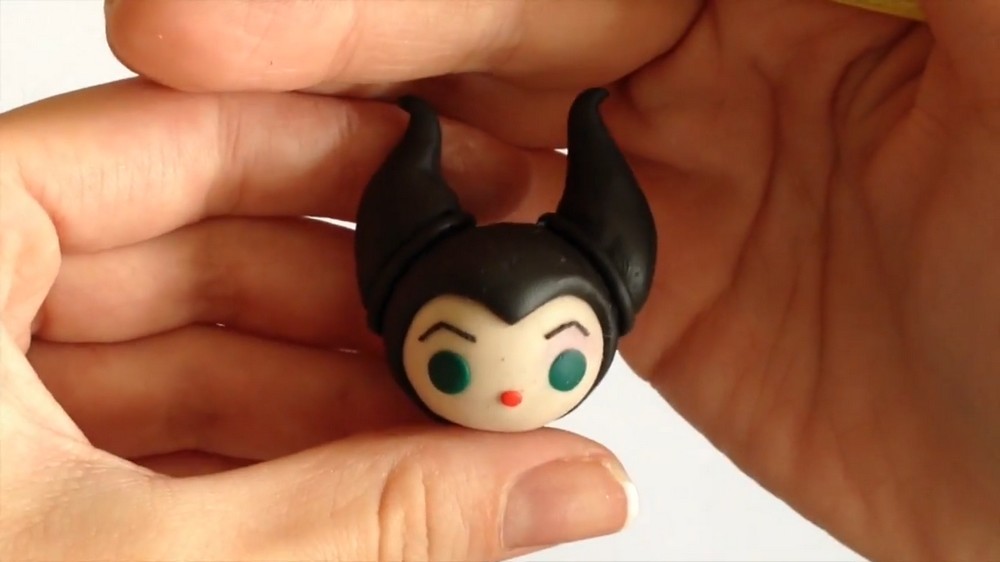
- Paint Large Green Eyes:
- Roll small ovals of green clay or paint her eyes directly onto the face using green acrylic paint.
- Outline the eyes with black or brown paint for definition.
- Add Eyebrows:
- Shape high-arched black clay eyebrows, or paint them. Ensure they look expressive and slightly dramatic.
- Add Red Lips:
- Use red clay to shape small lips or paint on red lipstick for added detail.
- Apply Eyeshadow:
- Gently brush purple pastel chalk above her eyes for a subtle eyeshadow effect. This adds extra depth and color to her look.
Phase 3: Shaping the Body & Cape
- Shape the Dress:
- Roll a ball of black clay into a cone shape for Maleficent’s body.
- Slightly flare out the bottom to create a flowy, train-like effect for her iconic dress.
- Add the Collar:
- Flatten a piece of purple clay into a ribbon-like shape.
- Cut sharp triangular ends on both sides to create a Dracula-style collar.
- Attach the collar to her shoulders, positioning it to frame her head.
- Add the Cape:
- Flatten a piece of purple clay for the cape and place it down the back of her dress.
- Use a blade or craft knife to create subtle texture lines down the cape for a more realistic look.
- Add Sleeve Details:
- Roll black clay into long triangles to form her dramatic sleeves.
- Attach the long sleeves to the sides of her body.
- Cut small purple triangles for the draping effect at the ends of her sleeves and attach them underneath for a batlike effect.
- Add Her Hands:
- Roll tiny balls of flesh-colored clay to form Maleficent’s hands. Attach them to the ends of her sleeves.
Phase 4: Creating the Staff
- Shape the Orb Top:
- Roll a small ball of green clay to form the orb at the top of the staff.
- Add Petal Details:
- Roll yellow clay into thin teardrop shapes. Flatten them slightly and position them around the green orb, mimicking flower petals.
- Create the Handle:
- Use a gold pin or thin piece of clay for the staff handle. Attach the orb firmly to the top.
- Attach the Staff to Maleficent:
- Secure the staff in one of her hands by gently pressing it into place.
Phase 5: Assembly and Baking
- Attach the Head to the Body:
- Use a gold pin to secure the head to the body. Press gently to connect the two pieces and smooth out the visible joint lines.
- Bake Your Creation:
- Preheat your oven to 250°F.
- Bake your Chibi Maleficent figurine on a baking tray lined with parchment paper for about 20 minutes.
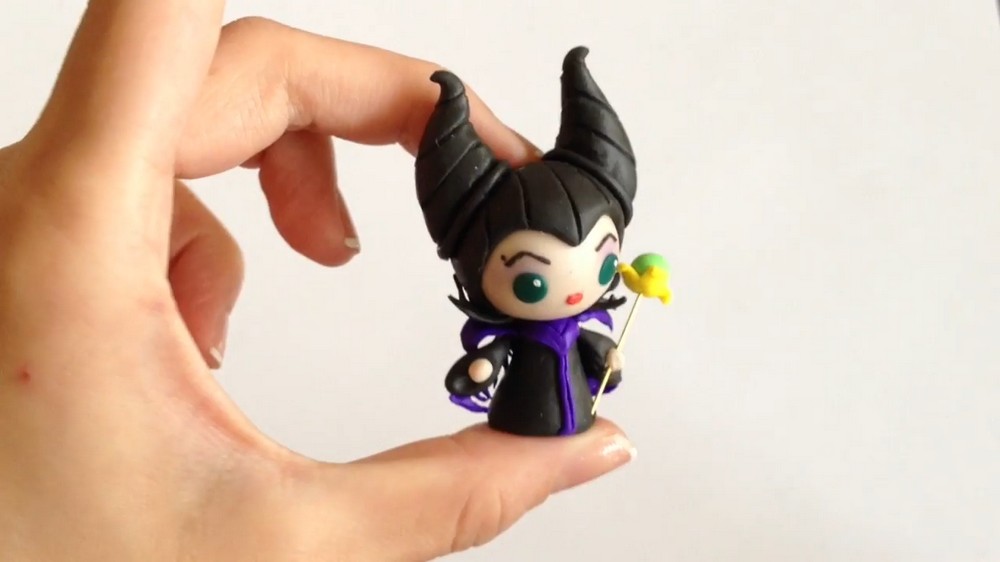
Phase 6: Glazing the Figurine (Optional)
- Glittered Horns:
- Use a glitter nail polish (e.g., Sally Hansen Disco Ball) to paint her horns for a sparkling Disney vibe.
- Clear Coat Finishing:
- Apply clear nail polish or glaze to the rest of her body to add shine and durability.
Tips for Beginners:
- Work Slowly on Details: For small parts like eyes, lips, and the staff, patience is key. Use tools like toothpicks for precision.
- Practice Texturing: Use different tools to experiment with creating textures (like the horn dents or cape lines).
- Keep Your Workspace Clean: Polymer clay can pick up dust and crumbs easily, so ensure your workstation is tidy.