Celebrate special moments with a fun and elegant Princess Peach-inspired cake that’s perfect for fans of all ages and any Mario-themed party.
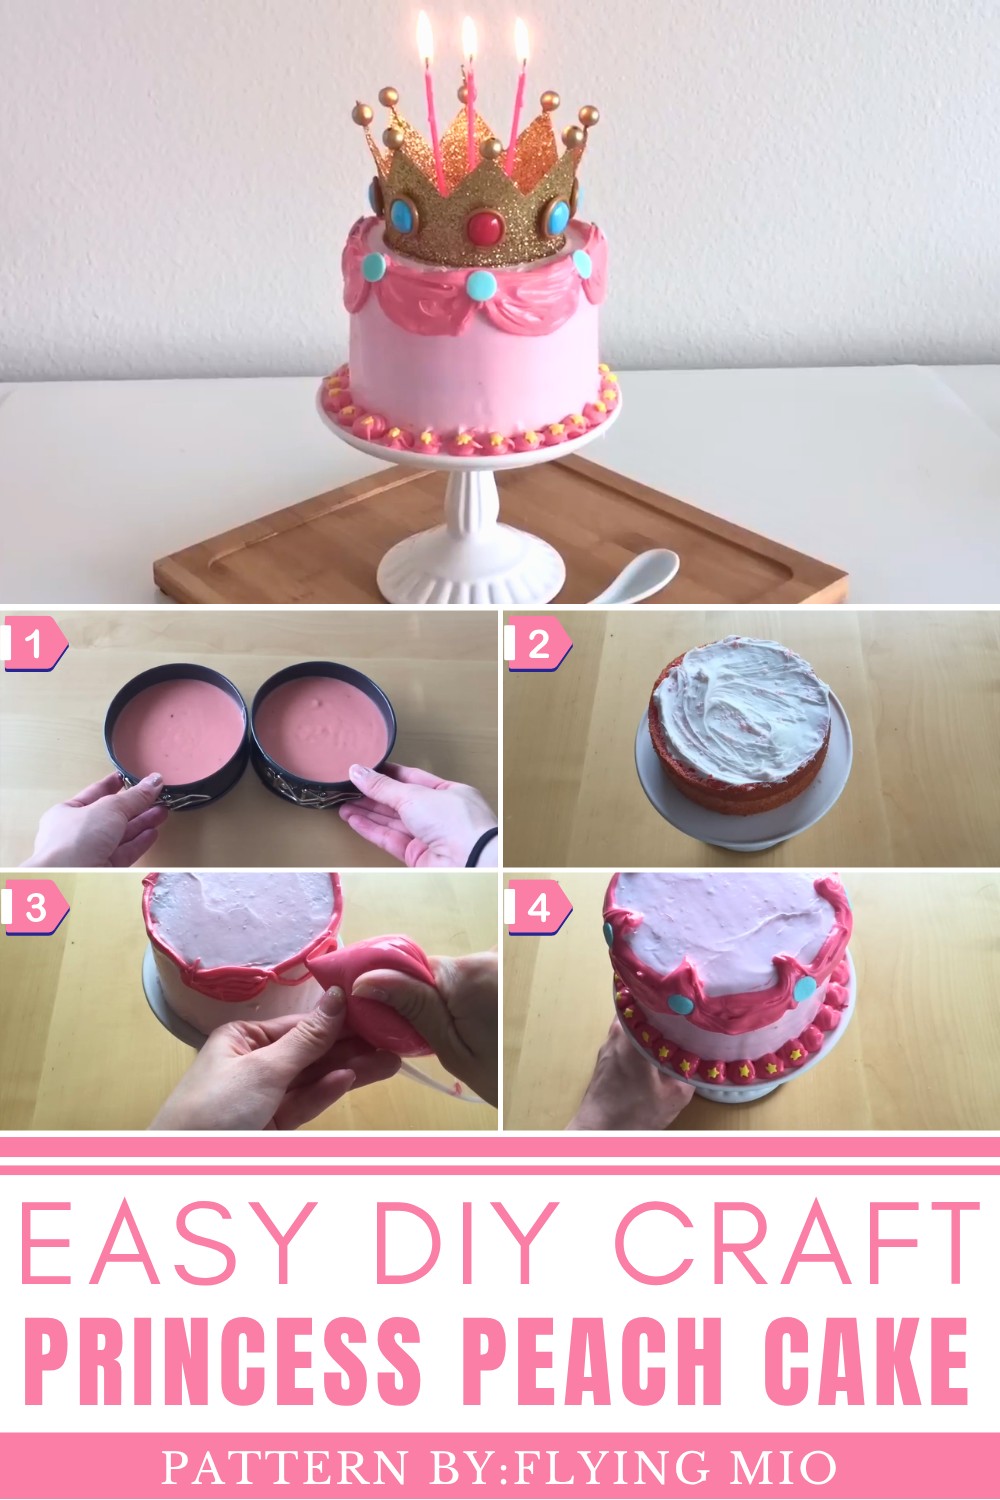
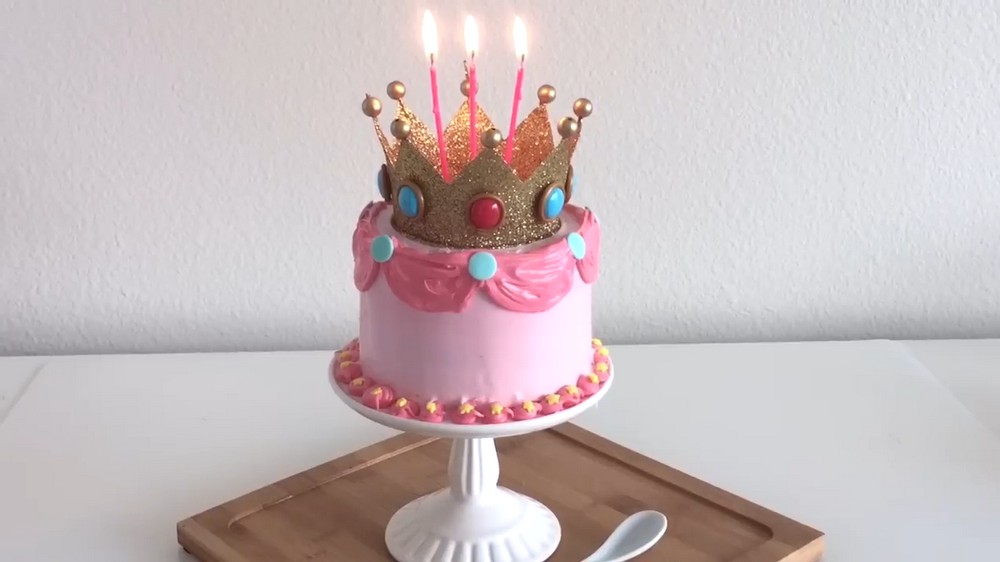
Bring a touch of whimsical elegance to your celebrations with a dazzling DIY Princess Peach Cake, inspired by the iconic Super Mario Bros. character. This cake is a showstopper, featuring beautiful shades of pink frosting paired with delicate swooping details reminiscent of Princess Peach's royal gown. Adorned with edible pearls, vibrant star-shaped sprinkles, and pops of blue, the cake captures the enchanting character of the Mushroom Kingdom. To complete the look, a crowned topper adds sophistication and makes this cake an ideal centerpiece for birthdays, gaming parties, or Mario-themed gatherings. It’s a delightful blend of charm and creativity that sparkles with personality.
DIY Princess Peach Cake That’s for a Party Showstopper
Flying Mio’s artistry radiates through her imaginative and easy-to-follow tutorials. Check out her channel for more delightful projects that transform ordinary ideas into extraordinary creations!
Enchanting Design of the DIY Princess Peach Cake
The DIY Princess Peach Cake is a masterpiece that perfectly embodies the elegance and charm of its video game muse, Princess Peach. With layers of soft pink hues and intricate frosting details, the design mirrors the princess's signature style, showcasing her royal essence. The edible pearls and vibrant star-shaped sprinkles add a magical touch, while the pops of blue accentuate the regal aesthetic.
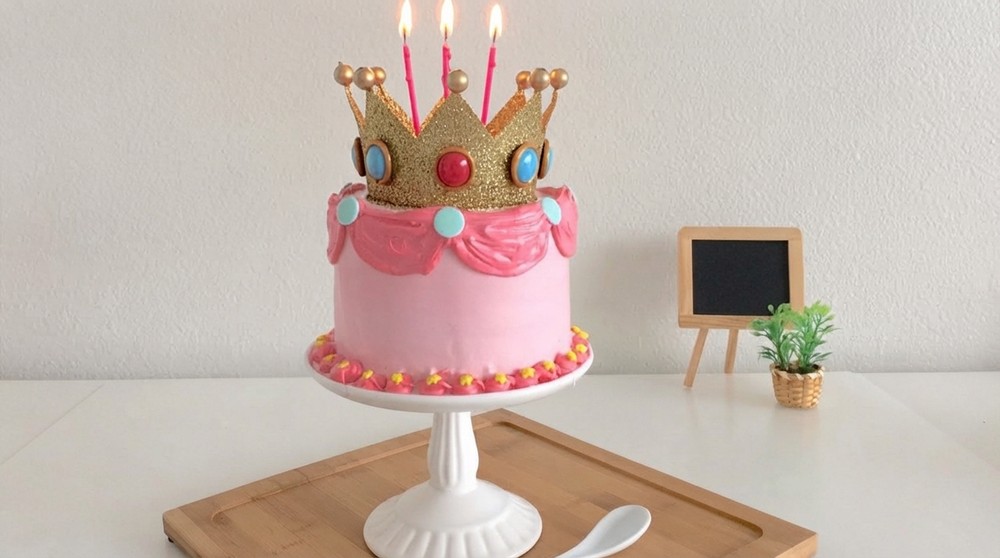
The crown-shaped topper is the ultimate finishing detail, elevating the visual appeal and making it a centerpiece fit for celebrations. With its exquisite design, this cake blends nostalgia with artistry, making it both an eye-catching treat and a tribute to the beloved Mushroom Kingdom character.
Create a Princess Peach-Inspired Cake
Few characters are as iconic as Princess Peach from the Super Mario Brothers universe, and now you can celebrate her elegance with a beautifully designed DIY cake inspired by her royal stature. Featuring shades of pink, golden accents, and a handcrafted crown, this project is perfect for birthdays, parties, or just for fun. The steps are simple, but a steady hand and patience will help you craft a masterpiece that’s both tasty and visually stunning.
Materials You’ll Need
For the Cake:
- Boxed cake mix (any flavor)
- Ingredients listed on the cake mix box (eggs, oil, etc.)
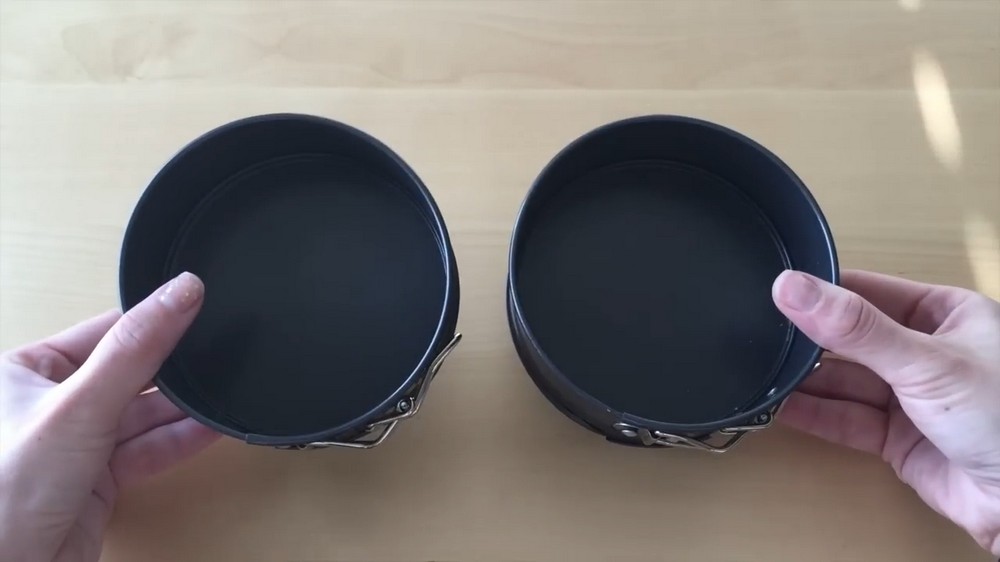
- Two round cake pans (4-5 inches in diameter)
- Food coloring (red for creating different shades of pink frosting)
- Frosting (white or pink)
- A Ziploc bag (or a piping bag)
- Sprinkles (yellow star-shaped sprinkles and blue or rainbow sprinkles)
- Toothpick for extra details
For the Crown:
- Teal blue polymer clay
- Red polymer clay
- Gold polymer clay
- Gloss or nail polish for shine
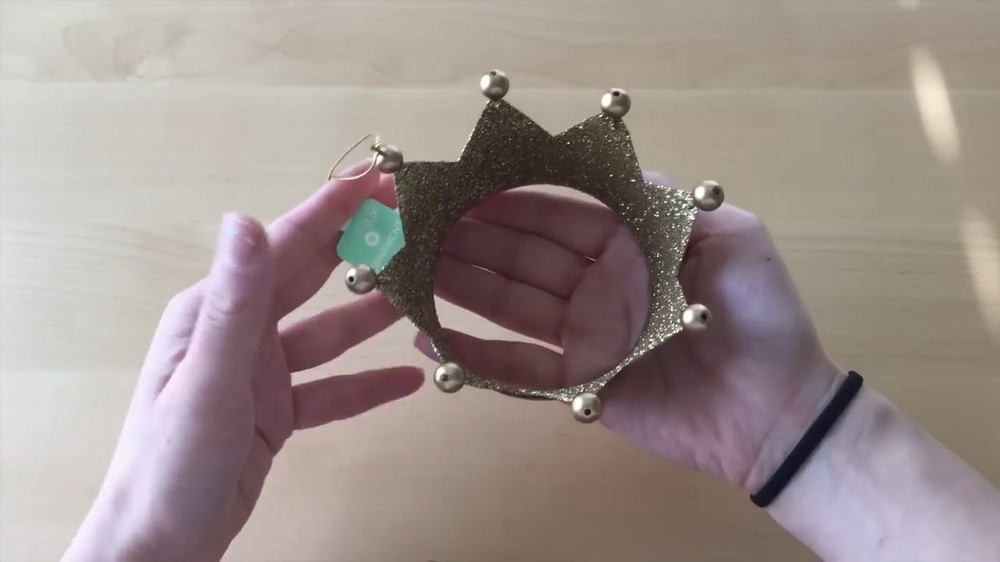
- A real crown (optional, purchased from stores like Target) or make your own crown using polymer clay
- Hot glue gun
Step 1: Make the Cake Base
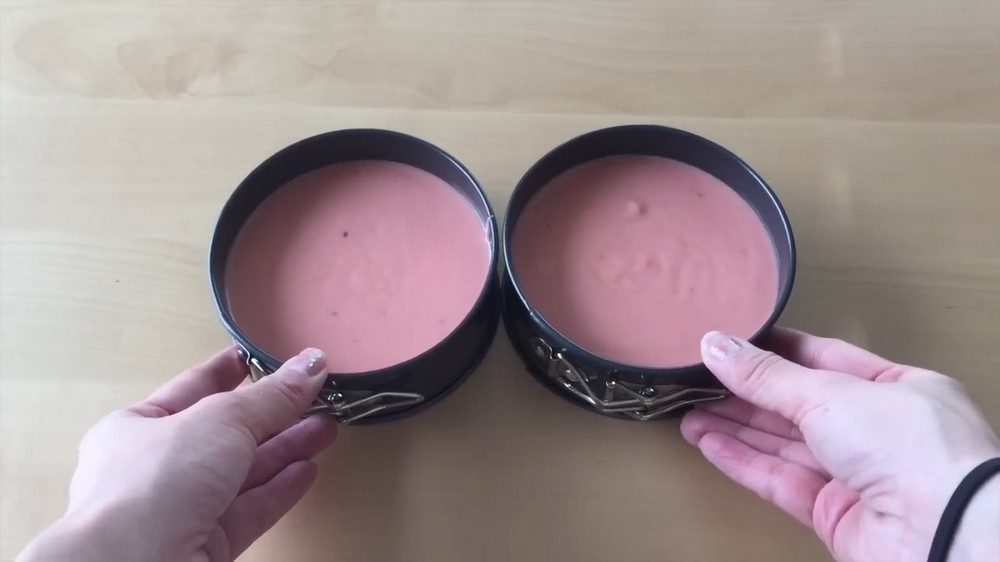
- Prepare the box cake mix following the instructions on the packaging. Mix the batter until smooth.
- Divide the batter evenly between the two round cake pans. Fill them about halfway to allow room for the batter to rise.
- Bake the cakes according to the time and temperature provided on the box. Let them cool completely before handling.
Step 2: Prepare Your Frosting
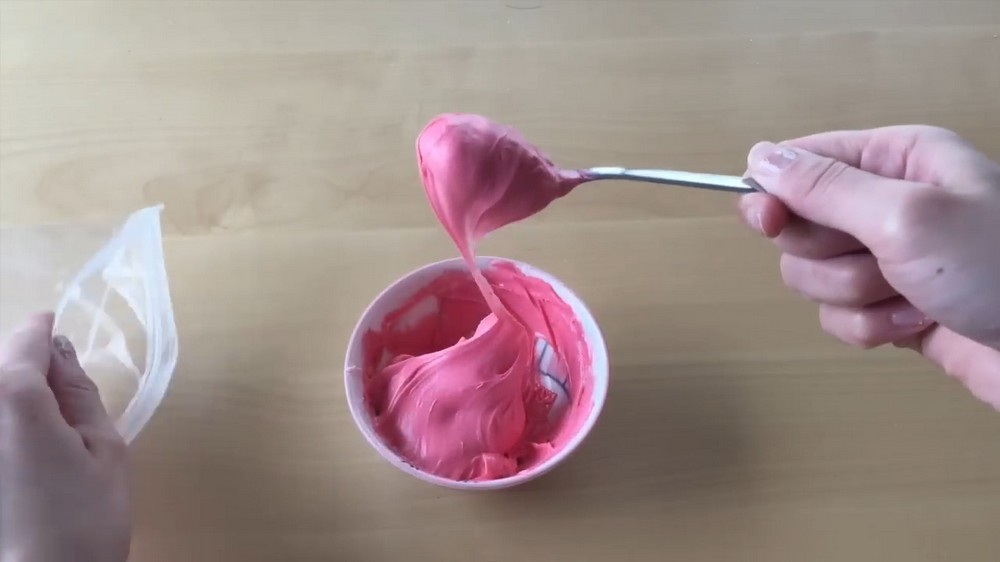
- Choose white or pink frosting for the base color. If you’re starting with white frosting, mix in a small amount of red food coloring until you achieve a light pink shade.
- For the second shade of pink, take some of the light pink frosting and mix in a little more red coloring to create a darker, vibrant pink. Go slowly to get the shade you want.
Step 3: Build the Cake Layers
- Carefully remove the baked cakes from the pans once they have cooled completely. Each cake will have a dome-shaped top, which isn’t ideal for stacking, so use a knife to carefully cut the dome off each layer, leaving a flat surface.
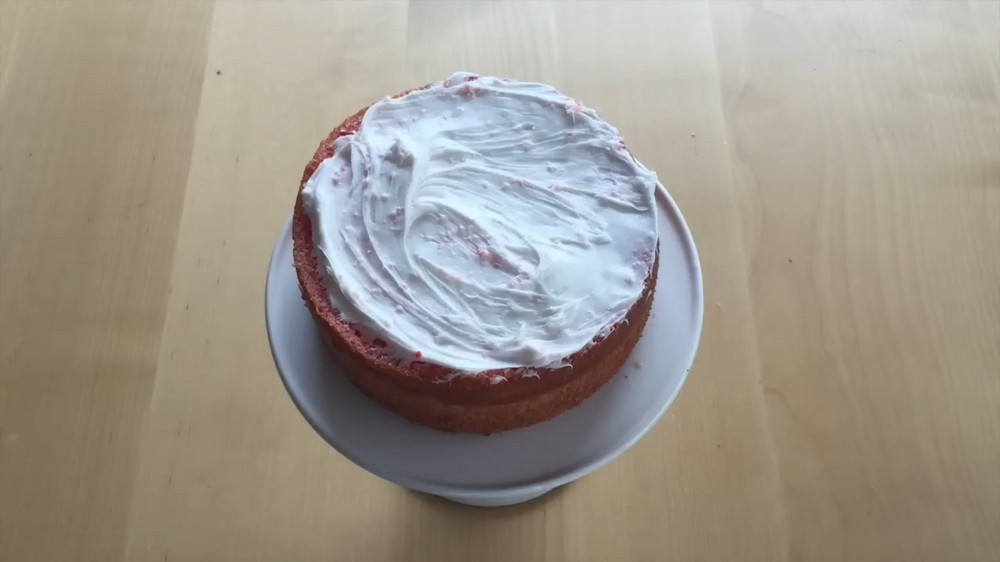
- Spread a thin layer of white frosting between the two cake layers to act as a filling. Alternatively, you can use jam, Nutella, or any other spread you like.
- Position the second layer on top of the first to create a two-layer cake.
Step 4: Frost the Cake
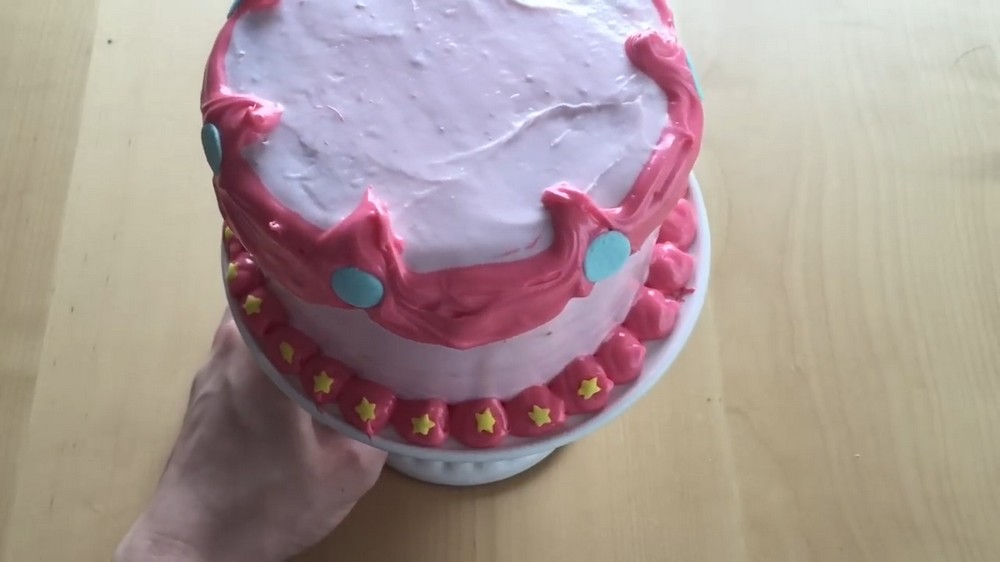
- Spread a thin, even layer of light pink frosting around the entire cake using a knife or spatula. Pay attention to smoothing rough edges and spreading evenly to create a polished look.
- To avoid mixing crumbs into the frosting, spread gently and in one direction. Spend extra time perfecting the frosting layer for a neat, finished appearance.
Step 5: Add Decorations Using Dark Pink Frosting
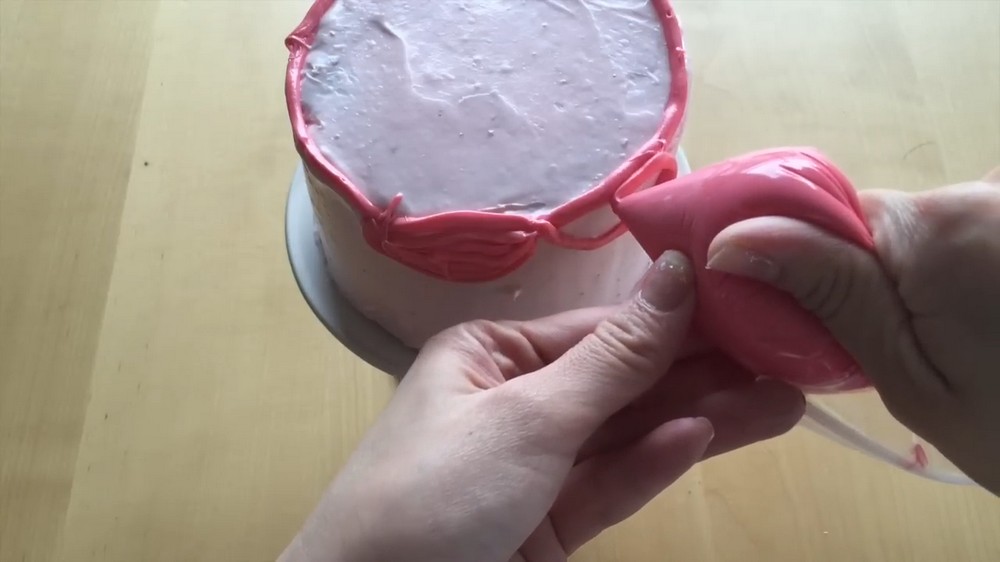
- Fill a Ziploc bag with your darker pink frosting. Squeeze the frosting into one corner and seal the bag.
- Cut a small hole in one corner of the bag with scissors to create a makeshift piping tool.
- Pipe large, wide half-circle shapes around the top edge of the cake to mimic the elegant swoops of Princess Peach’s dress. Fill in the top edge under each half-circle for an ornate look.
- Add small, round dots resembling pearls to the bottom edge of the cake for extra detail. These accents give the cake a unique touch.
Step 6: Add Sprinkles
- Take blue sprinkles (ideally larger ones, like cake decorations for giant cupcakes) and place them at the top corners of each semicircle decoration for additional color contrast.
- Use yellow star sprinkles to line the bottom rim of the cake. The stars are a fun nod to the Super Mario theme while adding the perfect pop of color.
Step 7: Craft Polymer Clay Gems for the Crown
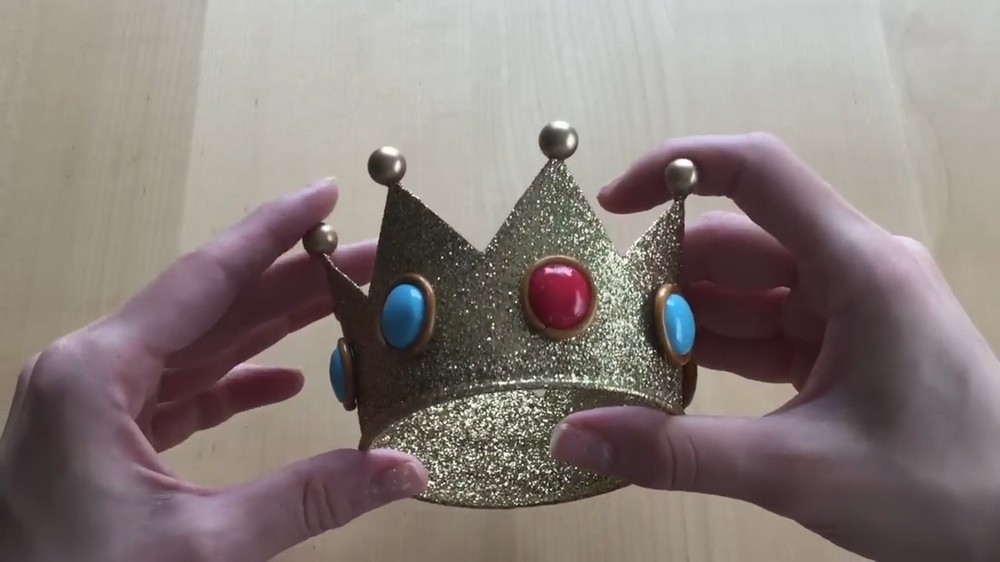
- Roll teal blue polymer clay into small balls to create gemstones. Smooth them with your fingers until they have a polished appearance. Make as many gems as needed to match the number of spikes on your crown.
- For one gem, use red polymer clay for variety and contrast, as Princess Peach’s crown features a red gem besides blue ones.
- Roll thin pieces of gold polymer clay into small snakes. Wrap these snakes around each gem to mimic elegant golden rims. Smooth the edges carefully.
- Bake the polymer clay gems for 20 minutes in an oven preheated at 250°F.
- Once baked and cooled, apply gloss or nail polish to each gem for added shine. Allow the polish to dry completely.
Step 8: Attach Gems to the Crown
- Use a hot glue gun to attach the baked polymer clay gemstones to the crown. Position them neatly to align with the spikes on the crown.
- If you don’t have a store-bought crown, you can sculpt your own crown from gold polymer clay, forming the spikes and placing the gems accordingly. Bake and gloss your homemade crown as needed.
Step 9: Final Cake Assembly
- Carefully position the decorated crown on top of the cake. Avoid pressing down too hard on the frosting to keep everything pristine.
- If you’re celebrating a special occasion, consider adding candles to the center of the crown. Opt for matching colors like pink candles to suit the Princess Peach theme.
The finished product combines the nostalgic charm of Princess Peach with the delicious appeal of a homemade cake, making this craft perfect for themed events, birthdays, or any celebration. Wherever it’s served, this iconic design is bound to make a lasting impression.