Bring your favorite Disney princess to life with a simple felted pattern that offers clear instructions and a polished professional finish.
Huge thanks to Mio from Japan, the brilliant creator behind these adorable designs. Be sure to check out her channel, Flying Mio, for more inspiring and fun crafting tutorials you won’t want to miss.
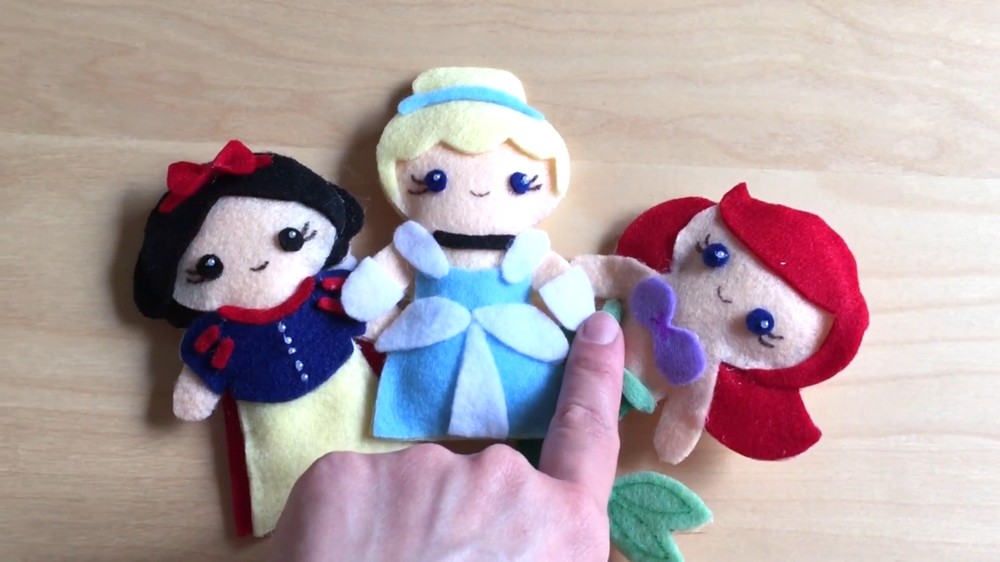
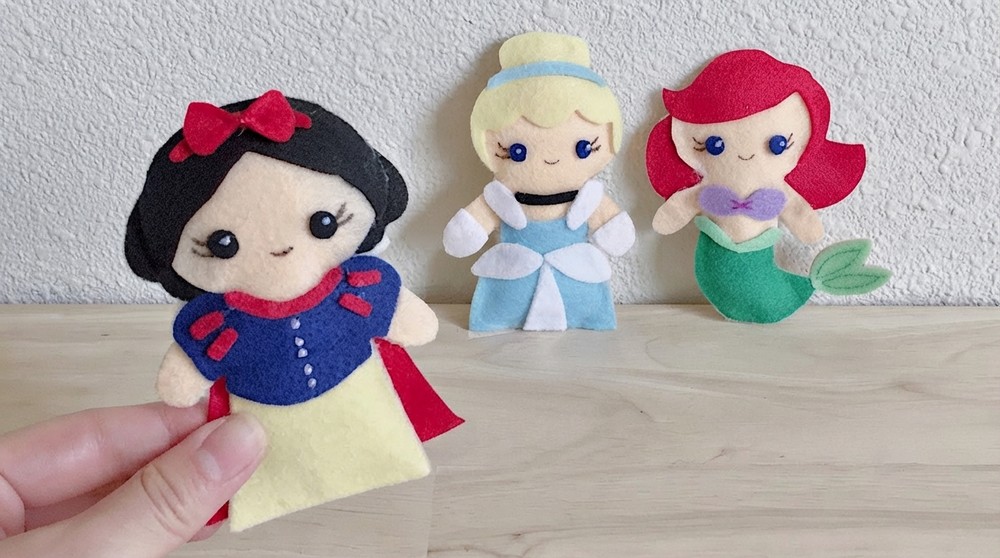
Soft and charming, these miniature Disney princesses capture the magic of beloved characters through delicate felted figures. Featuring the DIY Felted Disney Princess Pattern, each doll showcases carefully crafted details, from elegant gowns to expressive faces, that highlight iconic traits like Ariel’s flowing hair and Cinderella’s graceful poise.
How to Make a DIY Felted Disney Princess Pattern for Beginners
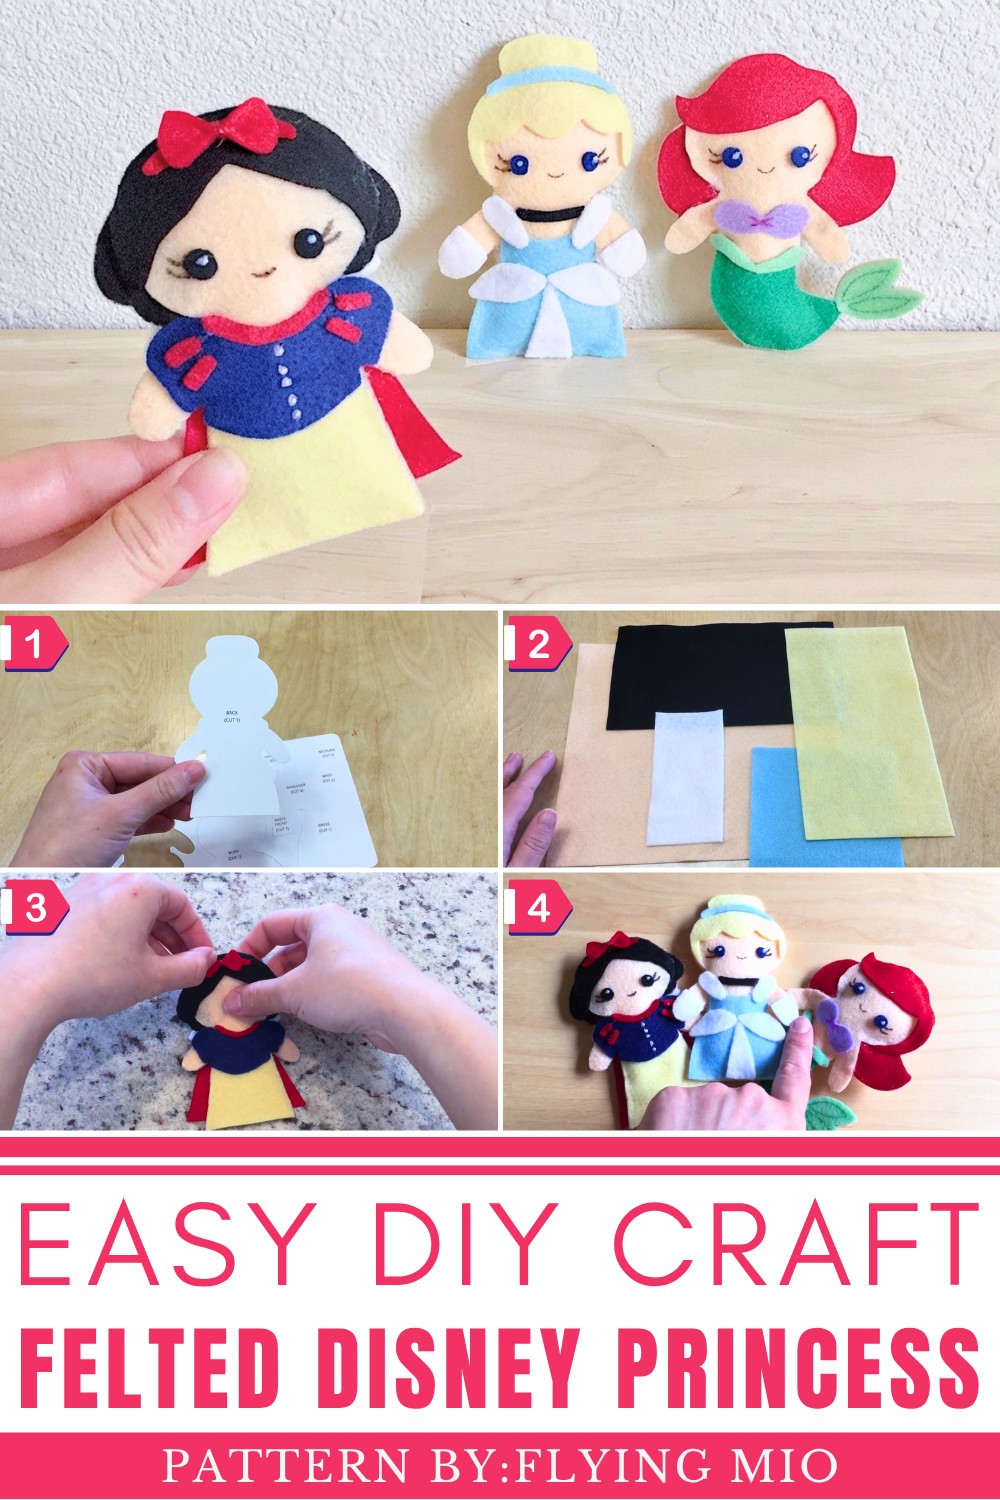
Perfect as decorative keepsakes or heartfelt gifts, these plush princesses offer a warm, huggable appeal that feels both nostalgic and inviting. Their compact size fits beautifully on shelves, desks, or nightstands, making them a delightful addition to any Disney fan’s collection. What sets this pattern apart is how it balances simplicity with recognizable character features, making each princess instantly familiar and uniquely adorable.
Whether placed in a child’s room or displayed with collectibles, these felted figures carry personality and charm without overwhelming complexity. The DIY Felted Disney Princess Pattern allows for small personal touches that reflect each maker’s style, adding an individual charm to these timeless favorites. Soft textures, sweet expressions, and classic costumes come together as lasting reminders of favorite stories, perfect for anyone who treasures Disney magic in a cozy, plush form.
DIY Felted Disney Princess Free Pattern
This tutorial guides you through creating adorable Disney princess plushies using felt. Featuring Ariel, Cinderella, and Snow White, these handcrafted plushies are perfect for fans interested in sewing, crafting, or personalized gifts. The process uses a felt kit with reusable patterns and simple techniques like cutting, gluing, and stuffing to bring each princess to life.
Design Highlights
- Handcrafted Look: Soft felt materials bring a cozy, tactile charm to each princess figure
- Miniature Characters: Compact plush size ideal for display, gifts, or crafting accessories like pins or backpack ornaments
- Simplified Details: Cute facial features and costume details achieved through felt layering, drawing, and small embellishments
- Customizable Finishing: Options to sew or hot glue pieces together, add beads and sequins, or use fabric markers for facial expressions
Material Importance
Choosing the right materials is essential for texture, durability, and easy assembly. Soft yet sturdy felt fabric holds shapes well and is simple to cut accurately with patterns. Quality stuffing affects the plushies’ dimensions and firmness, making them look rounded yet maintain their cute form. Using reliable adhesives or sewing thread improves longevity. Having visible markers or pens helps outline cutting shapes clearly for precise pieces, enhancing overall quality and ease.
Materials & Tools Required
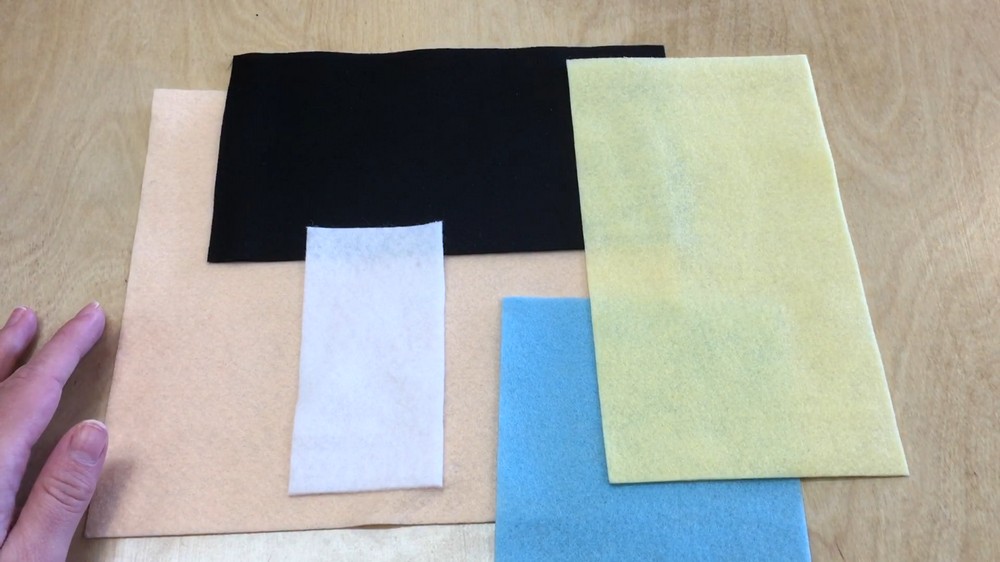
- Felt sheets in various colors corresponding to Disney princess outfits and features
- Stuffing material for plush filling (polyester fiberfill preferred)
- Hot glue gun and glue sticks or needle and thread for assembly
- Scissors for precise cutting
- Black Sharpie or fabric marker for tracing patterns
- Small paintbrush or fine-tipped markers for facial details
- Sequins, beads, or pearls for accenting eyes or costume elements
- Printed pattern templates (reusable cardboard preferred)
Before You Begin
- Prepare your workspace by laying down clean mats for cutting and gluing to keep everything organized.
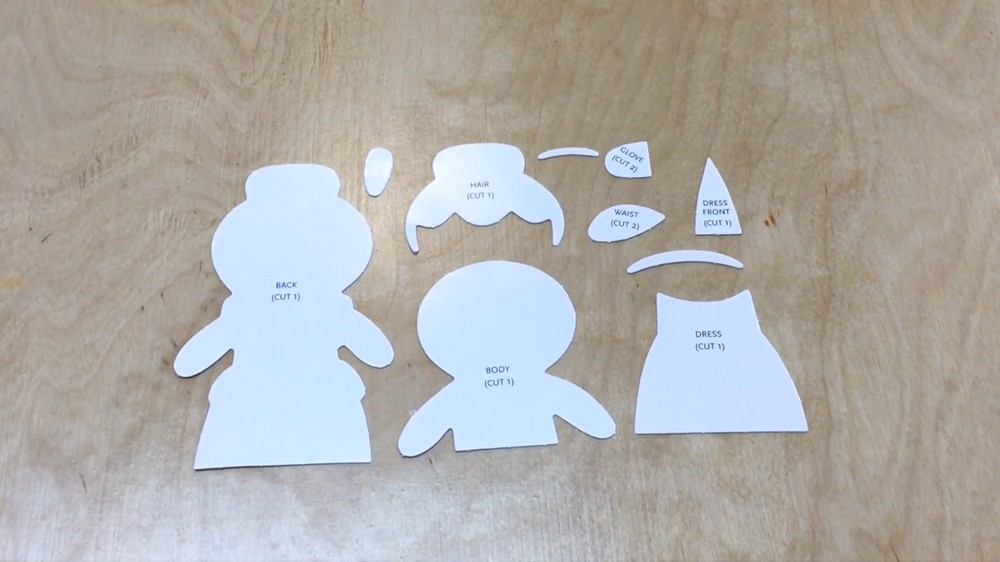
- Take time to pop out or print the pattern pieces carefully to avoid losing small parts.
- When tracing with markers, avoid leaving excess ink on edges when cutting to prevent unsightly rims.
- Choose whether to sew or glue pieces early on; sewing offers durability but glue acts faster and easier for beginners.
- Be mindful when stuffing plushies — too much filling can distort shapes, too little will make them floppy.
- Use good lighting to see tiny details clearly during assembly and decoration.
Step-by-Step Instructions
1. Preparing and Cutting Patterns
a. Pop or Print Patterns
- Remove pattern shapes from the kit cardboard carefully, keeping all small pieces intact.
- If printing, ensure patterns are scaled correctly to the kit size.
b. Trace onto Felt
- Place pattern pieces on the corresponding felt colors needed for each princess.
- Use a black Sharpie or fabric marker to trace outlines clearly, but make sure to leave a margin so the black line won’t show on the edges after cutting.
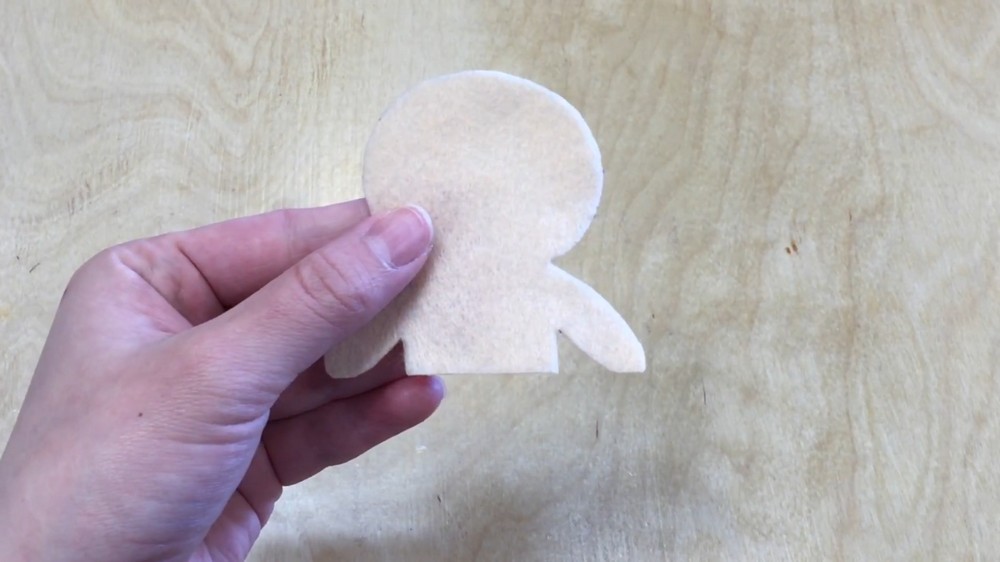
c. Cut Felt Pieces
- Carefully cut along the traced lines.
- Trim any excess ink or irregular cuts to ensure clean edges.
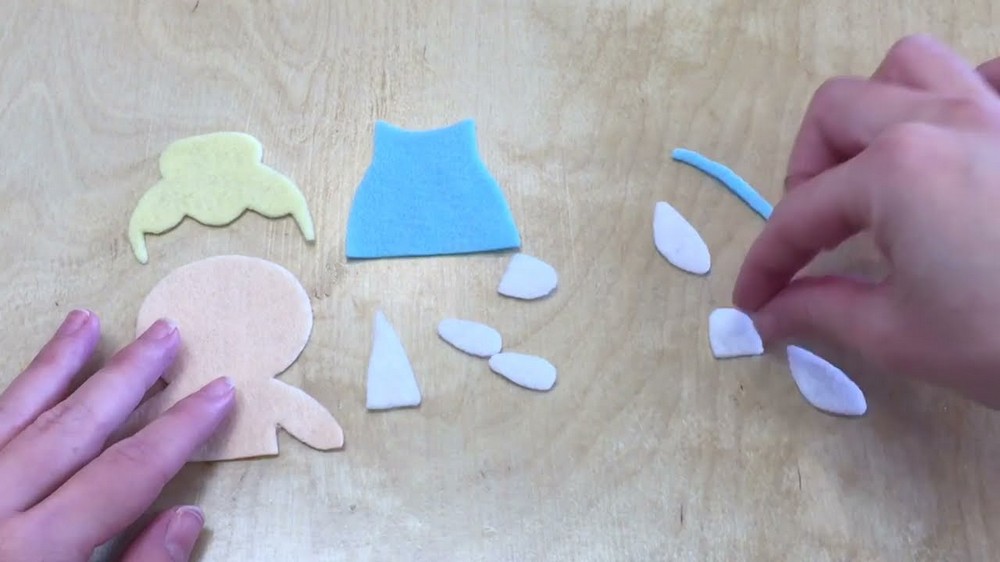
2. Assembling the Princesses
a. Attaching Pieces
- Begin arranging cut felt pieces to visualize the final figure before adhering.
- Use hot glue to quickly assemble layered pieces or sew them together depending on preference.
- Leave a small gap in the main body parts for stuffing.
b. Stuffing the Plush
- Lightly add stuffing material through the opening to give the plush volume.
- Avoid overstuffing to maintain shape and softness.
c. Closing the Opening
- Carefully glue or sew shut the gap after stuffing to secure the filling inside.
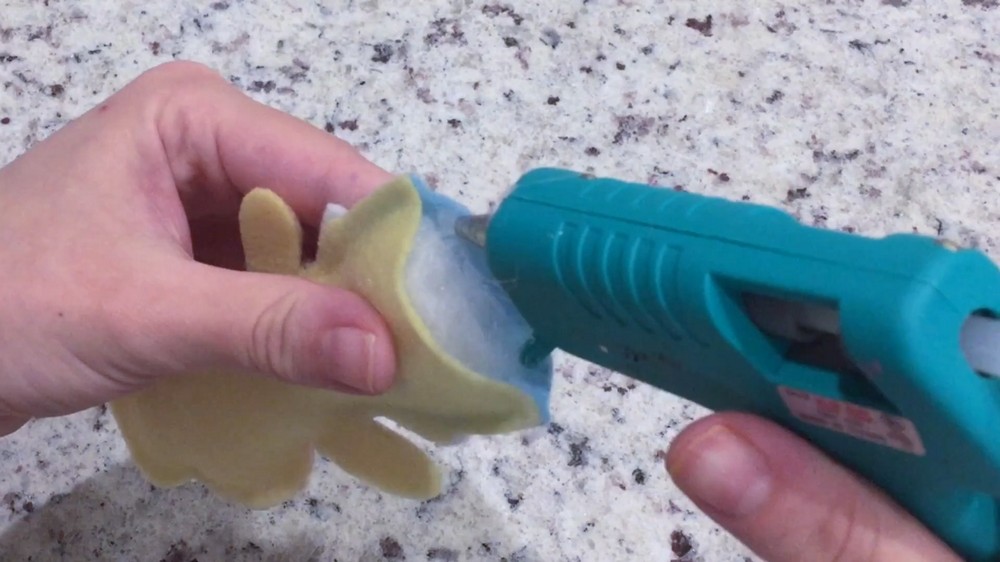
3. Adding Facial Features and Details
a. Making the Eyes
- Cut small felt circles for the eyes and glue them on.
- For shine, add small white sequins or beads on the eyes to mimic anime-style highlights.
b. Drawing Features
- Use a fine-tip fabric marker or colored pen to draw eyelashes, mouth, eyebrows, and other tiny details.
- Work slowly to create neat, clean lines that complement the face’s overall look.
c. Additional Accessories
- Attach small felt pieces like bows or collars with glue.
- Add beads or pearls as decorative accents for jewelry or costume elements as desired.
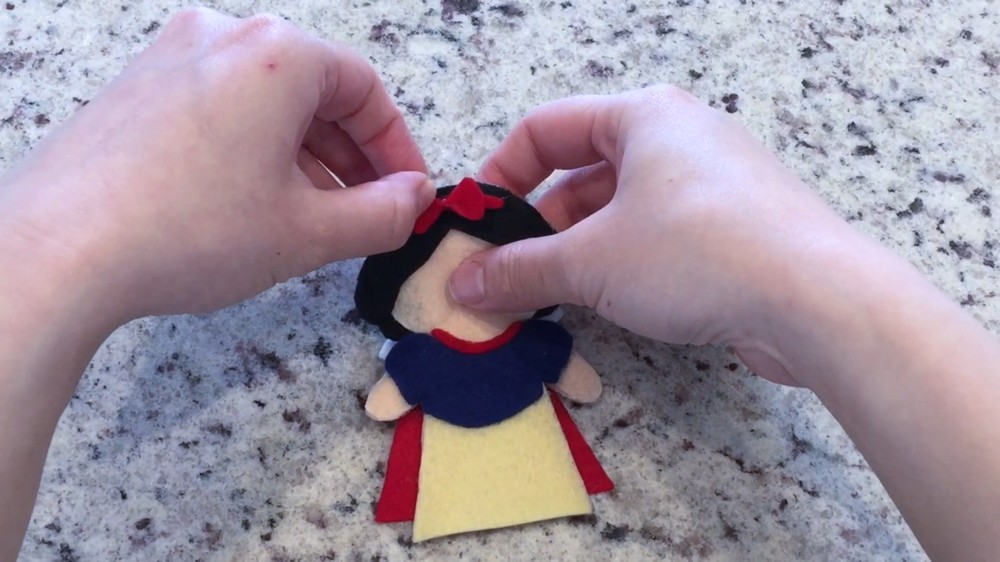
4. Creating Specific Princesses (Examples)
a. Cinderella
- Use blue and white felt pieces.
- Assemble the bodice, skirt, and hair separately before gluing or sewing onto the plush base.
b. Ariel
- Use red for hair, green for tail (if applicable), and shell or pink accents for details.
- Shape hair pieces carefully and layer on top of the head.
c. Snow White
- Use black felt for hair, yellow felt for dress, red for cape.
- Assemble hair in pieces for volume, and carefully attach collar and cape details.
5. Finishing Touches
- Review each plush for any loose pieces or gaps and secure as needed.
- Allow hot glue or any paint to dry fully before handling excessively.
- Optionally, add backing pins, keychain loops, or other hardware for wearable plush accessories.
Final Steps
These Disney princess felt plushies combine basic crafting techniques with creative customization to produce charming keepsakes. The process is rewarding and suitable for beginners, allowing adaptations in colors or details for personal flair. They make lovely decoration pieces or gifts that capture beloved characters with soft, handmade charm.