Make a charming Sakura Gudetama trinket box that adds whimsy and style to any space with a fun and functional finishing touch you will love.
FEATURED BY: Flying Mio
Delightful charm meets playful design in this adorable resin trinket box that captures the essence of springtime with its soft pink blossoms and a beloved lazy egg character. The DIY Sakura Gudetama Trinket Box Pattern combines the gentle beauty of delicate Sakura flowers with the quirky, relaxed personality of Gudetama, creating a small treasure perfect for storing jewelry or keepsakes.
Cute DIY Sakura Gudetama Trinket Box Pattern Perfect for Gift Giving
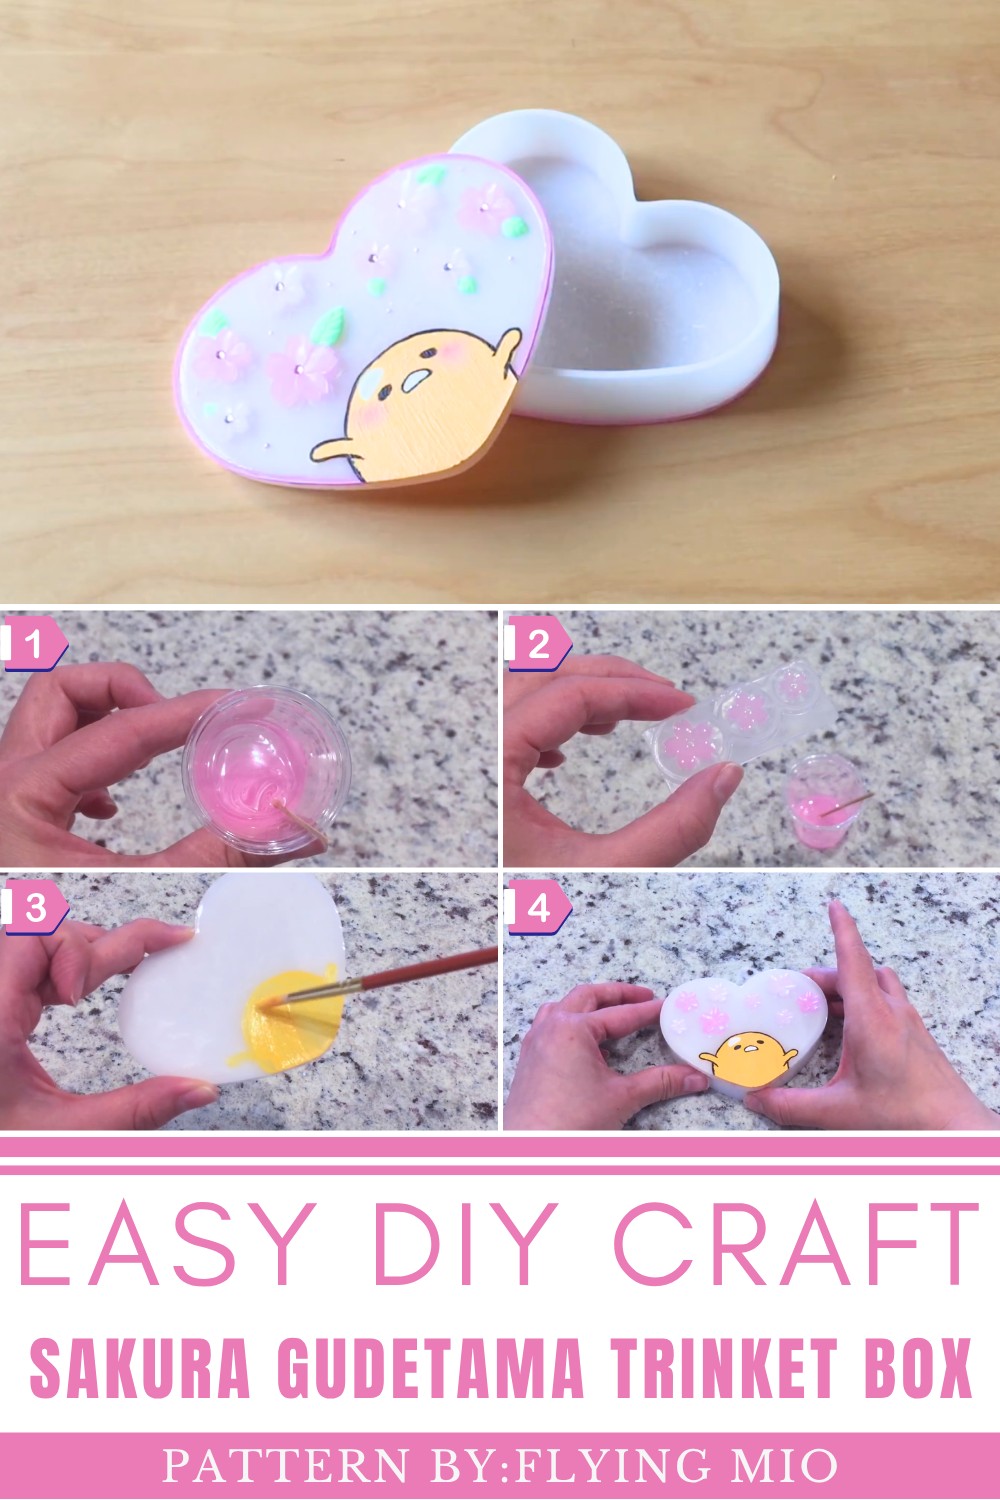
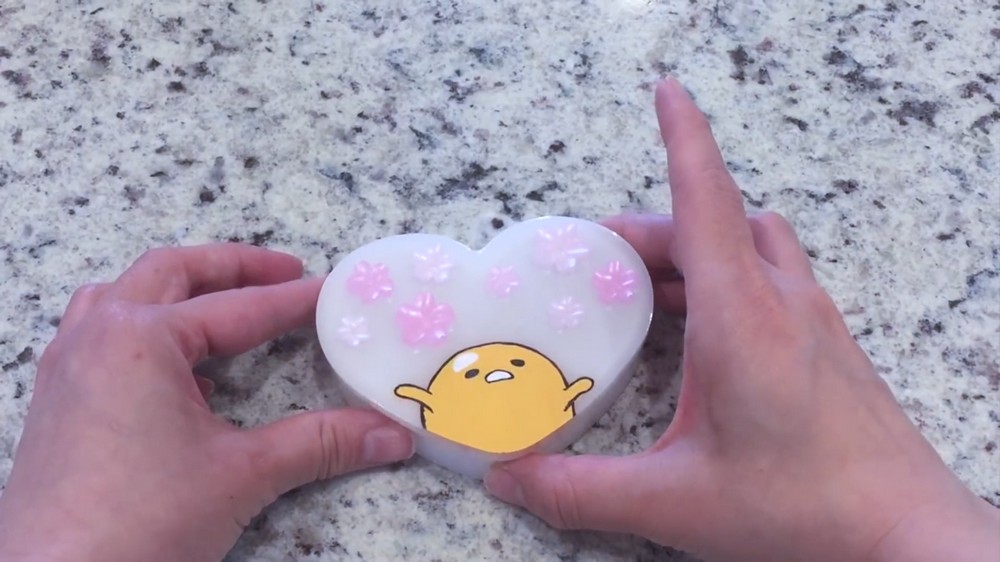
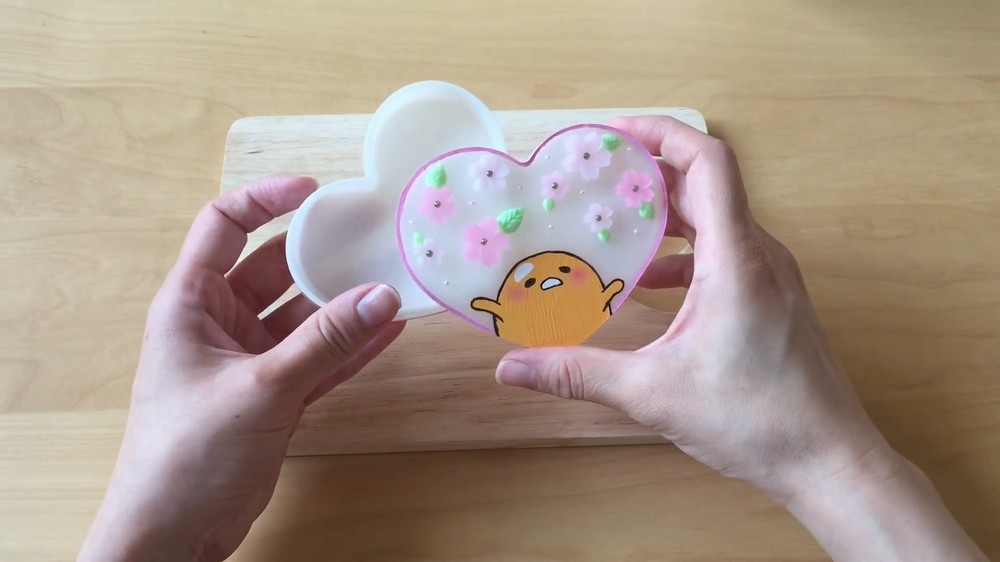
The box’s smooth white finish acts as the ideal backdrop, highlighting the pastel pink petals and the sunny yellow figure with rosy cheeks, adding a touch of whimsy and warmth. Its compact size and thoughtful decoration make it not only a functional piece but also a charming decorative accent for any shelf or dresser.
What makes this trinket box truly stand out is the harmonious blend of sweet floral elements and the unique, humorous character expression that brings personality to daily life. The subtle sparkle from carefully placed gems adds an extra layer of appeal without overwhelming the overall gentle aesthetic.
Combining style and purpose, this piece is perfect for fans of cute collectibles or anyone looking to brighten their space with a cheerful, practical art object. With the DIY Sakura Gudetama Trinket Box Pattern, a delightful keepsake is within reach that effortlessly showcases creativity and character in every detail.
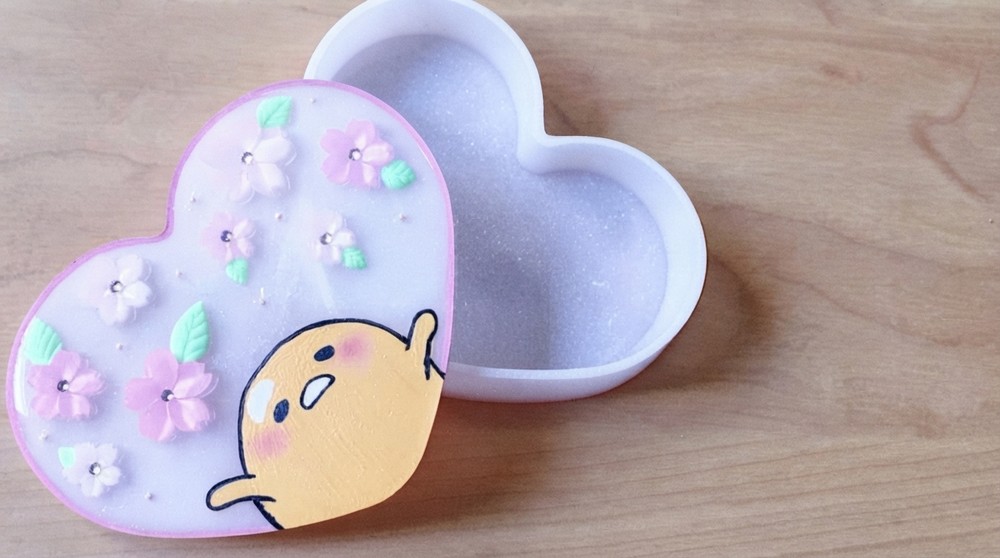
DIY Sakura Flower & Gudetama Resin Trinket Box
Create a charming resin box decorated with delicate Sakura flowers and the lovable Gudetama character, blending creativity, polymer clay, and resin art. This project offers an excellent introduction to resin crafting enhanced by thoughtful hand-p
ainted details and polymer clay embellishments. The finished box serves as a delightful storage space for jewelry or small keepsakes, making an ideal personalized gift.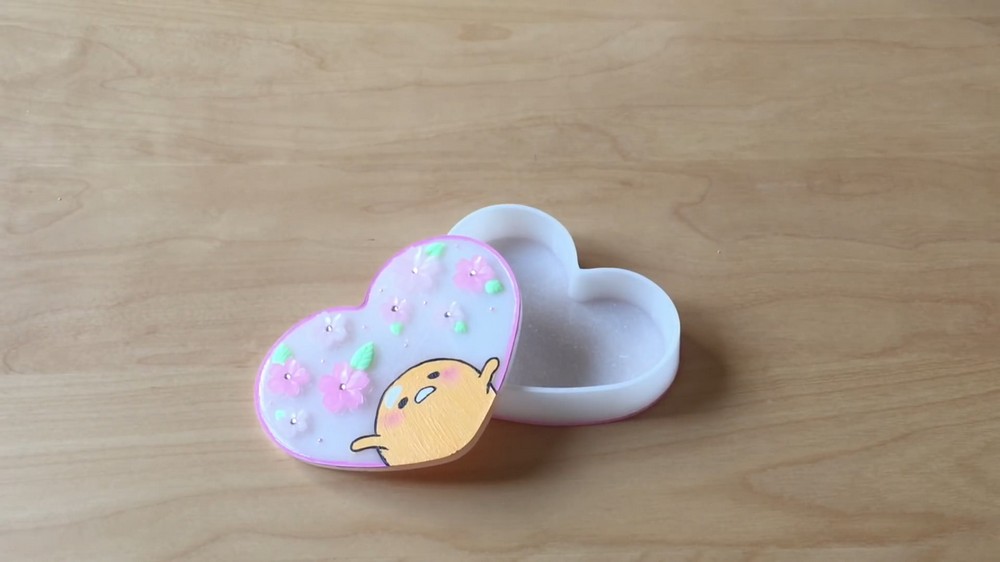
Design Concept
- Resin Box Base: Custom cast in a heart-shaped mold using white tinted resin for a clean and smooth finish
- Sakura Flowers: Small resin flowers crafted in varying shades of pink to mimic cherry blossoms
- Gudetama Illustration: Hand-painted directly on the box lid, featuring layered paint application and precise detailing
- Additional Embellishments: Green polymer clay leaves and sparkling rhinestones give dimension and sparkle
- Color Accents: Soft pink blush on Gudetama’s cheeks and pink painted rim outline add warmth and definition
Materials Needed
Working with high-quality materials ensures a professional outcome and makes the crafting process more manageable. UV and regular resin provide strong, glossy finishes crucial for durable decorative boxes. Polymer clay is versatile for creating lasting intricate details such as leaves, which add dimension. Using fine brushes and pigment dyes or quality paint improves the precision of hand-painted elements like Gudetama, enhancing the visual appeal. Reliable tools and materials reduce frustration and elevate the overall experience.
Materials & Tools Required
- UV resin with pigment dyes or acrylic paint for Sakura flowers
- Regular two-part epoxy resin for casting the box base
- Vinyl or silicone heart-shaped mold for casting
- Acrylic paints (white for box base and multiple colors for painting details)
- Polymer clay (green, for leaves)
- Small sculpting tools or toothpicks
- Fine-tipped paintbrushes for detailed painting
- UV light source for curing resin components
- Rhinestones or small crystals for flower centers
- Makeup brush or sponge for applying blush
- Mixing containers, stir sticks, and gloves for resin handling
Before You Start
- Always measure and mix resin components accurately according to manufacturer instructions to ensure proper curing and avoid tackiness.
- Condition polymer clay thoroughly for smooth shaping and baking integrity.
- For smooth UV resin flowers, work in thin layers and cure thoroughly under the UV lamp between layers.
- Use fine brushes and take your time painting to achieve clean lines and well-defined character features.
- Allow adequate drying and curing time for all resin and paint layers to prevent smudging or damage.
- Protect your workspace with disposable mats or newspaper to catch resin drips and dust.
- Use gloves and work in a ventilated area when handling resin for safety.
Step-by-Step Detailed Instructions
1. Crafting Sakura Flowers with UV Resin
a. Preparing Pigmented Resin
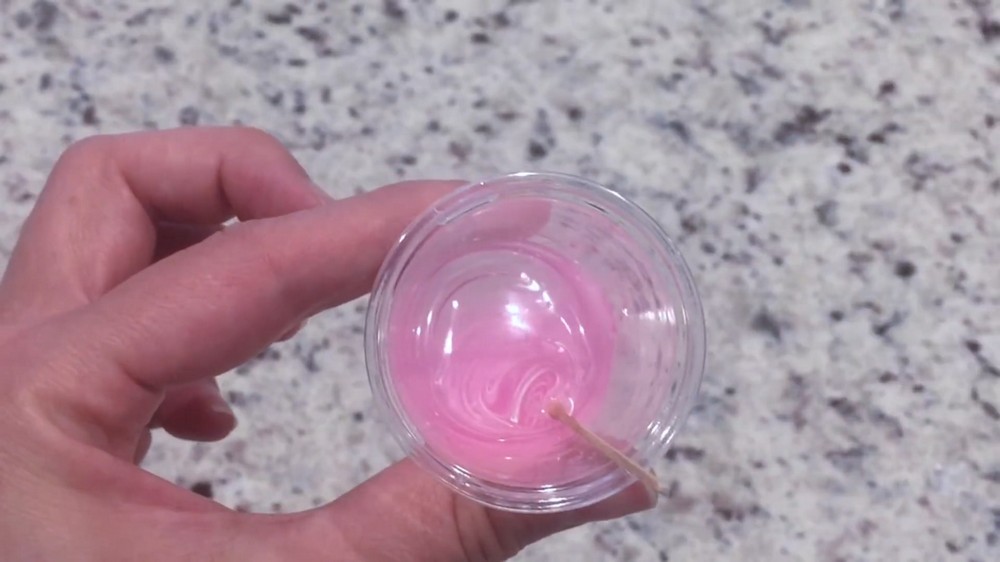
- Mix UV resin with pink pigment dye or acrylic paint to create your desired shade.
- Prepare several shades of pink by varying pigment amounts for a natural look.
b. Filling the Flower Mold
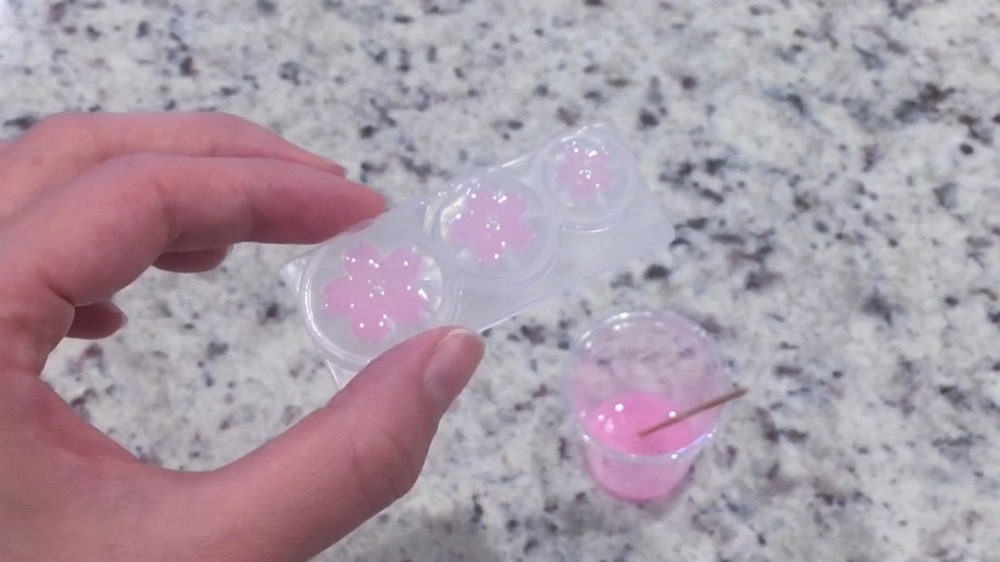
- Pour the tinted UV resin gently into the Sakura flower silicone mold cavities.
- Ensure resin evenly fills each mold recess, avoiding bubbles or gaps.
c. Curing the Flowers
- Place the filled mold under a UV lamp for sufficient curing time (approximately 30 seconds or as directed).
- Gently remove the hardened resin flowers from the mold carefully to avoid breakage.
- Repeat with multiple colors and sizes to create a variety of blooms.
2. Casting the Resin Box Base Using Epoxy Resin
a. Mixing the Resin
- Combine equal parts of epoxy resin components A and B thoroughly following package instructions.
- Stir slowly to reduce bubble formation.
b. Tinting Resin White
- Add white acrylic paint to the resin mixture until you achieve an opaque white color.
c. Pouring Resin into Mold
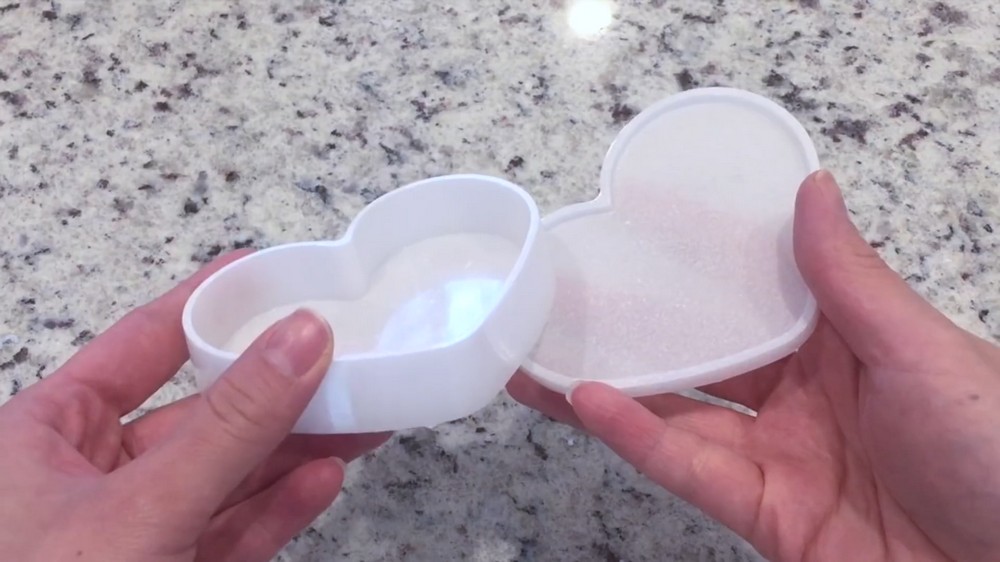
- Pour the tinted resin mixture into the heart-shaped mold, ensuring even coverage.
- Tap gently to remove bubbles and level the surface.
d. Curing Time
- Allow the resin to cure undisturbed for about two days or as per resin instructions.
- Once hardened completely, carefully demold the resin box.
3. Painting the Gudetama Illustration on the Box
a. Base Layer and Initial Shape
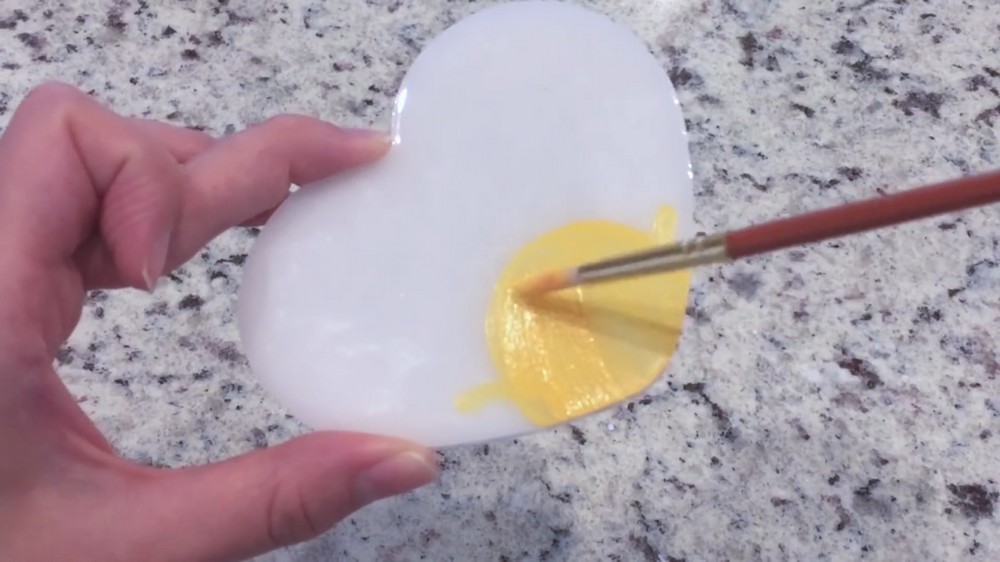
- Using acrylic paint, draw the rough shape of Gudetama on the box lid.
- Allow the first layer to fully dry before adding additional layers.
b. Building Up Layers
- Apply 2 to 3 layers of paint to achieve solid, opaque color coverage of the character, letting each layer dry in between.
c. Detailing with Fine Brushes
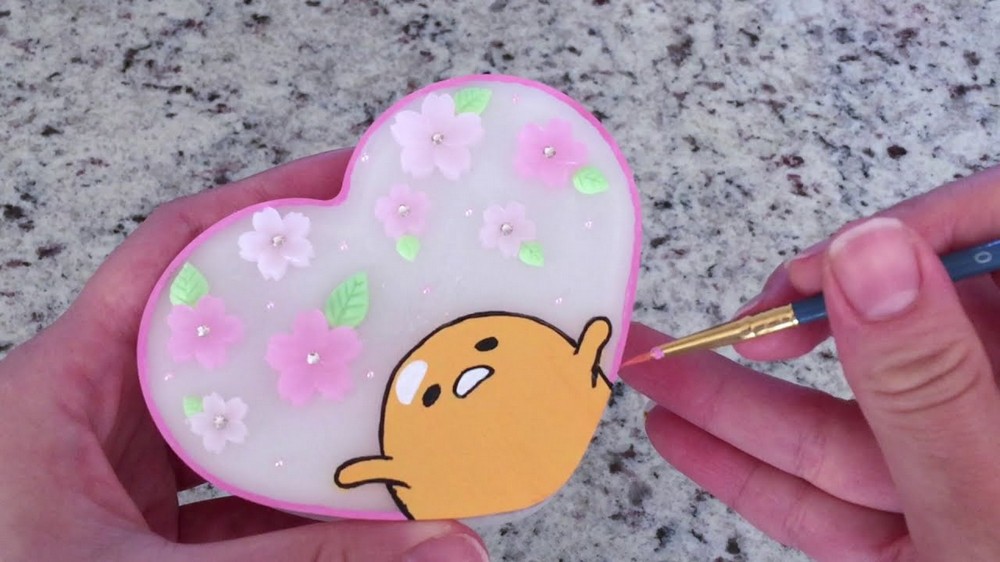
- Use fine-tipped brushes to paint Gudetama’s eyes, mouth, and body outlines.
- Take care to make thin and precise lines for sharp detail.
d. Adding Blush Accents
- Dab a small amount of pink blush onto Gudetama’s cheeks using a soft brush or sponge for a subtle color boost.
4. Creating & Attaching Polymer Clay Leaves
a. Shaping the Leaves
- Condition green polymer clay until soft, then shape flat leaf shapes using sculpting tools.
b. Baking Leaves
- Bake shaped leaves in a preheated oven at 250°F (120°C) for approximately 15-20 minutes to harden.
c. Securing Leaves on the Box
- Once cooled, arrange the leaves around the box’s base and on the lid, enhancing the floral decoration.
- Attach the leaves with a small amount of UV resin and cure under UV light to firmly secure them.
5. Adding Rhinestones & Final Decoration
a. Placing Rhinestones
- Use a tiny dab of UV resin to attach small sparkling rhinestones to the centers of the Sakura flowers.
b. Securing Rhinestones
- Cure the resin with rhinestones under UV light to ensure they stay adhered.
c. Painting Box Rim
- Outline the top and bottom rim of the box with pink acrylic paint to enhance visual focus on the box’s shape.
- Allow paint to dry thoroughly.
Final Thoughts
This Sakura flower and Gudetama resin box combines resin casting with hand-painted and clay details to create an appealing keepsake. The process builds skills in layering, painting, and crafting delicate decorations. The resulting box is both functional and decorative, ideal for small jewelry or treasured items and customizable for other themes or color palettes.