Bring charm and warmth to your space with a DIY Kitchen Witch Doll, a delightful handmade token of luck with whimsical details and character.
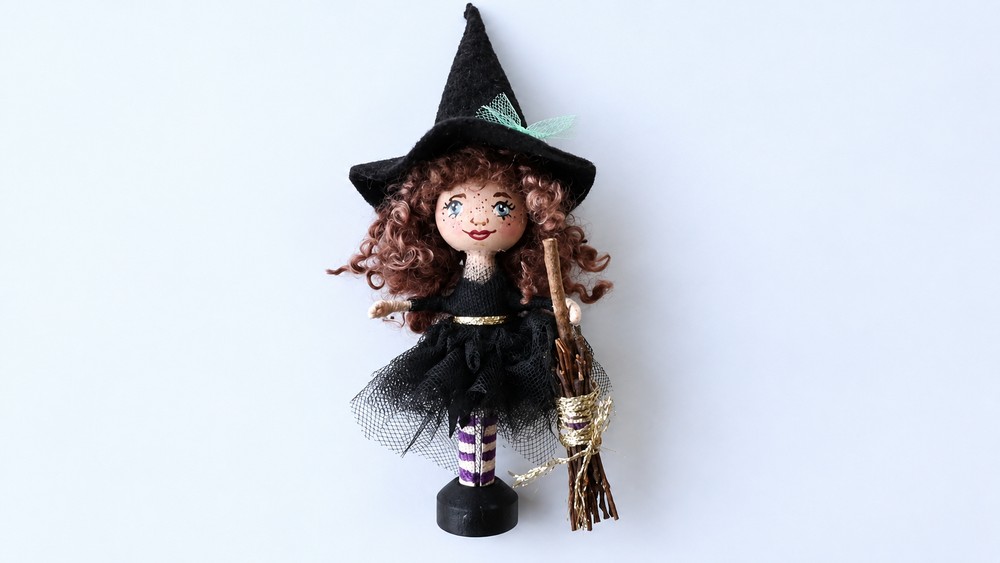
This handmade creation is full of personality and charm, bringing a magical vibe to any space. The DIY Kitchen Witch Doll features a playful design with a warm, cheerful face, bright hair, and a cute pointy witch hat. Dressed in a fun, layered outfit with striped stockings and a broom in hand, this doll stands out as a unique decorative piece with a touch of whimsy.
Unique DIY Kitchen Witch Doll Idea for Beginners
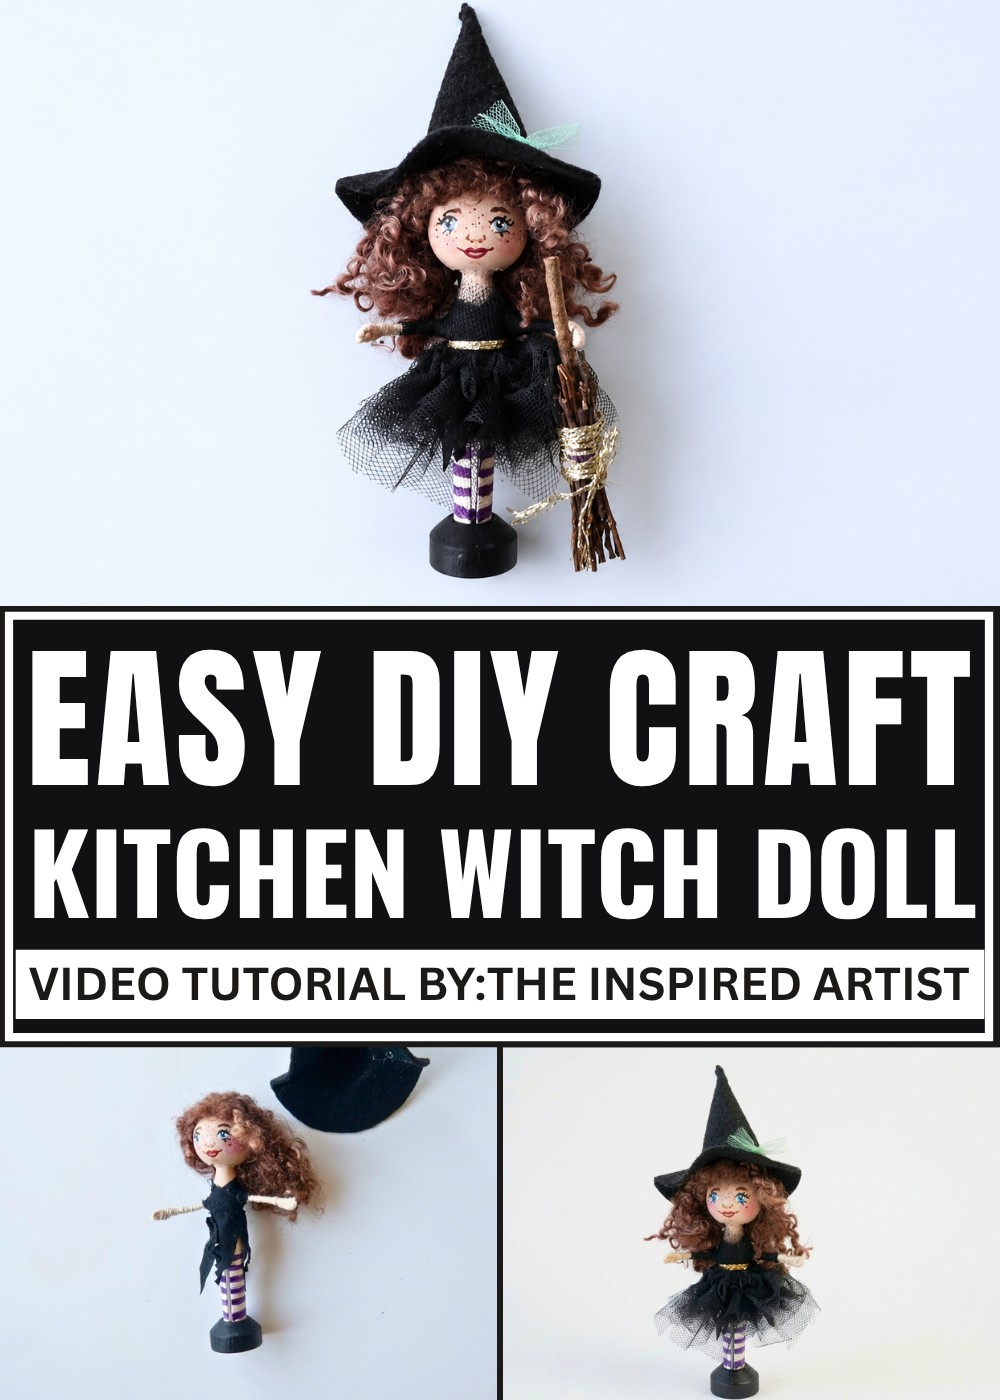
Known as a traditional good luck charm, kitchen witch dolls are believed to protect the home and bring happiness to the kitchen. This particular design adds a modern twist while keeping its charm intact. From its expressive smile to small details like the tulle skirt and tiny broom, every element gives it a cozy, handmade feel. Perfect for fans of crafts or those looking for something meaningful and fun, it’s ideal for the kitchen, gifting, or seasonal decorations.
Good Words To Know The Creator!
This design comes from the talented creator behind The Inspired Artist on YouTube. For more creative and heartwarming projects like this one, visit their channel at The Inspired Artist. It's a space full of imaginative ideas and tutorials perfect for any skill level.
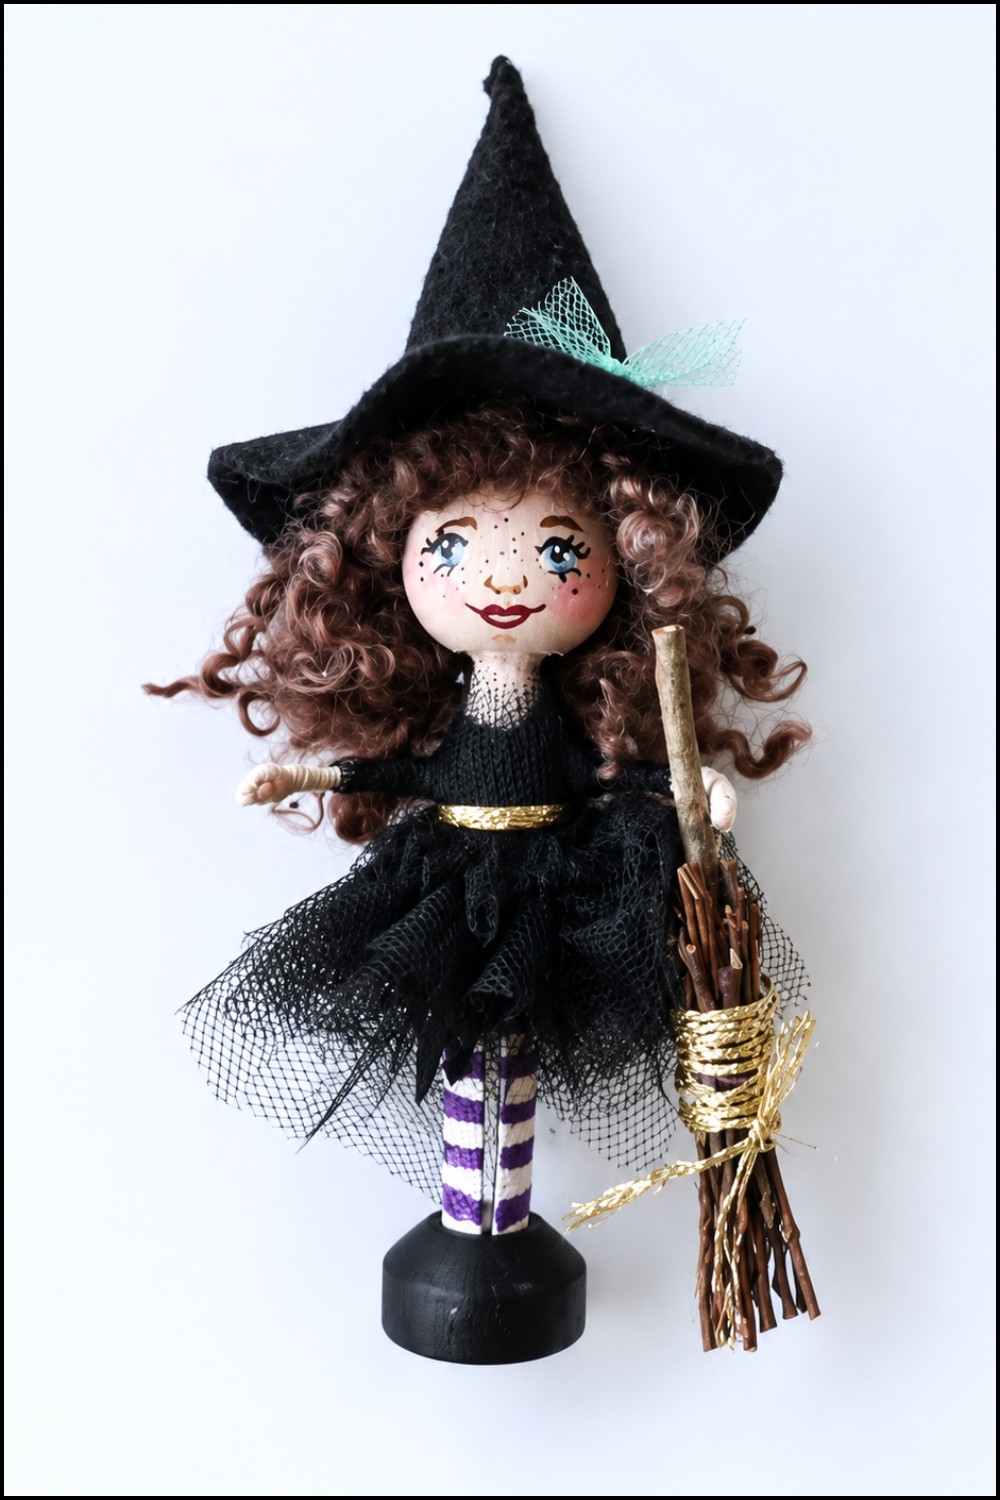
The thoughtful details, like the carefully painted features and quirky accessories, make the doll feel special and full of character. It’s a wonderful blend of tradition and creativity that will instantly grab attention while adding a warm, magical touch to your home.
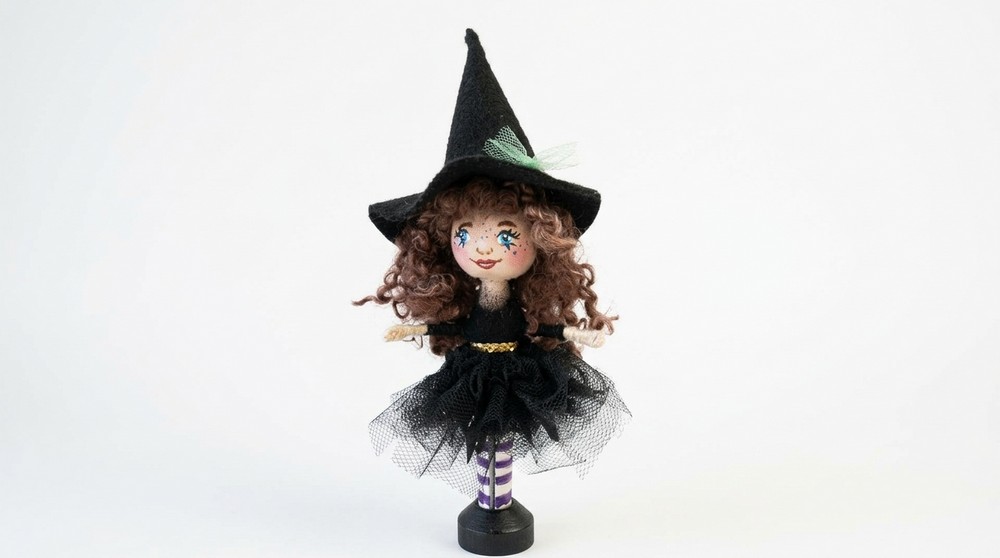
DIY Kitchen Witch Doll Tutorial
In this guide, we'll walk you through the steps to create a charming kitchen witch doll that not only makes a delightful decoration but also acts as a good luck charm for your home. Perfect for beginners, this project is simple, fun, and offers room for creativity. You can also make cute accessories to personalize your doll further.
Materials You'll Need
Before diving into the project, gather the following supplies:
- A clothespin (preferably one with a stand, available at craft stores)
- A wooden bead head with a small opening
- A pipe cleaner or wire (around 4 inches in length)
- Hot glue gun (plus glue sticks)
- Scissors
- Scrap black material for the clothing
- Pre-made hair locks for the doll’s hair
- Acrylic paints (white, black, burnt sienna, and any other colors you like)
- Paintbrushes (one small for details and one large for base painting)
- Felt material for the hat
- Embroidery floss or thread
- Needle for sewing
- Tulle fabric for skirt and bow
Step-by-Step Guide
1. Making the Arms
- Cut a 4-inch length of pipe cleaner or wire.
- Fold it in half to find the middle point.
- Insert the wire through the hole in the clothespin, ensuring even lengths extend from both sides.
- Secure the wire in place by adding a small dab of hot glue around the hole.
- Wrap embroidery floss around one arm, starting from one end and covering it completely.
- Tip: Wrap tightly to avoid fuzz, and if needed, do two layers for a neater look.
- Add a small dab of glue near the end to hold the floss in place, then fold the tip of the wire to form the hand.
- Repeat the same process for the other arm.
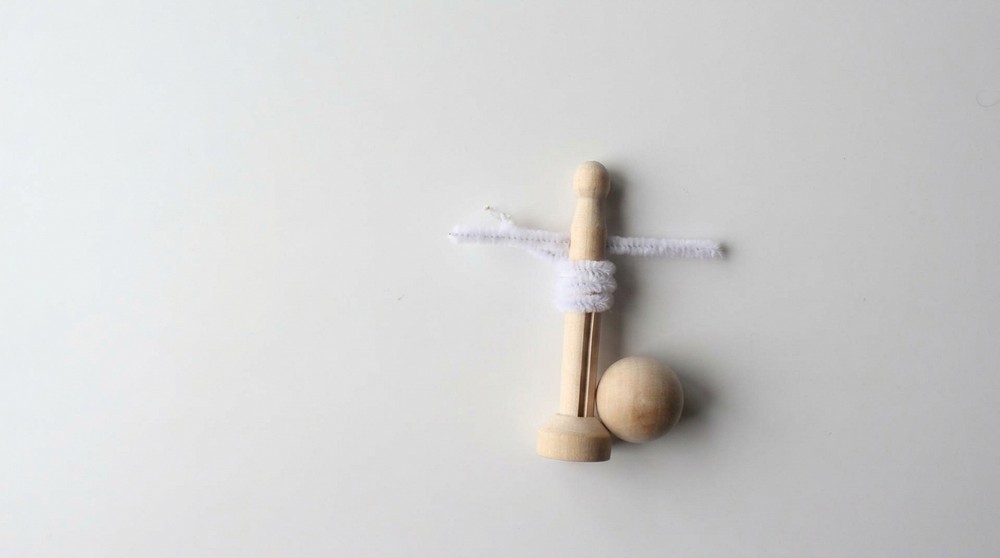
2. Preparing the Head
- Attach the wooden bead head to the top of the clothespin with a dab of hot glue.
- Paint the head with a mix of white and burnt sienna paint to create a natural skin tone.
- Let the paint dry completely to ensure smooth application for facial details later.
3. Painting the Base and Stockings
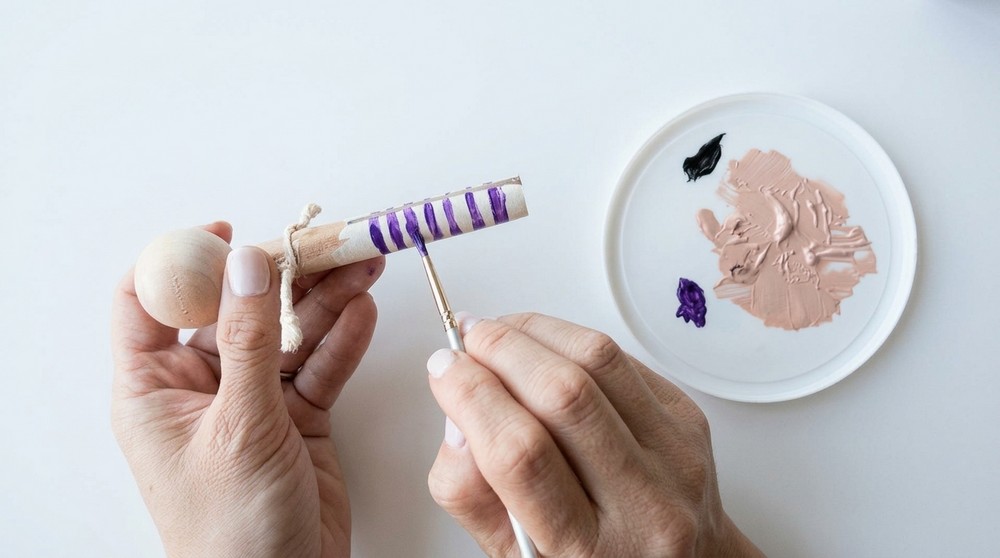
- Paint the clothespin legs white to represent stockings.
- Let the white paint dry and add stripes in a contrasting color (such as purple or black).
- Paint the clothespin base black to resemble shoes.
- Set aside to dry thoroughly.
4. Creating the Clothing
Skirt
- Cut a ribbon of scrap material to wrap around the doll's waist and glue it securely.
- For the main skirt, cut small triangle pieces of fabric to create a layered look. The edges don’t need to be perfect for a rustic charm.
- Attach the triangle fabric pieces around the doll’s waist using hot glue.
Hat
- Use a felt material to create a small witch hat. You can find a downloadable pattern from the creator’s blog or design one yourself.
- Once cut, sew the edges of the felt to form a cone shape for the hat.
- Place the hat onto the doll’s head and secure it with glue.
5. Adding Hair
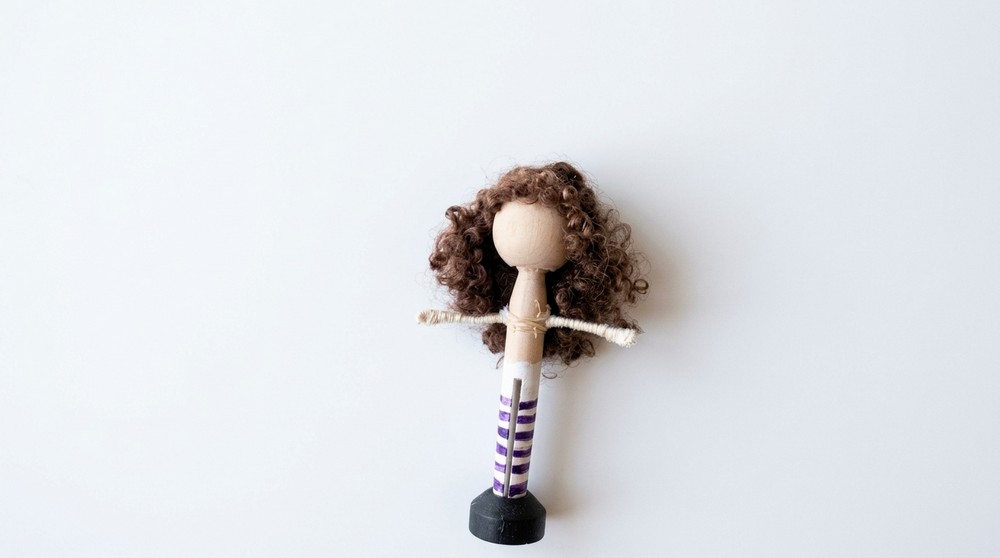
- Warm up the glue gun and separate pre-made hair locks into smaller sections.
- Glue the hair sections onto the head, adjusting as necessary for volume and style.
- Tip: Trim excess hair for a cleaner appearance.
- For added flair, tie a green tulle bow and glue it to the doll's head.
6. Painting the Face
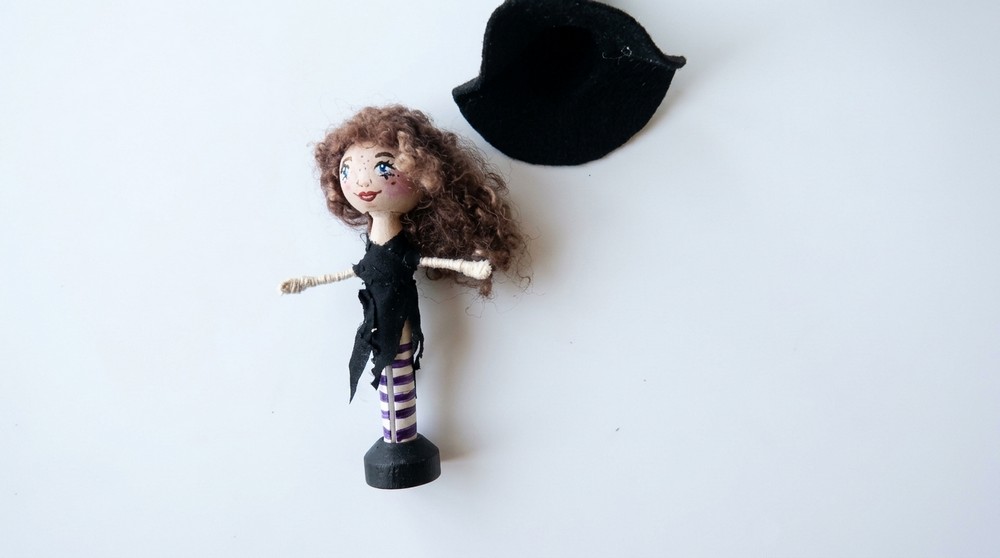
- Use a fine brush with white paint to create two small circles for the eyes.
- Add burnt sienna for the nose and blend it lightly to avoid harsh lines.
- Paint red lips, followed by light pink or red for the cheeks. Blend well with a soft brush.
- For extra detail, use a small brush to add freckles with burnt sienna.
- Add two tiny white dots in the eyes to make them pop.
7. Finishing Touches
Tulle Wraps
- Cut strips of tulle fabric and wrap them around the doll's waist and arms for a decorative effect.
- Tie thicker strips at the waist to build volume for the outfit and secure with glue.
Accessories
- Broomstick: Collect small branches, cut them to size, and tie the smaller sticks around a thicker branch with gold thread. Attach it to the doll's hand for a whimsical touch.
Final Words
This step-by-step guide to making a kitchen witch doll is designed to inspire creativity while being beginner-friendly. Customize your doll with different colors, accessories, and details to match your style or home decor. Your new creation is ready to bring a little magic to your space. Enjoy crafting!