Learn to sculpt an extraordinary DIY Polymer Clay Dragon that will impress everyone with its professional design and creative craftsmanship.
There’s something magical about bringing a mythical creature to life, especially when you build it with your own hands. Crafting a tiny dragon out of polymer clay—an exciting project that combines creativity and fun! Whether you’re a seasoned crafter or just starting out, this project is approachable and lets you design a charming little dragon with endless possibilities for personalization. From the shape of the wings to the curl of its tail, each step lets your imagination shine.
How to Sculpt a DIY Polymer Clay Dragon Easily
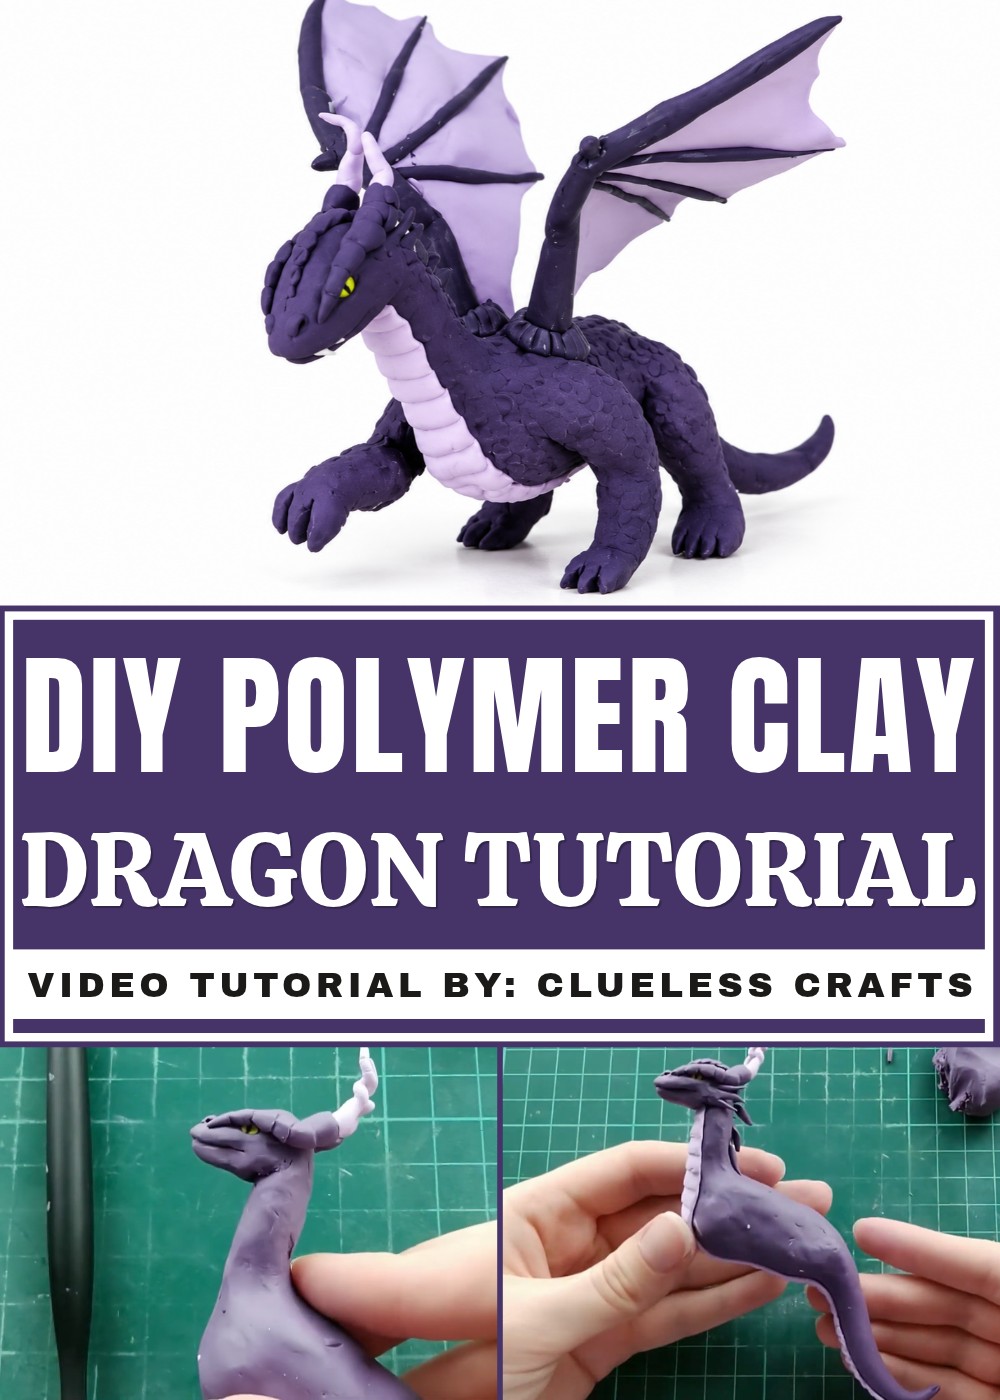
Creating a dragon from polymer clay is such a rewarding process. You’ll shape the body, add textured details, and play around with colors to make it look magical or fantastical. Pronounced creativity comes from adding personal touches like tiny horns, scales, or even facial expressions to give your dragon personality. Polymer clay is simple to work with, easy to mold, and bakes into sturdy creations, making it a great material for turning your ideas into reality. Whether your dragon looks fierce or playful, the process is engaging and enjoyable.
This DIY project is perfect for anyone looking to spend an afternoon crafting something unique and full of charm. With just polymer clay, some basic tools, and a little imagination, you can design a dragon that’s ready to sit on your desk, decorate a shelf, or even become a handmade gift for someone special. It’s a fun and creative way to explore crafting while making something truly magical.
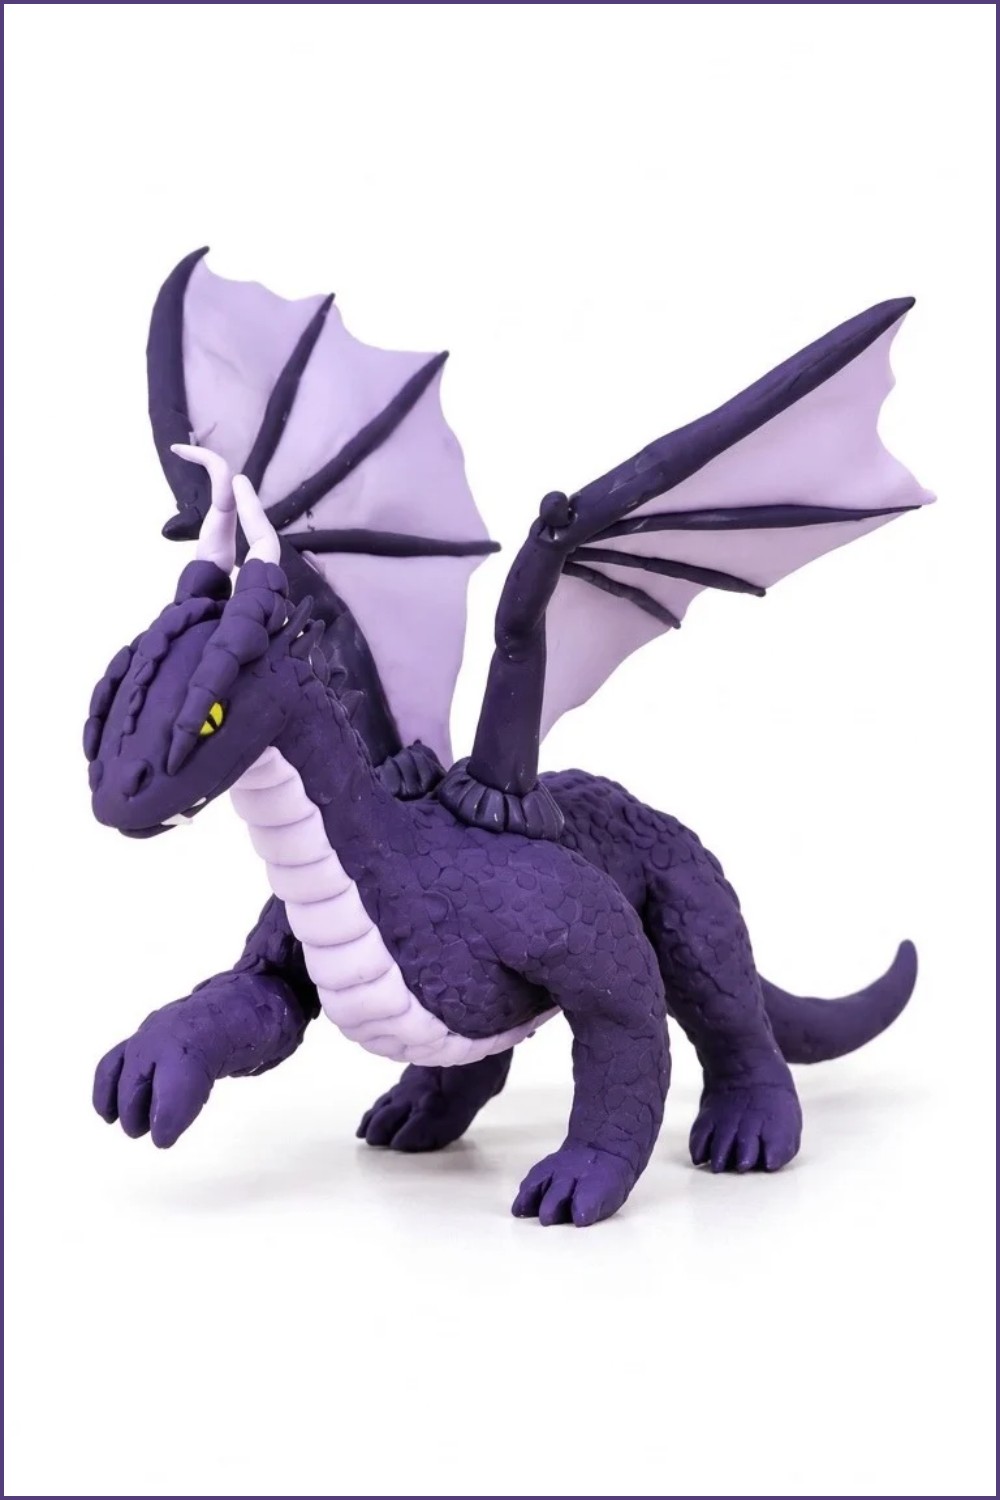
DIY Polymer Clay Dragon
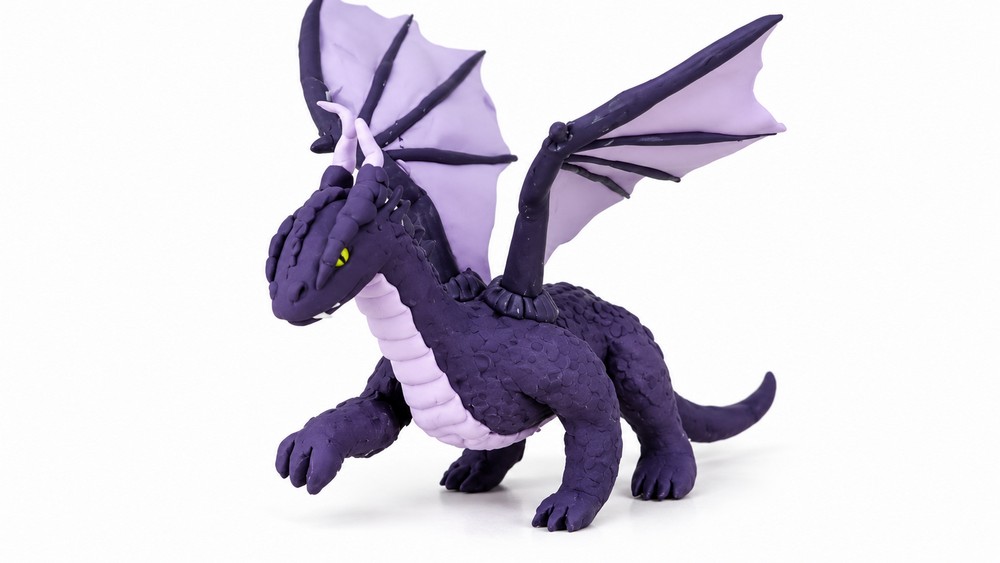
This tutorial shows how to make a small polymer-clay dragon. The finished dragon has textured wings, a hollow (lightweight) body with a neck and head, horned brows, spikes along the face and neck, a lined underside (belly), four posed legs with toes, and textured skin. The wings are shaped so they look bent and natural.
Materials and tools mentioned in the video
- Polymer clay: dark purple and light purple (plus small amounts of yellow and black for the eyes)
- Aluminum foil (for body armature and to give wing shape while baking)
- Liquid Sculpey / Sculpey glue
- Toothpick
- Ballpoint tool (for eye indents)
- Flat sculpting tool or a flat tool (for making indents and panel lines)
- Small cutting tool or blade (for trimming excess clay)
- Oven (for baking polymer clay)
Wings
Step 1 — Make the wing bone structure
- Separate each wing "arm" into three parts:
- end piece: a long tapered cone
- middle piece: a thicker log
- body-end piece: the thickest piece that connects to the body
- Roll several thin tapered logs and join three of them so they meet at one point on the arm, forming the wing skeleton (bone structure).
Step 2 — Create the wing membrane
- Roll out a thin sheet of light purple clay large enough to cover the skeleton.
- Lay the sheet flat on the table and place the wing skeleton on top of it.
- Cut out the general wing shape from the sheet, following the skeleton.
Step 3 — Reveal the skeleton and texture the wing
- To show the skeleton from both front and back, cut the membrane into pieces so each membrane section sits between skeleton bones like a puzzle.
- Add line texture on each membrane piece with a flat tool or blade.
- Flip pieces as needed so the texture matches on the back as well; add a little extra texture on the backside.
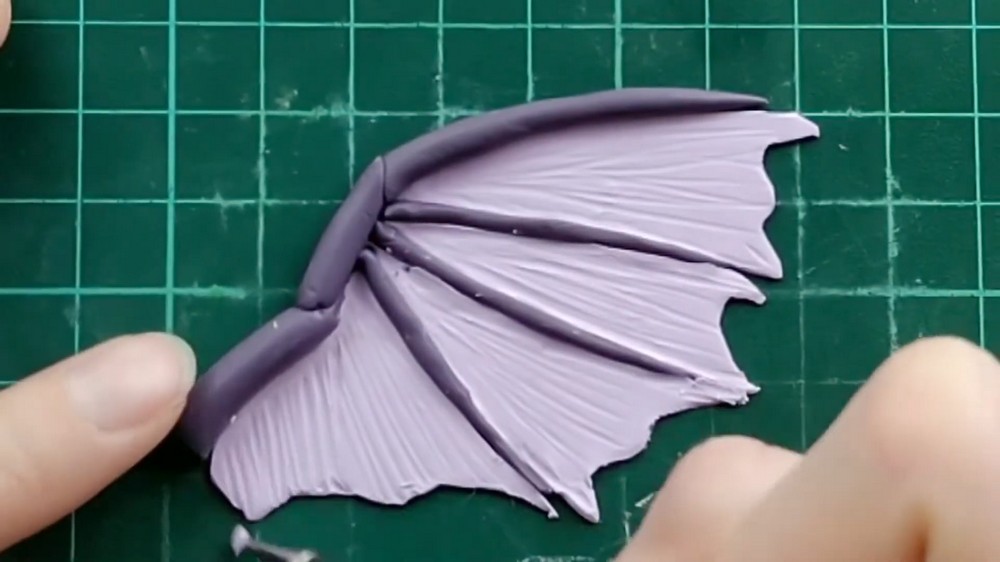
Step 4 — Shape for baking
- Lean the wing against a piece of aluminum foil so the wing holds a slightly bent shape.
- Bake the wings when ready (follow your polymer clay brand’s baking instructions).
Body
Step 1 — Make a lightweight body armature
- Roll a ball of aluminum foil for the body core to avoid using a lot of clay and to keep the piece light.
- Cover the foil completely with a thin layer of dark purple clay and smooth the surface.
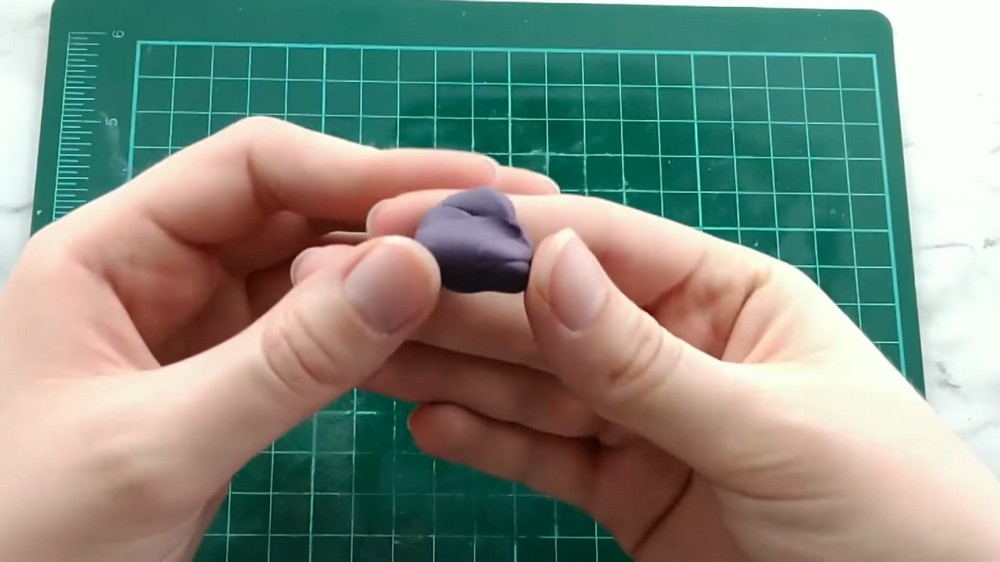
Step 2 — Attach the neck and head base
- Roll a clay log for the neck, flatten one end, and attach it to the body where the neck will sit.
- Form the head by shaping a ball of clay into a rough triangle.
- Cut the top of the neck at an angle so the head fits well.
- Use Sculpey glue (liquid sculpey) to attach the neck and head to the body securely.
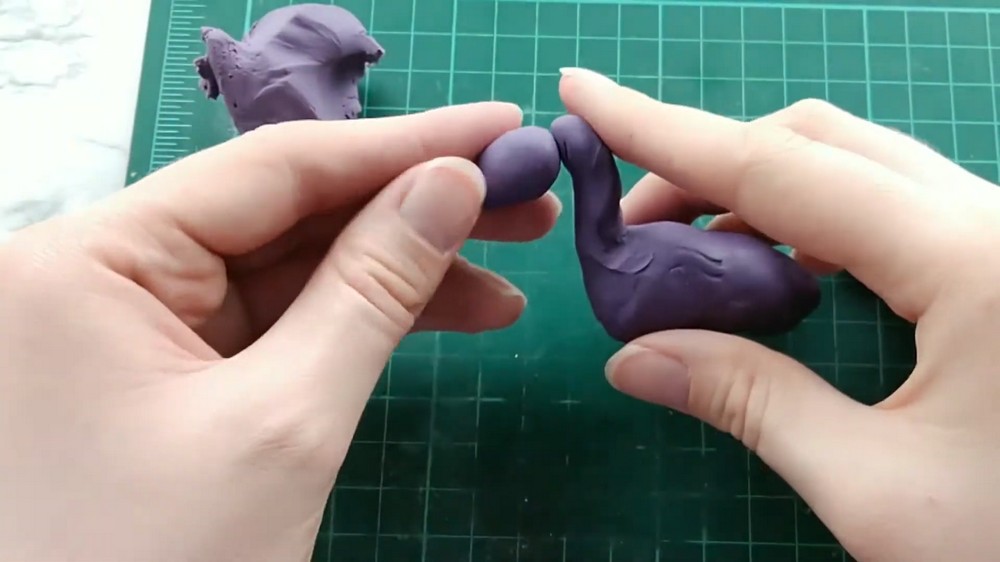
Step 3 — Carve the mouth and form the overbite
- Draw a line all the way around the bottom of the head where the mouth will be.
- Use a sculpting tool to dig out clay inside that line until the mouth begins to form with an overbite.
- Smooth the edges and inside of the mouth so the shape looks consistent.
Step 4 — Add nostrils
- Take a tiny piece of clay, cut it in half, and place the two halves on either side of the nose.
- Use a toothpick to deepen the nostril holes and smooth the sides.
Step 5 — Make the eyes
- Use a ballpoint tool to make eye indents; drag the corners outward to shape them into a diamond-like eye opening.
- Roll tiny balls of yellow clay for the eye base and place them into the indents.
- Roll a very thin vertical strip of black clay and place it vertically on each yellow eye for the pupil.
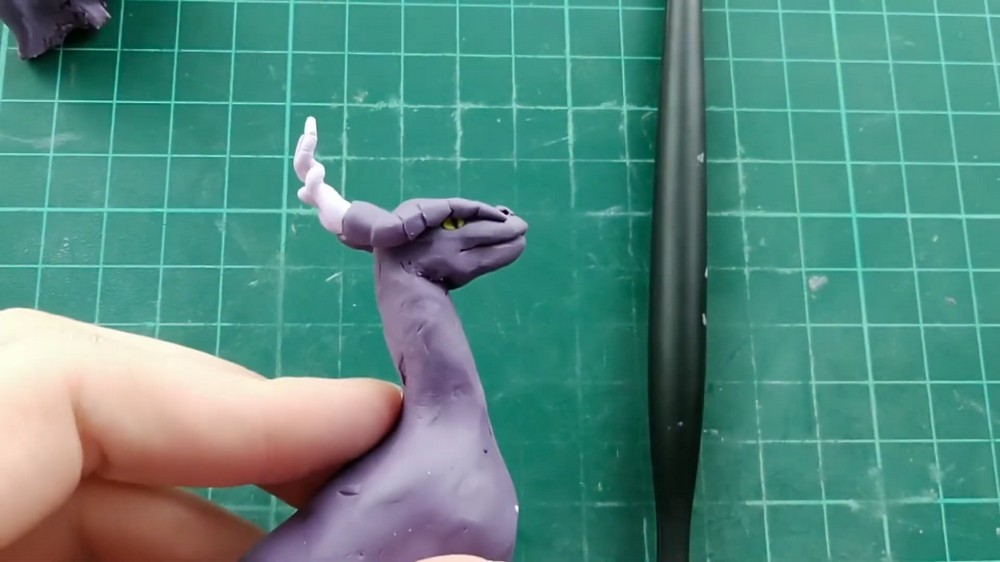
Step 6 — Make horned brows and spiral horns
- Roll a cone shape for the brow base and make a round indent at its base.
- Roll a smaller cone from light purple clay and twist it until it forms a spiral horn.
- Trim any excess and insert the spiral horn into the brow-base indent.
- Twist/twirl the horn gently between your fingers so it sits snugly.
- Use a flat tool to make indents along the brow for extra detail and place the brow/horn pieces above the eyes.
Step 7 — Add an extra headpiece
- Roll out another small log of clay, make the same indented lines as the brows, and place it between the horns as an extra head ornament.
Step 8 — Add facial spikes
- Roll several tiny cones and attach them as spikes: three on each side of the face and additional small spikes along the neck.
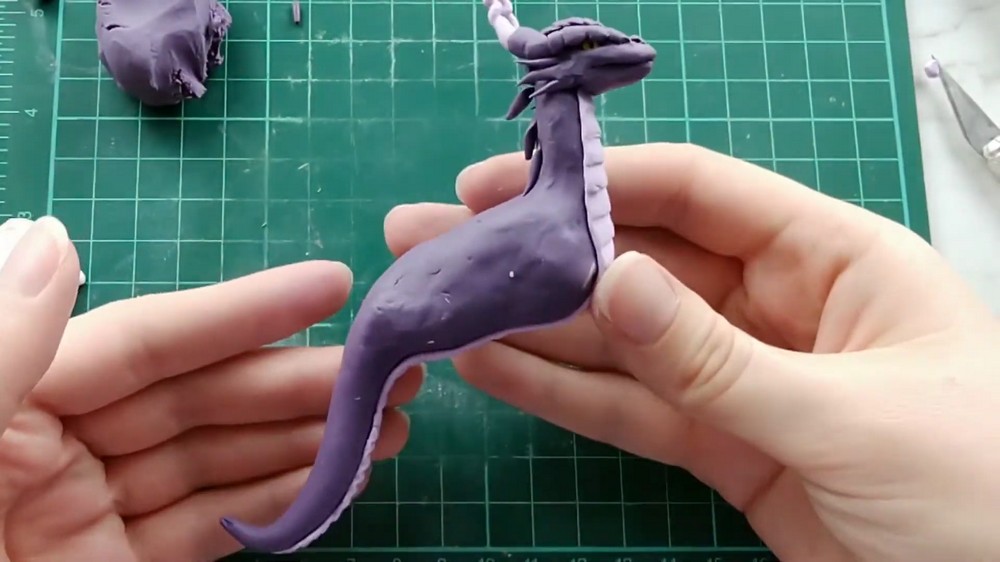
Step 9 — Make the underside (belly) strip
- Roll a flat strip of light purple clay for the belly.
- Make lined indents along the strip to create segmented belly texture.
- Attach the strip starting below the jaw and continue down the neck to the stomach and underbelly.
- If the strip is not long enough for the tail, make another small strip and connect it to the end of the first piece.
Step 10 — Form the legs and feet
- For each leg, roll a log of clay and make indent marks with your pinky finger where the knee and ankle will be.
- Flatten the top of the leg where it will attach to the body.
- Bend and shape the leg to the desired position; round the shape as needed.
- For feet: press them down a bit, then cut out toes (small separations) to form toes.
- Repeat for the other front leg in a different position and do the back legs in a similar way (indents, bend, toes).
Step 11 — Attach legs to the body
- Line the legs up so the front and back legs align properly.
- When you blend and attach unbaked legs, place a small piece of aluminum foil under the body to support the weight because the unbaked legs are weak and may not hold the body alone.
Step 12 — Add skin texture
- Add small bumpy marks over the body to create a scaly, textured skin appearance.
Wing attachment and final bake
Step 1 — Prepare wing sockets
- Take two small balls of purple clay (these form the wing bases), make indents and add line textures on them as needed.
Step 2 — Attach wings
- Apply Liquid Sculpey (Sculpey glue) where each wing will sit on the body.
- Place each baked wing into its respective socket or base.
- Push and press along all the edges with a flat tool so the wing joins are secure and neat.
Step 3 — Final bake
- Bake the fully assembled dragon in the oven according to your polymer clay’s baking instructions (the video indicates this is the final bake step).
- Allow the dragon to cool completely after baking.
Finishing notes
- Use small amounts of Liquid Sculpey or Sculpey glue when joining delicate pieces before baking.
- Support unbaked limbs or heavy parts with aluminum foil until after the final bake.
- Work in stages: build wings first, then construct and detail the body, then attach wings for the final bake.