Shape a little flying model with DIY Polymer Clay Airplane, featuring tiny wings and a neat body for a fun desk display or birthday present.
Have you ever wondered how a small piece of clay can turn into a tiny airplane that looks like a real flying machine? Drawings In Action shares an interesting idea that uses simple shapes to form a lovely miniature model. DIY Polymer Clay Airplane is a colorful little project featuring a smooth body, wide wings, a pointed front, and a small tail. Its neat shape gives it the appearance of an actual aircraft, while its small size adds a playful touch. The model has a simple look that is easy to recognize from different angles.
Toy Airplane DIY Polymer Clay Tutorial With Simple Steps
The wings are one of its main features, extending from both sides of the body. A small tail section adds extra detail at the back, while the front has a rounded finish. Tiny windows and colored sections can give the airplane a more realistic appearance. The smooth surface helps each part look clean and well-shaped.
Polymer clay is used to form the different sections of the airplane. The main body is shaped first, followed by the wings and tail. Smaller clay pieces are carefully attached to add the final details. Keeping both wings even helps the finished model look balanced.

This little airplane can be placed on a study table, bedroom shelf, or office desk. It is also a nice birthday gift for children or anyone who loves airplanes.
The finished model offers a fun way to turn a familiar vehicle into a small decoration. Its bright appearance and recognizable shape give it a cheerful personality, making it a lovely addition to a collection of miniature vehicles.
DIY Plasticine Airplane Tutorial
In this simple and fun project, you will create a plasticine airplane step by step. This tutorial is perfect for beginners and uses basic materials you can easily get. Let’s gather our materials and start crafting your own colorful airplane!
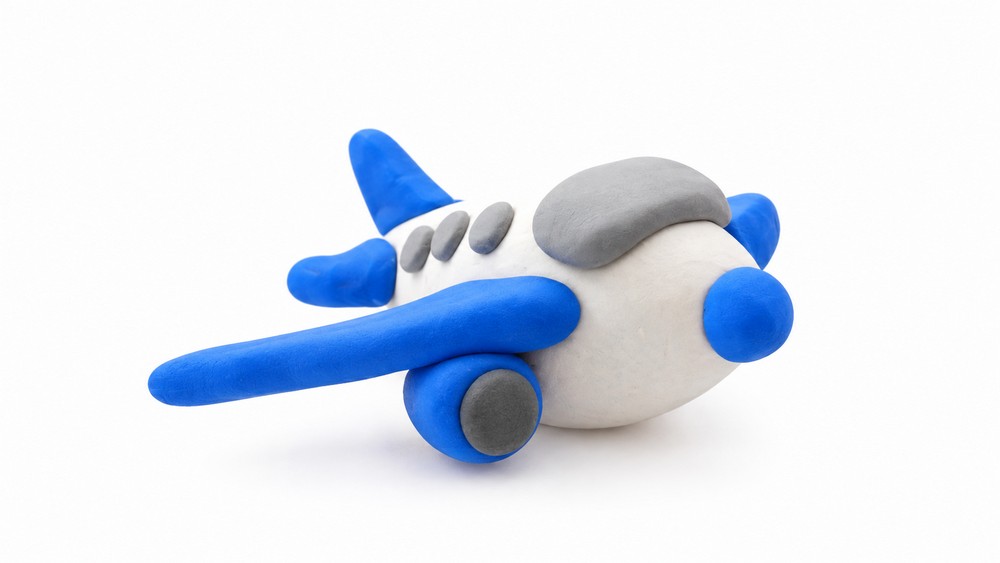
I love this plasticine airplane project because it is simple and fun, perfect for beginners. It lets you use your hands to create something colorful and imaginative step by step. The process of shaping the body, wings, and tiny details like windows and turbines is satisfying and relaxing. I enjoy how each piece comes together to form a cute and unique airplane. This project sparks creativity and helps improve fine motor skills. Plus, there is no pressure to be perfect, so you can enjoy making your own special airplane in your own way. It’s a wonderful hands-on craft that brings joy and pride.
Materials Needed
- Plasticine in these colors:
- White
- Blue
- Gray
- Black
Step-by-Step Instructions
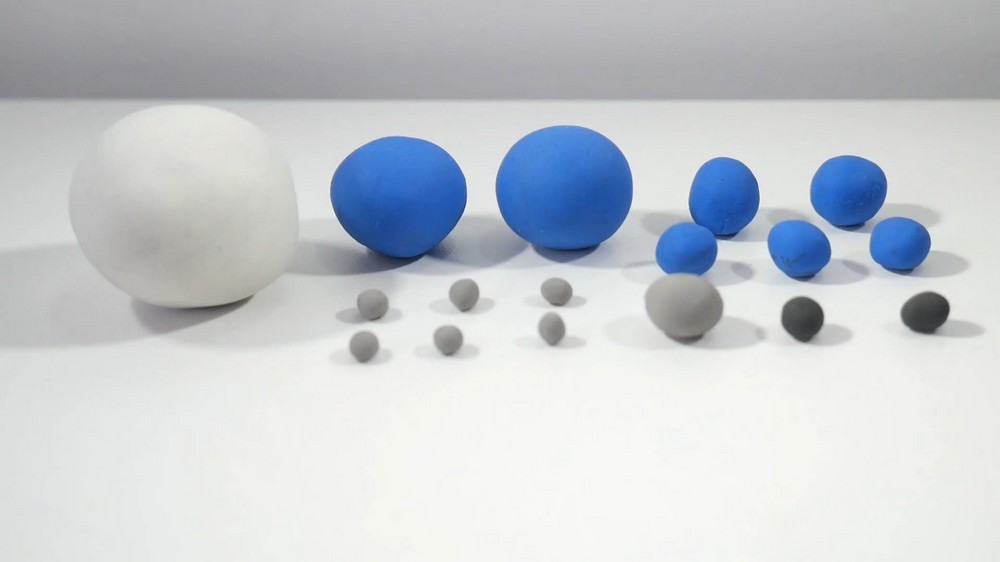
Step 1: Prepare Your Plasticine
- Break each color into several small balls.
- Use the largest white ball to start shaping the airplane body.
- Feel free to pause and check sizes if needed.
Form the Airplane Body
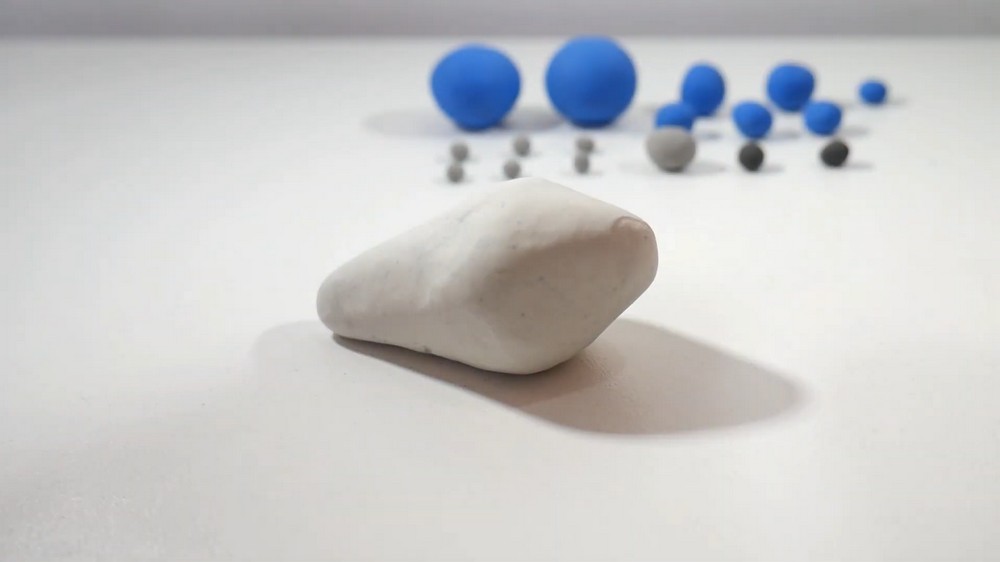
- Take the largest white plasticine ball.
- Roll and mold it so it has two points:
- A shorter point at the front (cockpit).
- A longer point at the back (tail and body).
- Shape the body so it gently tapers toward the ends.
Add Cockpit Details
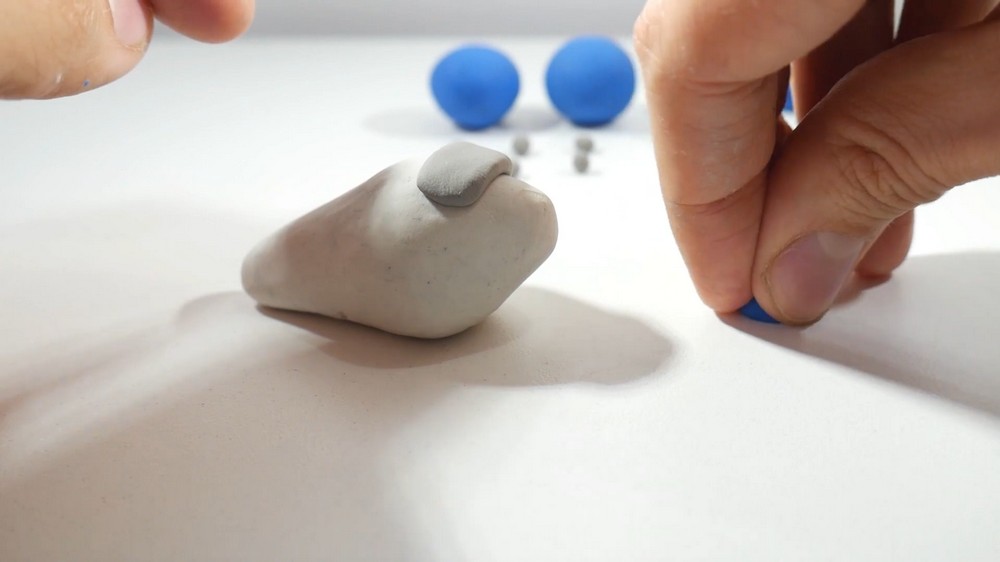
- Take a gray plasticine ball.
- Flatten and shape it into a small rectangle.
- Attach this rectangle to the front of the airplane body for the cockpit windows.
- Next, take a small blue plasticine ball.
- Roll it into a cone shape using the table.
- Attach this cone to the very front tip of the airplane body to enhance the cockpit look.
Make the Wings
- Take a blue plasticine ball.
- Flatten it into a triangle.
- The triangle should have one short side and two longer sides.
- Make two identical blue triangles for two wings.
- Set the wings aside for now.
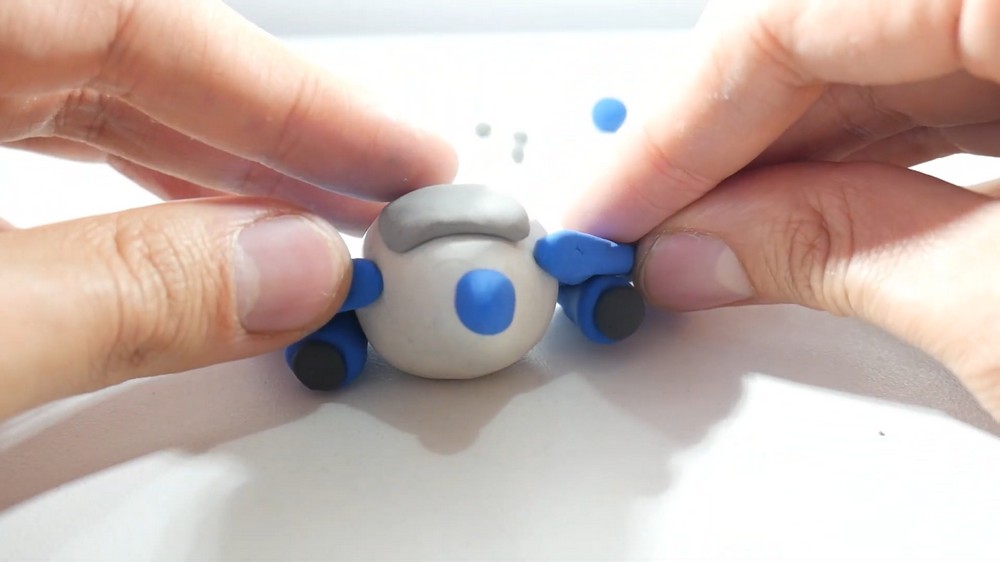
Create the Turbines
- Take two blue plasticine balls.
- Roll each into a cone shape.
- Take two small black plasticine balls and flatten them into circles.
- Attach one black circle to the front of each blue cone to form turbine fronts.
Attach Turbines and Wings
- Position each turbine cone under each wing.
- Attach the turbines firmly to the wings.
- Attach both wings with turbines underneath to the sides of the airplane body.
- To keep wings stable, you can use toothpicks as support if needed.
Assemble the Tail and Elevators
- Take a blue plasticine ball.
- Shape it into a triangle.
- Place this triangle on top of the airplane’s tail end.
- Make two more blue triangles for the elevators.
- Attach one elevator triangle to each side of the tail’s end, one on the left and one on the right.

Add Windows to the Airplane Body
- Take gray plasticine.
- Make six small circles.
- Attach three circles on each side of the airplane body along the length.
- These will be the airplane’s side windows.
Finishing Details
- Check all parts and press gently to make sure they are secure.
- Look over the airplane’s shape and details.
- Add any small touch you like – the windows, cockpit cone, and turbines create a colorful, lively airplane design.
- Remember: your creation is unique, and small variations add character!b
Helpful Tips
- Take your time shaping the airplane body; it sets the base for the whole craft.
- Use the table surface to help shape cones and flatten triangles evenly.
- If wings or parts feel loose, use toothpicks to support and strengthen them.
- There is no need for perfection; enjoy making your airplane your own way.
- Making small details like windows and turbines adds life and charm to your model.
Final Result
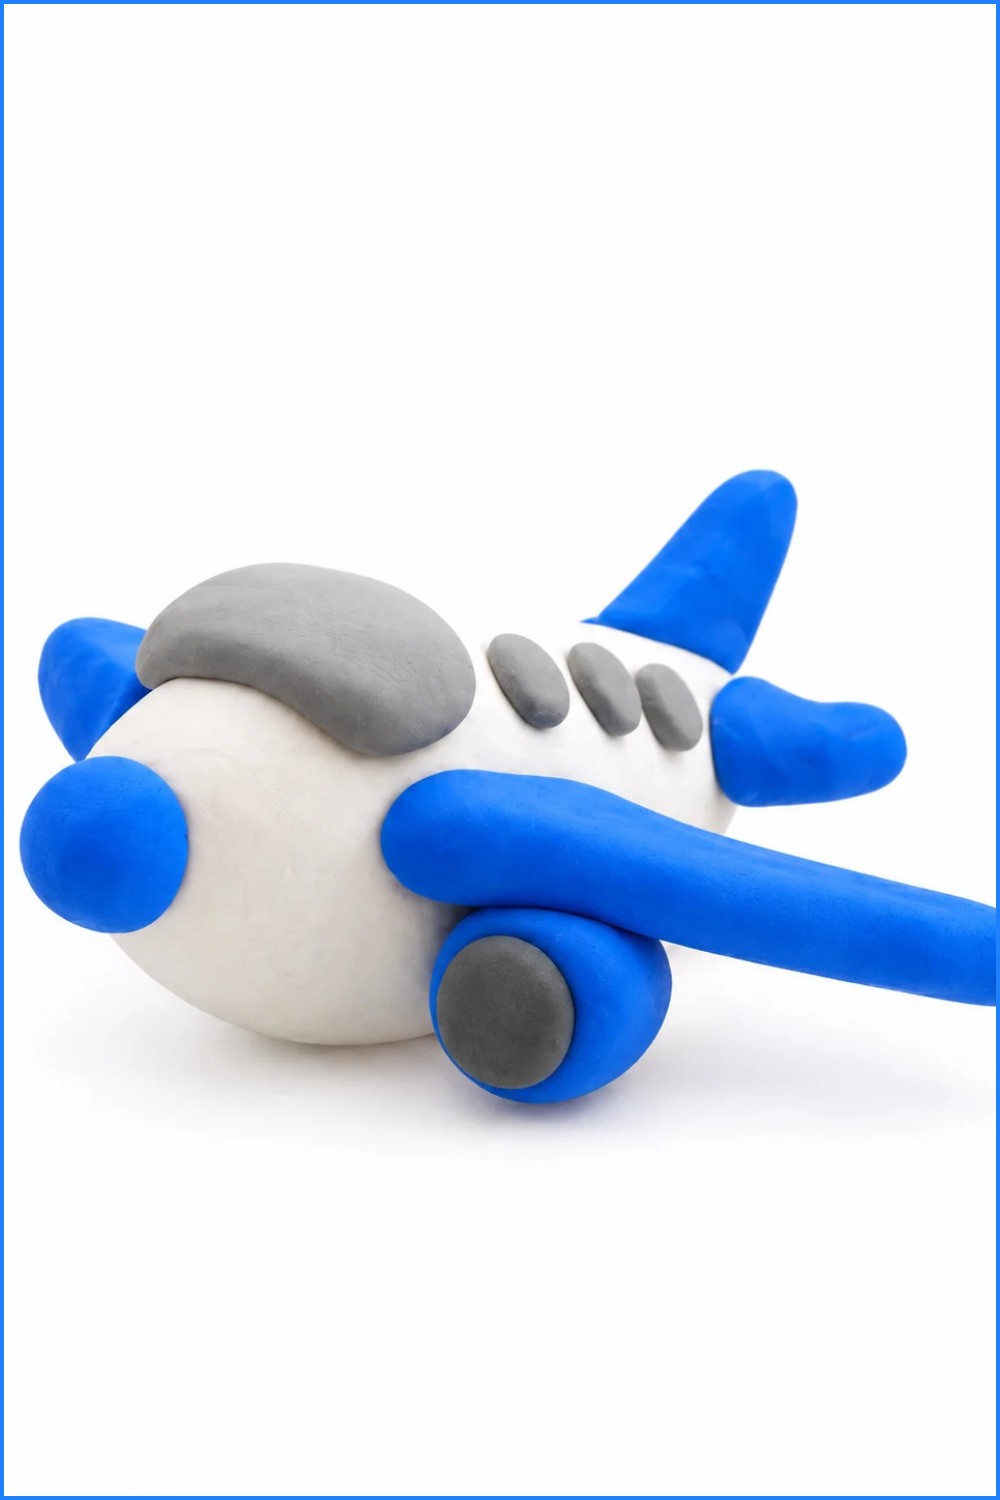
You will finish with a charming plasticine airplane! It has a smooth white body with pointed cockpit and tail ends. Blue wings with turbines sit on each side, and smaller blue triangles form the tail and elevators. Gray windows decorate both sides, while the front cockpit is brightened by a blue cone tip and gray window. This little airplane is colorful, balanced, and ready to soar in your imagination.