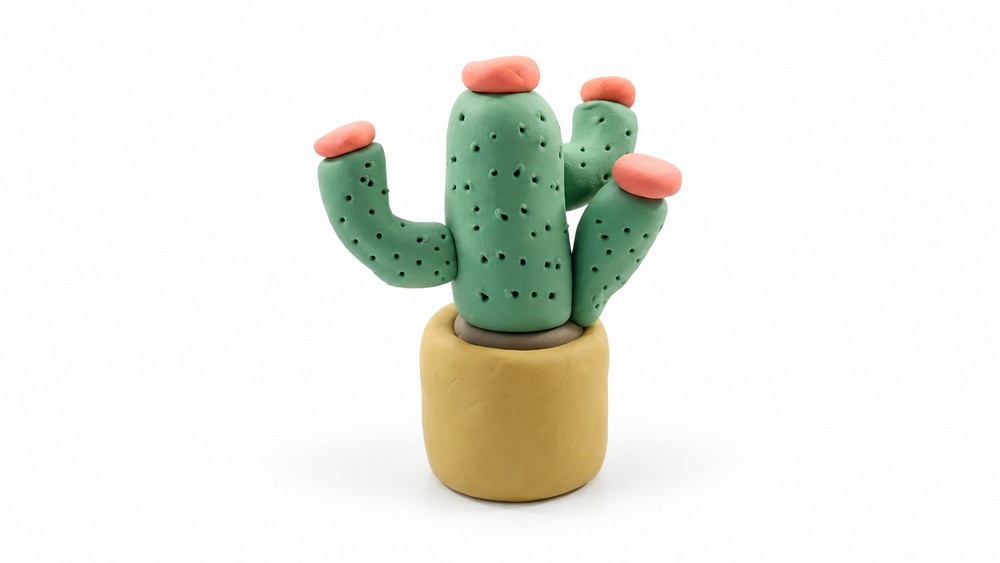
Place a cheerful miniature plant on your shelf using DIY Polymer Clay Cactus, with lovely green details that stay fresh throughout the year.
Drawings In Action presents a fun clay project inspired by the natural beauty of small desert plants. This idea is great for anyone who wants a little greenery at home without worrying about watering or sunlight. DIY Polymer Clay Cactus features a tiny green plant with a cute shape and a neat appearance. Its thick body, rounded arms, and smooth surface give it a lovely look. The cactus can have small lines or tiny dots that represent its natural texture. A miniature flower pot adds another nice detail and helps the plant stand upright.
Realistic DIY Polymer Clay Cactus With A Tiny Flowerpot
The green color gives the cactus a fresh appearance, while the brown pot provides a simple contrast. Small flowers or little stones can add extra beauty around the base. These details give the model a natural feel while keeping its overall style easy and attractive.
Polymer clay is the main material for this project. The green clay is shaped into the cactus body, and another color is used for the pot. Small pieces are gently joined to form the complete plant. Careful shaping helps the cactus keep its form and gives the finished model a clean surface.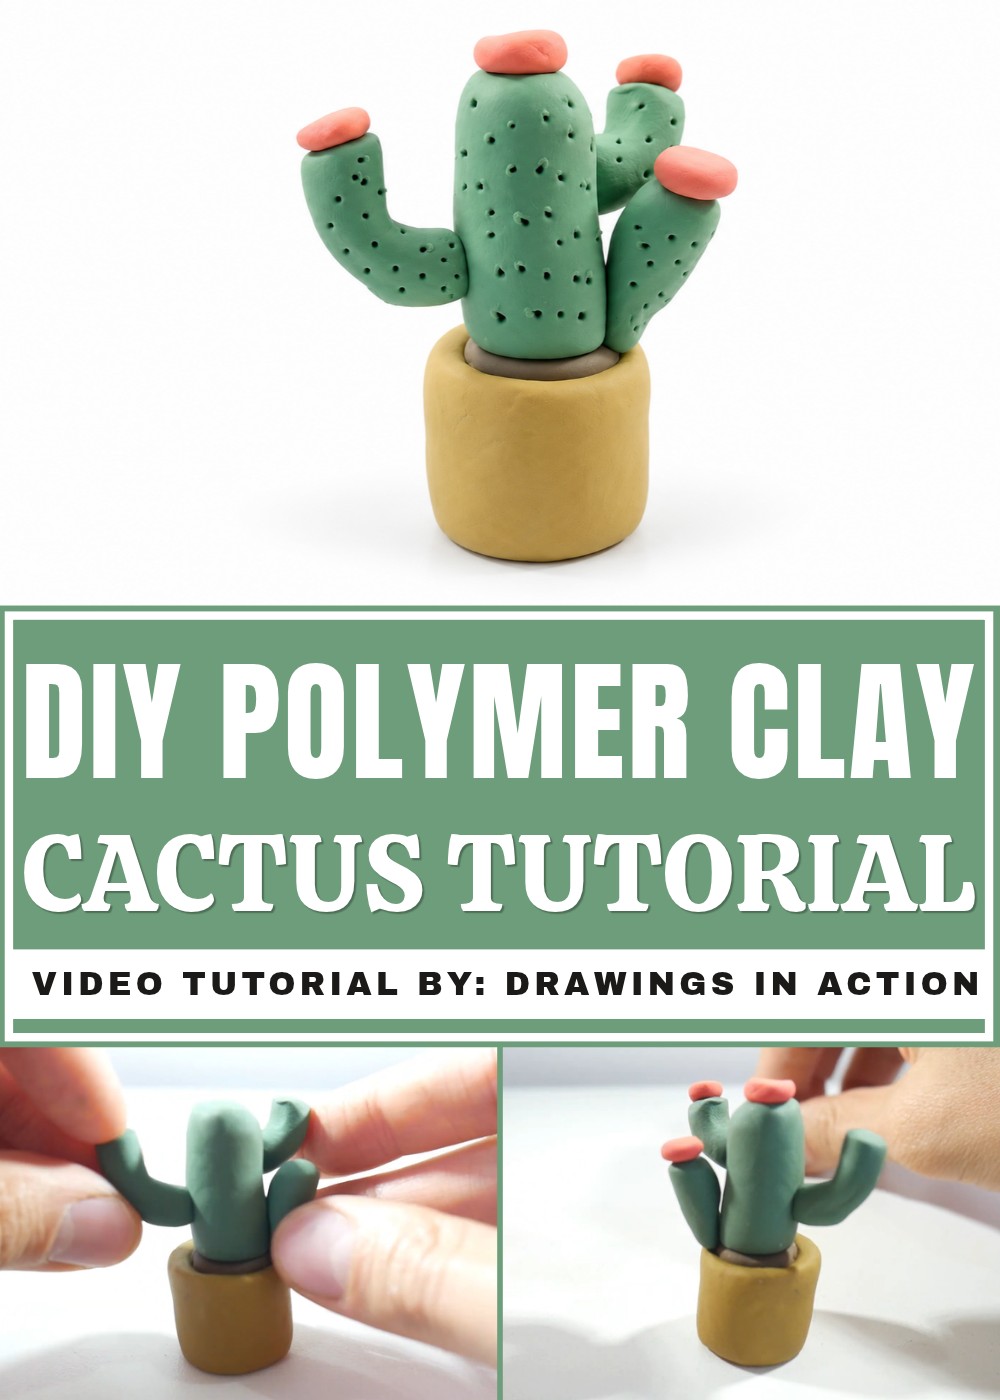
This little cactus is suitable for decorating a study table, bookshelf, bedroom, or office desk. It can also be a nice birthday gift for a friend who loves plants. Unlike real plants, it stays green without regular care.
The finished cactus is a sweet decoration that fits easily into small spaces. Its simple design and cheerful appearance can add a little color to any corner of the home.
DIY Plasticine Cactus Tutorial
This easy and fun DIY project! Today, we will make a cute plasticine cactus using simple materials like colored plasticine and a toothpick. This beginner-friendly tutorial will guide you step-by-step to shape the pot, cactus body, arms, and add lovely little flowers and texture. No special skills needed — just follow along, have fun, and create your own charming cactus decoration right at home!
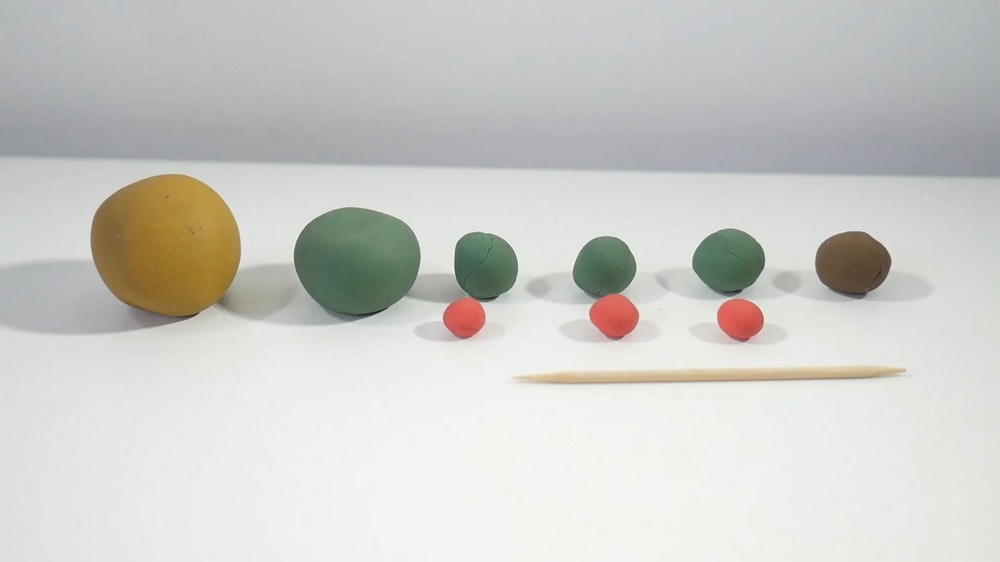
Materials Needed
- Plasticine in the following colors:
- Green
- Light brown
- Dark brown
- Red
- Toothpick
Step-by-Step Instructions
Step 1: Make the Pot
- Take some light brown plasticine.
- Roll it on your table into a cylinder shape.
- Flatten the top and bottom so it can stand well.
- Use your fingers to gently press the top to make a hollow (a little hollow space at the top).
- If the pot loses its shape, roll it again on the table to fix it.
Add Soil Inside the Pot
- Take a small piece of the light brown plasticine.
- Flatten it with your fingers.
- Put this flattened piece into the hollow you made in the pot.
- This will look like the soil where the cactus will grow.
Prepare Support for the Cactus
- Cut a short piece from the toothpick.
- Place this piece vertically into the soil inside the pot.
- This toothpick will help hold the cactus in place.
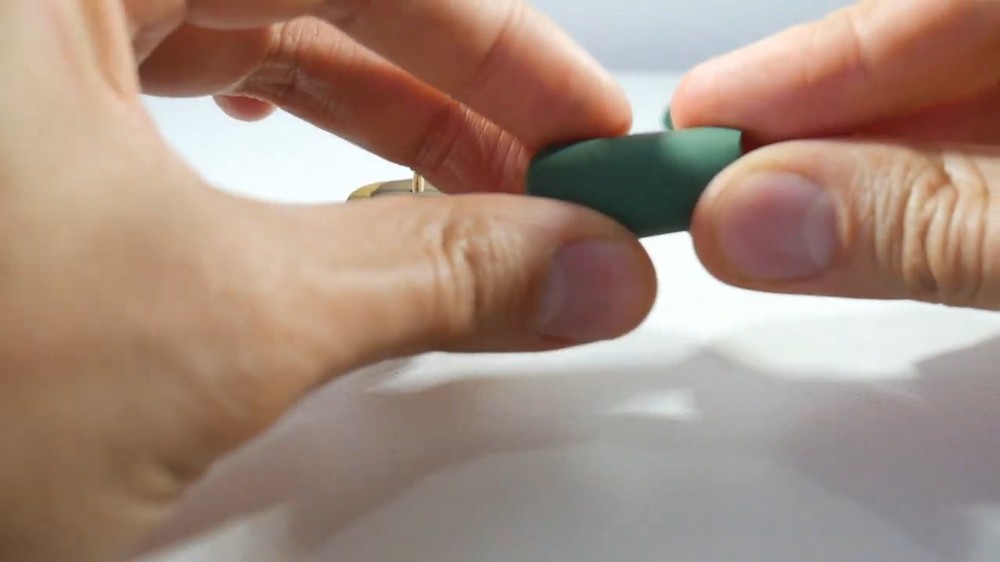
Shape the Cactus Body
- Take the largest green plasticine ball you have.
- Roll it on the table to make a long cylinder.
- Keep the top of the cylinder rounded to look like a cactus.
- Insert this green cylinder onto the toothpick inside the pot so it stands firmly.
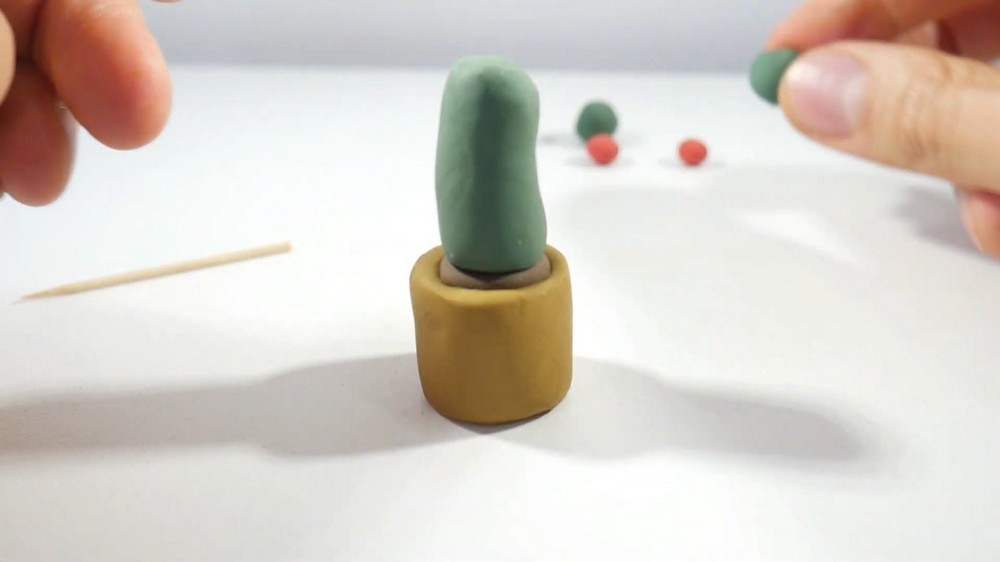
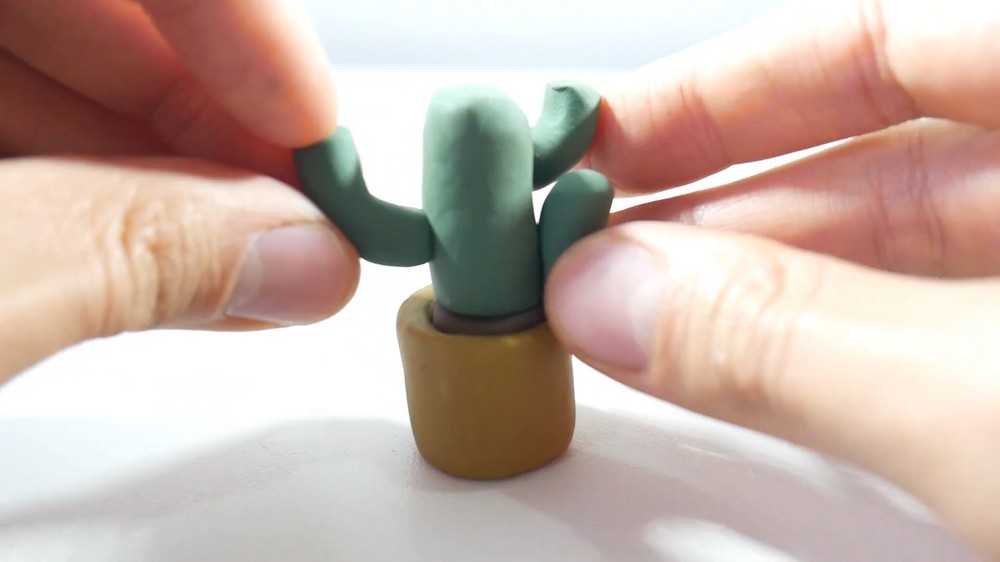
Create the First Cactus Arm
- Take a small green plasticine ball.
- Shape it into a small cone.
- Attach this cone to the cactus body near the bottom, so it looks like it is coming out of the pot.
- Press gently to stick it well to the main cactus body.
Make the Second Cactus Arm
- Cut another small piece of toothpick.
- Put this toothpick inside the main cactus body where you want the arm to be.
- Take another green plasticine ball.
- Shape it into an “L” shape.
- Attach this “L” shaped arm higher up on the cactus body with the toothpick inside to support it.
The Third Cactus Arm
- Shape one more green arm on the other side of the cactus.
- Attach it firmly to the main body by pressing gently or using a small toothpick support if needed.
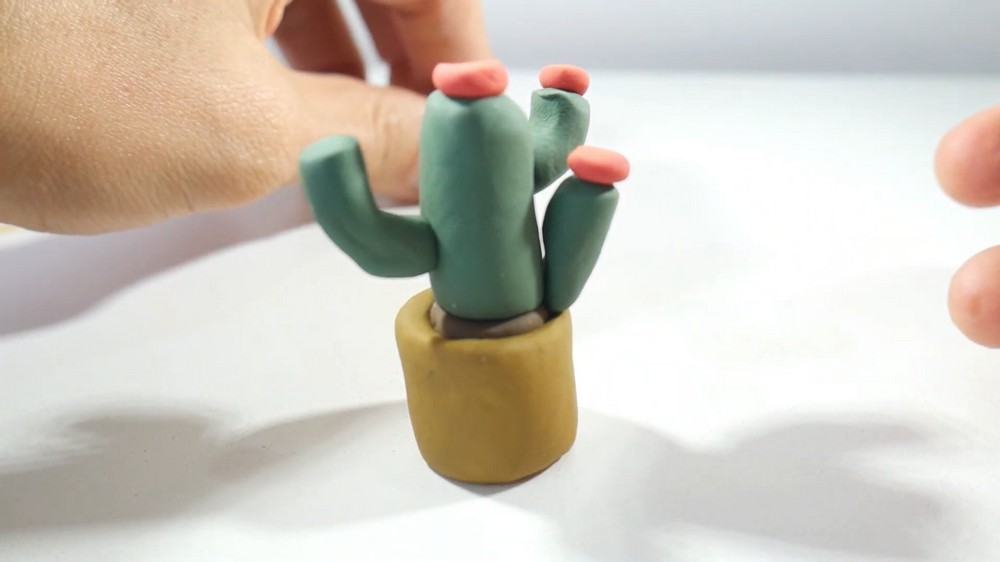
Add Small Red Flowers
- Take small amounts of red plasticine.
- Roll them into tiny balls.
- Place these red balls on top of the cactus body and also on the tips of each arm.
- Press lightly so the flowers stay in place.
Add Texture to the Cactus
- Use the last piece of toothpick.
- Gently press the toothpick all over the green cactus body and arms.
- Make small holes to look like cactus spines.
- This adds character and makes your cactus look more real.
Finishing Details
- Check that all pieces are attached securely.
- The small holes create a nice texture that looks like cactus spines.
- The little red flowers give your cactus a bright and cheerful look.
- If any part feels loose, press gently again or add a little more plasticine to hold everything together.
Helpful Tips
- When the pot shape changes during making, don’t worry. Just roll it again gently to fix its shape.
- Every cactus is different. Your cactus does not need to be perfect.
- The personality and charm come from the details like the arms’ shapes, flowers, and spines.
- Take your time adding texture because the small holes make a big difference in the look of your cactus.
Final Result
After finishing all the steps, you will have a cute, colorful plasticine cactus. It stands in a light brown pot filled with soil. The green cactus has three arms in different shapes with small red flowers on top. The tiny holes made with the toothpick give your cactus a spiny texture that makes it look lively and realistic.
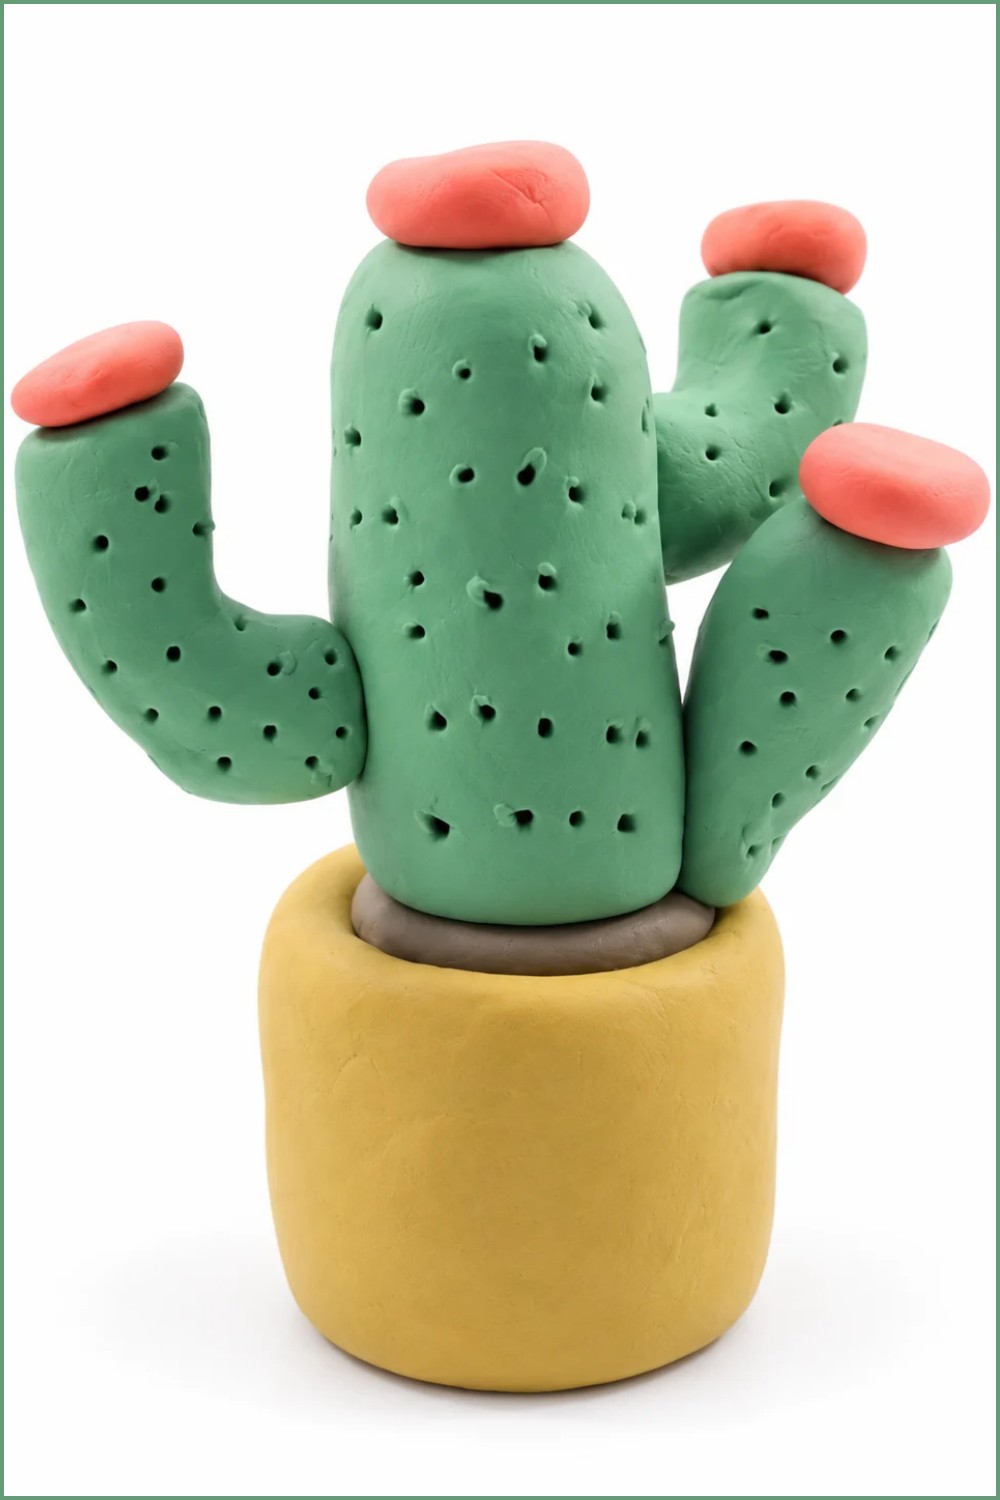
You can proudly show off your plasticine cactus as a fun decoration or gift!