Craft your own professional-looking DIY Polymer Clay Bird with this detailed tutorial that inspires creativity and handmade beauty.
Are you looking for a fun and colorful activity to try at home today? Creating a clay bird is a wonderful way to spend a quiet afternoon offline. This amazing tutorial and the brilliant design are fully credited to the original YouTube channel, Drawings In Action. They made a fantastic video that shows everyone how to shape a cute little feathered friend from scratch. Working with soft clay is very relaxing, and this guide breaks down every single step so you can easily follow along without feeling any stress or confusion.
Decorating With A Miniature DIY Polymer Clay Bird
You will love how easy it is to mold the bright material into a beautiful shape. First, you roll the soft pieces into small round balls and press them gently together to form the belly, wings, and tiny beak. It allows you to mix and match your favorite shades, so every piece you create is completely unique to your personal style. Even if you have never tried making things by hand before, you will find it incredibly simple to do. The joy of watching a plain lump of color turn into a happy little creature is just wonderful.
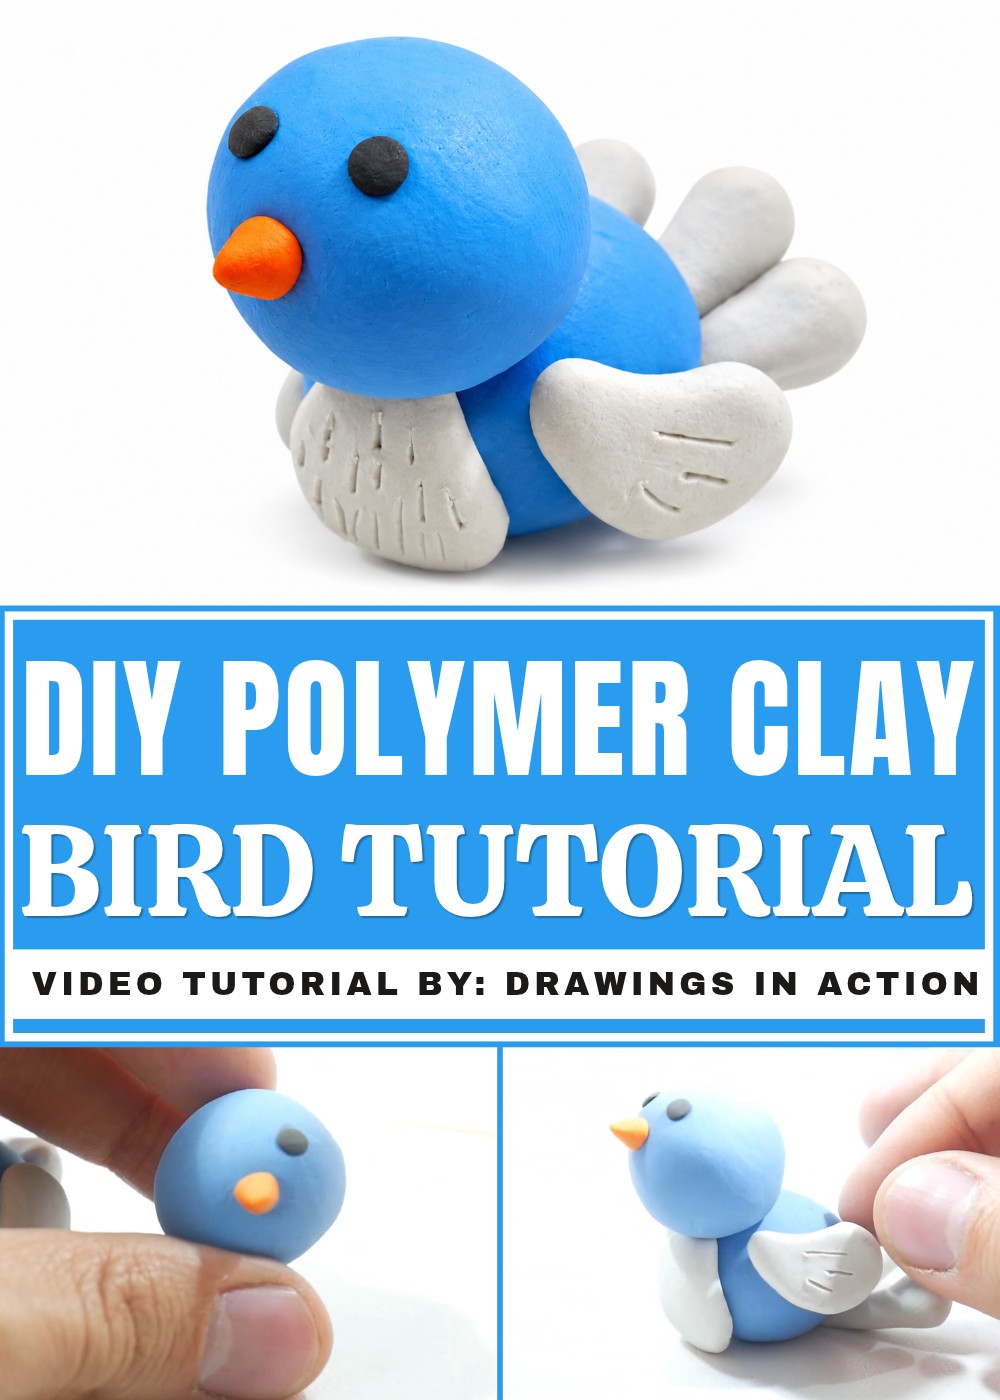
Once your tiny friend is baked hard and cooled down, you can use it in many fun ways around your house. You can place it on your desk to bring a big smile to your face, or let it sit on a bedroom shelf as a bright decoration. It also serves as a sweet, handmade gift for someone special in your family or friend group. Taking a little time to play and create brings so much happiness to your day. Just grab your favorite colors, clear a spot on your kitchen table, and enjoy the lovely process of bringing your new buddy to life.
DIY Tutorial: How To Make An Adorable Polymer Clay Bird
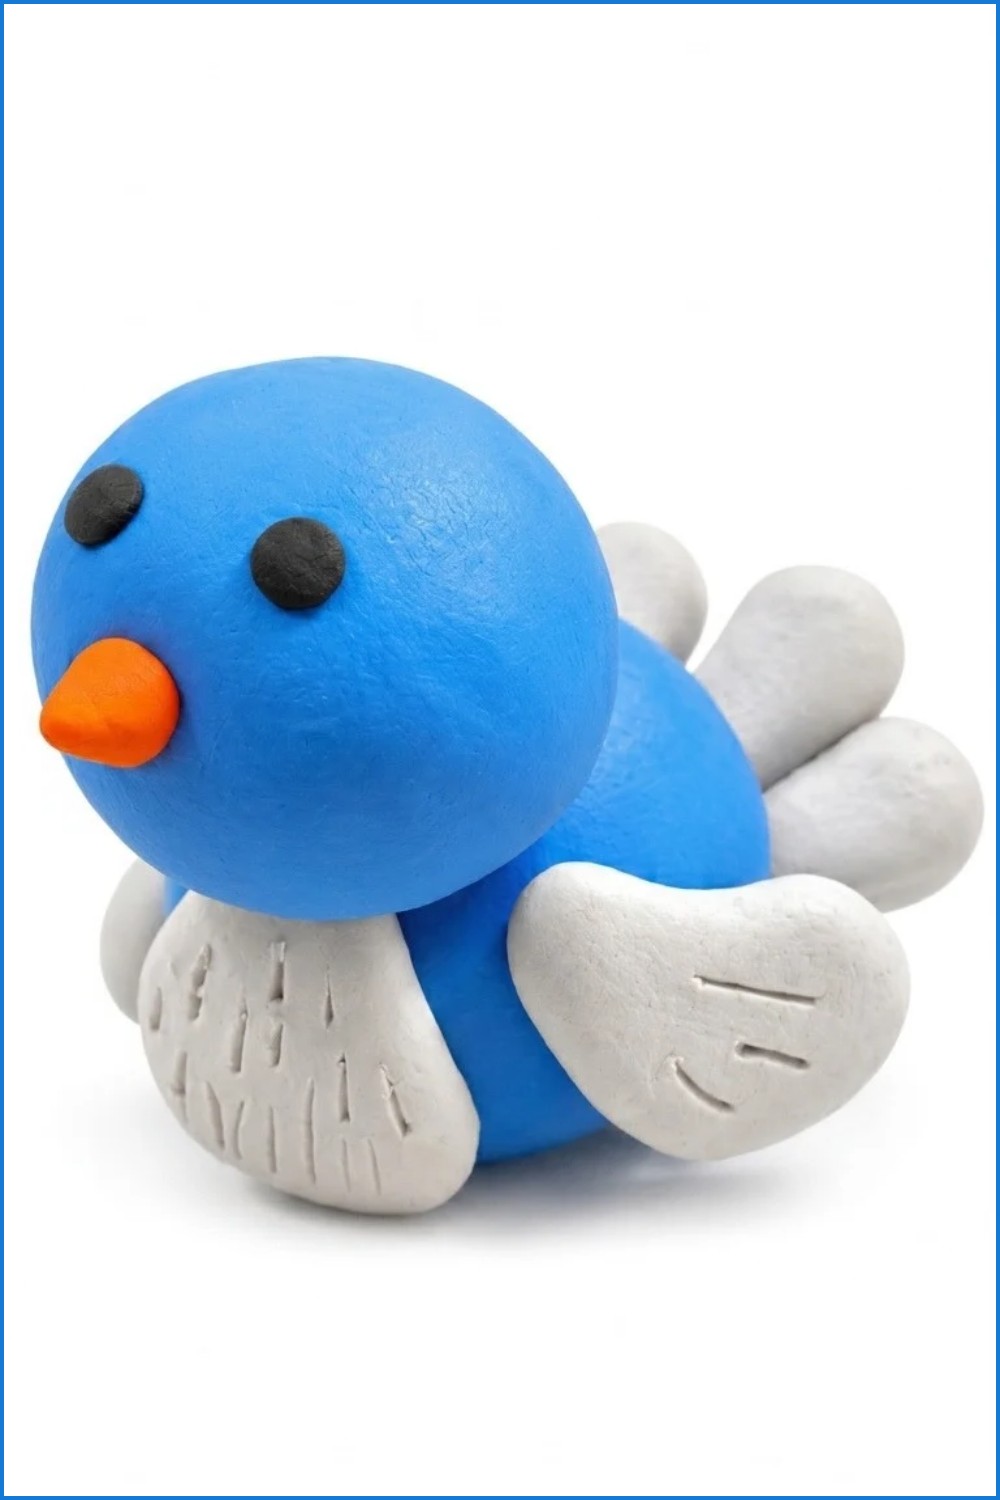
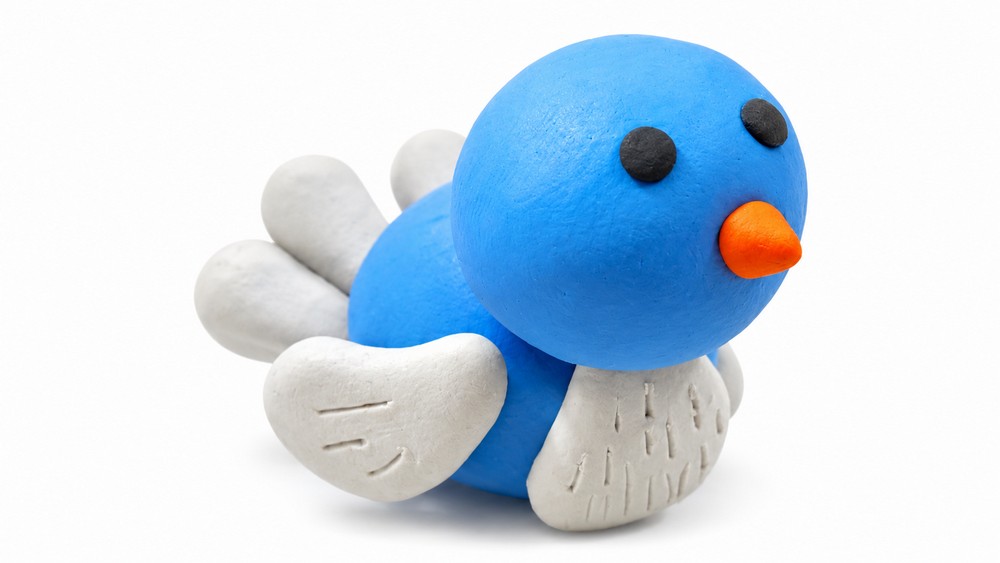
This tutorial guides you through forming a delightful and simple plasticine bird with minimal effort and materials. Using light blue, white, black, and orange plasticine, you’ll assemble a charming miniature bird with wings, a tail, and realistic textured feathers. The step-by-step process is straightforward and uses basic shapes like balls, ovals, and cones to construct the bird’s body, head, beak, and more. Even beginners can achieve this fun result without needing specific crafting tools beyond basic materials. By following these steps, you’ll complete a project that is playful and satisfying, resulting in an adorable decorative or playful figurine.
Materials and Tools
Materials
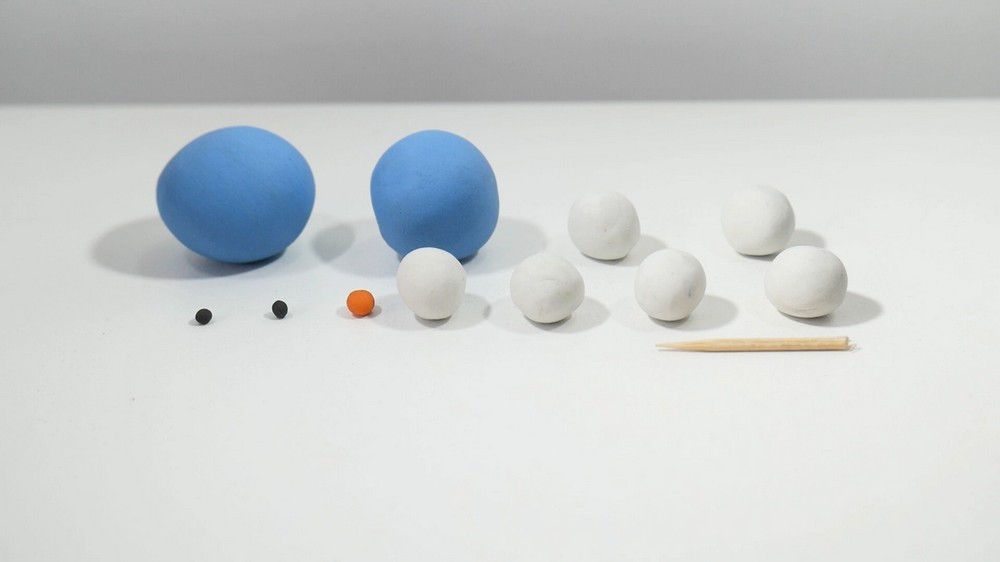
- Light blue plasticine (for the body and head)
- White plasticine (for the wings, belly, and tail feathers)
- Black plasticine (for the eyes)
- Orange plasticine (for the beak)
Tools
- Toothpicks (to attach the head securely to the body)
- Pencil or pointed tool (like a toothpick) (for adding feather-like texture)
Building the Bird’s Body
Form the Body
- Start by taking a light blue plasticine ball of medium size, about the size of a ping-pong ball.
- Roll the plasticine with your hands until it is perfectly smooth and spherical.
- Once smooth, gently shape the ball into an oval or egg-like form. This will serve as the bird’s main body.
Add a White Belly
- Take a small white plasticine ball, about half the size of your light blue ball.
- Roll the white plasticine into a smooth ball, then use your fingers to mold it into an egg-like shape.
- Place the white egg-shaped piece onto the front of the bird's body, aligning the top of the belly just below where the head will eventually be attached.
- Press gently to secure the white plasticine to the blue body, making sure the edges blend seamlessly.
Crafting the Bird’s Wings
Shape the Wings
- Take two small white plasticine balls, about ⅓ the size of the blue body ball.
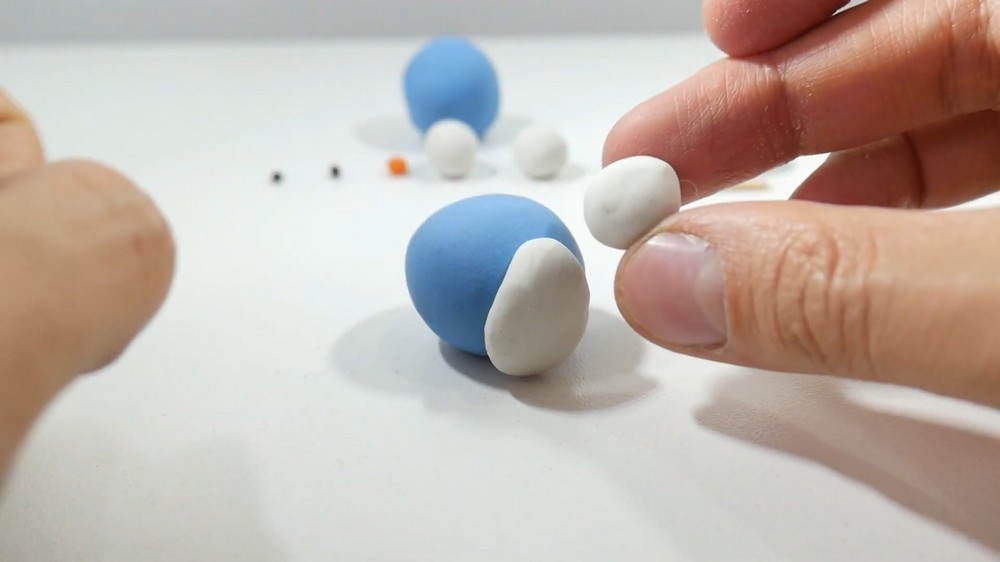
- Roll each white ball into a smooth sphere, then shape them into comma-like curves using your thumb and forefinger. The curved shapes will serve as the bird’s wings.
Attach the Wings
- Position one white comma shape on each side of the bird’s blue body. The curved tips of the wings should point slightly downward for a relaxed and natural look.
- Gently press the wings to attach them to the body, ensuring they stay secure but maintain their soft and curved shape.
Adding the Tail
Shape the Tail Feathers
- Take three small white plasticine balls, each slightly smaller than the balls used for the wings.
- Roll each ball into a smooth sphere, then shape them into tear-drop forms by pulling one end into a gentle point with your fingers.
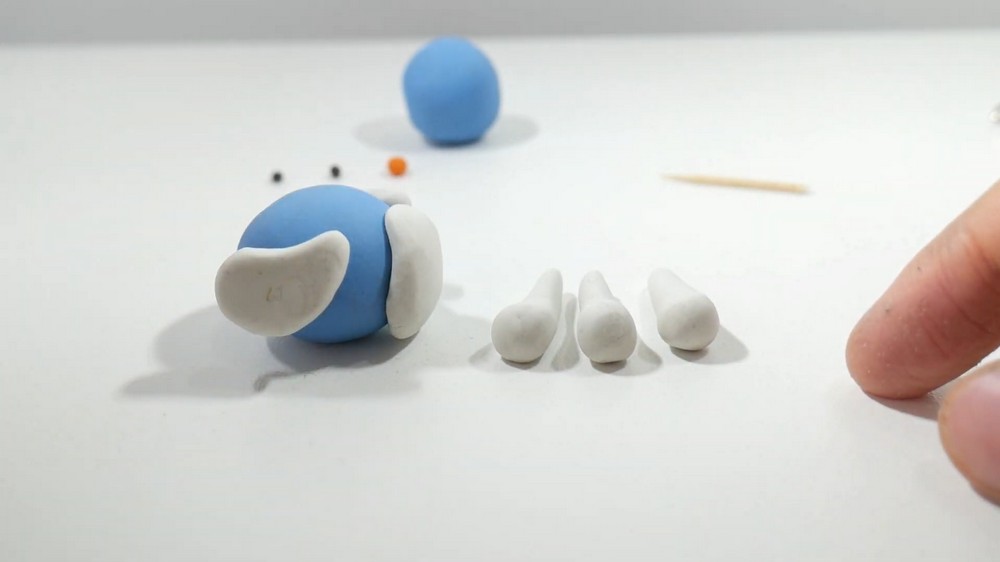
Attach the Tail Feathers
- Place the three tear-drop shapes on the back of the bird’s body to form the tail. Space them slightly apart, with the pointed ends facing outward at a slight upward angle. This arrangement will make the tail look fluffy and natural.
- Press the tail feathers gently into place to secure them, making sure they align well with the back of the body.
Creating the Head and Face
Form the Head
- Take a light blue plasticine ball, slightly smaller than the one used for the body.
- Roll the ball into a smooth sphere, ensuring there are no cracks or imperfections.
Shape and Attach the Beak
- Take a small piece of orange plasticine and roll it into a tiny ball, about the size of a pea.
- With your fingers, shape the orange ball into a cone by pinching one side into a pointed tip while keeping the opposite side rounded. This will serve as the bird’s beak.
- Attach the cone-shaped beak to the lower center of the light blue head. Gently but firmly press the rounded base of the cone onto the face so it adheres securely.
Add the Eyes
- Take two tiny balls of black plasticine, about the size of small beads.
- Press the black balls onto the face just above the beak, spacing them evenly from the center. These will act as the bird’s eyes and add personality to your creation.
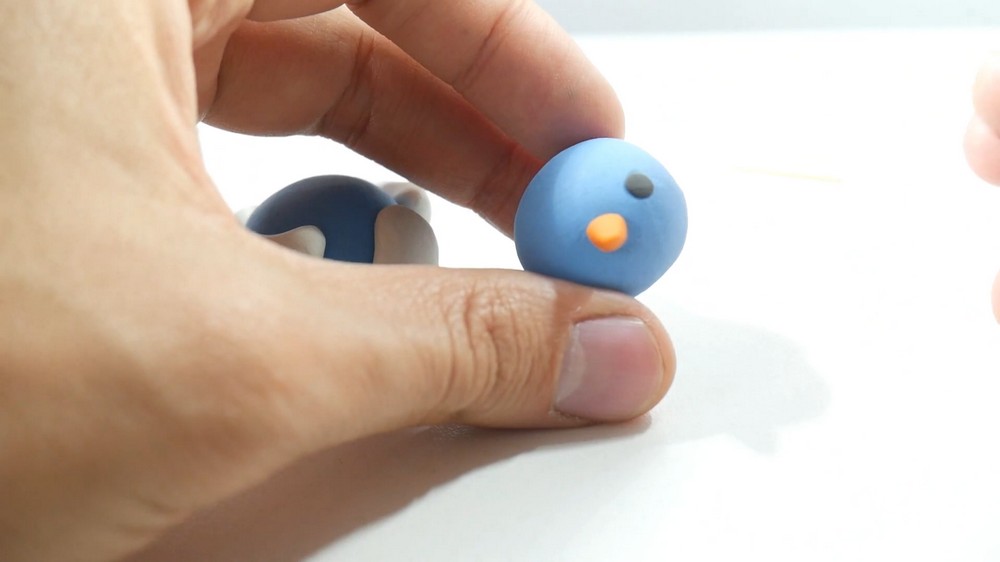
Attach the Head to the Body
- Take a toothpick and break it in half, creating a shorter piece to securely connect the head and body.
- Insert one half of the toothpick into the top center of the bird's body. The other half should protrude out to connect to the head.
- Gently press the light blue head onto the exposed end of the toothpick, making sure it is centered and firmly secured to the body.
Adding Feather Details
Add Texture to the Wings
- Take a pointed tool, such as a toothpick or pencil, and lightly carve small lines along each white wing.
- Start from the base of each wing and pull the lines outward to mimic the texture of bird feathers. Try to space the lines evenly while keeping them thin and subtle.
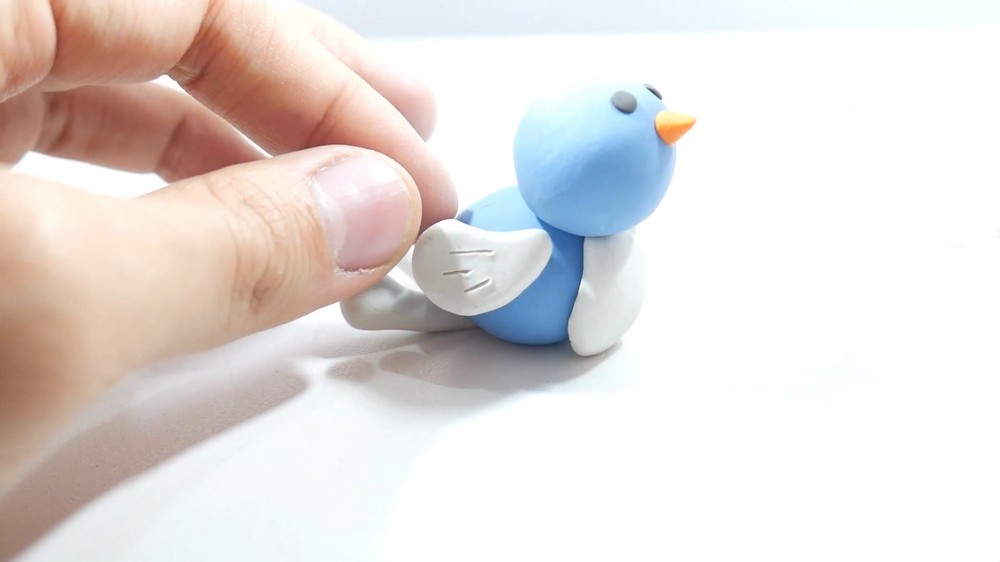
Add Texture to the Belly
- Use the same pointed tool to create small, curved lines on the white belly of the bird.
- Curve the lines gently to contour with the oval shape of the belly, which will give it a soft, feathery appearance.
Finish with Tail Feathers
- Carve similar small lines on the tear-drop-shaped tail feathers. Begin at the rounded base of each tear-drop and pull the lines outward toward the pointed end.
Final Adjustments and Finishing Touches
Check for Proportions
- Inspect the completed bird for symmetry. Ensure that the wings, tail, and head are balanced and aligned with the body.
Smooth and Blend
- Use clean fingers to smooth out any visible fingerprints or creases on the surface of the plasticine.
- Blend any seams (such as where the head connects to the body or where the wings attach to the sides) so the bird looks cohesive and polished.
Add Character
- If desired, you can experiment with different expressions for the eyes or adjust the angle of the wings and tail to give your bird even more personality.
Project Reflection
You now have a finished plasticine bird that combines simplicity with a touch of personality. Each detail, from the subtle feather textures to the vibrant orange beak and elegant tail, enhances its charm. This approachable project demonstrates how basic plasticine techniques can create something endearing. Whether placed on a desk, added to a toy collection, or made into a thoughtful handmade gift, this small bird showcases a thoughtful artistic effort. The process of shaping, smoothing, and assembling reflects tiny moments of creativity, proving that small, meaningful projects like this can brighten your day and bring color to any space.