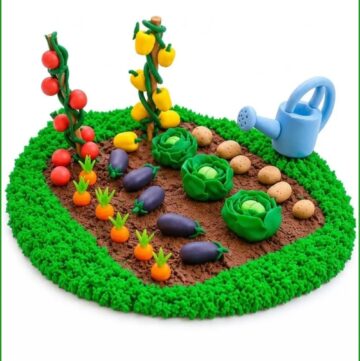
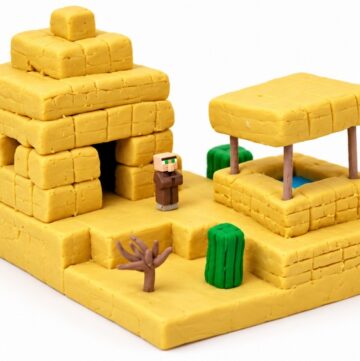
Give your gaming desk a fresh look with DIY Polymer Clay Minecraft Scenery, featuring colorful blocks, tiny landscapes, and charming miniature details.
Clueless Crafts shares a fun idea for turning simple clay into a small world filled with familiar game details. DIY Polymer Clay Minecraft Scenery shows a colorful landscape with square blocks, green grass, tiny trees, and other shapes inspired by the popular Minecraft game. The whole scene has a playful look that feels close to the original game.
EASY DIY Polymer Clay Minecraft Scenery With Realistic Details
One interesting feature of this project is its block-style appearance. Instead of round shapes, most parts have straight edges and flat surfaces. The green areas represent grassy land, while brown sections give the effect of soil. Small trees, stones, and raised platforms can add more detail to the scene.
Polymer clay is the main material used for this miniature display. Different clay colors help form separate parts without needing too much paint. Small pieces are shaped, pressed, and placed together to build the landscape. Keeping the edges neat helps achieve the familiar Minecraft appearance.
This little model can sit on a study table, bedroom shelf, or gaming desk. Children who love Minecraft may also like it as a birthday present. Its small size allows it to fit into different spaces without taking up much room.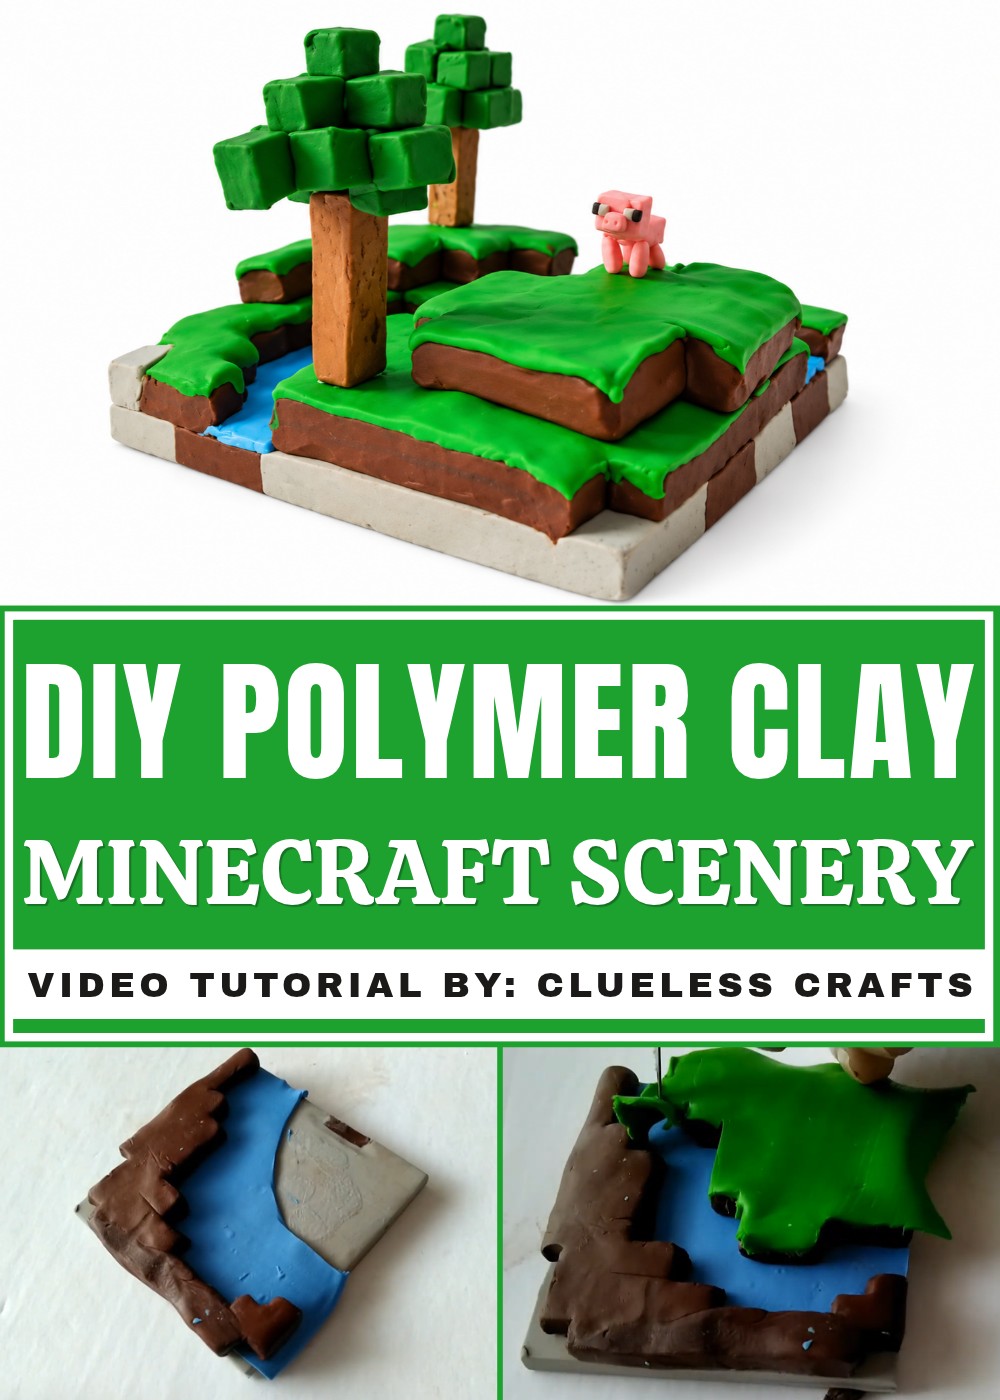
Another nice thing about this idea is the freedom to arrange the blocks in different ways. You can use different heights, land shapes, and small details to give the scenery its own personality.
The finished piece offers a simple way to show your love for Minecraft outside the screen. It also turns basic clay shapes into a cheerful decoration that gaming fans can proudly display at home.
Beginner-Friendly Clay Landscape Tutorial
In this project, you will create a layered clay landscape featuring dirt layers, a river, grass, trees, and a tiny pig. The tutorial will guide you through designing, shaping, baking, and assembling each part step by step. Follow the instructions carefully and enjoy making your unique little scene!
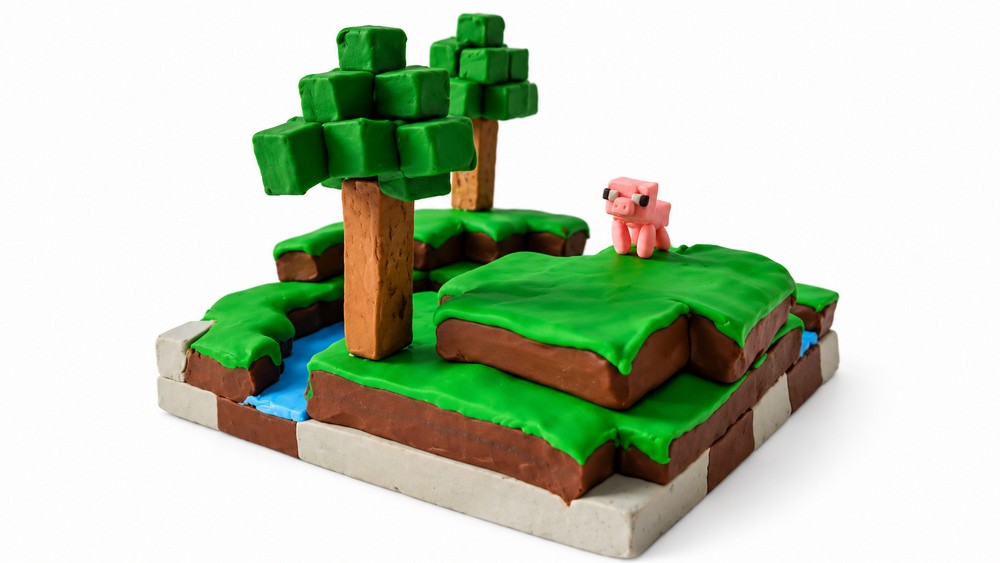
Materials and Tools
- Polymer clay in these colors:
- Brown (for dirt and tree trunks)
- Blue (for river)
- Green (for grass and tree leaves)
- Pinkish or light color (for pig)
- Paper for making design templates
- Blade or clay knife
- Rolling pin or smooth surface (for rolling clay)
- Superglue (for final assembly)
- Toothpick (for gluing small parts)
- Oven (for baking polymer clay)
- Pencil or pen (for tracing templates)
Step-by-Step Instructions
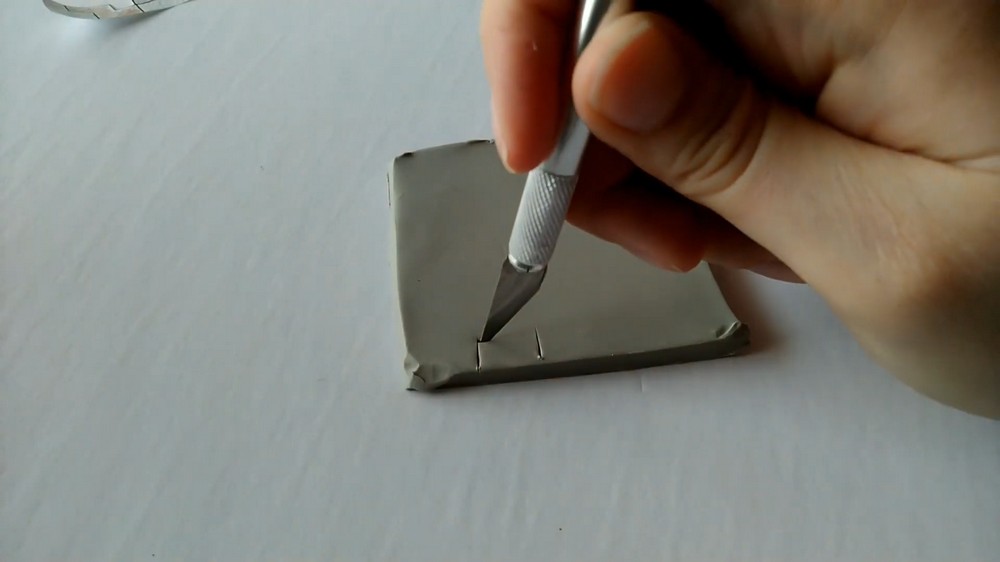
1. Designing and Preparing the Base Layers
- Roll out clay to about 1 centimeter thick on a clean surface.
- On paper, sketch your landscape design divided into layers (e.g., Layer 1, Layer 2, Layer 3).
- For Layer 1 (bottom layer):
- Cut out the shape from rolled clay matching your design.
- Add little clay “dirt” pieces on the sides by cutting them out and attaching them to the base to look like natural edges.
- Bake this first layer fully before moving on to prevent damage later.
2. Creating and Adding the Second Layer
- On your paper design, cut out the first layer’s outline to see where the second layer will sit.
- Place this cut-out on your rolled second-layer clay and trace around it.
- Cut this shape from the clay for the second layer.
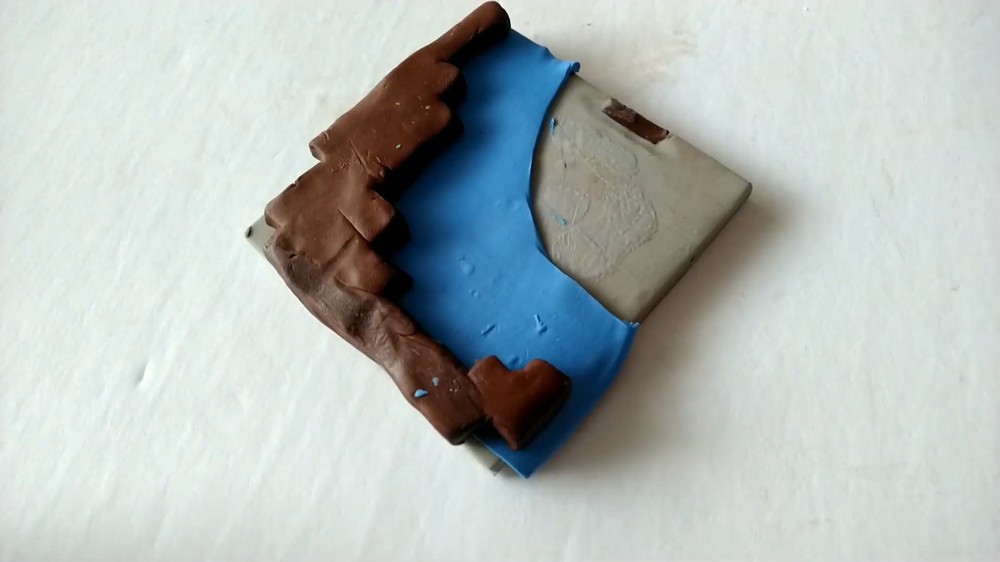
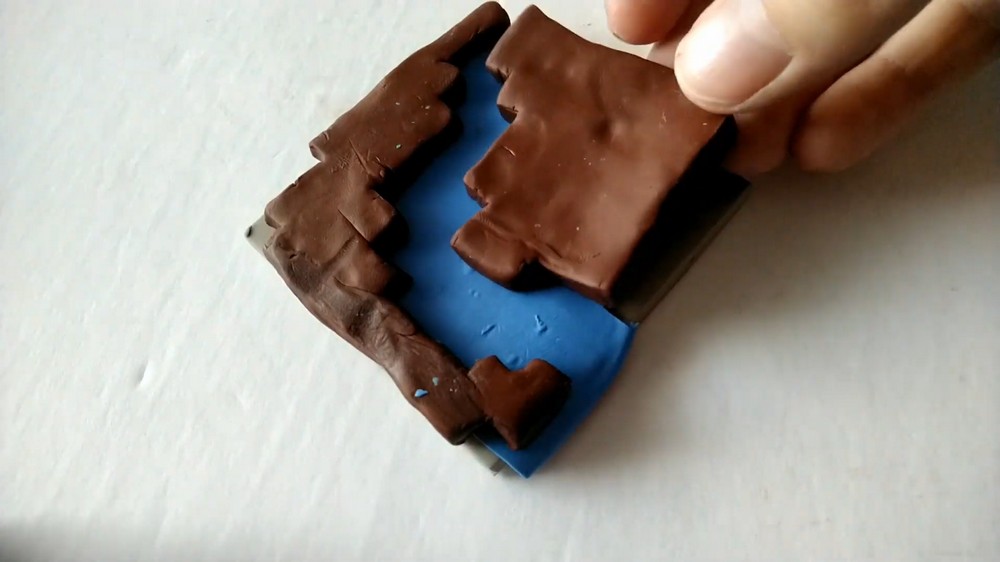
- Remove areas where a river will go by cutting out portions on this layer matching the river design.
- Roll out a thin sheet of blue clay for the riverbed.
- Place the blue clay in the cut-out areas on the second layer.
- Place the “dirt” pieces removed earlier back on top to frame the river.
- Bake the second layer at this point.
3. Making the Grass (Third Layer)
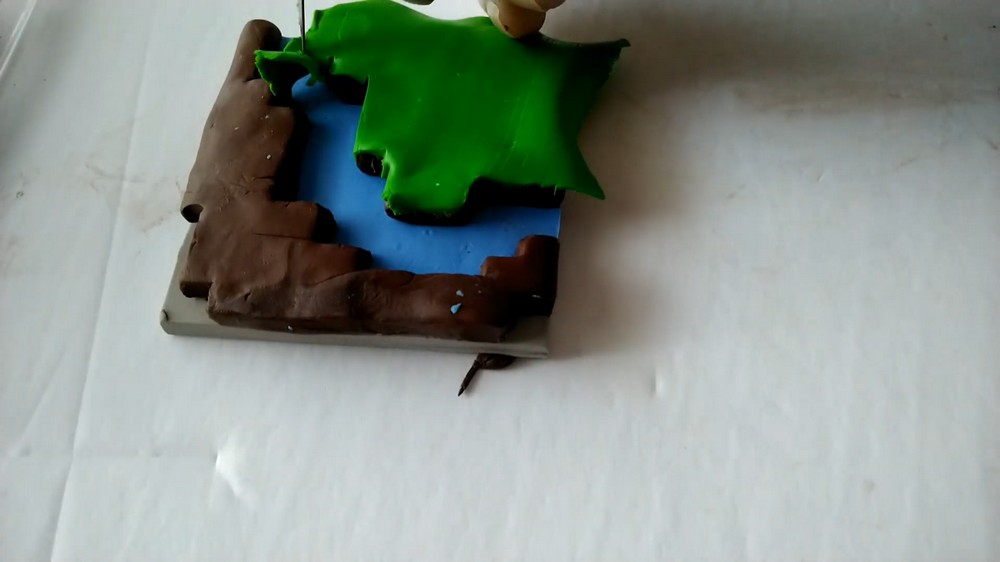
- Roll out green clay for the grass layer.
- Instead of draping green clay and cutting around edges (which is difficult), do this:
- Cut your piece of grass clay slightly larger than required.
- Take the “dirt” clay piece you want to cover with grass, trace its shape onto the grass piece, then flip it and cut the grass clay exactly to that shape.
- This method ensures neat edges and fits perfectly around other elements like the river.
- Bake the grass layer.
4. Making Trees
- Roll a log of brown clay.
- Cut off the ends and shape it into a long rectangular cuboid to act as the trunk.
- Roll a big chunk of green clay into a shape suitable for the leaves or the bushy top of the tree.
- Bake tree trunks and leaves separately.
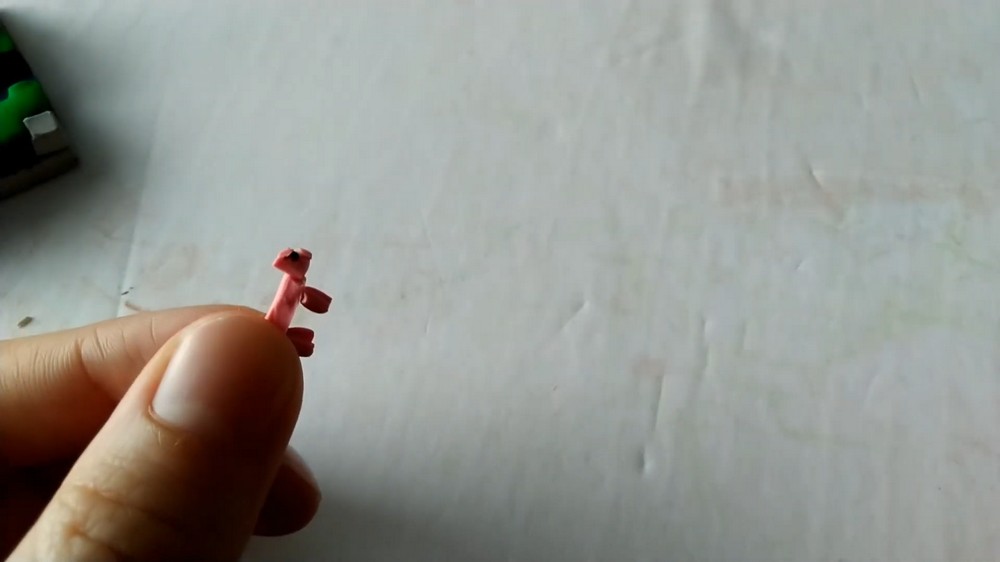
5. Creating the Tiny Pig
- Cut a very small rectangle from pink or light-colored clay for the body.
- Cut a smaller rectangle for the head.
- Cut four tiny pieces, roughly the width of the body and one-third the size of the head, for the legs.
- It’s recommended to use a blade for clean cuts because cutting by hand is difficult at this size.
- Bake all pig parts.
6. Baking Summary
- Remember to bake each clay component (base layers, grass, river, trees, pig parts) separately according to your polymer clay manufacturer’s instructions.
- Baking in stages protects your work and allows for easier layering.
7. Final Assembly
- Use superglue to attach the tree trunks to their green leaf tops.
- Glue the trees onto the landscape base where you want them placed.
- Assemble the tiny pig:
- Use a toothpick to apply superglue to the pig’s legs, attaching them to the body evenly.
- Then glue the head onto the body.
- Position the pig somewhere in the scene, gluing it down carefully.
Tips for Best Results
- Take your time cutting clay shapes, especially the small pieces like the pig’s legs and head. Using a sharp blade improves precision.
- Baking layers one by one helps prevent accidentally warping or squishing already finished parts.
- Use tracing and templates on paper to keep your design organized and proportional.
- Use fingers or clay tools to smooth any rough edges before baking.
- Don’t worry if your final piece doesn’t look perfect; clay crafting takes practice!
- Experiment with where to place trees and the pig during assembly to create a charming landscape.
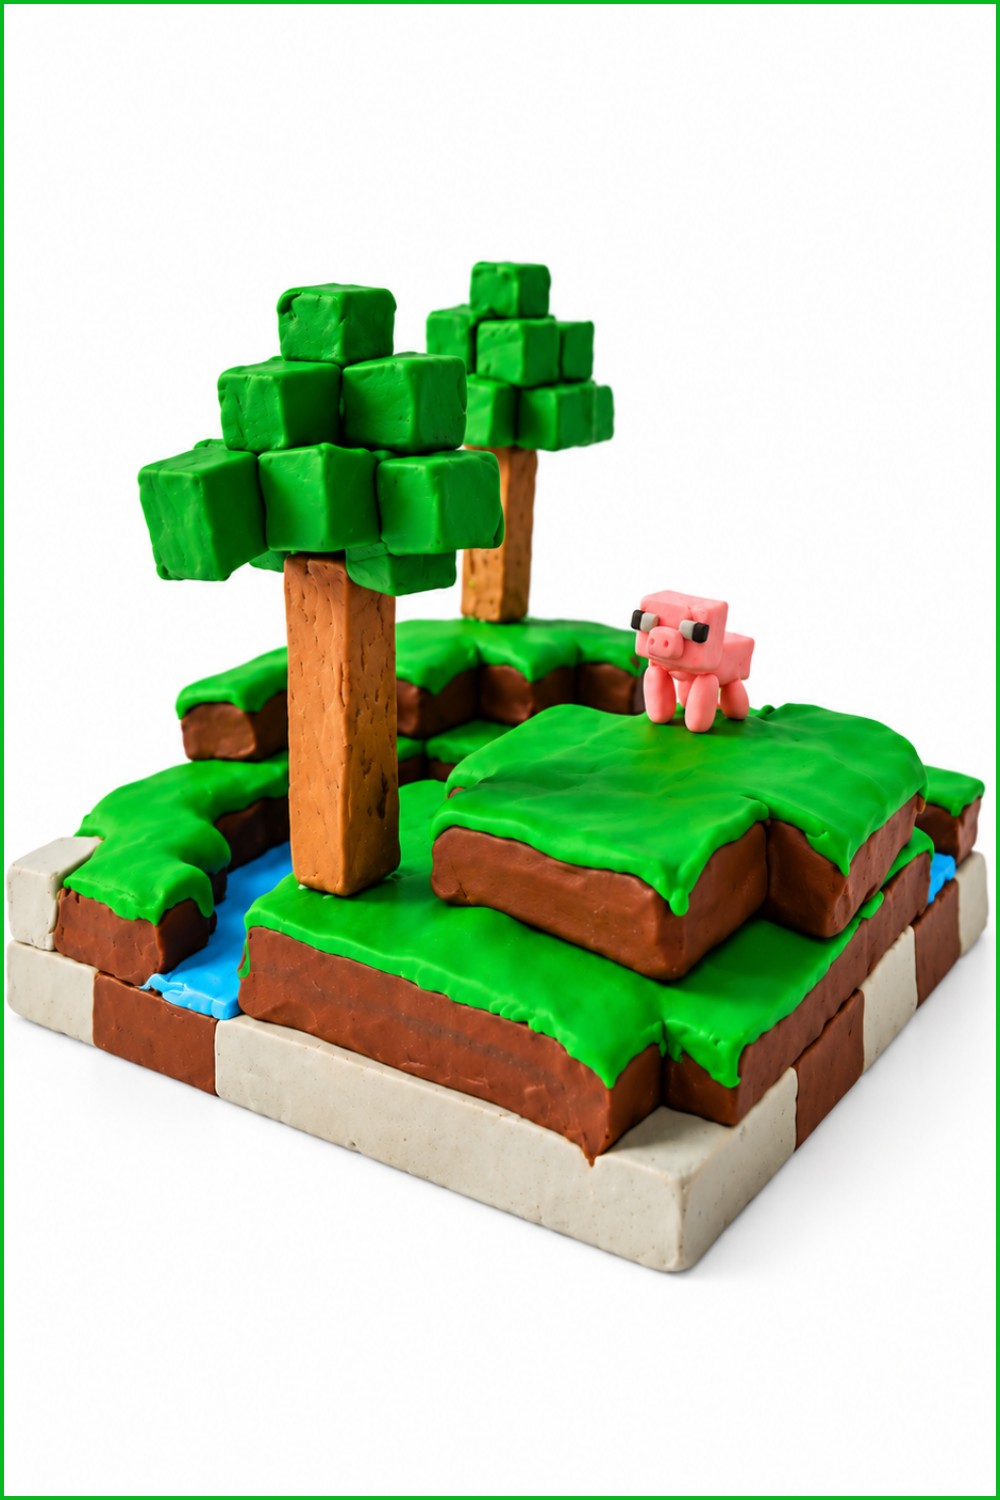
Enjoy crafting your detailed layered clay scene complete with a river, trees, and a tiny pig. This project is a great way to practice cutting, layering, baking, and assembling polymer clay creations while making a fun and unique miniature landscape.