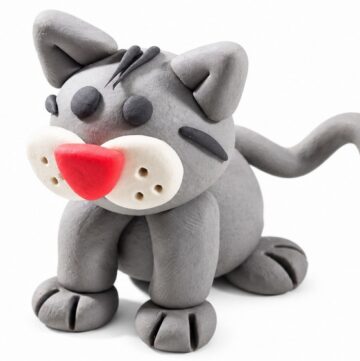
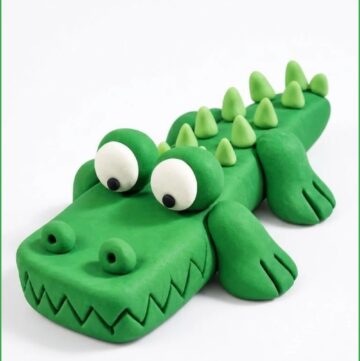
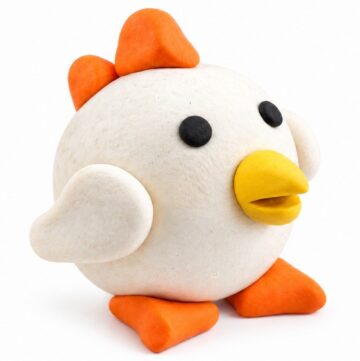
Learn how to make a DIY Polymer Clay Monster Incense Burner with this fun project which is for adding personality and charm to your space.
Adding a creative twist to functional items can be a lot of fun! If you're looking for a unique project, crafting an incense burner shaped like a polymer clay monster is an exciting idea. It’s not just an art project—it’s a chance to make something both decorative and useful for your home. This handmade monster incense burner will bring a playful vibe to your space while showcasing your imagination.
Handmade DIY Polymer Clay Monster Incense Burner to Enhance Your Space
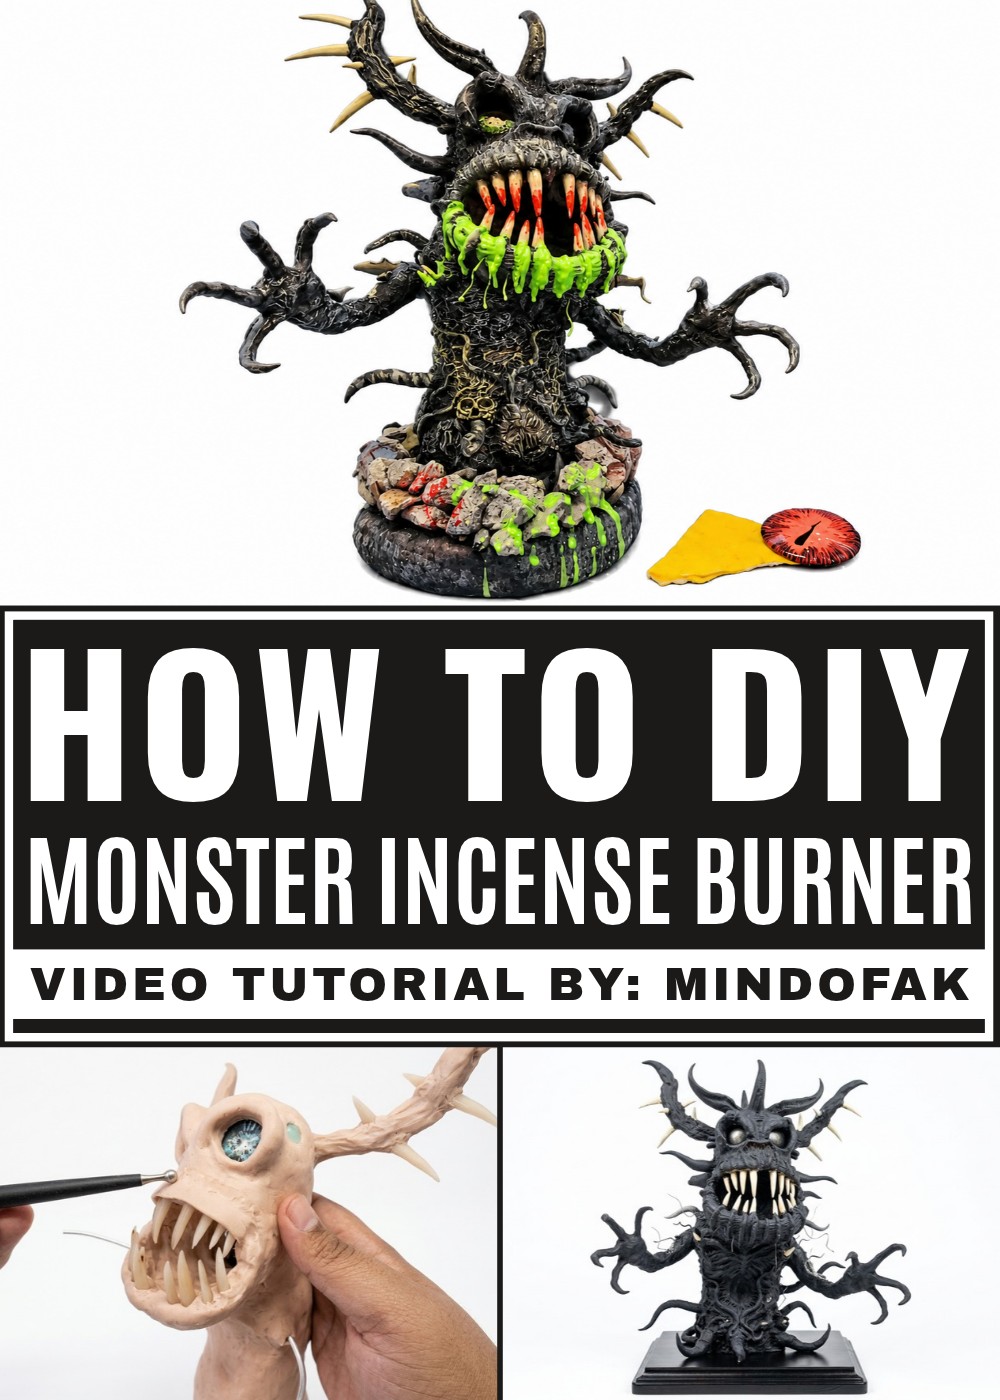
To create your design, start by shaping polymer clay into a monster form with fun details like big eyes, sharp teeth, or silly expressions. Bake the clay to harden it, making sure it’s strong enough to hold incense sticks. You can add fun colors, painted features, or even textures that make your monster look extra impressive. Personalizing your creation means every design can be truly one-of-a-kind, fitting perfectly with your style.
This DIY burner is more than just a functional item; it’s a creative statement and a great conversation starter. Whether you want to use it for yourself or gift it to someone special, the handmade monster adds charm and personality to any space. Perfect for beginners or experienced crafters, this project gives you a chance to turn a simple craft into a piece as imaginative as you like.
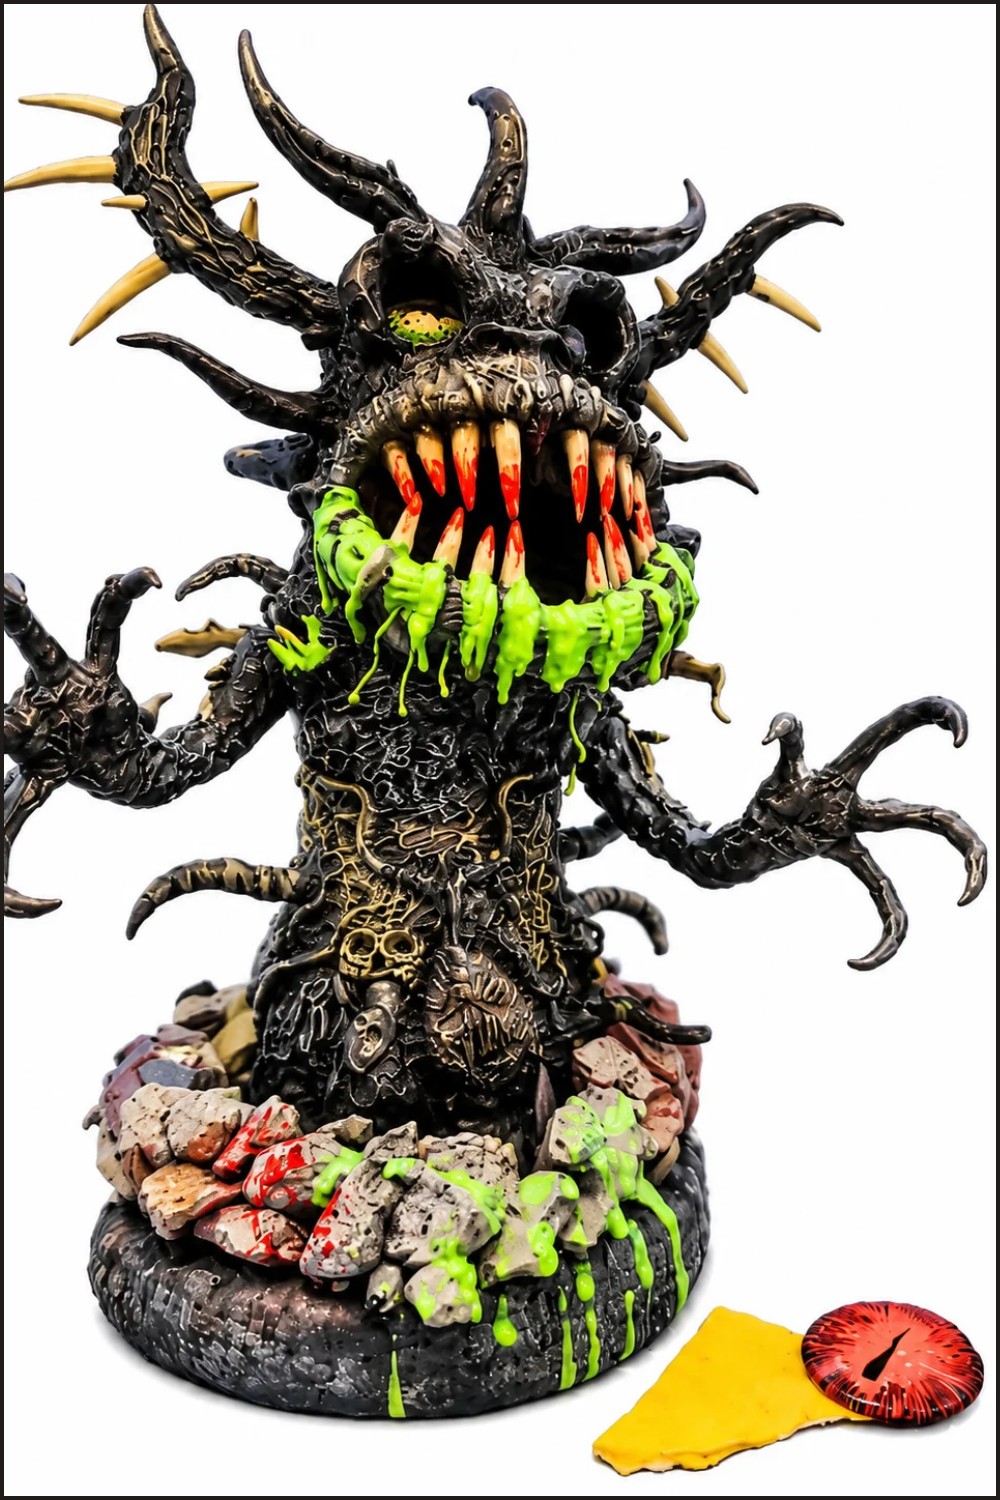
Monster Demon Incense Burner (“Gus”)
Create a removable, sculptural incense burner in the form of a small monster with multiple faces and hands.
This project builds a lightweight armature, bulked with aluminum foil and Super Sculpey Ultralight, detailed with Super Sculpey Original, set on a textured base (plaster), and finished with layered paint, gloss/resin accents, and functional incense holes. The final piece is detachable from its base so it can be cleaned or reused.
What You’ll Need
Materials
- Dowel rod (large) and a smaller wood dowel for crown insertion
- Aluminum foil (large sheets) for bulk and lightweight forms
- Aluminum armature wire for arms/horns/structure
- Super Sculpey Ultralight (bulk) and Super Sculpey Original (detail)
- Plaster de Paris, Mod Podge Hard Coat, and gloves for the base
- Acrylic paints (dark grays, black, metallic gray, purple flash, pistachio, lime green nail polish, red nail polish)
- 5 mm and 20 mm glass cabochons for eyes
- LED incense-safe holder or incense cones/sticks suited to your design
- Small wooden cubes (for presents) and pine garland (optional)
- UV resin and top coat nail polish for wet effects
- Glue (PVA and hot glue), sandpaper, small wooden skewers
Prepare the Materials
Pre-work checklist
- Paint cabochons (20 mm red and green) and allow to dry fully.
- Cut dowels to planned trunk height; drill a hole in the top of the large dowel for the crown dowel.
- Organize sculpting tools, baking tray (craft-only oven), mixing bowls, and safety gear (gloves, mask/ventilation for plaster and resin).
Tools And Equipment
Essentials
- Drill and bits, craft knives, sculpting tools, mixing spoons, baking tray, UV lamp (for resin), heat-safe surface, fine brushes, and a small sanding block.
Project Details
Key specs
- Height: depends on dowel length used; aim 20–35 cm for tabletop display.
- Base: plaster textured “mud/venom” look with garland ring.
- Function: designed to direct incense smoke through mouth(s) — ensure safe testing and ventilation.
Preparation
Design choices & safety
- Decide which parts must be removable (armature wires should be detachable from the base).
- Test incense placement beforehand; do not leave burning incense unattended. Work in a ventilated area and protect surfaces with foil when testing smoke.
Creation Process (detailed step-by-step)
1) Build the internal armature and trunk
- Bulk the large dowel with aluminum foil to create irregular mass for the tree/monster silhouette.
- Drill the top hole and insert the smaller dowel for the crown; secure lightly so it can be removed later if needed.
- Shape and insert armature wire for arms, horns, and hand supports; plan holes so the finished piece can be detached from base by removing wires.
- Test-fit incense (cone or stick) to ensure proper clearance and smoke path.
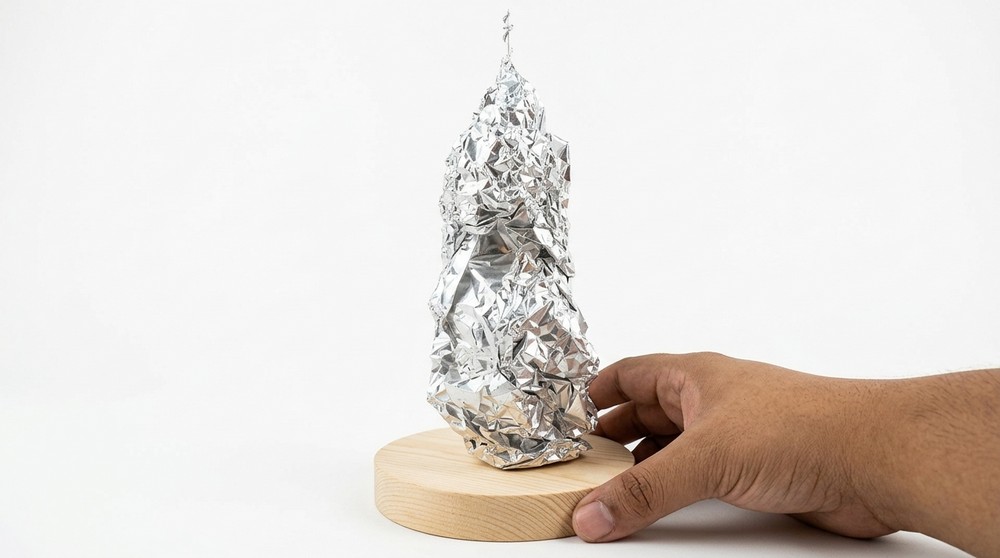
2) Block out with Ultralight
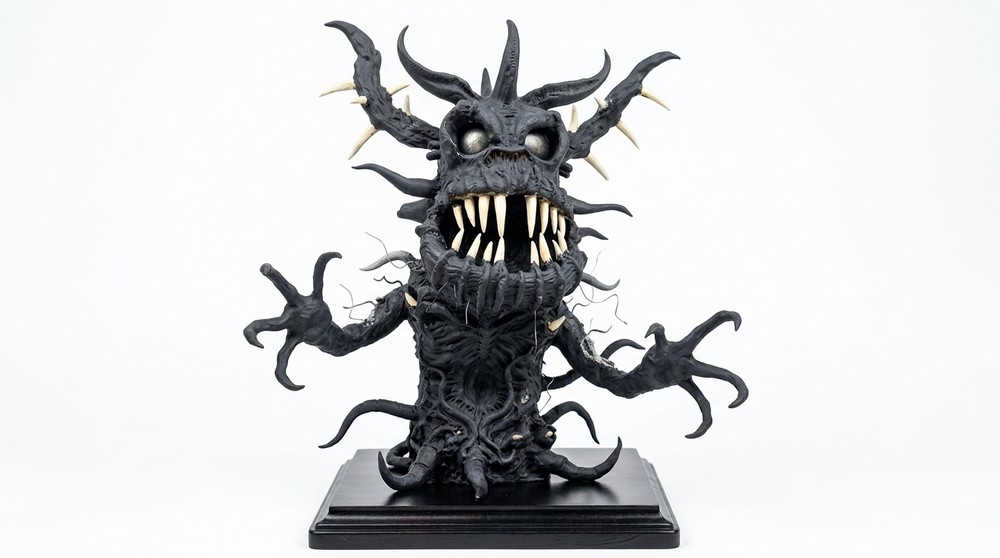
- Cover the foil armature with Super Sculpey Ultralight to form the basic body shape.
- Smooth seams and maintain intended cavities for mouths/eye sockets.
- Bake Ultralight per manufacturer instructions (monitor oven and use dedicated craft bakeware).
- Allow to cool fully.
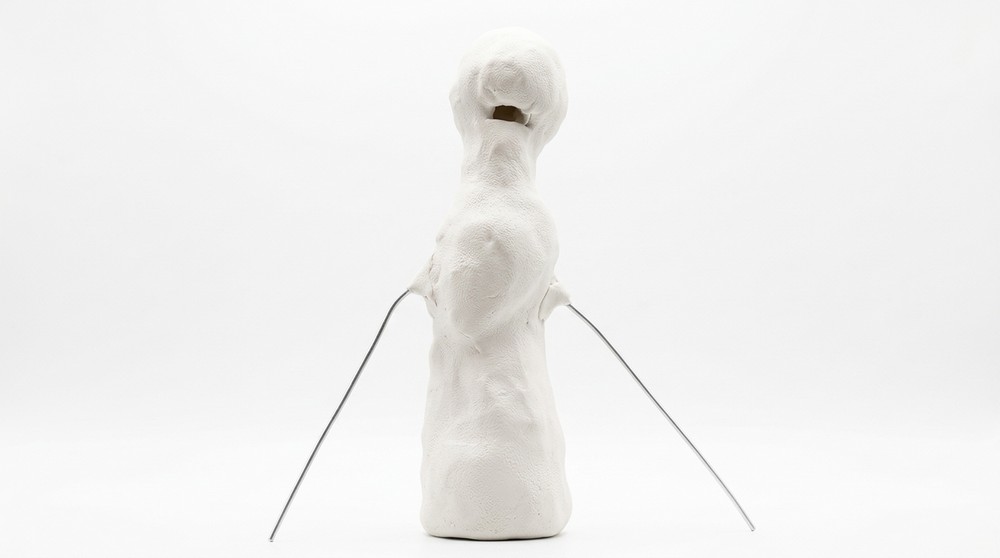
3) Pre-bake details and hands
- Pre-bake small hand forms on wire armatures (wrap wires with a thin clay layer and pre-bake) so they can be later built up and attached easily.
- This helps when adding final finger details and quicker handling during final sculpting.
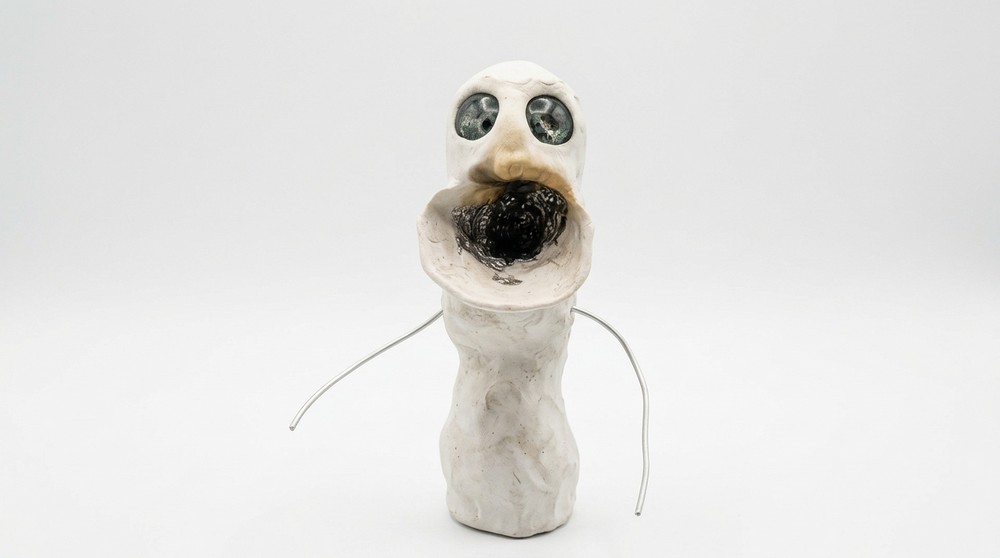
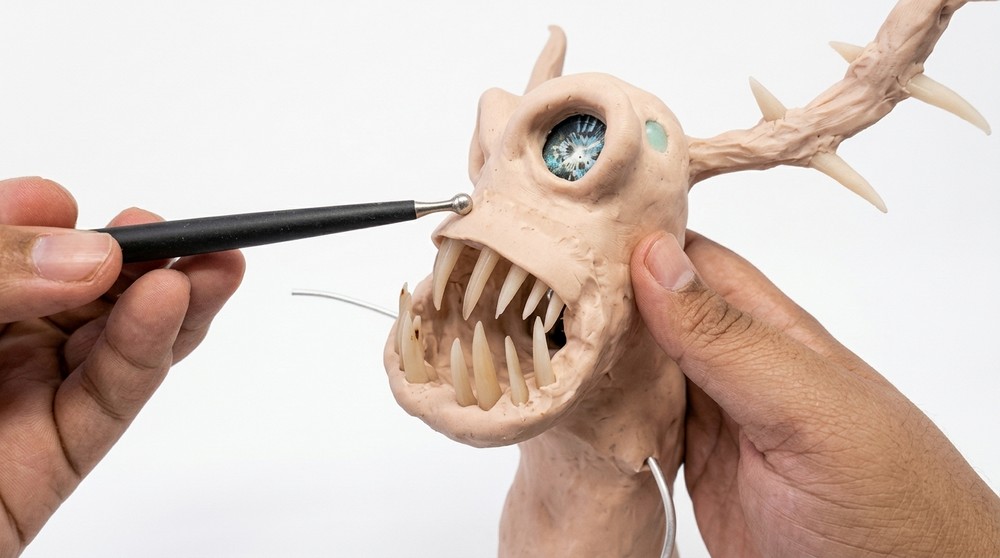
4) Sculpt final detail layer with Super Sculpey Original
- Apply Super Sculpey Original over the baked Ultralight base to add horns, mouths, tentacles, faces, and textured nubs.
- Use foil cores for oversized tongue shapes (foil core + thicker clay layer) to save clay and reduce weight.
- Add teeth and other fine elements; press cabochons into eye sockets for alignment (do not bake painted glass — ensure cabochons are set after clay bake unless rated for heat).
5) Prepare and attach to base
- Mix Plaster de Paris (½ cup recommended) with black/tan/brown acrylic paints, a drizzle of Mod Podge, ½ cup water, and optional glow glitter. Stir to a creamy consistency.
- Apply plaster mixture to the base surface, embedding any foil or rock texture. Cure for ~1 hour because of additives.
- Ensure the sculpture can be removed — design base holes to accept the dowel or armature wires without permanent glue.
6) Bake the whole sculpted unit or components
- Bake smaller baked components (hands, ornaments) as needed at recommended temps. Bake clay per manufacturer guidelines. Avoid baking painted glass cabochons.
7) Make lightweight ornaments
- Form small foil balls, wrap with Ultralight, punch holes and push cheap ornament hangers; bake accordingly to create light orbs that won’t tip the piece.
8) Test smoke route
- Temporarily insert incense and light it to confirm smoke streams through mouths; use foil protection and proper ventilation while testing.
Finishing Instructions
Painting & sealing
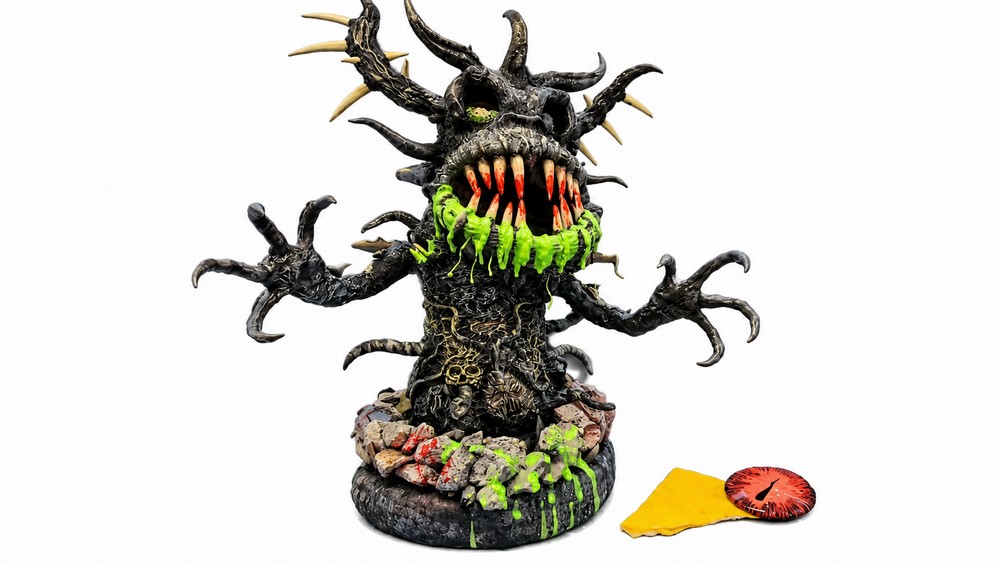
- Apply base coats: dark gray/black wash across the body, leaving rocks/textures intact.
- Dry brush metallic gray on horns and raised areas; add Folk Art purple flash subtly on tentacles/nubs.
- Remove paint from cabochons, then dry brush pistachio as highlight in places.
- Add wet effects: drip lime green nail polish at mouth bases and red polish on teeth; apply UV resin in mouths and cure for glossy, wet appearance. Seal body with matte varnish where needed.
Tips & Techniques
- Keep ornaments lightweight (foil + Ultralight) to maintain balance.
- Pre-bake finger cores for easier finger building and attachment.
- Use foil protection when testing incense to avoid scorch marks and prevent fires.
- Work in layers: block → detail → bake → paint → wet effects.
Common Problems & Solutions
- Cracked clay: ensure even thickness and proper conditioning before baking.
- Tipping: increase base mass or reduce top ornament weight; embed dowel deeper into base.
- Resin fogging: ensure paint fully cured and surface clean before applying UV resin.
Creative Ideas & Variations
- Create multiple monsters with color themes (icy blue, molten red).
- Swap faces — make a trio of removable heads to change moods.
- Use glow paint or embedded LEDs for eerie night displays.
Final Result
A functional, removable monster incense burner
- You will have a balanced, three‑dimensional monster incense burner that emits smoke through sculpted mouths, sits on a textured plaster base, features glossy/resin wet effects, and includes lightweight ornaments and removable components for cleaning and safe display. Follow safety steps during smoke testing and always supervise burning incense.